
Sourdough Croissants – Lamination Experiment
I’ve been struggling with my results for my honeycomb structure.
The results I’m getting aren’t quite what I picture in my mind.
That said, I know that many factors are at play and any one (or combination of them) can affect the end result.
I have previously experimented with my technique for lock-in/lamination, length of proving and flour brand.
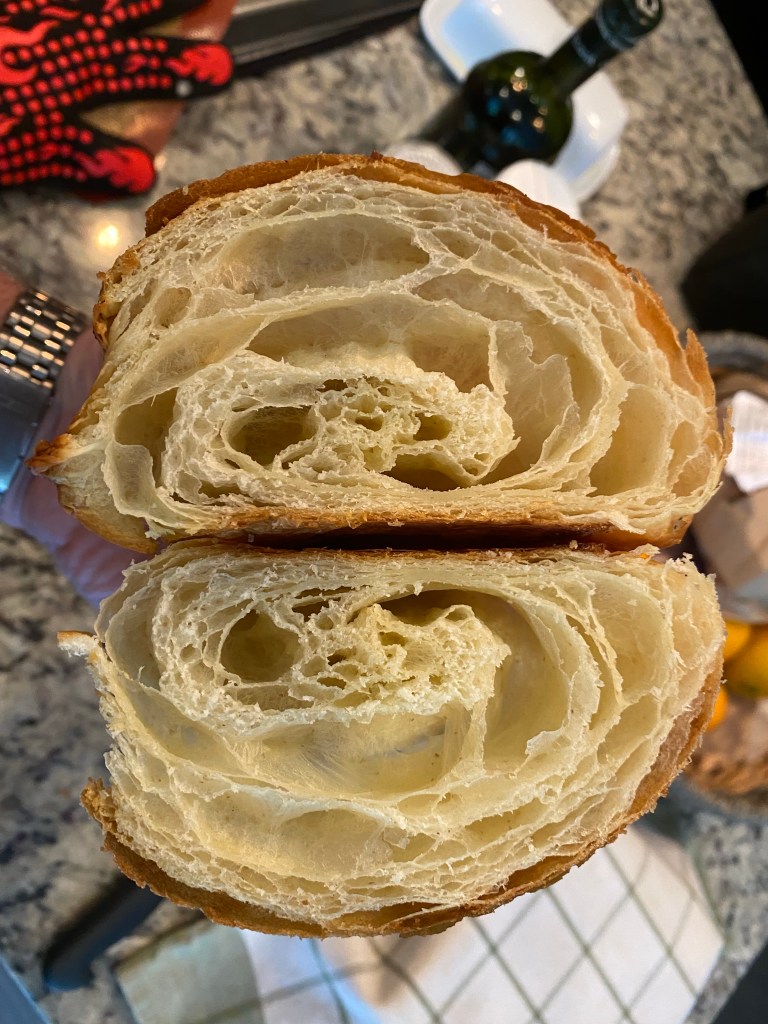
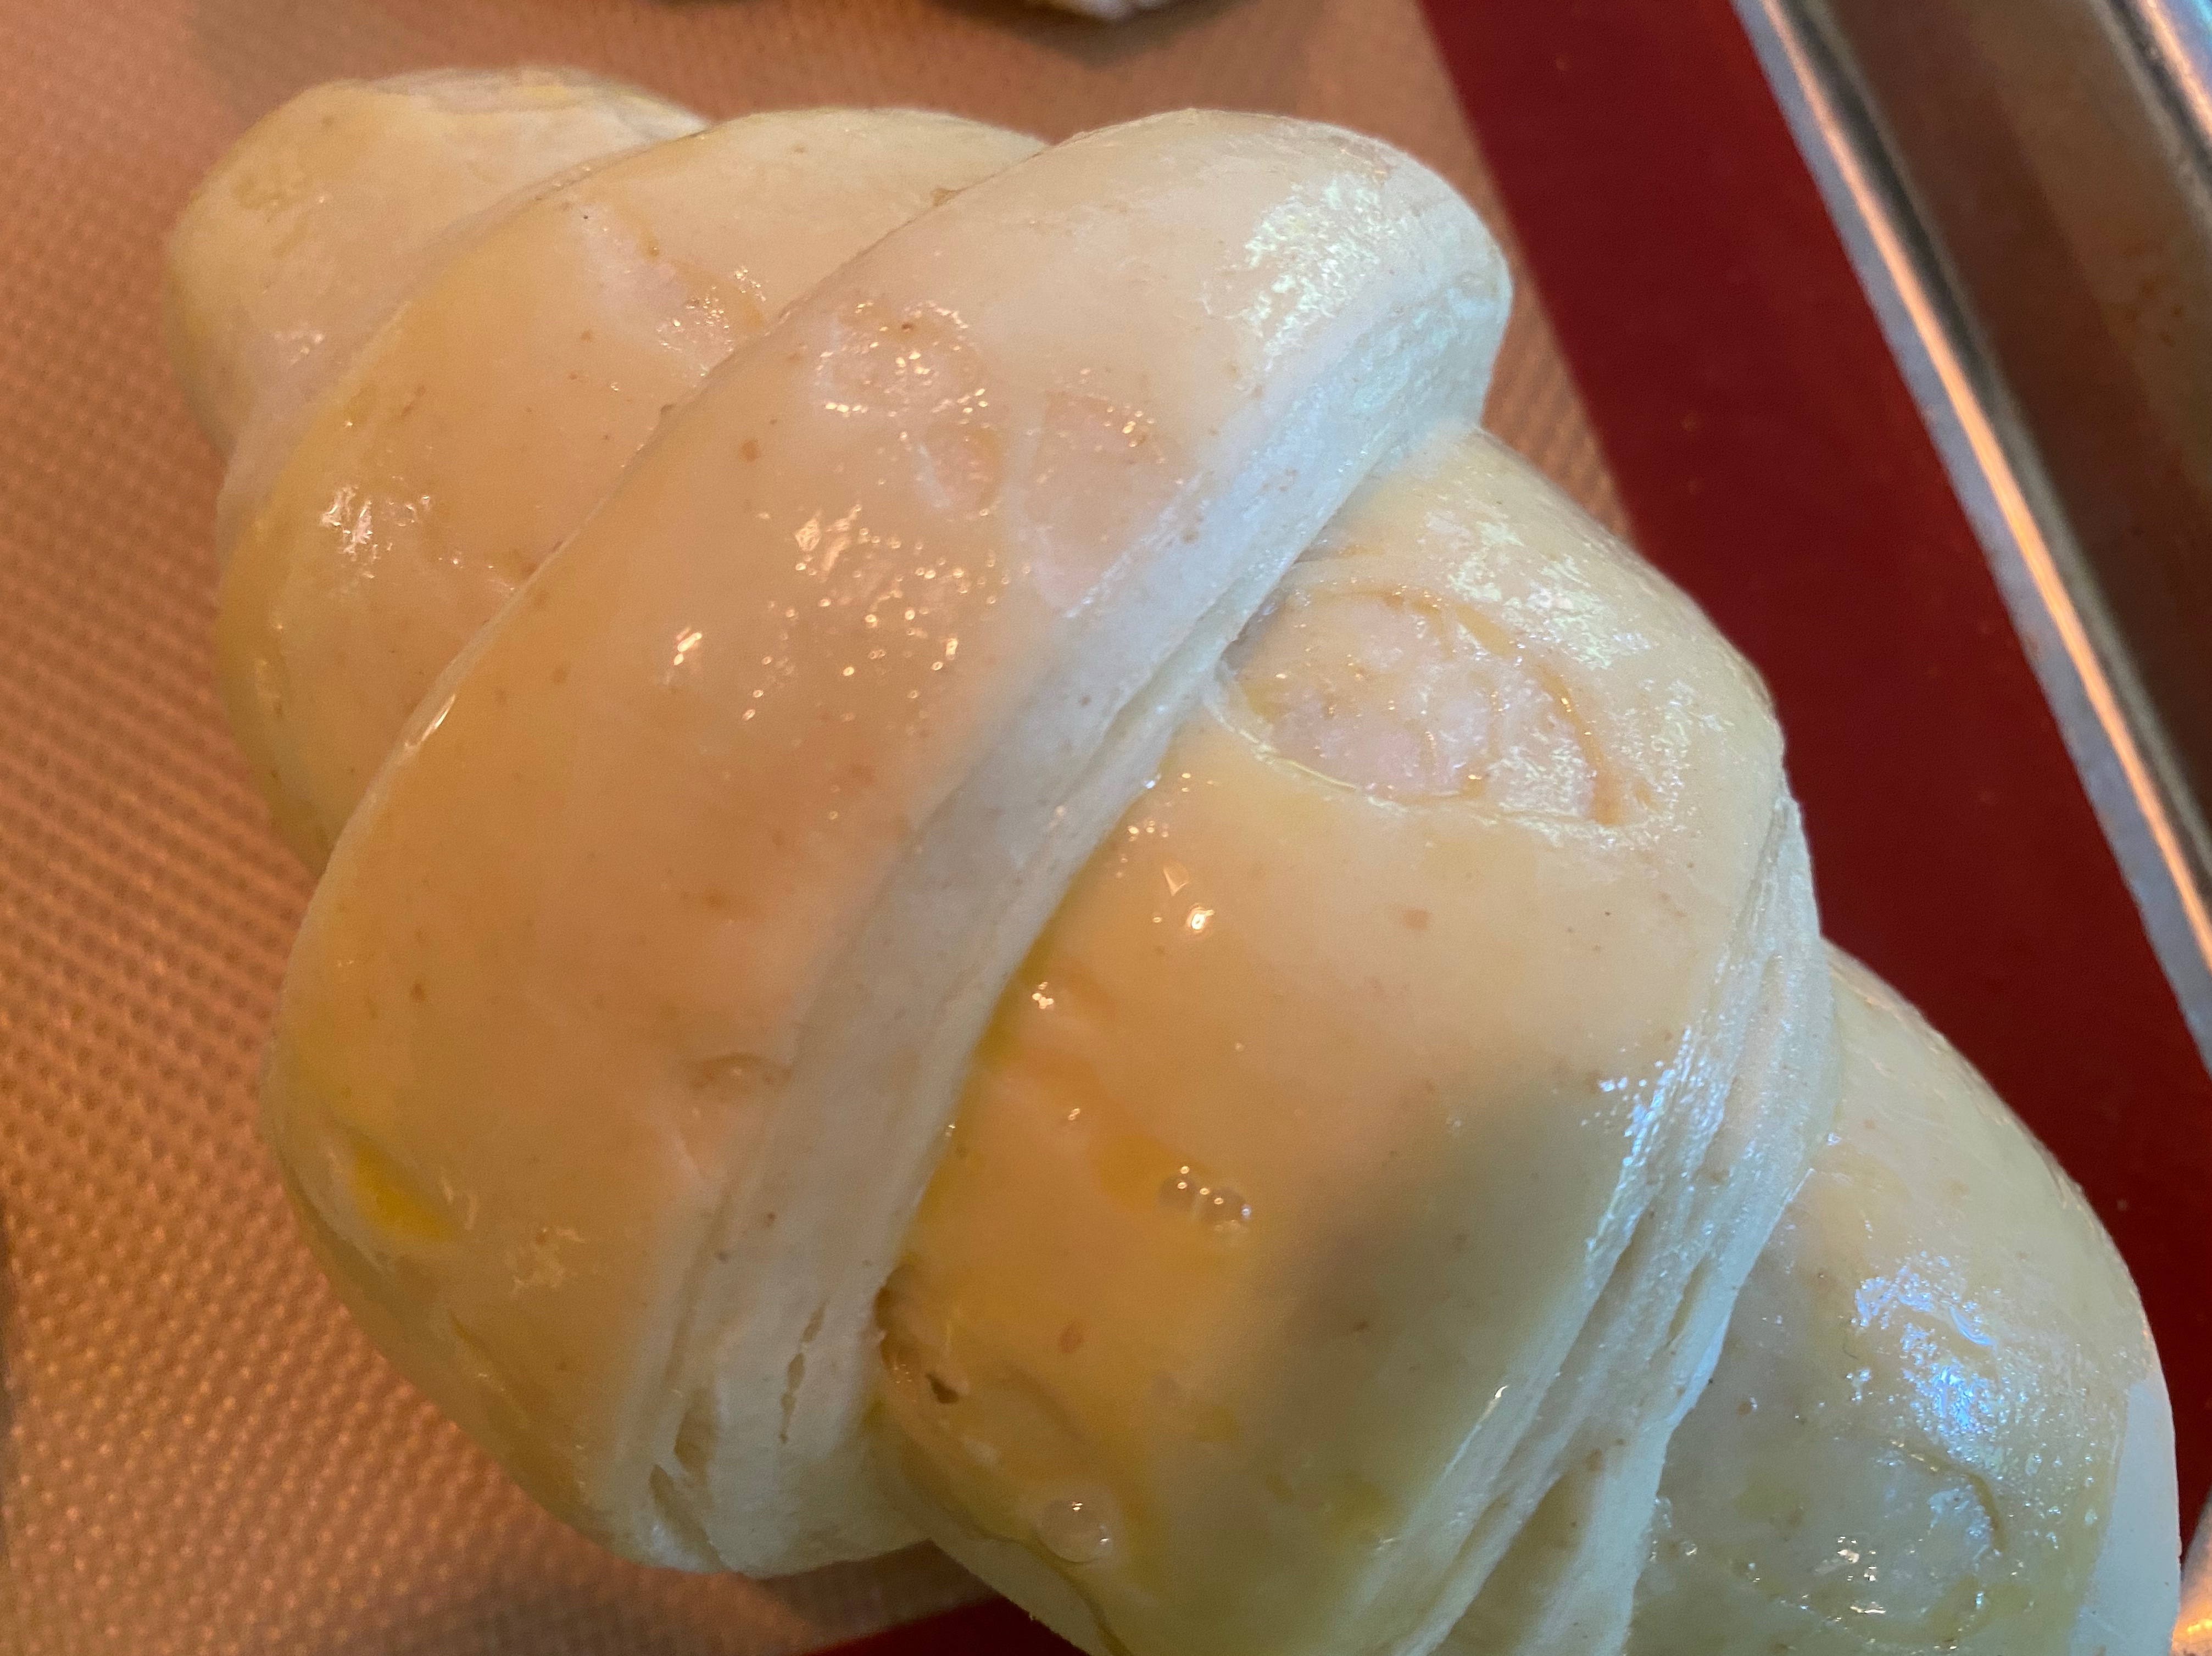
Admittedly, my technique for lock-in/lamination has much improved. My last batches of laminated dough have been the best I’ve ever made (IMHO). My proving time is 2X+ of what I’d originally used. In fact, in the pic above I feel I could have proved it another 30-45 minutes.
This time I used two “book folds” vice my habit of a “book fold” and a “letter fold”.
There are so many different ways to describe the number of layers. I just count the layers of butter. The total number of layers of both butter and dough would be 25 (12 of butter plus an equivalent + 1 for dough). Therefore, when I do my “book fold” I end up with 4 layers of butter. When I do a subsequent Tri/Letter fold I have 3X of the four layers resulting in 12 layers of butter.
This time I used a book fold twice so I had 16 layers of butter.
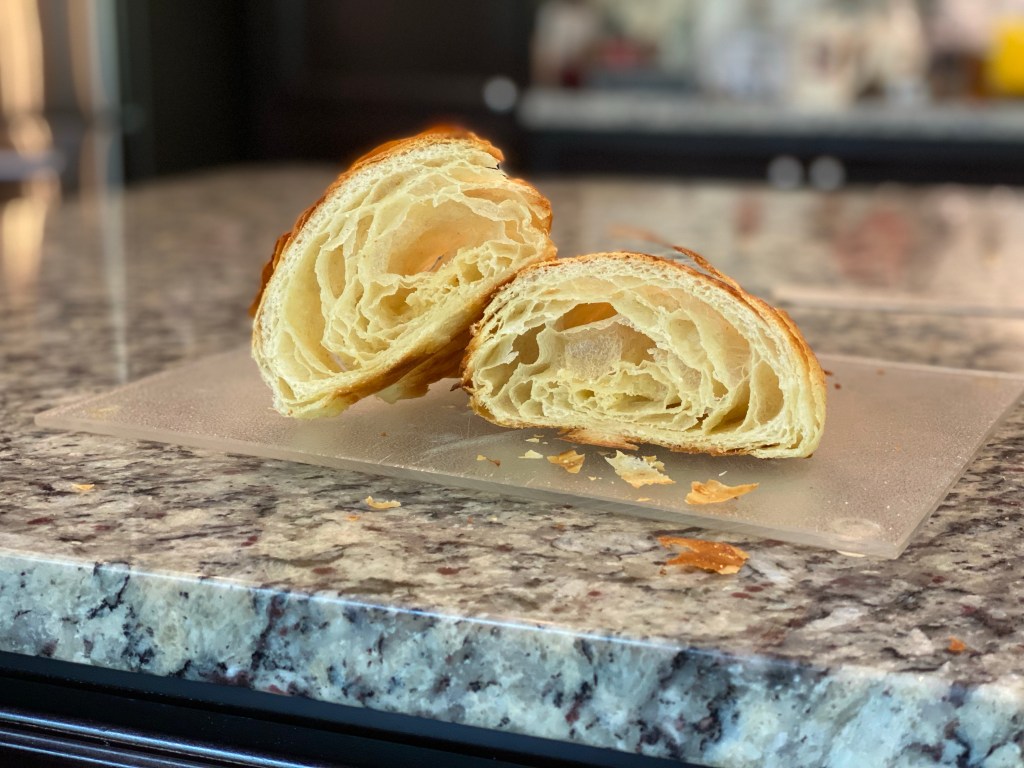
12 Layers 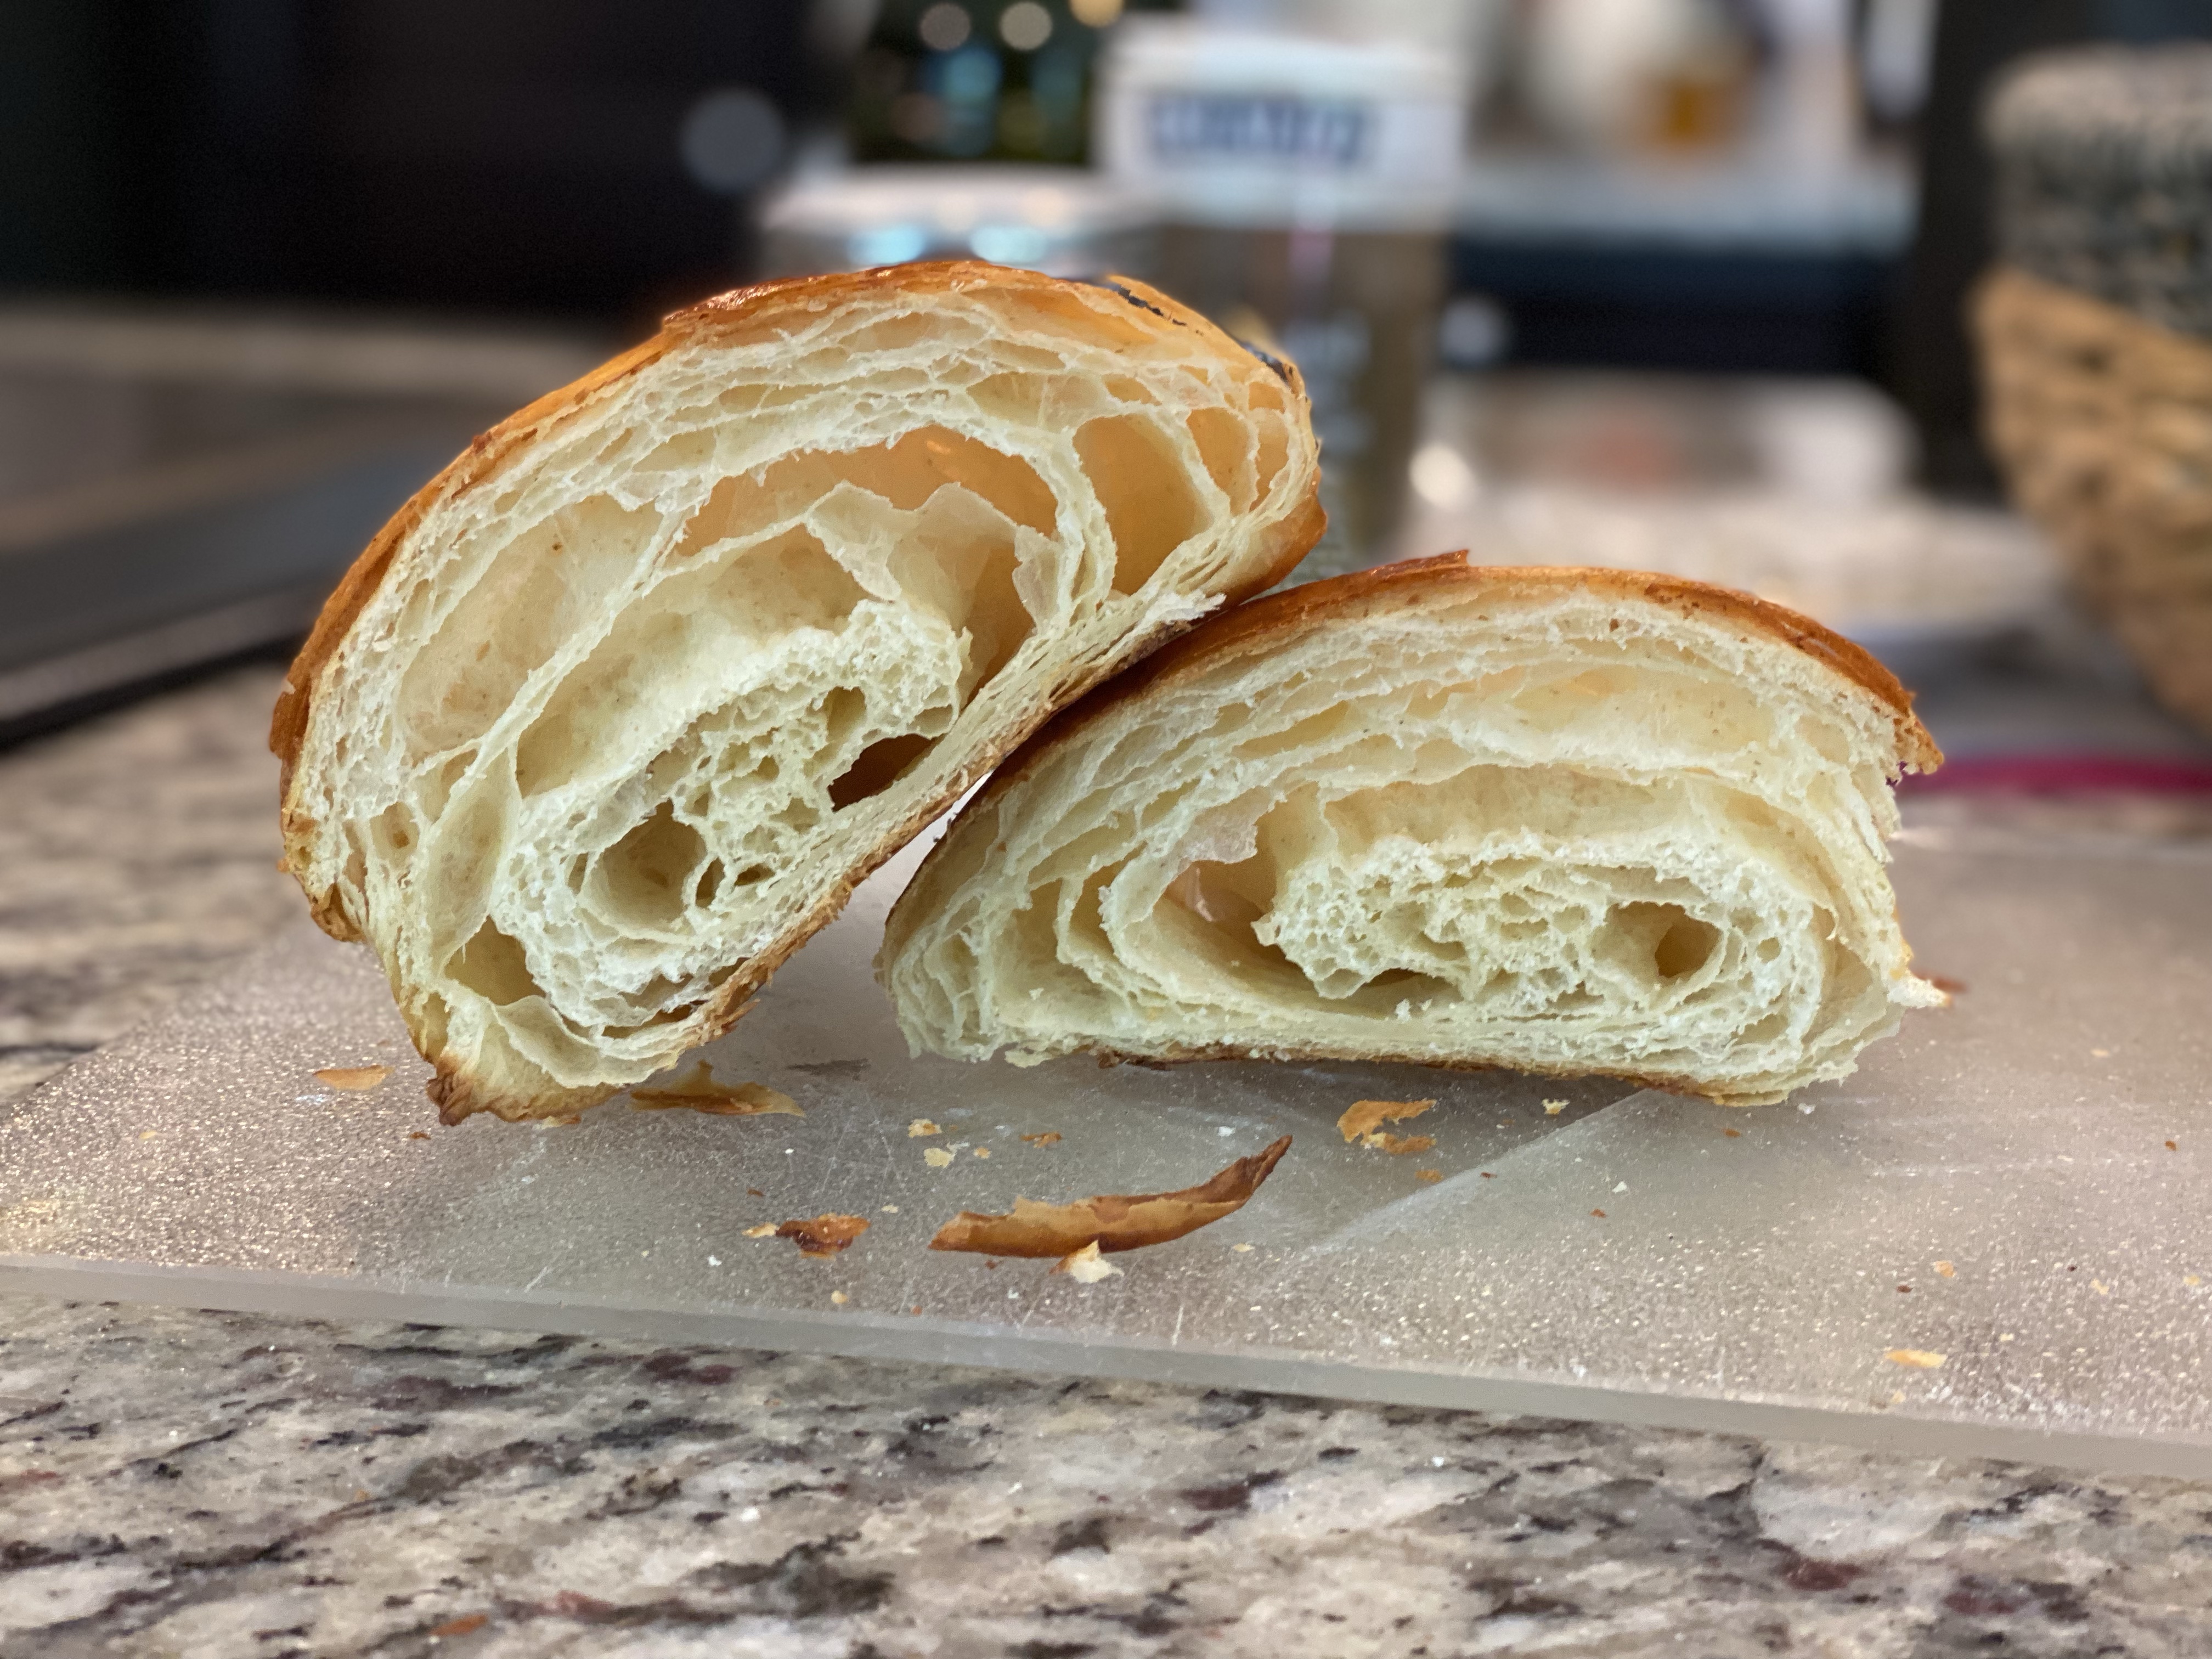
16 Layers
I’ll need to see some other cross-sections to get a better sense of my results. I certainly pleased with the overall outcome.
BTW The 16 layer tasted GREAT with my Cherry Preserves!!
New photo
2X Baked Almond Croissants (Updated)

My sister-in-law requested I make the twice-baked almond croissants for when they came to visit.
My last two attempts had been OK. However, I’ve been disappointed with how the almond cream survived (or in my case didn’t) the second bake.
Time to experiment!
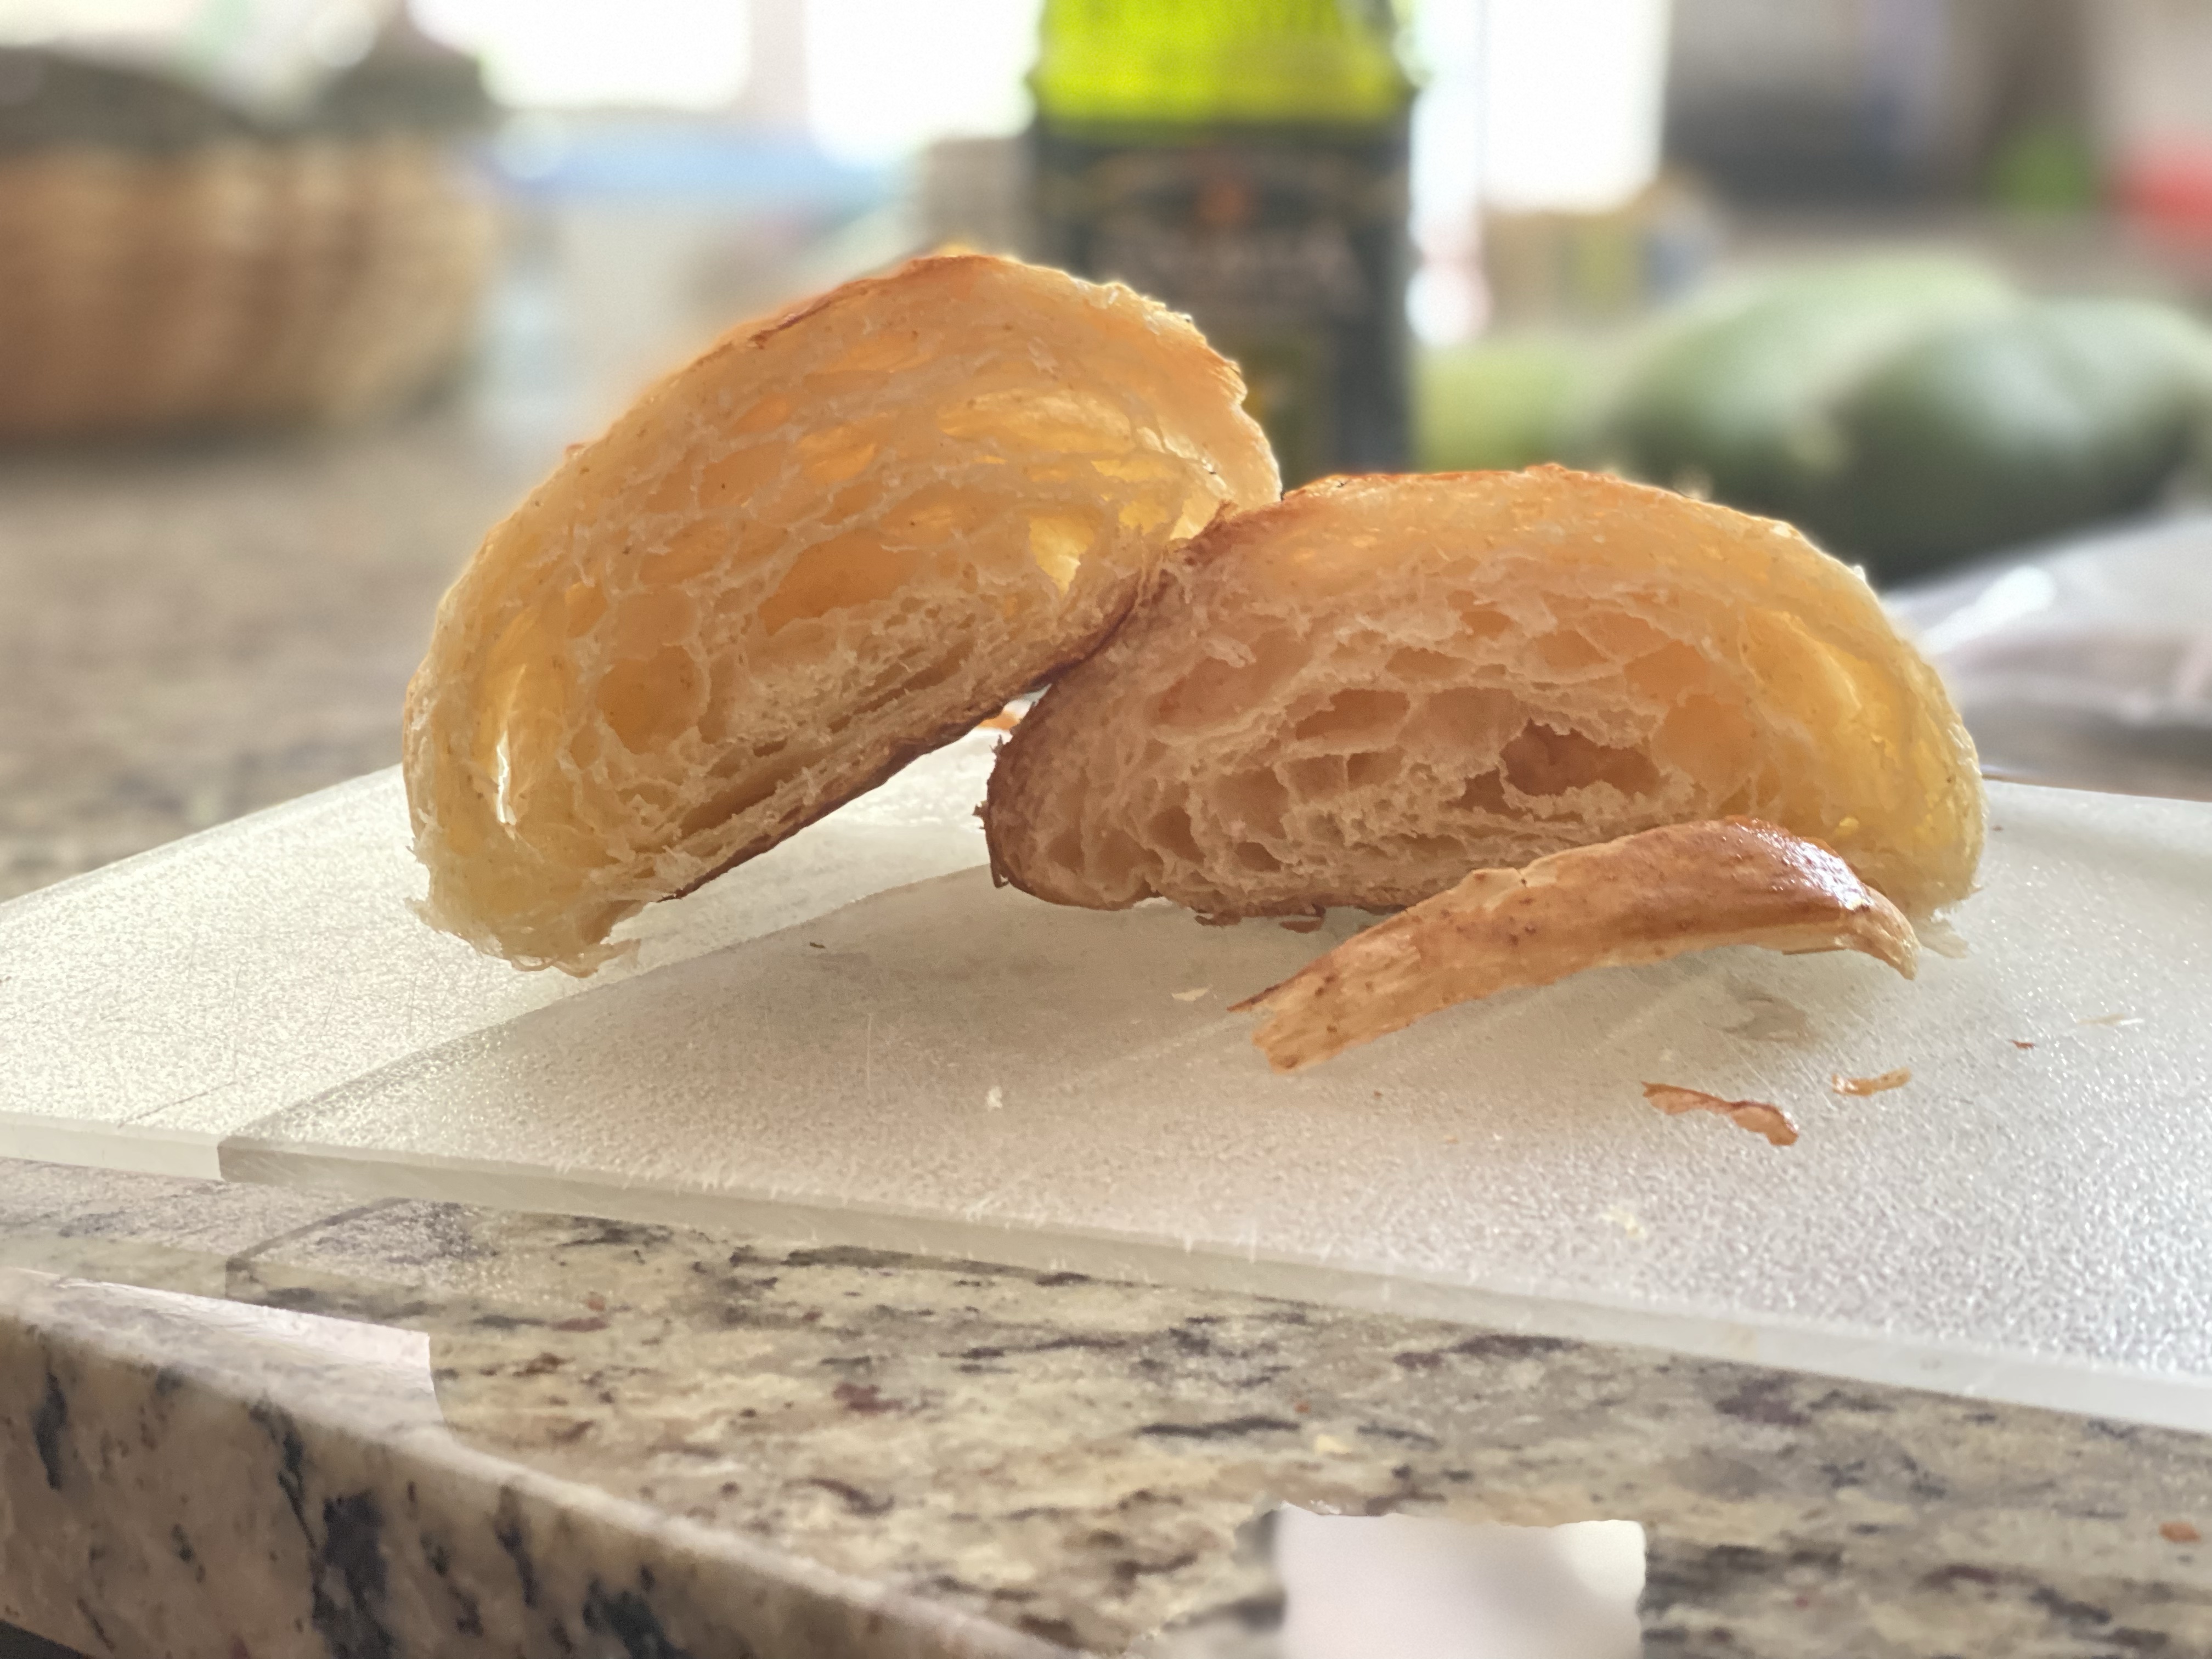
My croissants that I baked this time were some of the best I’ve ever made. The lamination process seemed spot on and the dough felt better than any I remember.

This time I decided I’d experiment by (1) substituting Frangipane (almond paste) fir the filling and (2) baking them for less time. The French book I’d read called for 25 minutes but other recipes I researched said 5-8.
For these I used 8 minutes.
First I cut the croissants like sandwiches and painted both sides with rum syrup. I was really happy with the look of the crumb.
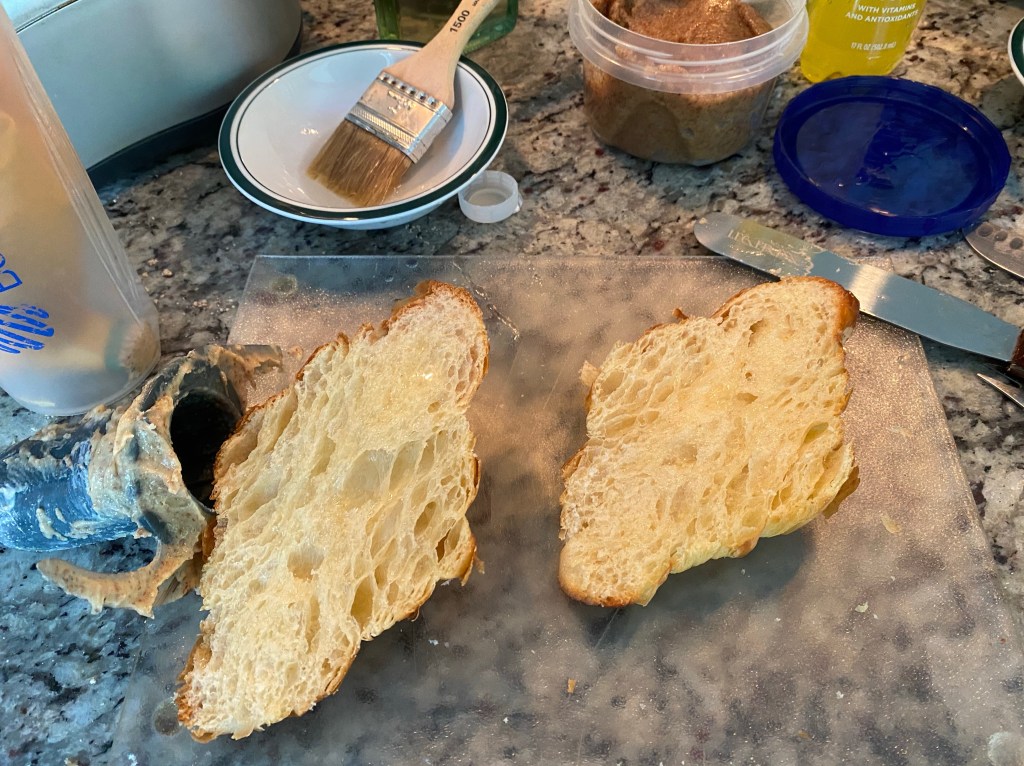
I then added the frangipane which I had made ahead of time. It is a bit more dense but spread beautifully.
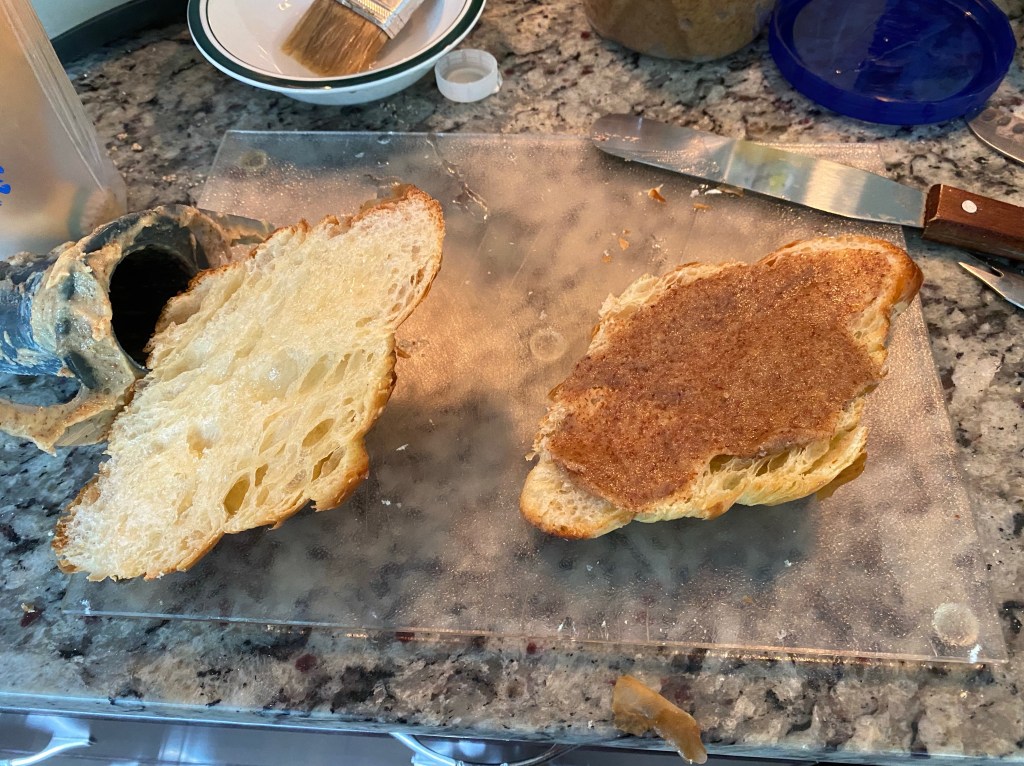
I reassembled the croissant, used a pastry bag to layer on the almond cream and then added sliced almonds.
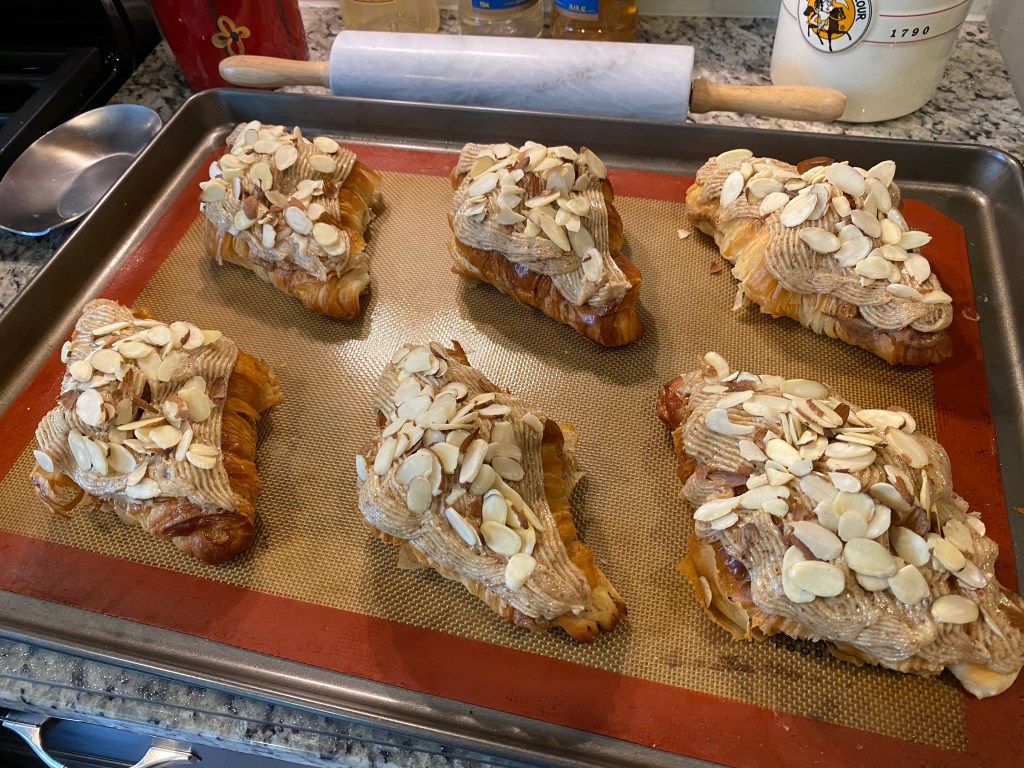
This time I baked them for only 8 minutes at 375°F. Once they cooled I added some powdered sugar.

Freshly baked 
Cooled and sugared
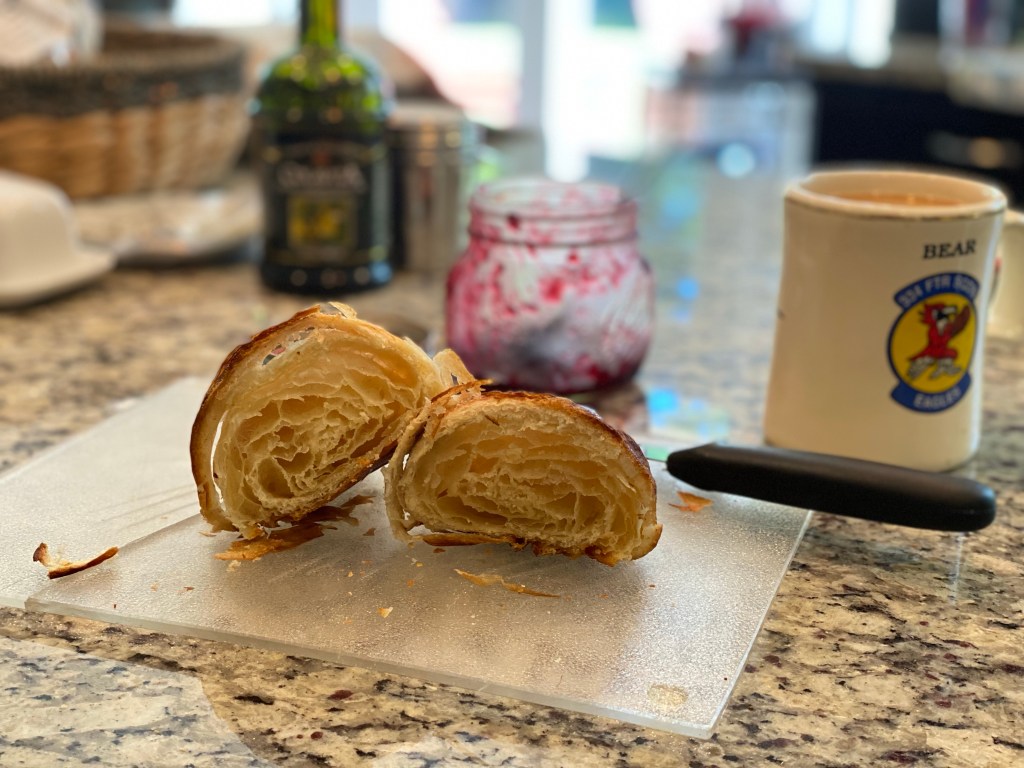
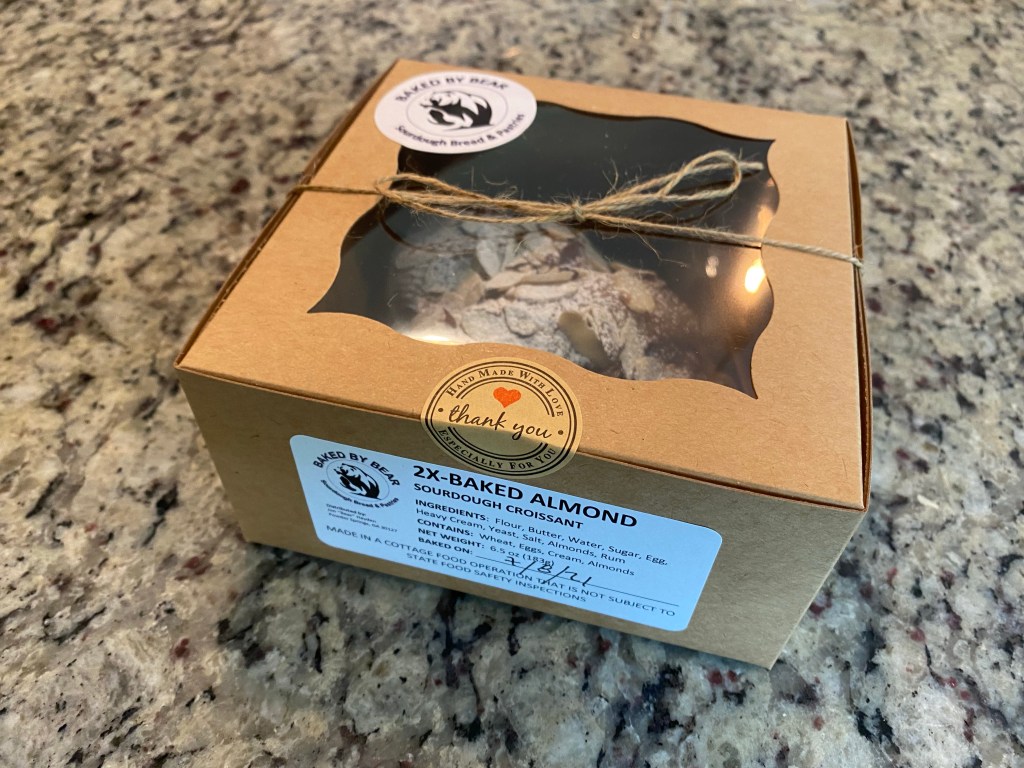
I was really pleased with the outcome. In fact, I was so pleased I had to take one over to some “taste testers” of mine. I think my packaging is a bit over the top.
Naturally I had to conduct a personal taste-test! I admit to being biased…but then again I’m my own harshest critic so it’s OK.

This was a mighty fine attempt on both aspects! Overall result taste and presentation wise was spot on! Love the frangipane on the inside and the cream topping and almonds was superb (and it wasn’t laying in a pool off the croissant)!
Definitely going to repeat with these modifications next time!!
Trying Different Dough
As you may be aware, I’m on a quest to perfect sourdough bread, croissants et al. I know I’ll never “arrive”… it’s a journey; however, I’d like to get closer.
What has continued to vex me is my crumb honeycomb. For the life of me I can’t seem to replicate so me of the beautiful cross-sections I see from others.
To be honest, I don’t know how many layers they have in their lamination (at least for most).
I saw a post recently where someone had changed their flour. From what they described it sounded like they got much better lamination.
I thought “Why not give that a try?”
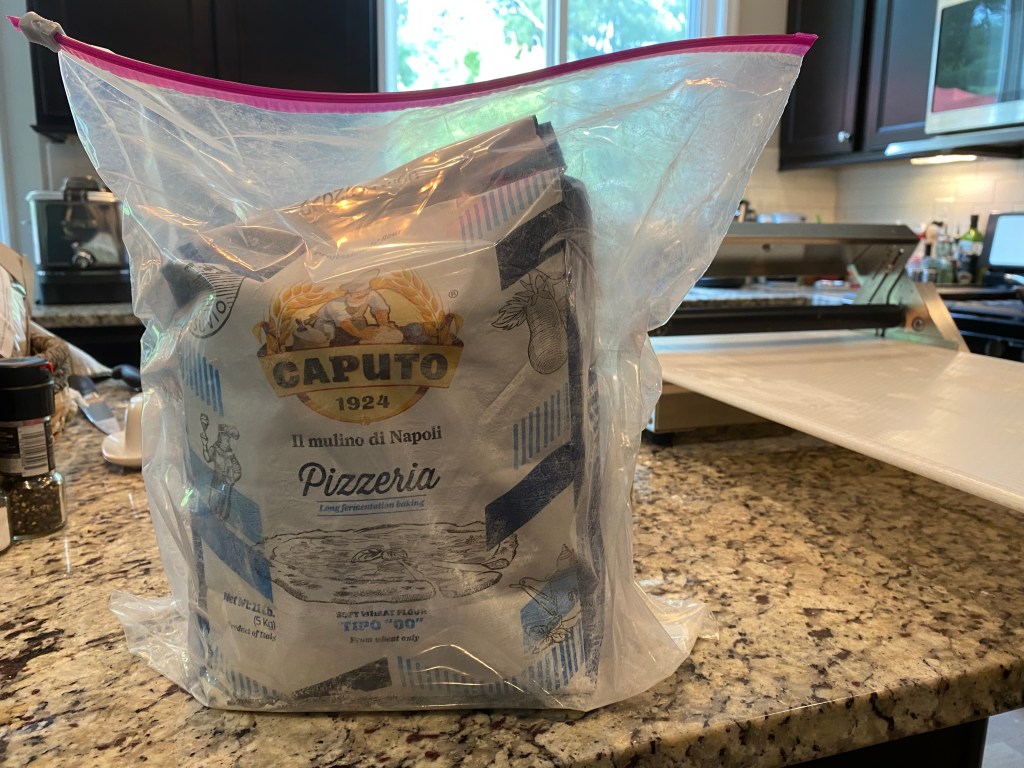
First step: Buy new flour. They’d recommended Antimo Caputo Pizzeria Flour (TIPO 00). I found it on Amazon here.
The dough was a pleasure to roll out. I actually thought it the best feeling dough I’d ever laminated. Now that may be due to my getting better at working with my butter.
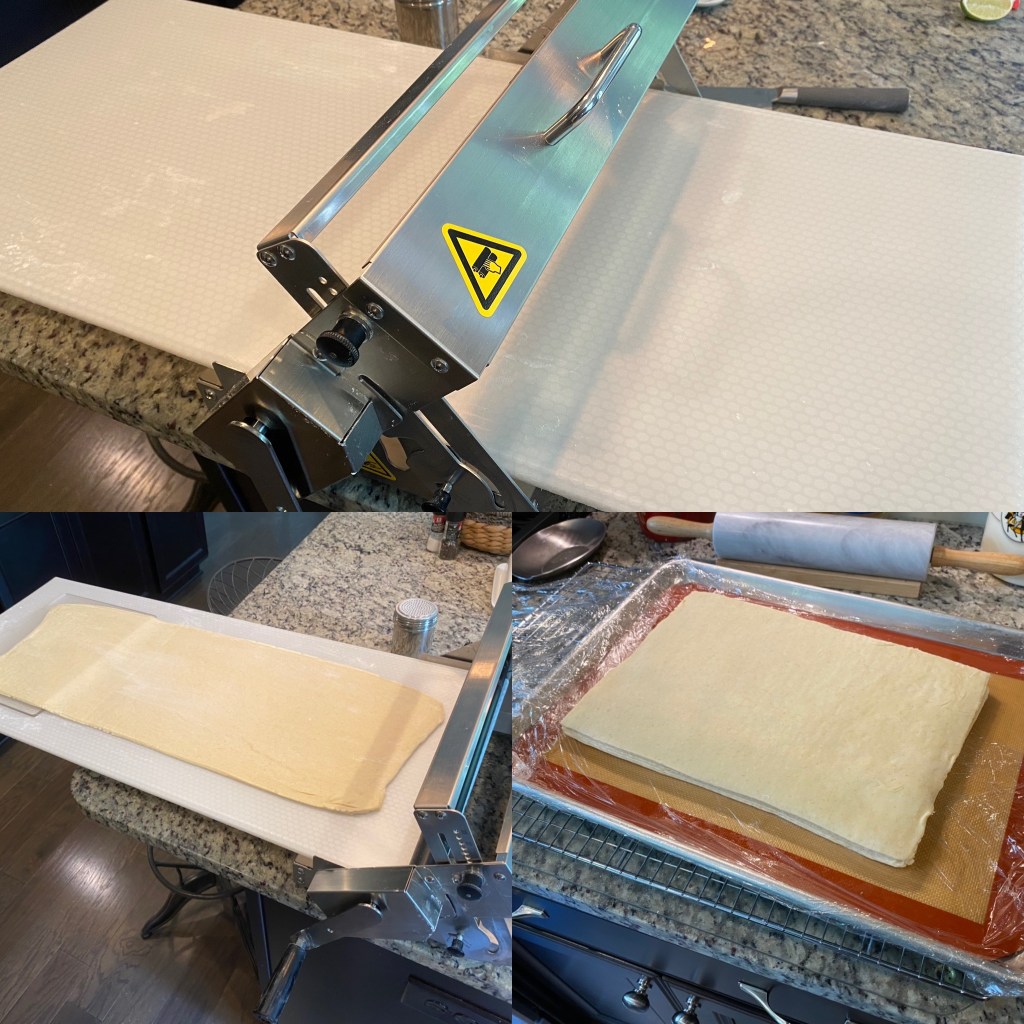
I felt pretty good about how the dough responded and cut out the croissants. I have very little waste since I take the cutting on the ends and roll another scrap piece. The scrap normally gets glazed with apricot jam once baked. Note: these NEVER last to be fully cooled!
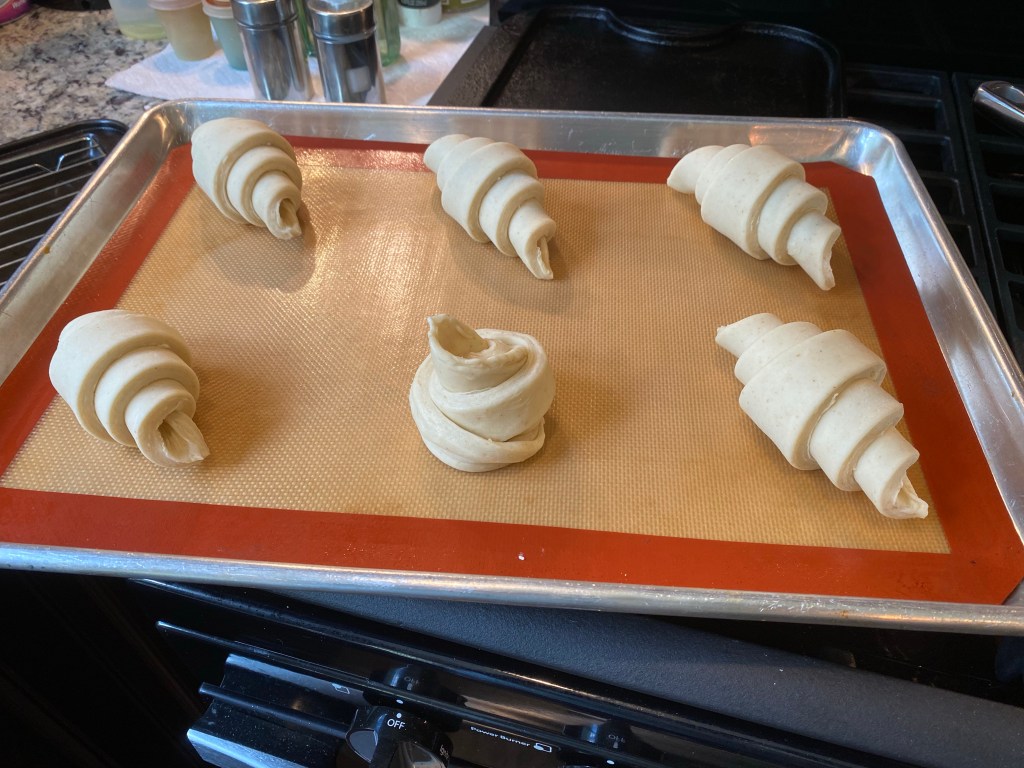
I proved for about 6 hours. I noticed a bit more micro-tearing on the tops.
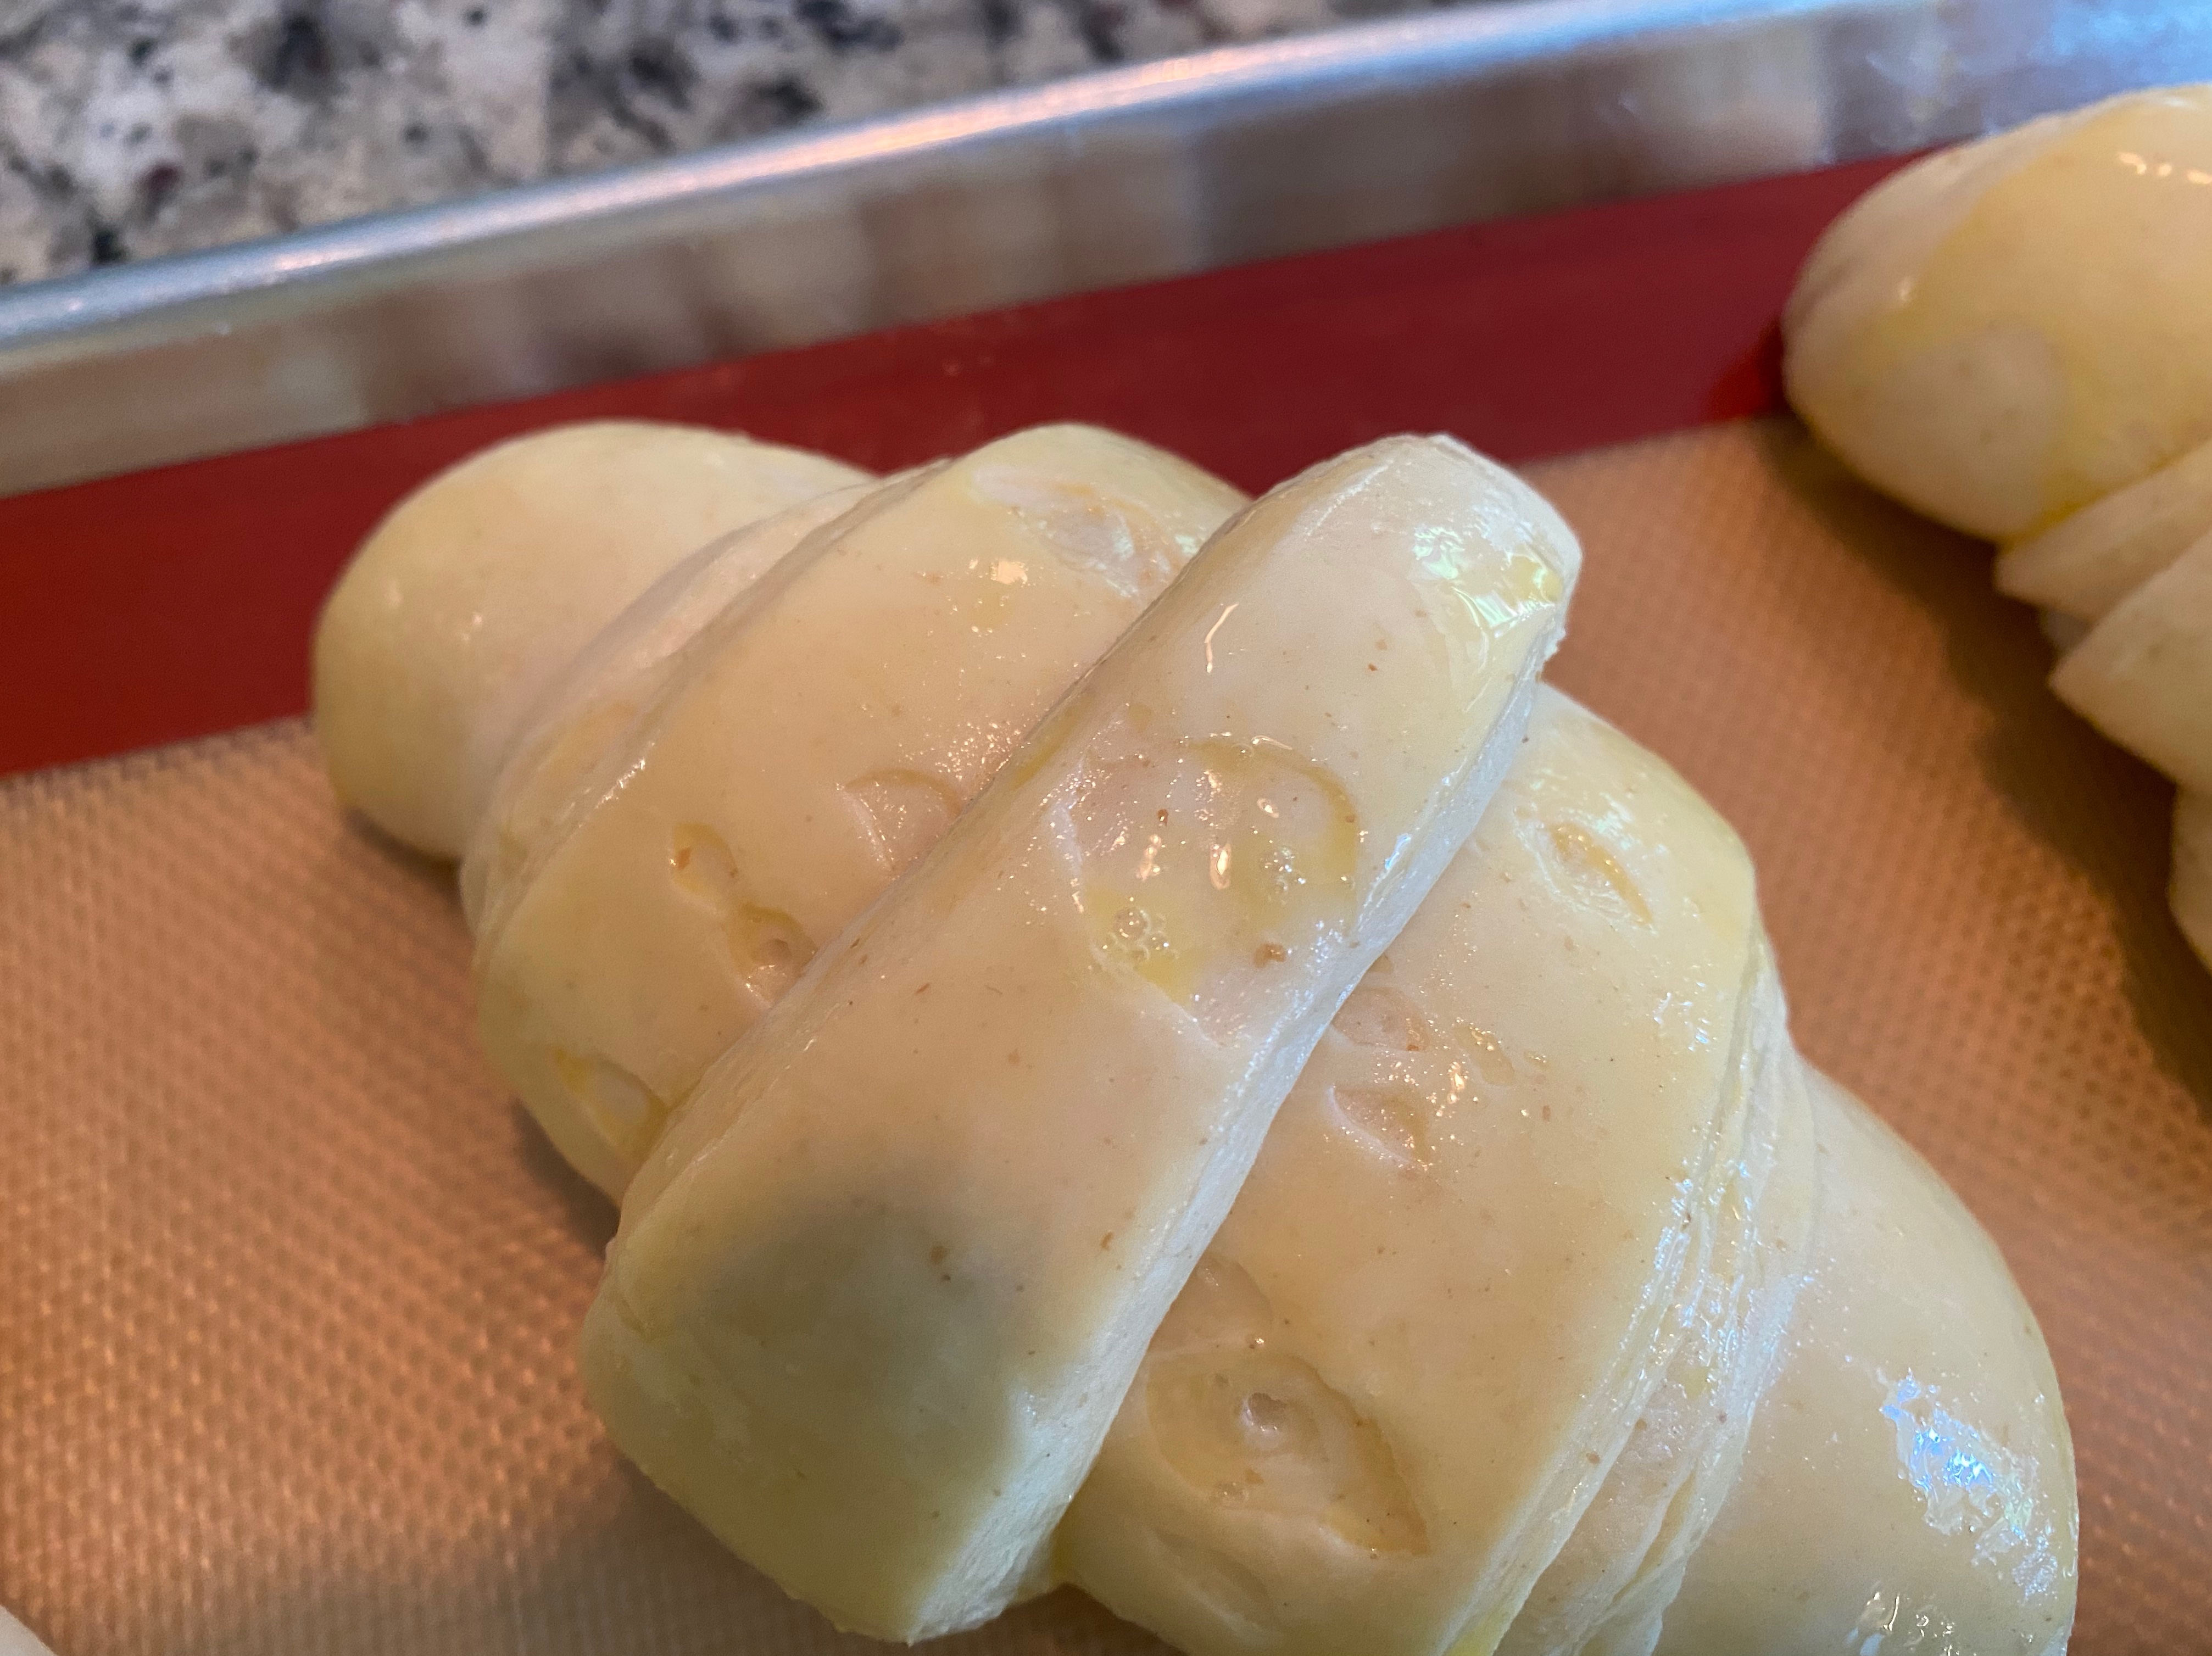
I baked like normal after egg-washing and they came out really good!

I cut a cross-section and honestly didn’t see much of a difference between this variant and my previous attempts with another brand of flour. That said, if don’t have much to f a sample size so I’ll withhold judgment until I’ve cut more (and made some more batches with this flour).
And so my journey continues…
Savory Peach Brie Sourdough Danishes with Peppered Rosemary Honey
Oh My Goodness!!

Tried a new recipe and this is a definite keeper!
I’ve been trying out new combinations using my base laminated dough I use for croissants.
This savory combination was one sparked by a recipe I found for a tart on Pinterest.
As my danishes were proving this morning I caramelized the shallots using olive oil and a bit of apple cider vinegar. I then added them to my proved Danishes which had been egg washed and sprinkled with freshly ground pepper.

Next I added an ounce of Brie to each and sprinkled with fresh basil from my garden. I then topped each with a peach slice. I would have preferred fresh peaches more thinly sliced but they weren’t ready yet. I used frozen peach slices that I’d thawed.

While they baked I made some Peppered Rosemary Honey. This was drizzled on the warm pastry.
O.M.G!!
They are soooooooo delicious!
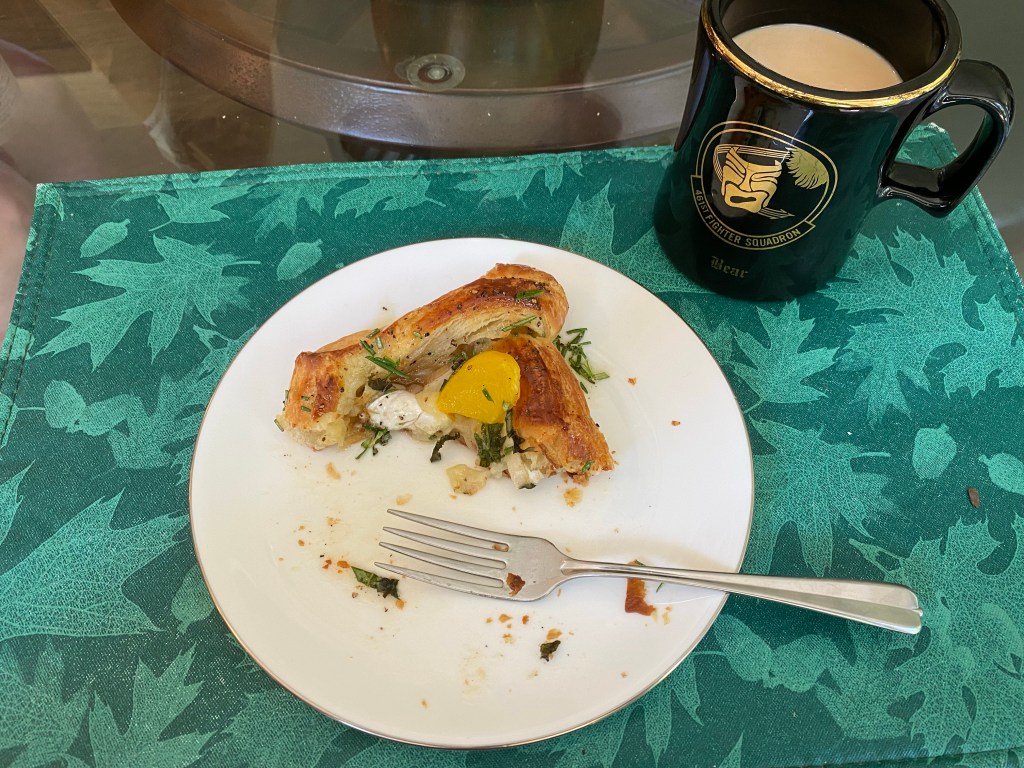
I am definitely keeping this in the savory menu!
Sourdough Cinnamon Rolls
My latest experiment is to see how many different pastries and treats I can make using my basic recipe I use for sourdough croissants.
Like every experiment it starts unexpectedly. In this particular instance it was due to my forgetting I’d made the dough and thinking about it later in the evening. I wasn’t prepared to start the lamination process at that point.
I didn’t want to spend the time laminating nor did I want the dough to sit in the fridge until the next day before deciding what to do.
My solution: make cinnamon rolls!

I rolled out my dough and mixed up some filling of sugar cinnamon and sultanas (golden raisins). Before I sprinkled this filling I painted the dough with some melted butter. I’ll save for another post how I got distracted and exploded butter all over my microwave and had a mess to clean up!
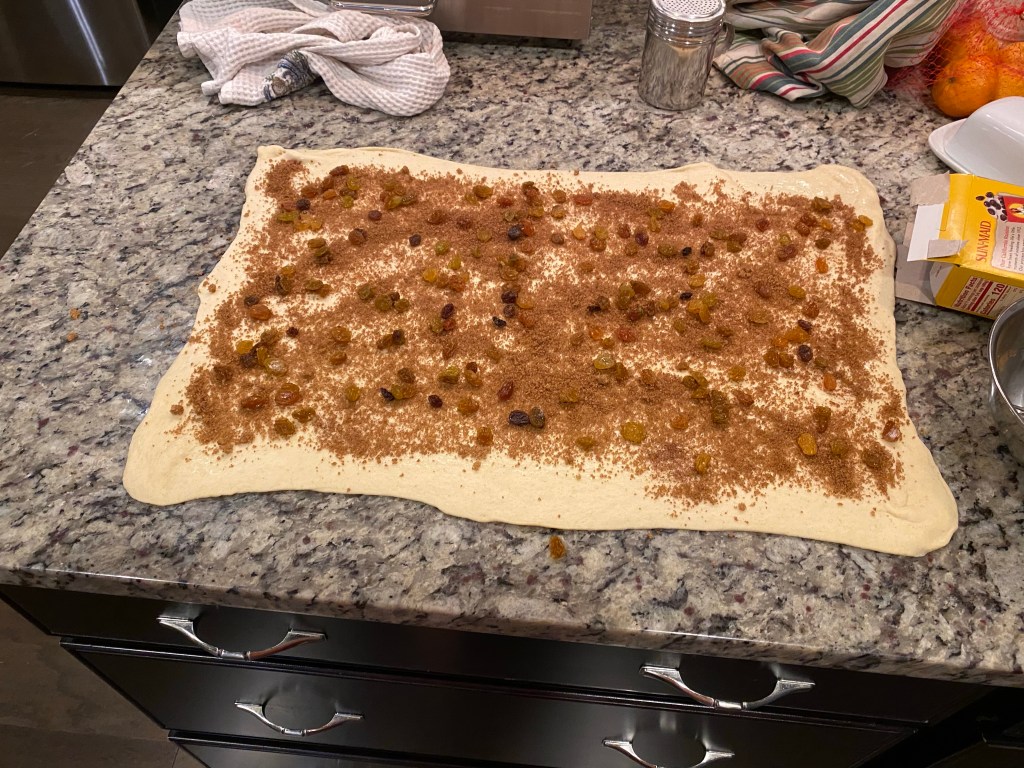
I rolled it up, cut with monofilament and placed the rolls into a pan to rest overnight.

Cut and going into the fridge 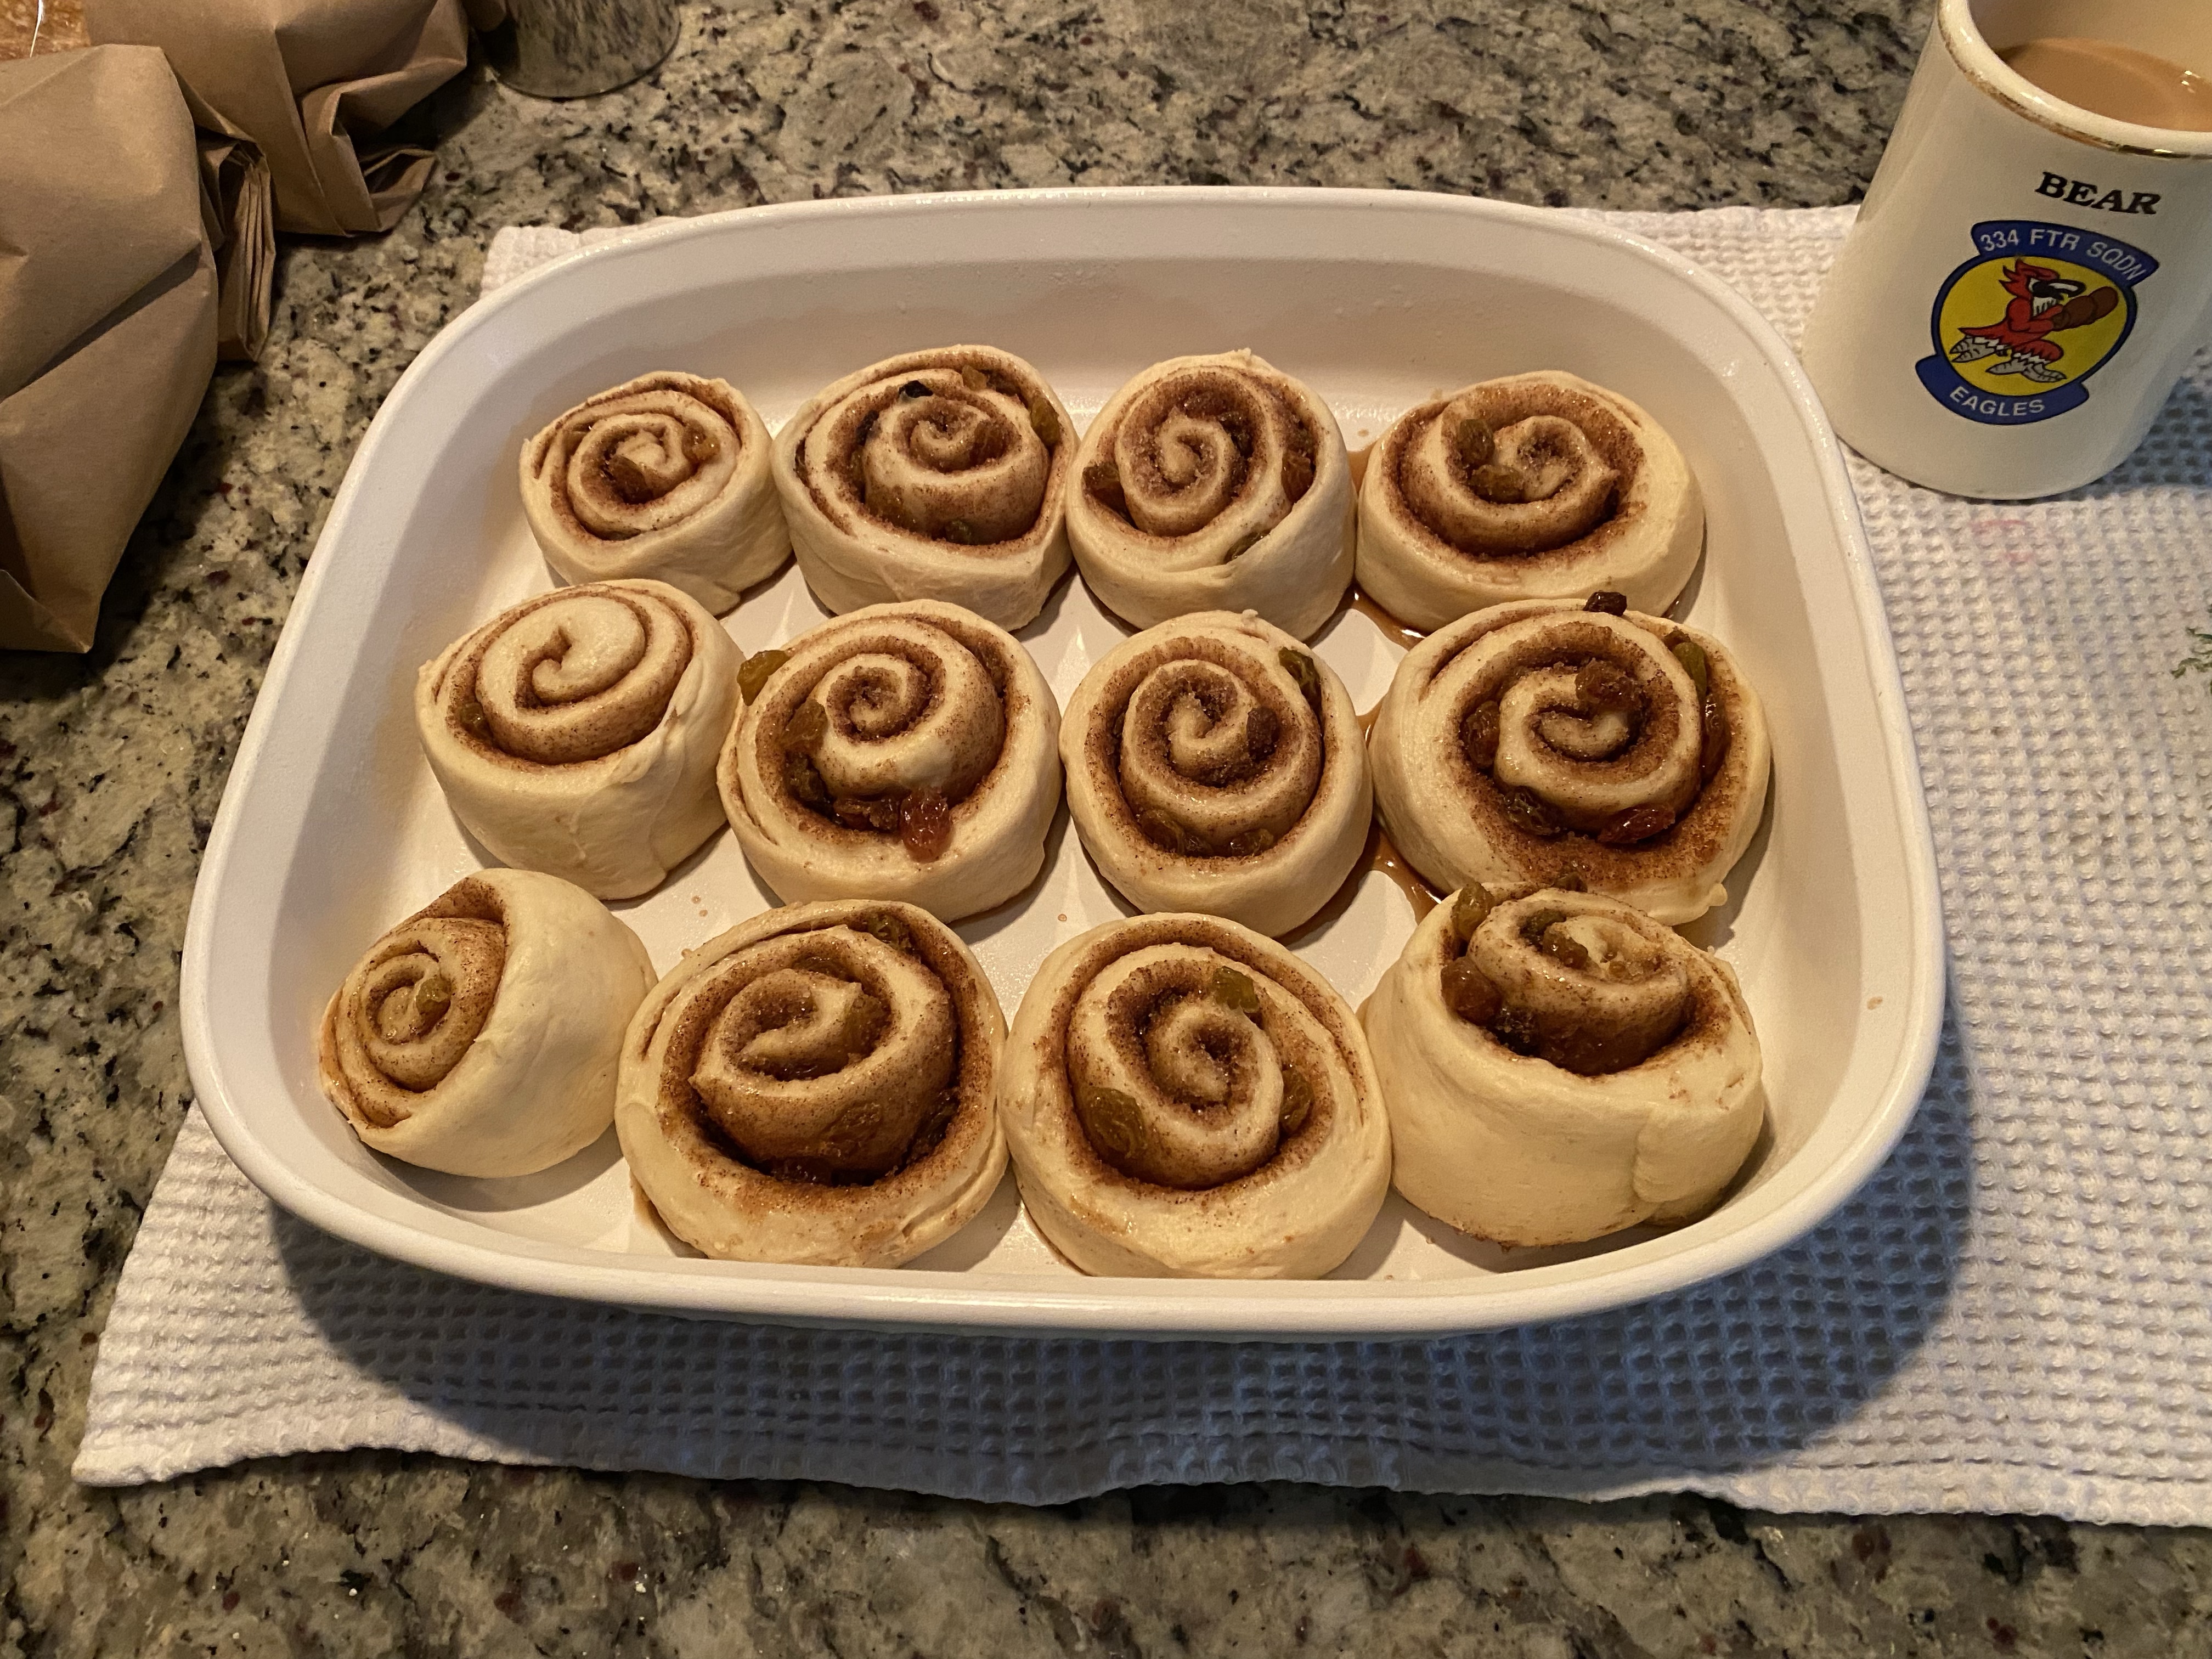
Out of fridge and starting final proof 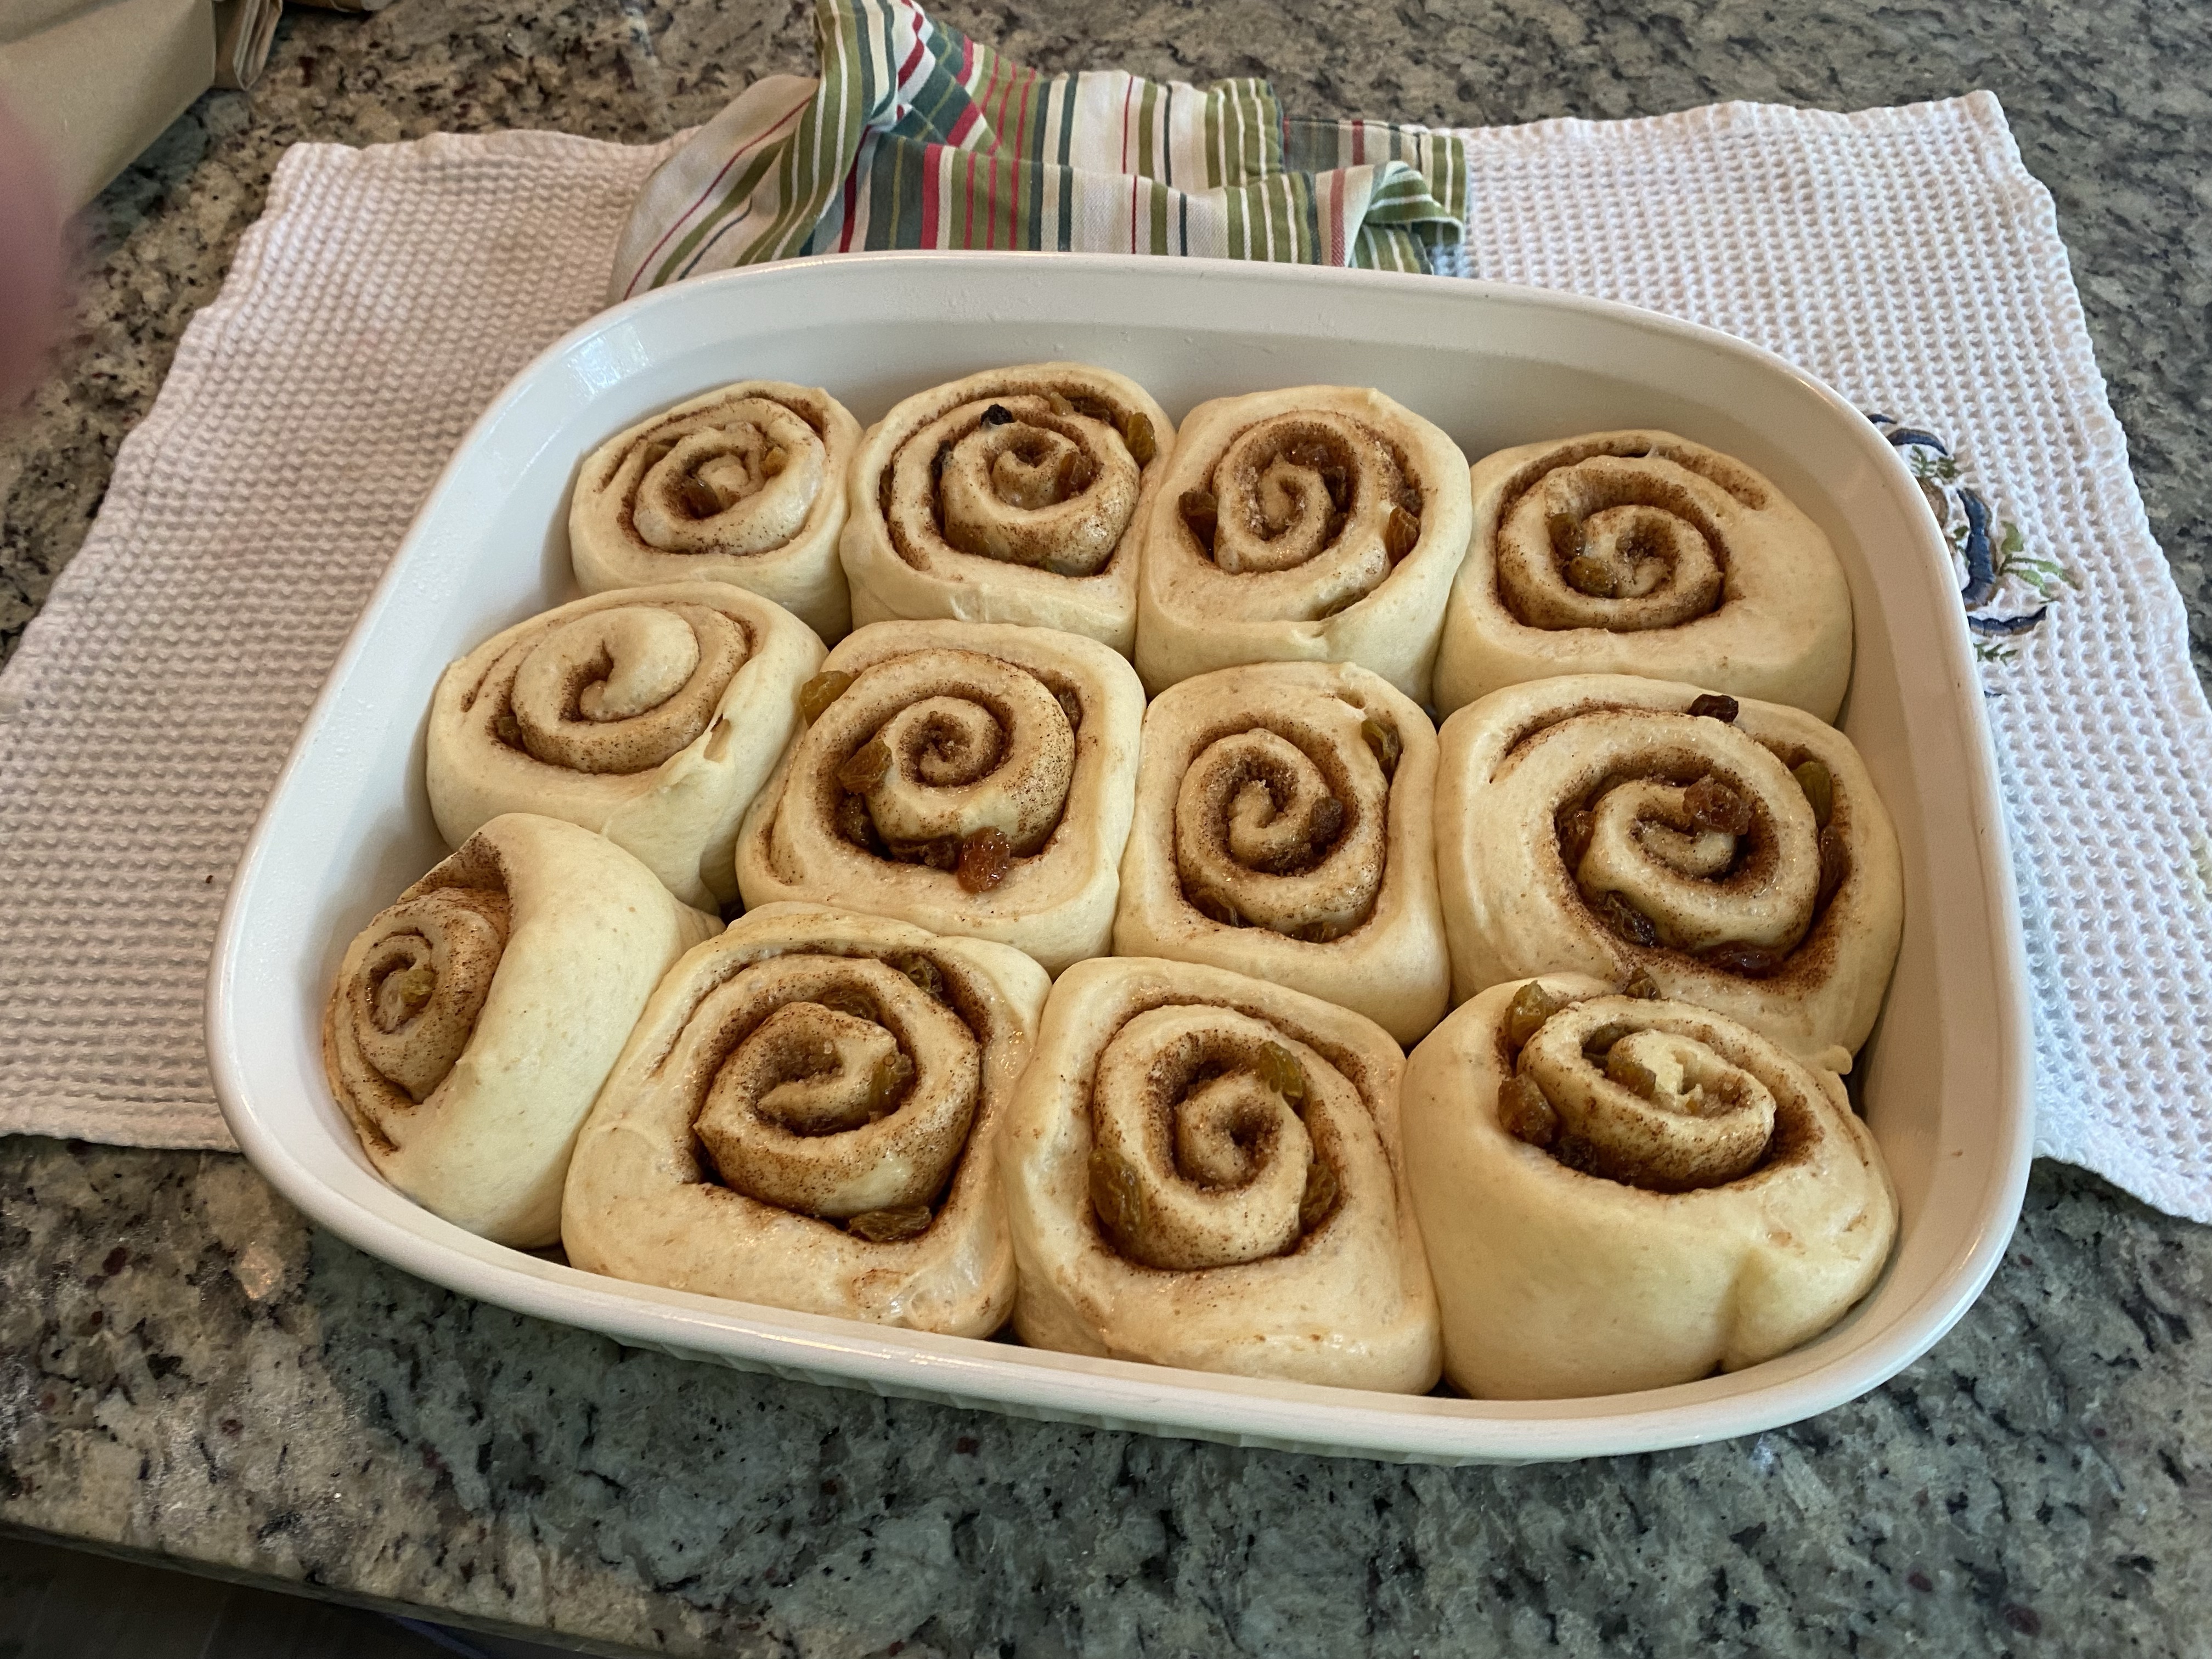
Proved and about to bake
I baked at 375°F for 16 minutes and then glazed with apricot jam while warm. After fully cooling I whipped up some cream cheese vanilla frosting and added to each. Why not? In for one calorie in for a 1000! Ha!
I put out a call to friends for “volunteer taste testing”. Going to have a stream of folks showing up this evening.
First come, first served!
Not Sourdough but…
This has NOTHING to do with sourdough…
I made some Southern Bourbon Pecan Salted Caramel and had to make a cheesecake to pair with it!
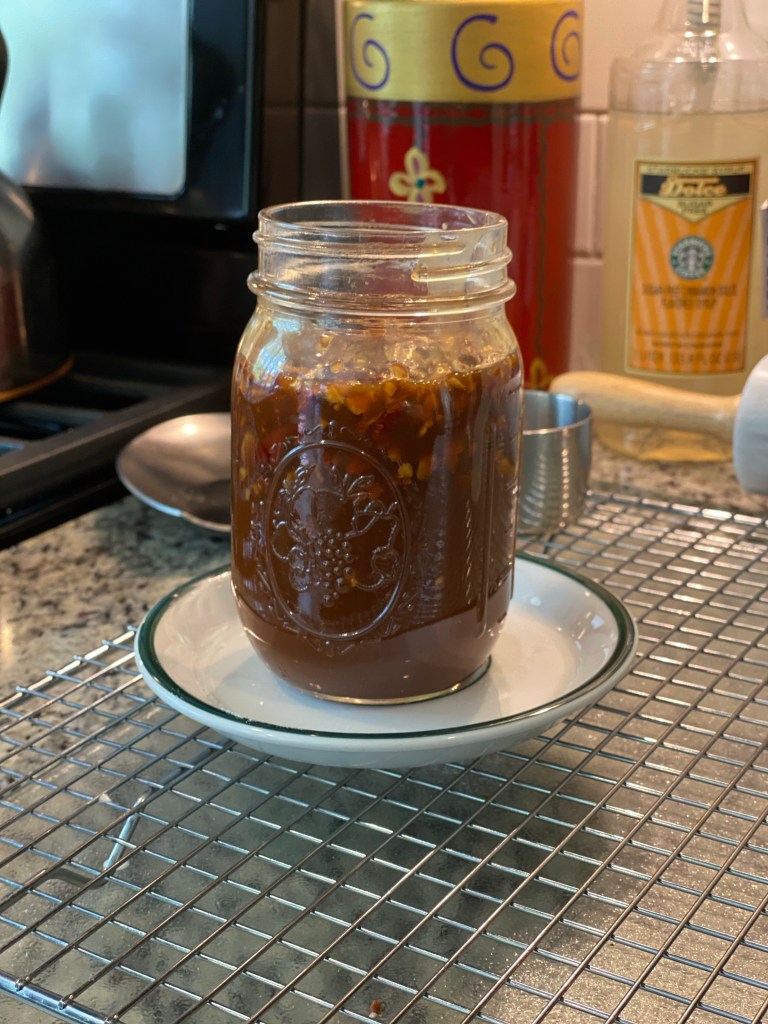
This was fairly quick to make. I found the recipe on Pinterest and had to try it. Here is the link.
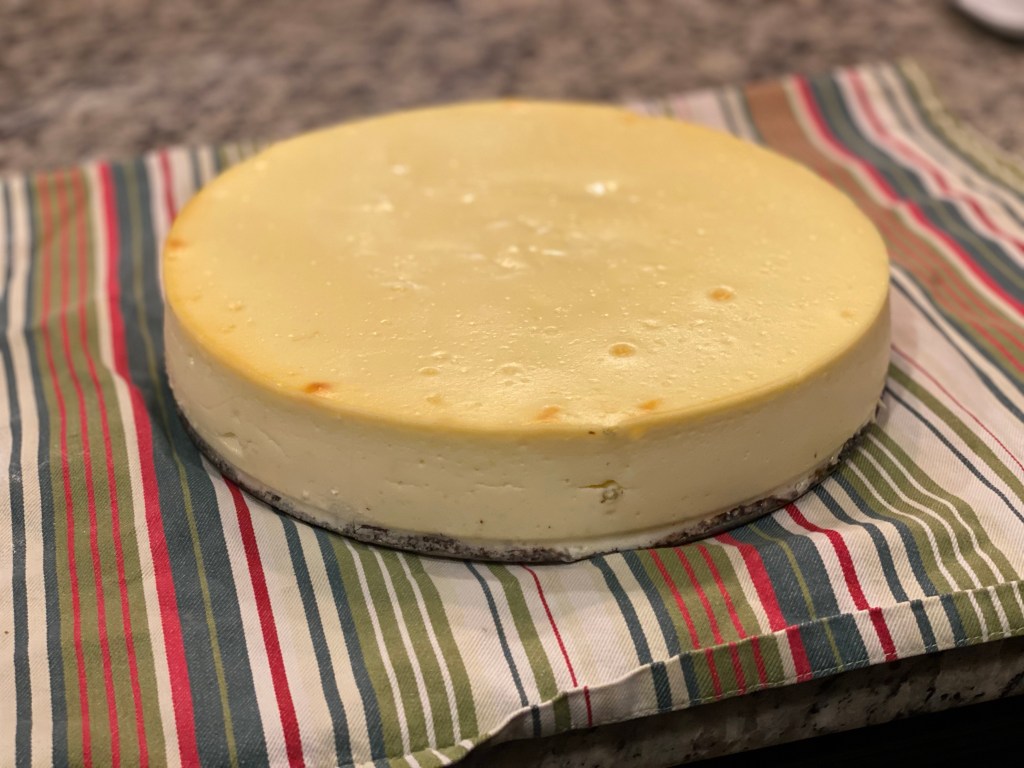
I made my normal cheesecake to go with it. my recipe and method are below.
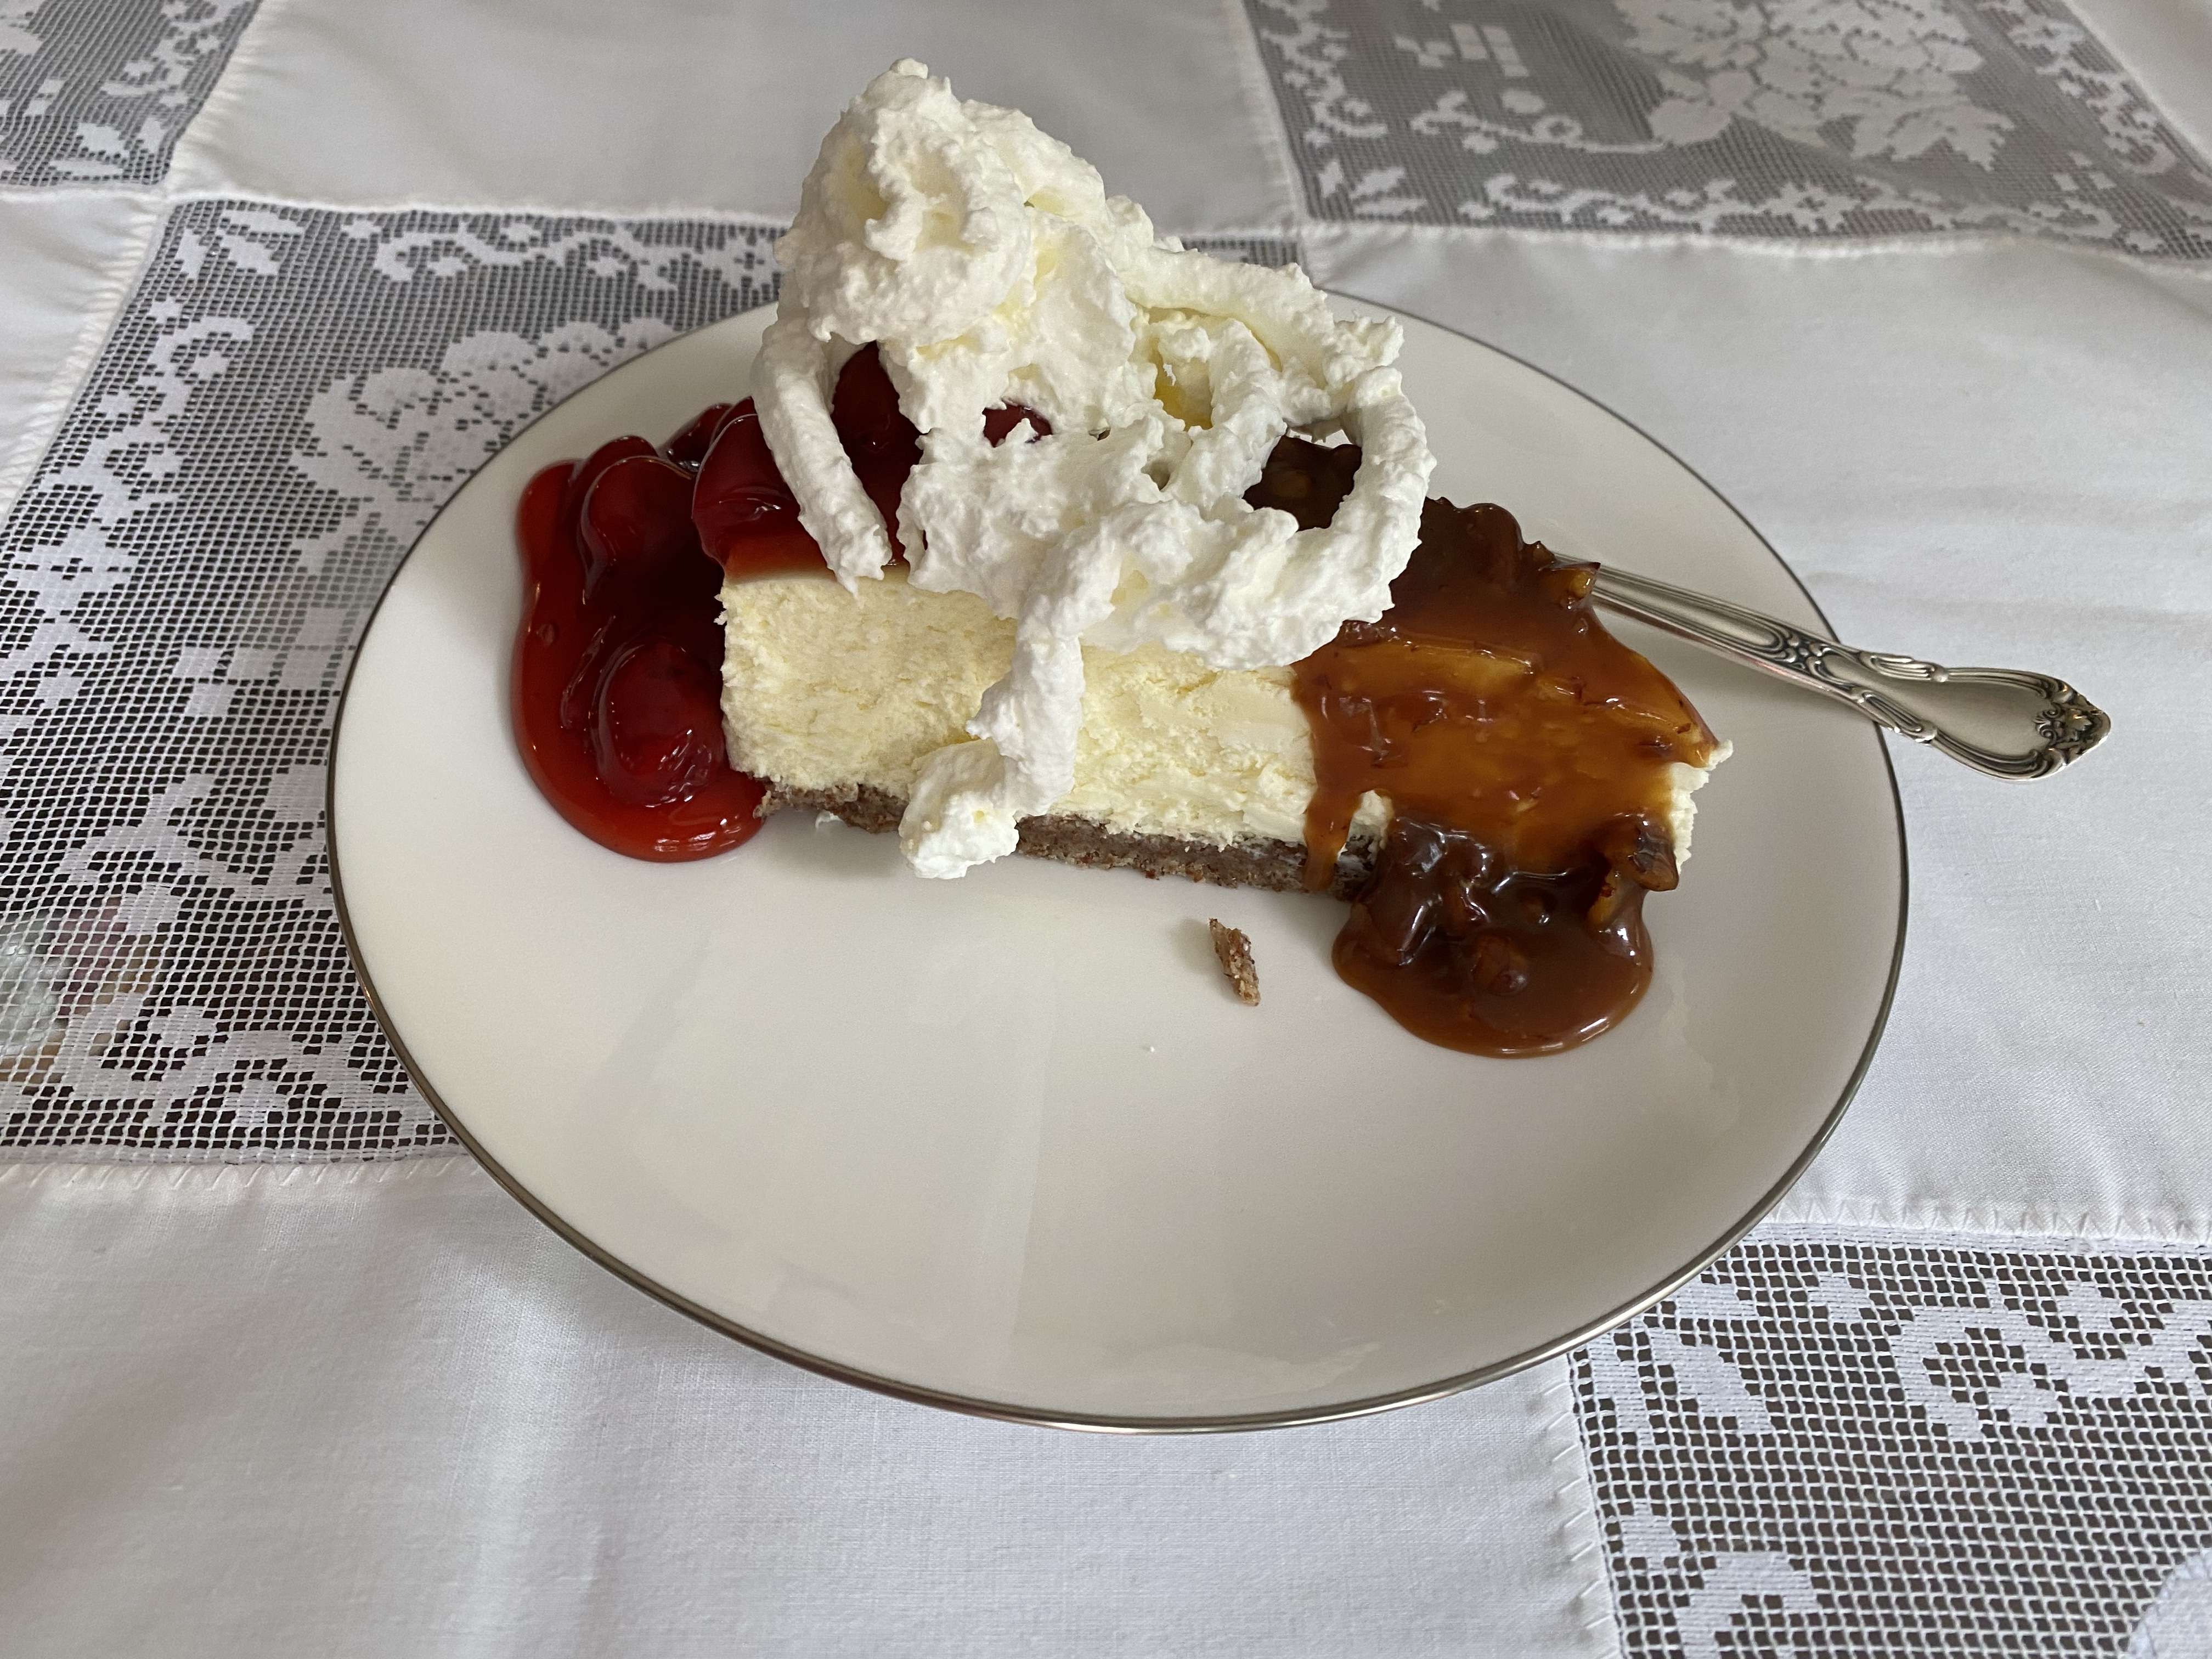
When you can’t decide on caramel or cherries… 
Not a problem…
JIM’S CHEESECAKE RECIPE
CRUST RECIPE
- 2 Cups/224g – Blanched Almond Flour
- 1/3 Cup – Butter (measured solid then melted)
- 3T – Sweetener (I prefer Birch Xylitol)
- 1t – Vanilla extract
CRUST PREP INSTRUCTIONS
- Blitz the ingredients above in a food processor pulsing as you drizzle the melted butter and vanilla extract into the dry ingredients
- Add the above into a greased 9” springform pan pressing firmly flat. My technique is to use the bottom of a glass
- Preheat the oven to 325°F
- Blind bake the crust for 10-12 minutes. You might find it useful to prick the crust before baking so you don’t get bubbling of the crust
- Remove from oven and let cool (or continue with bake below)
FILLING RECIPE
- 32oz – Philadelphia Cream Cheese (four bricks)
- 1 Cup – full fat Greek Yogurt (240g)
- 3 Large Eggs
- 1T – Lemon Juice ( My technique is to squeeze one half of a large lemon)
- Zest of one lemon
- 1 Cup (192g) – Sweetener (Xylitol)
- 1t – Vanilla Extract
FILLING PREP INSTRUCTIONS
- Bring the cream cheese to room temperature
- Add the yogurt, sweetener, vanilla, lemon juice and zest to the softened cream cheese in a mixer with a wire whisk attachment and mix at medium speed (Note – don’t whisk at a speed that will introduce air or create bubbles)
- Add eggs one at a time. Wait until the previous egg has been fully incorporated before adding the next egg
- Continue to mix until smooth
BAKING INSTRUCTIONS
- Preheat oven to 350°F
- Heat or boil some water for the water bath
- Wrap springform pan bottom with foil
- Pour filling into greased springform pan with crust leveling as best you can (use a spatula)
- Put wrapped / filled springform pan with foil into the pan you will use for the water bath
- Fill the bath pan with hot water and then carefully put into hot oven. ( Alternative method is to put in oven then fill bath with water… just don’t get water into your filling!)
- Bake at 350°F for one hour… DO NOT open door to check on bake!!
- Turn off oven and crack door open.
- Leave to cool slowly overnight.
- Remove from oven and continue to chill in refrigerator until fully cool/firm
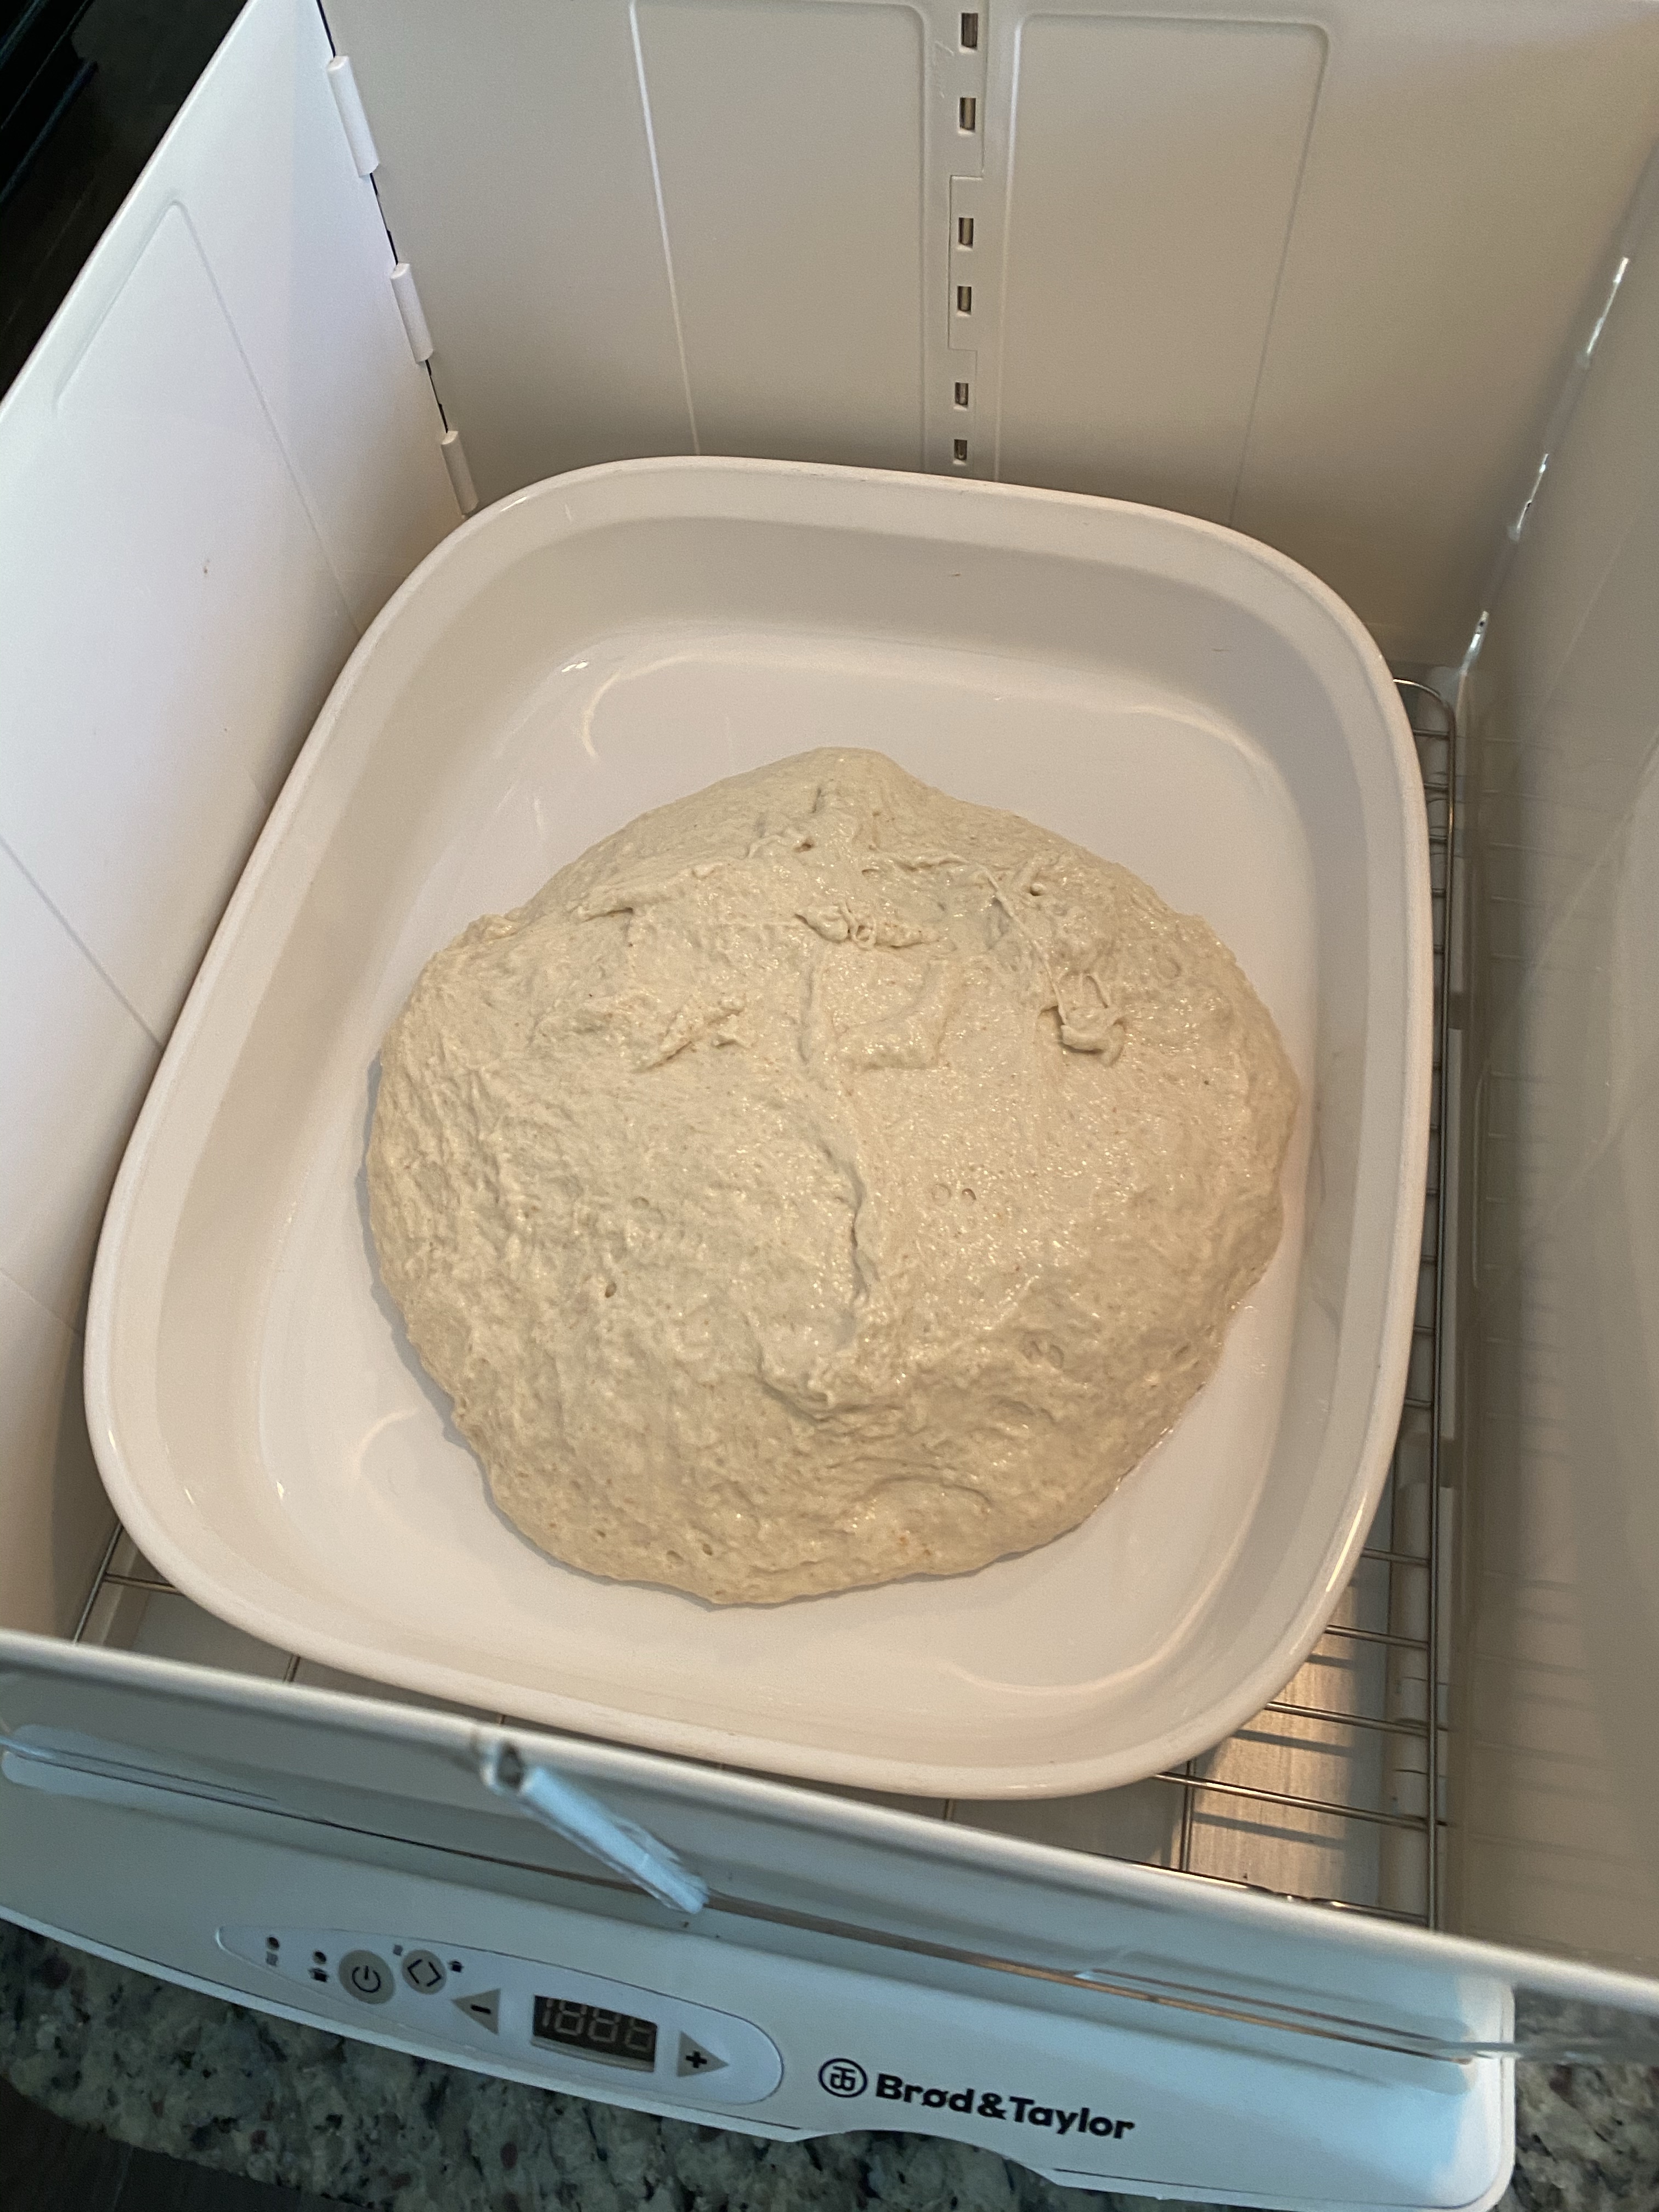
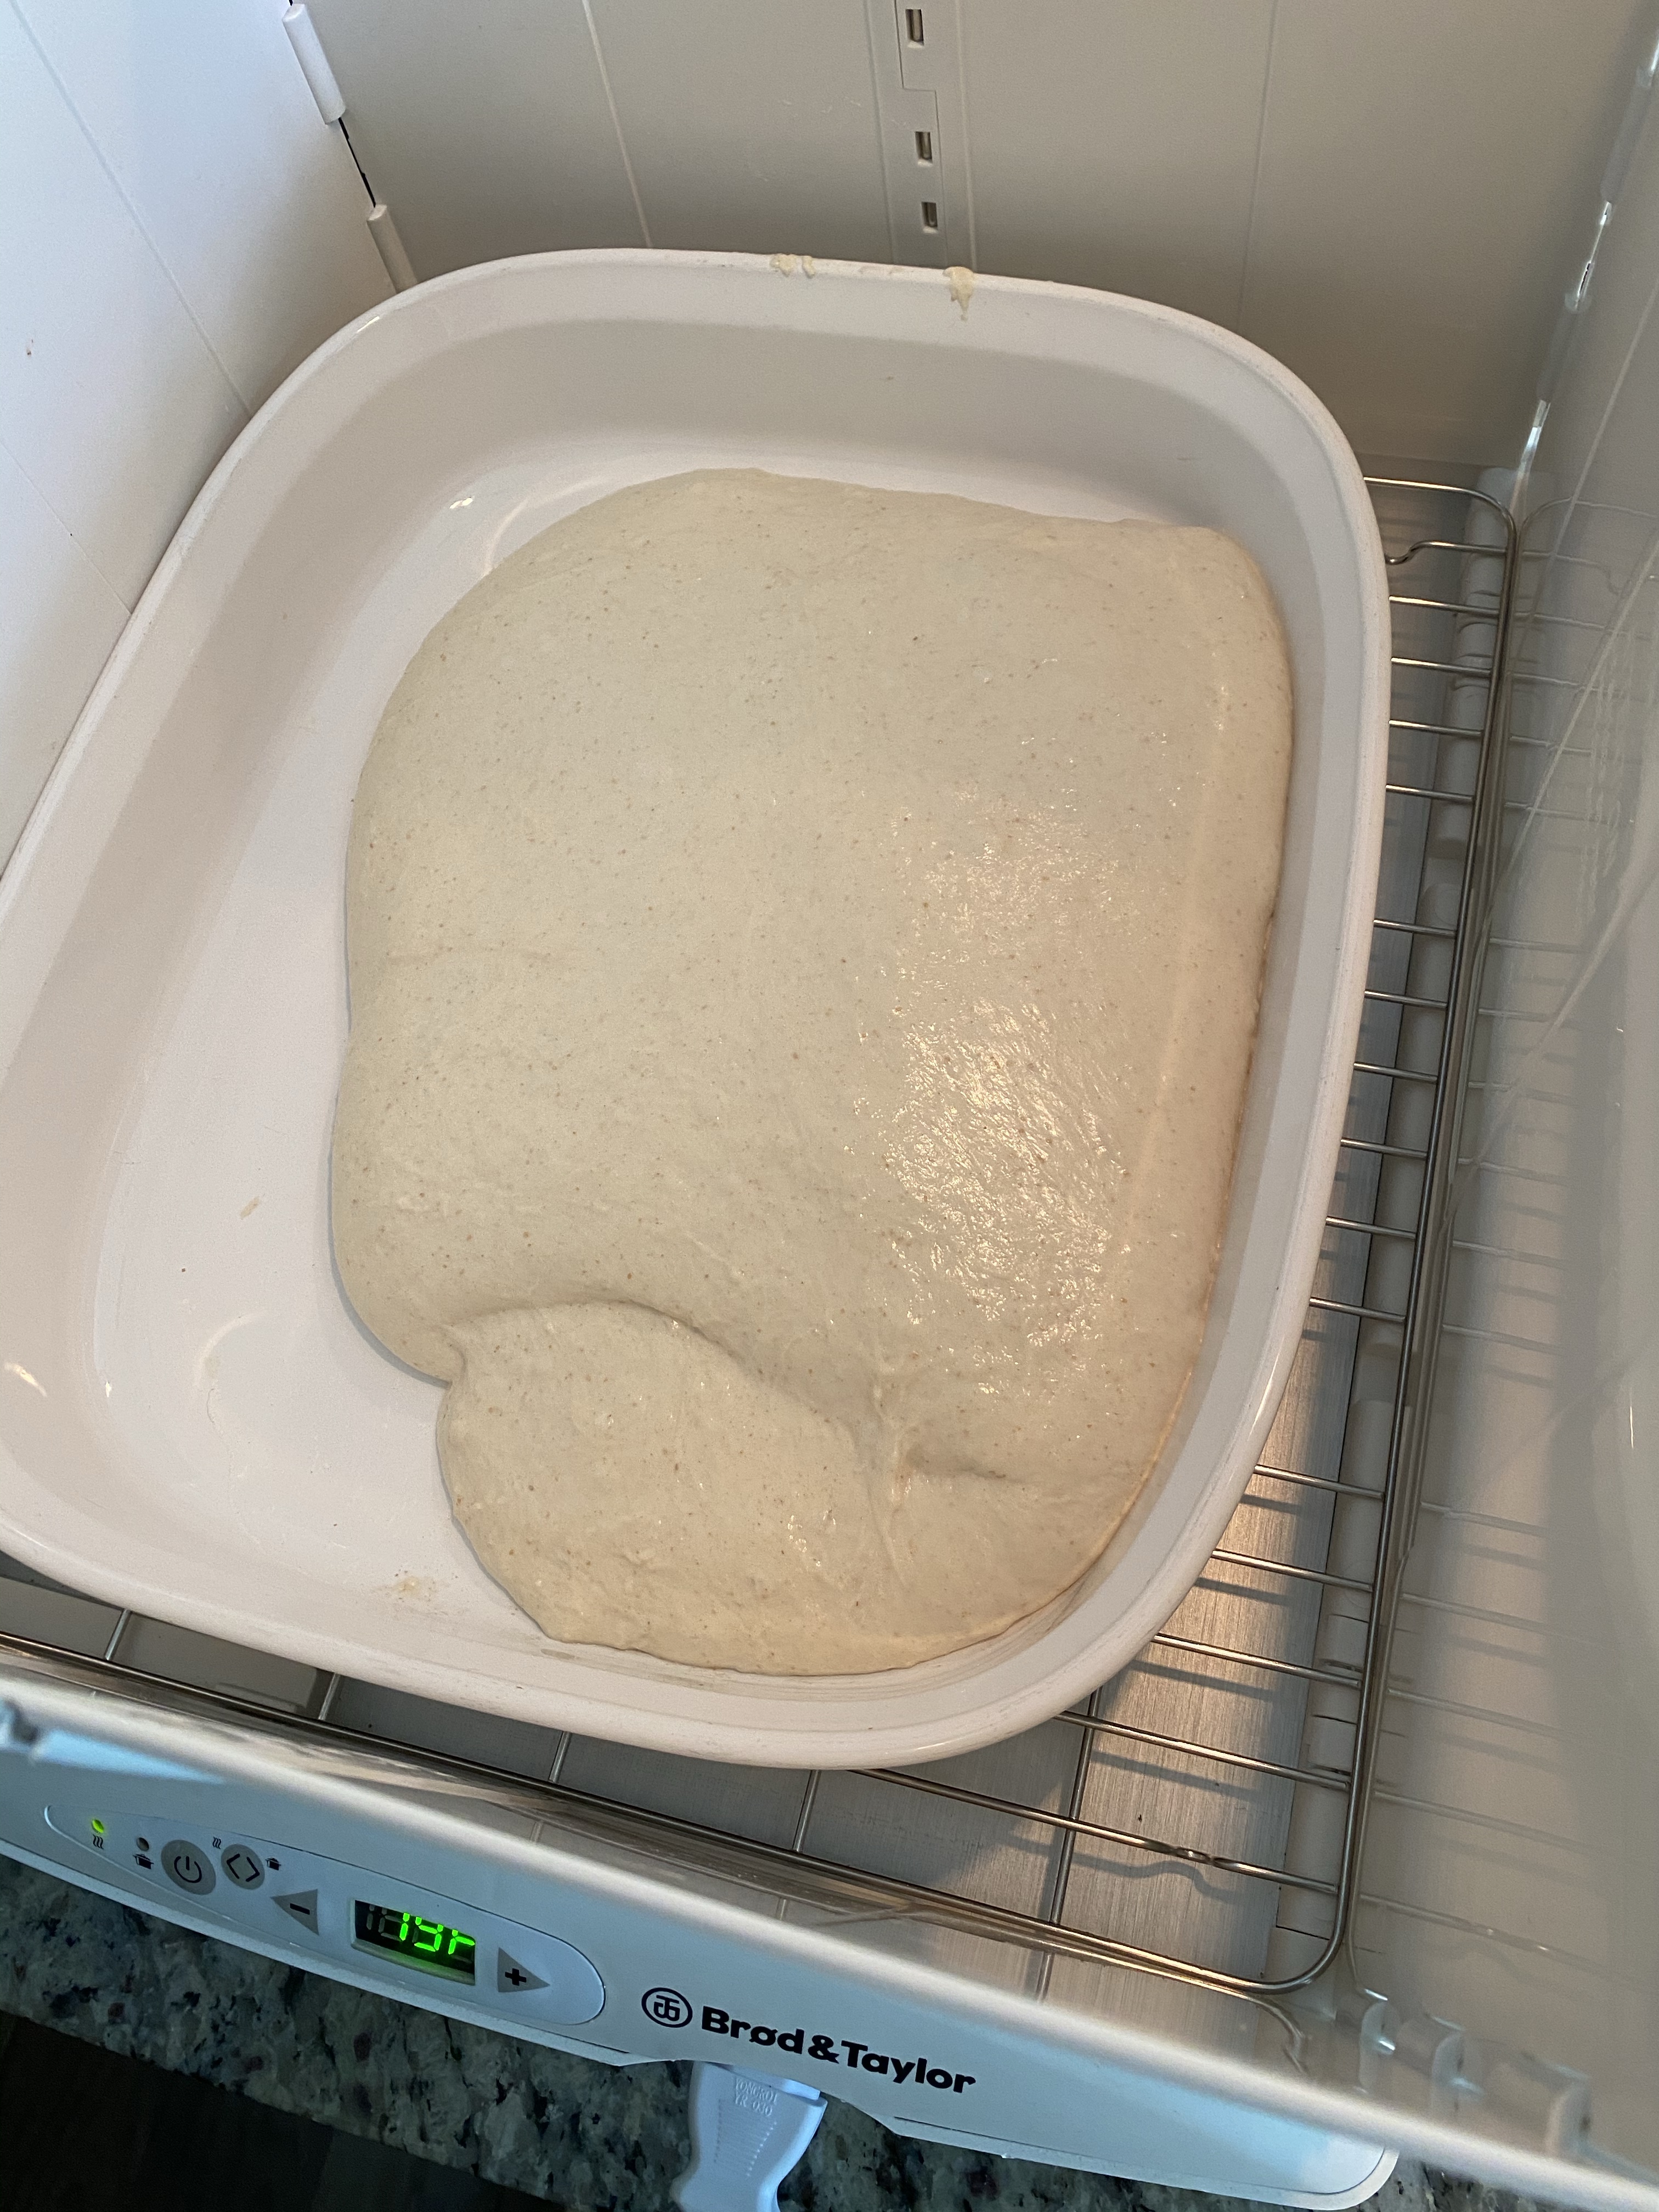
Sourdough Bread – Coil Folding for strength
I’m alternating my approach (yet again). This time I’m going to bulk ferment in my proving box and doing coil folds.
My method to this point is the same. Fed my starter in fridge. Made the levain (amount for recipe after it was fully activated. Mixed my flour and water and autolysed for a couple hours before mixing in the levain.
Right after mixing 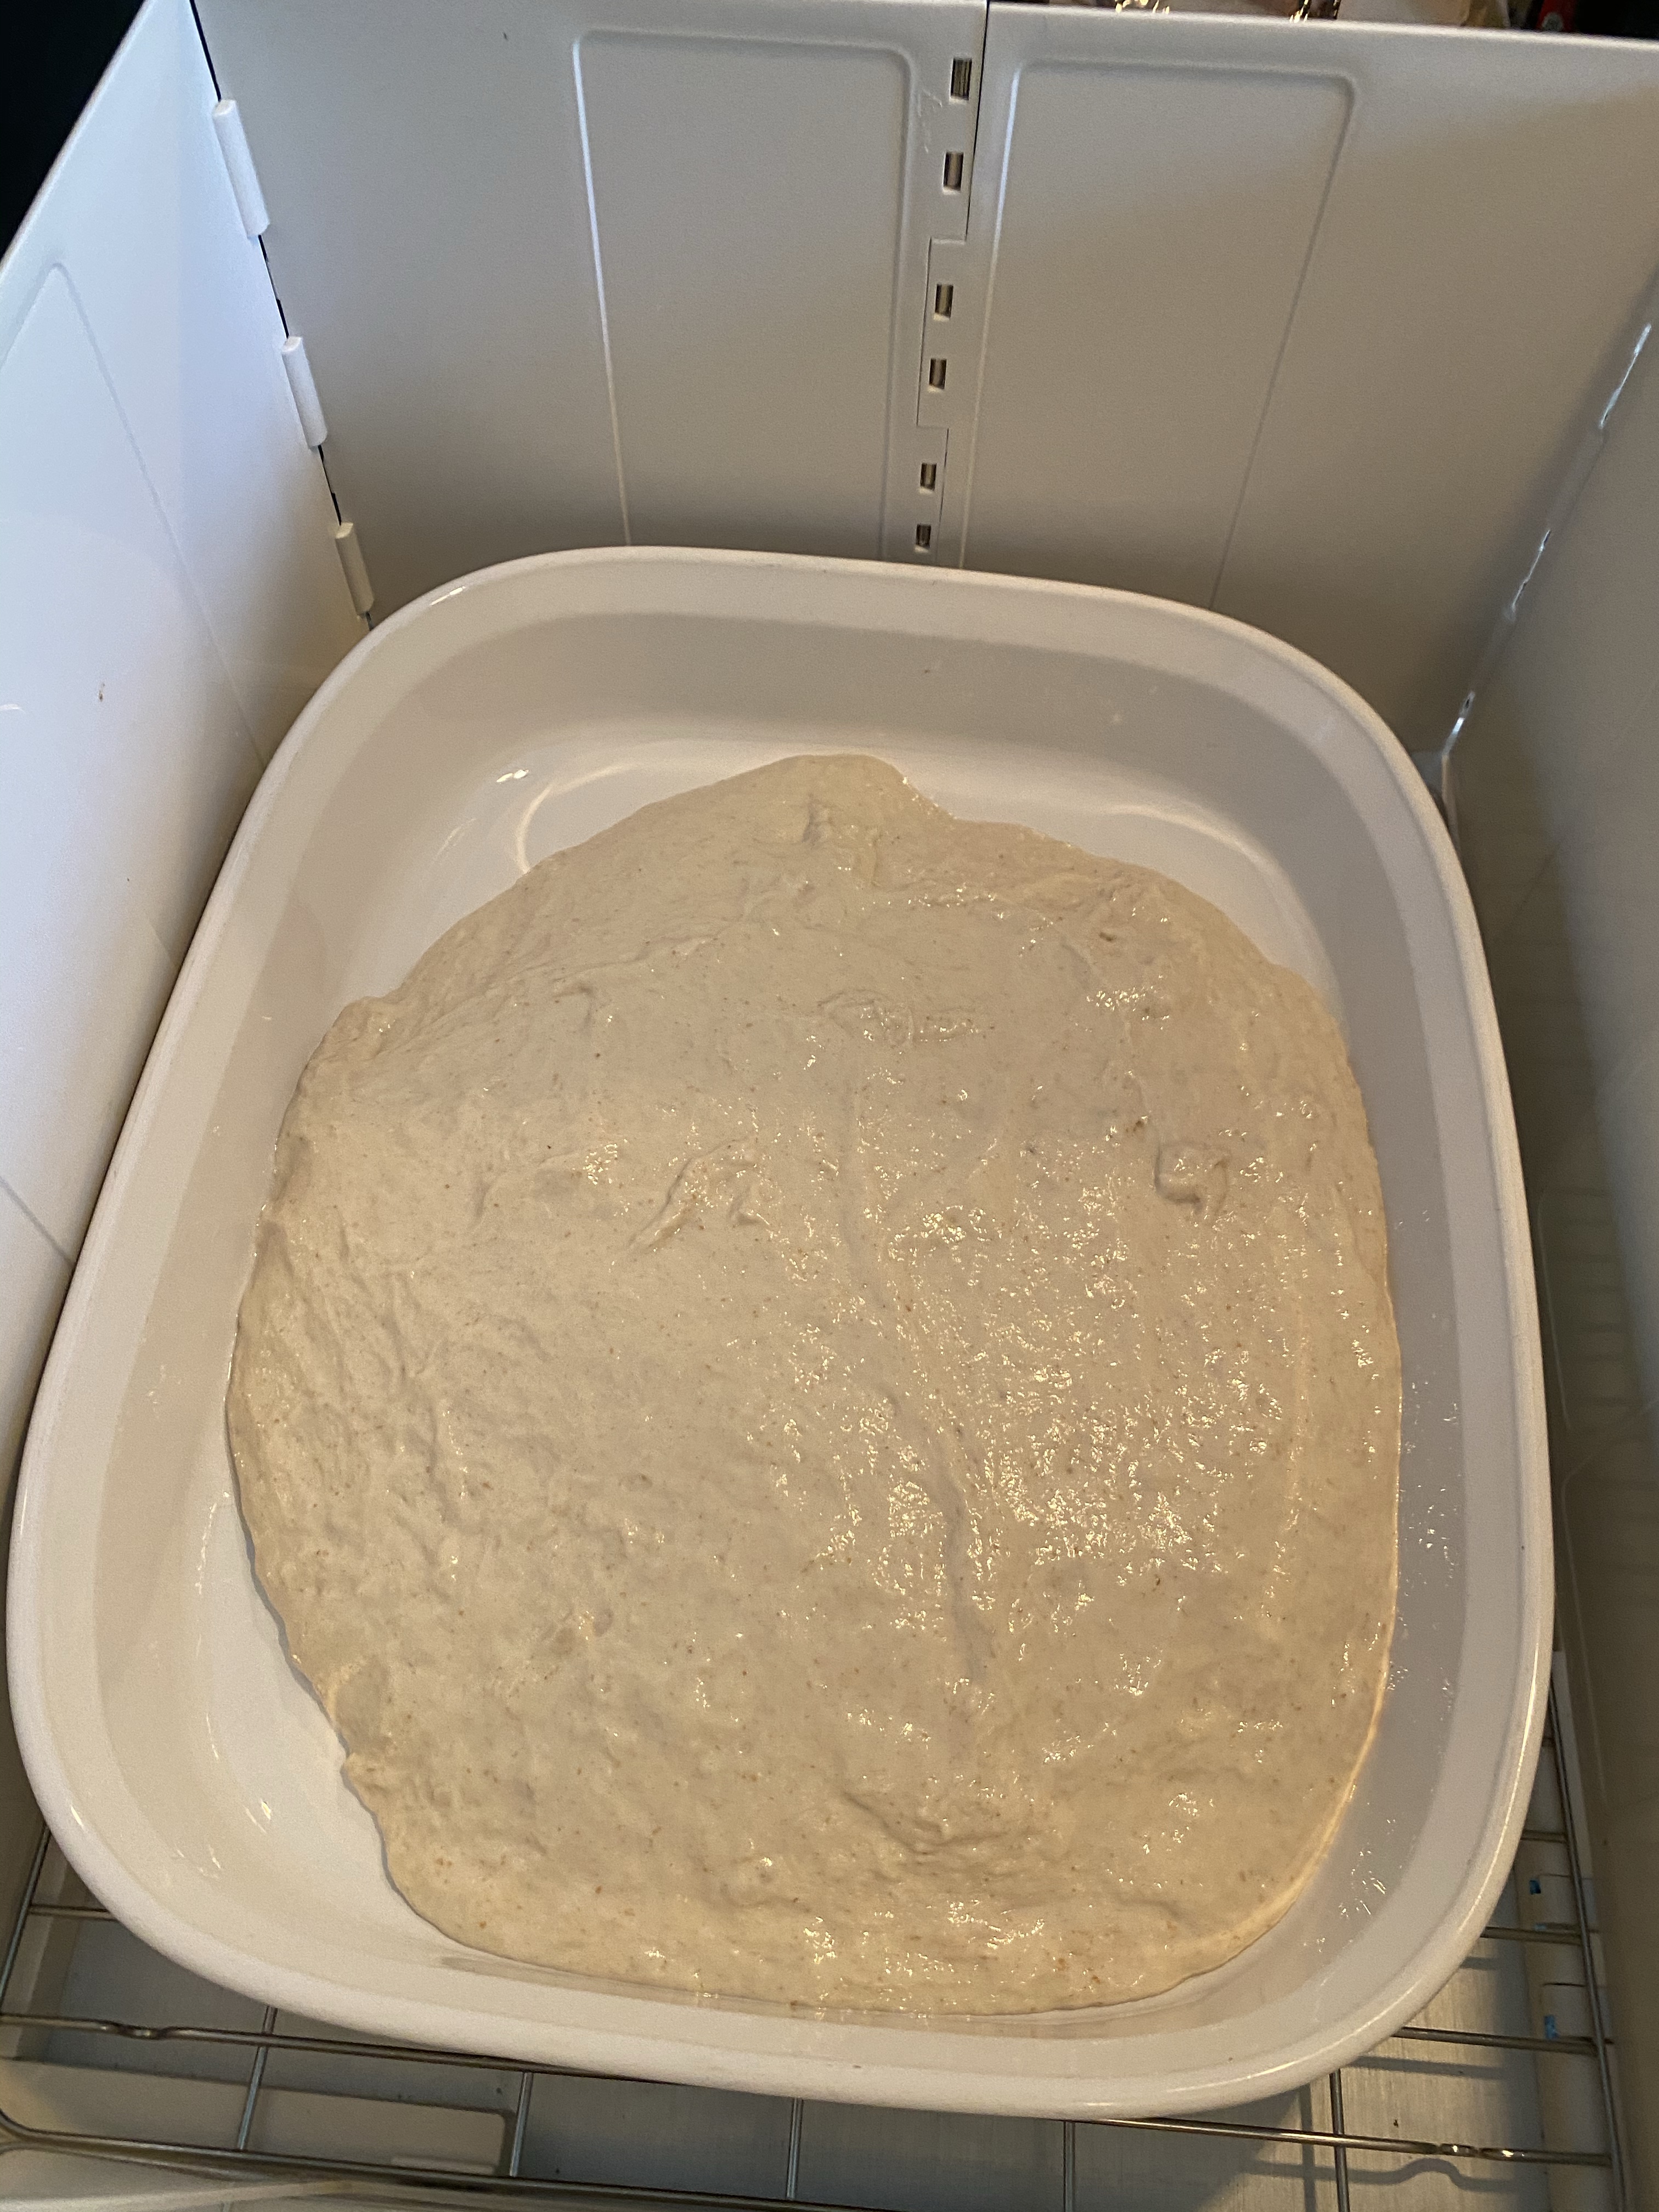
After 30 mins rest 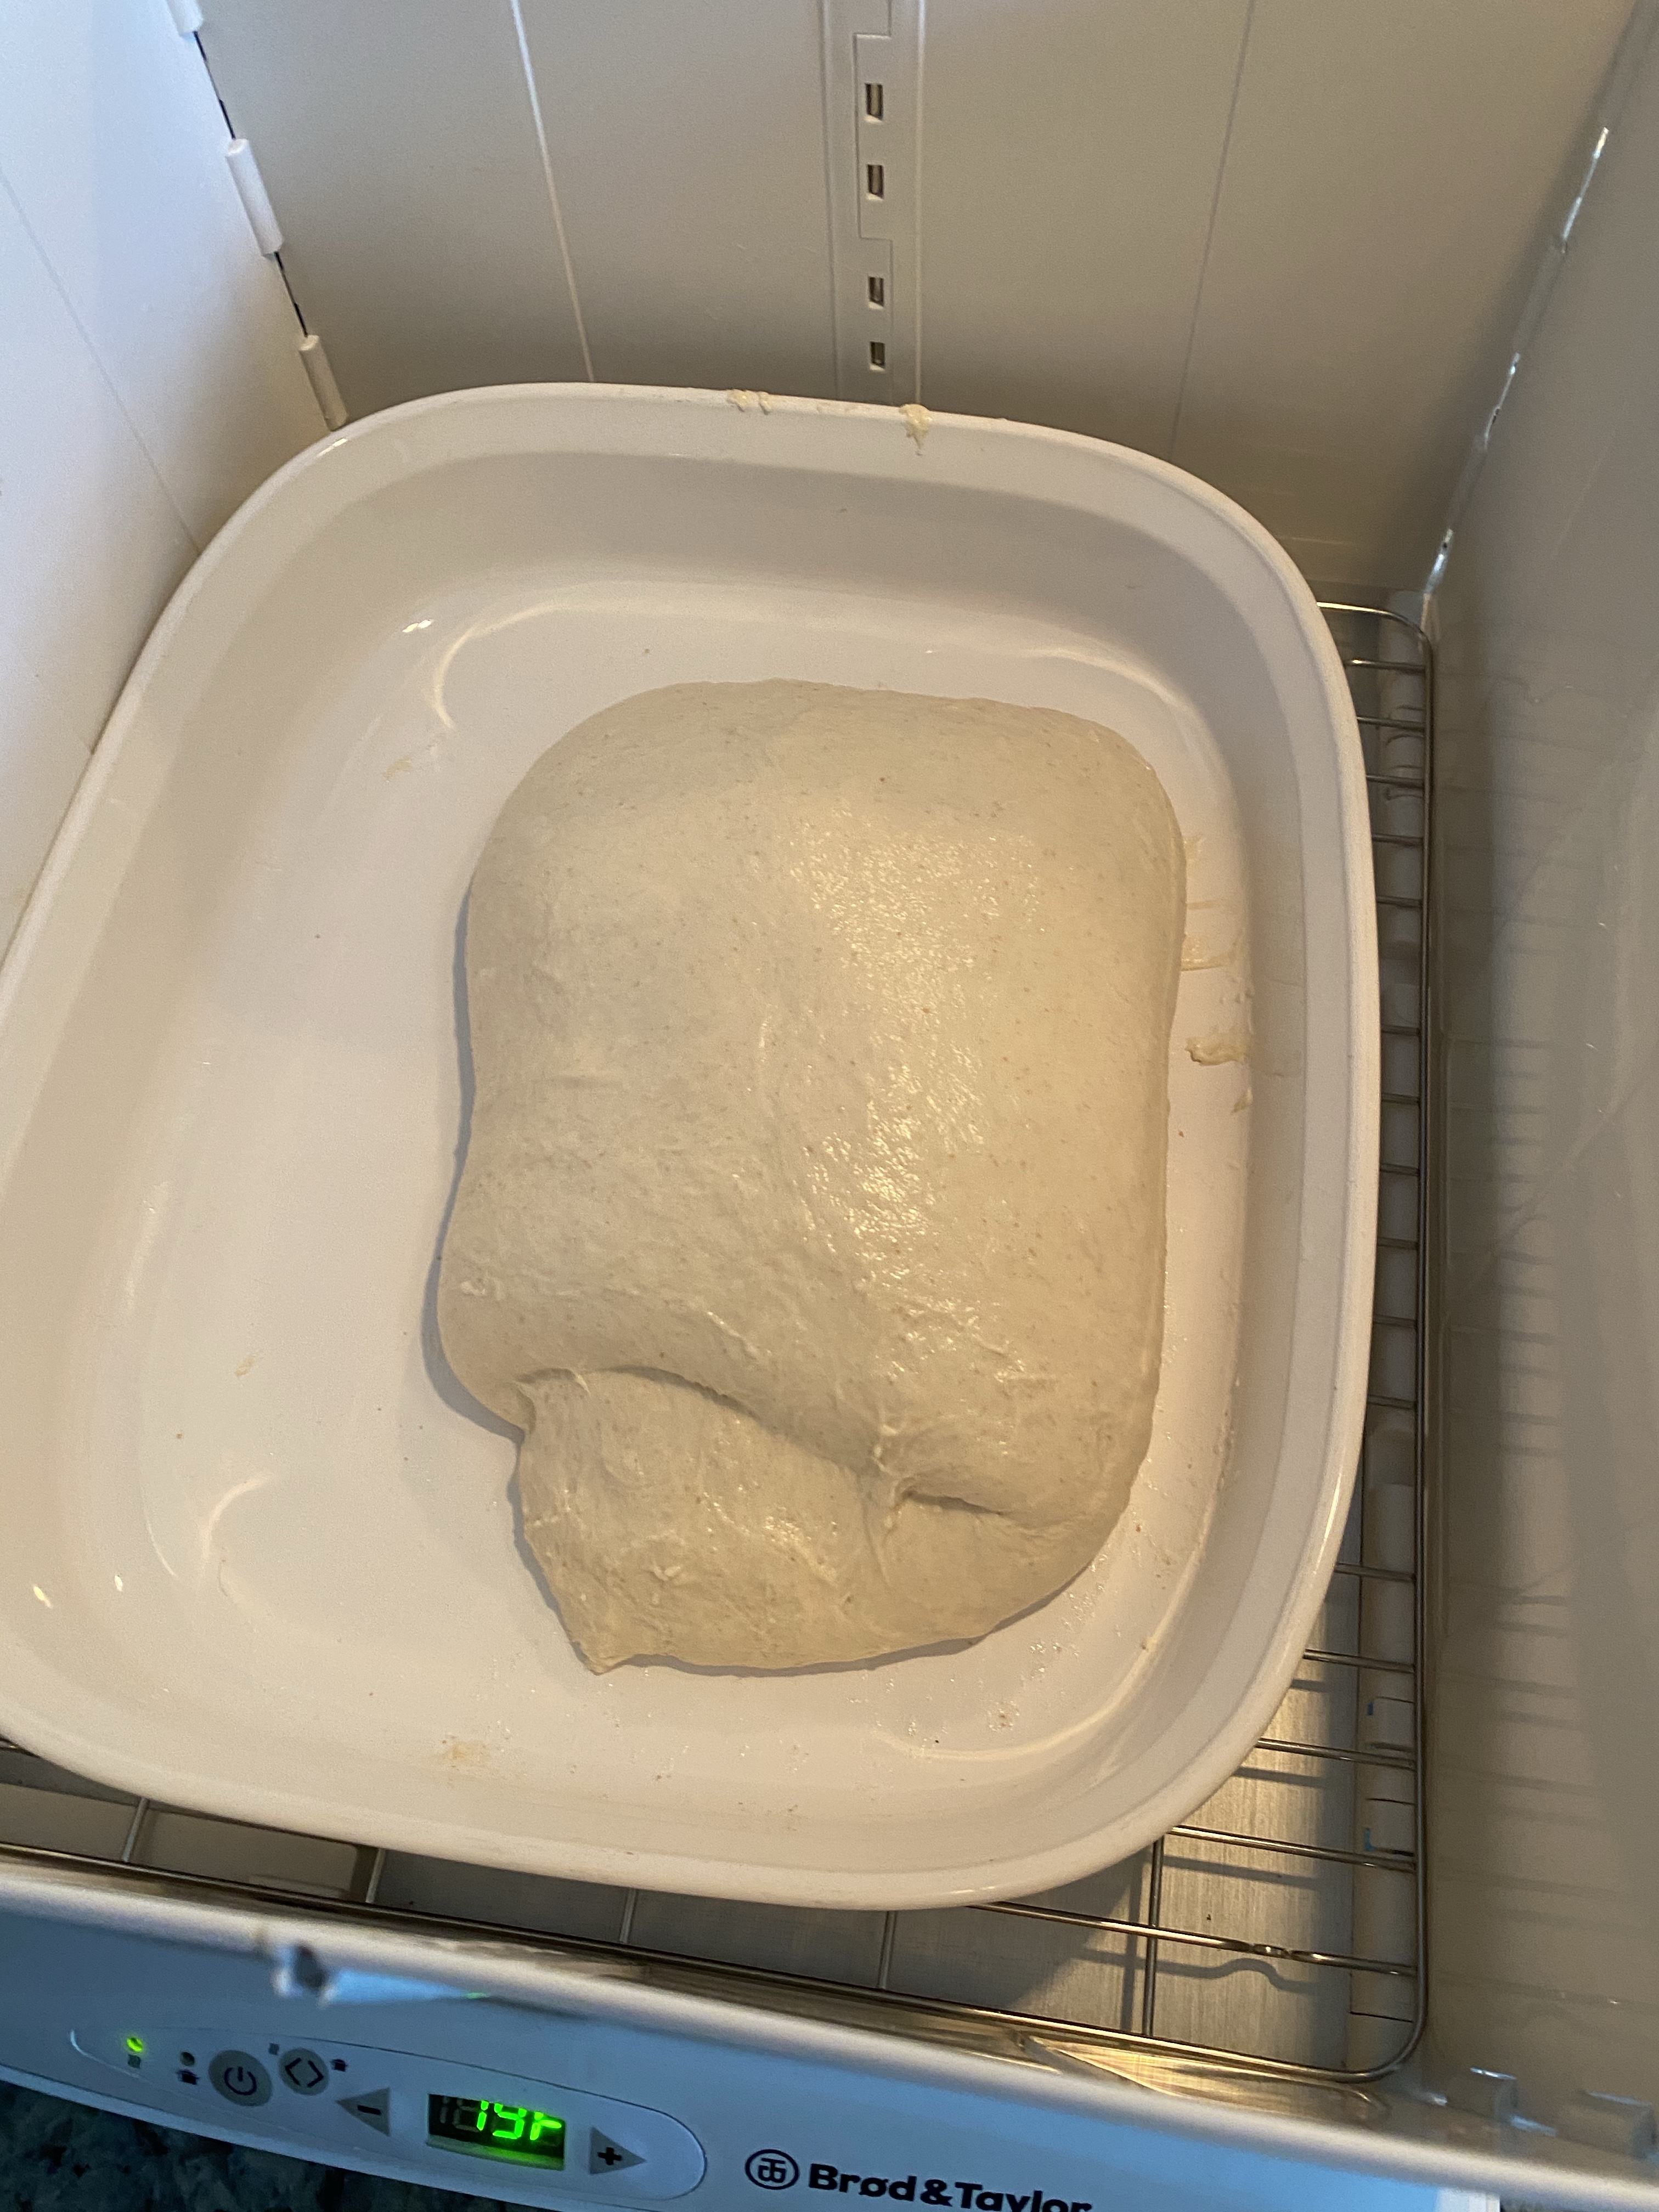
Coil Fold #1 (of 3)
I’ll rinse/repeat coil folds at 30 min intervals for first 90 minutes. Then I’ll let sit for another 90 (3 hours total). I’ll then divide and shape into bannetons for an overnight rest then bake tomorrow.
After 30 rest 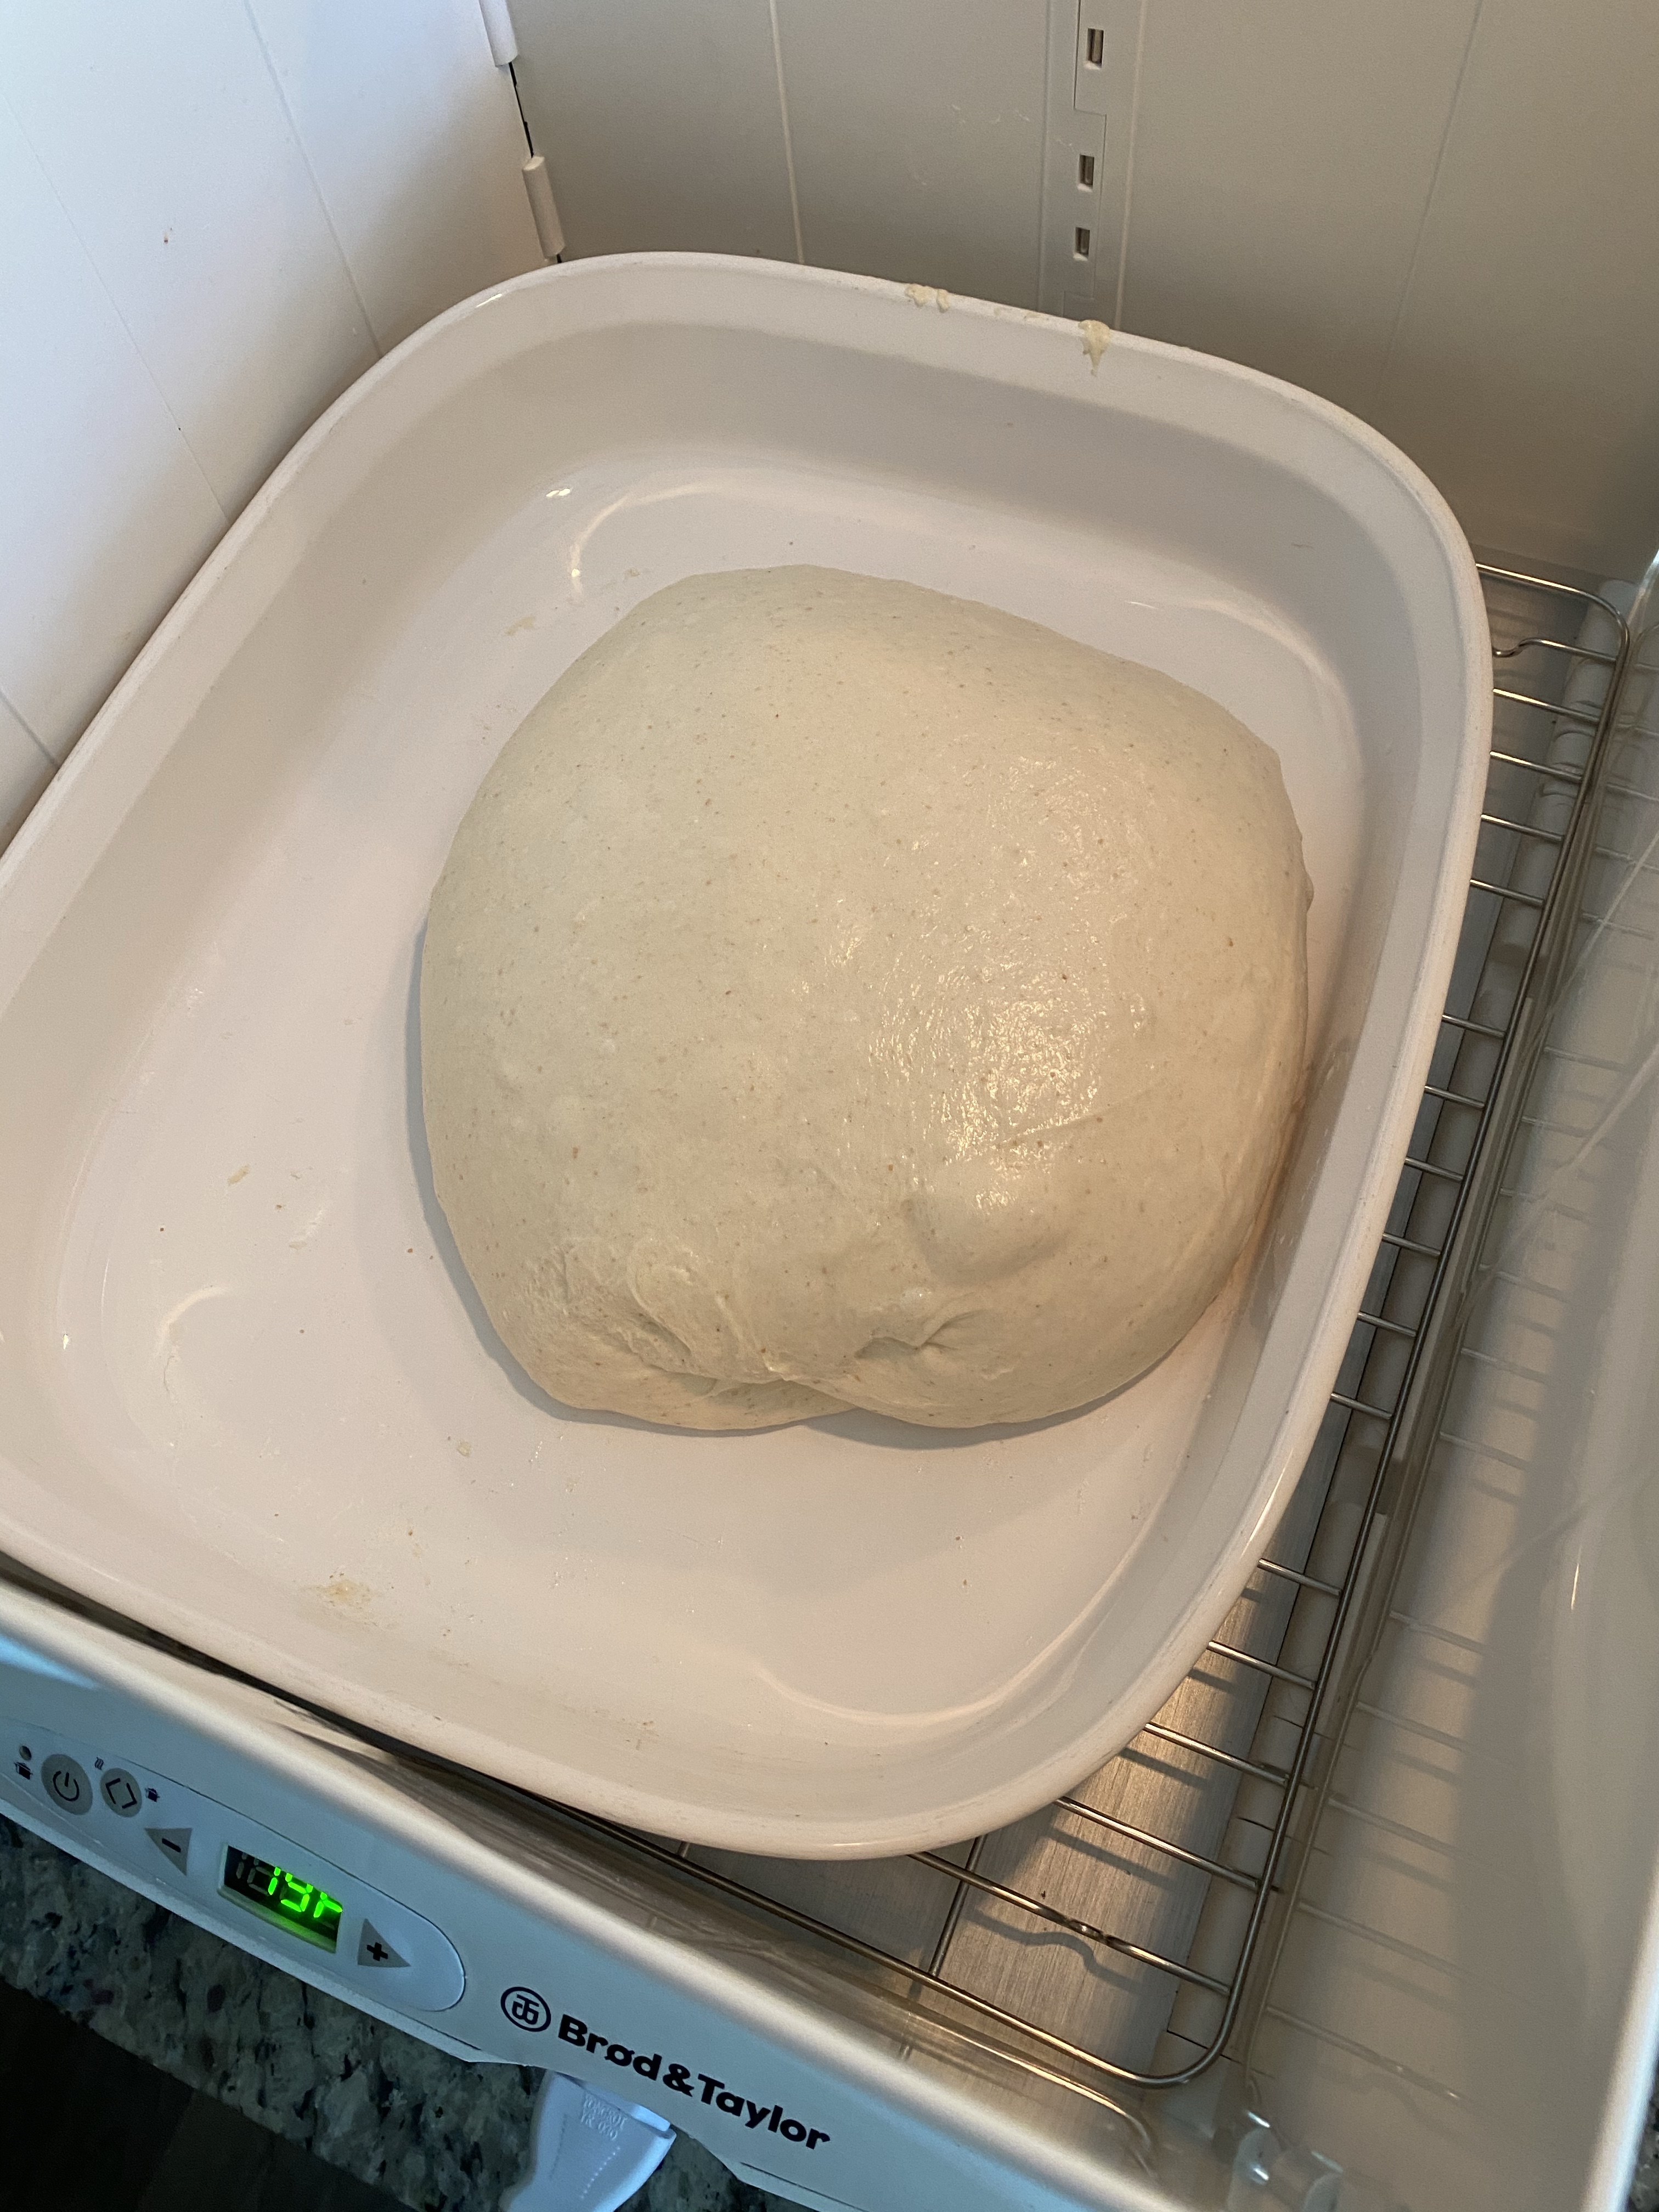
Coil fold complete
Okay… I lied. Didn’t make my 3rd coil fold at 90 minutes. More like 3+ hours. My excuse was I hopped on the Peloton and did a 60 minute PZE ride followed by a 10 minute cool down.
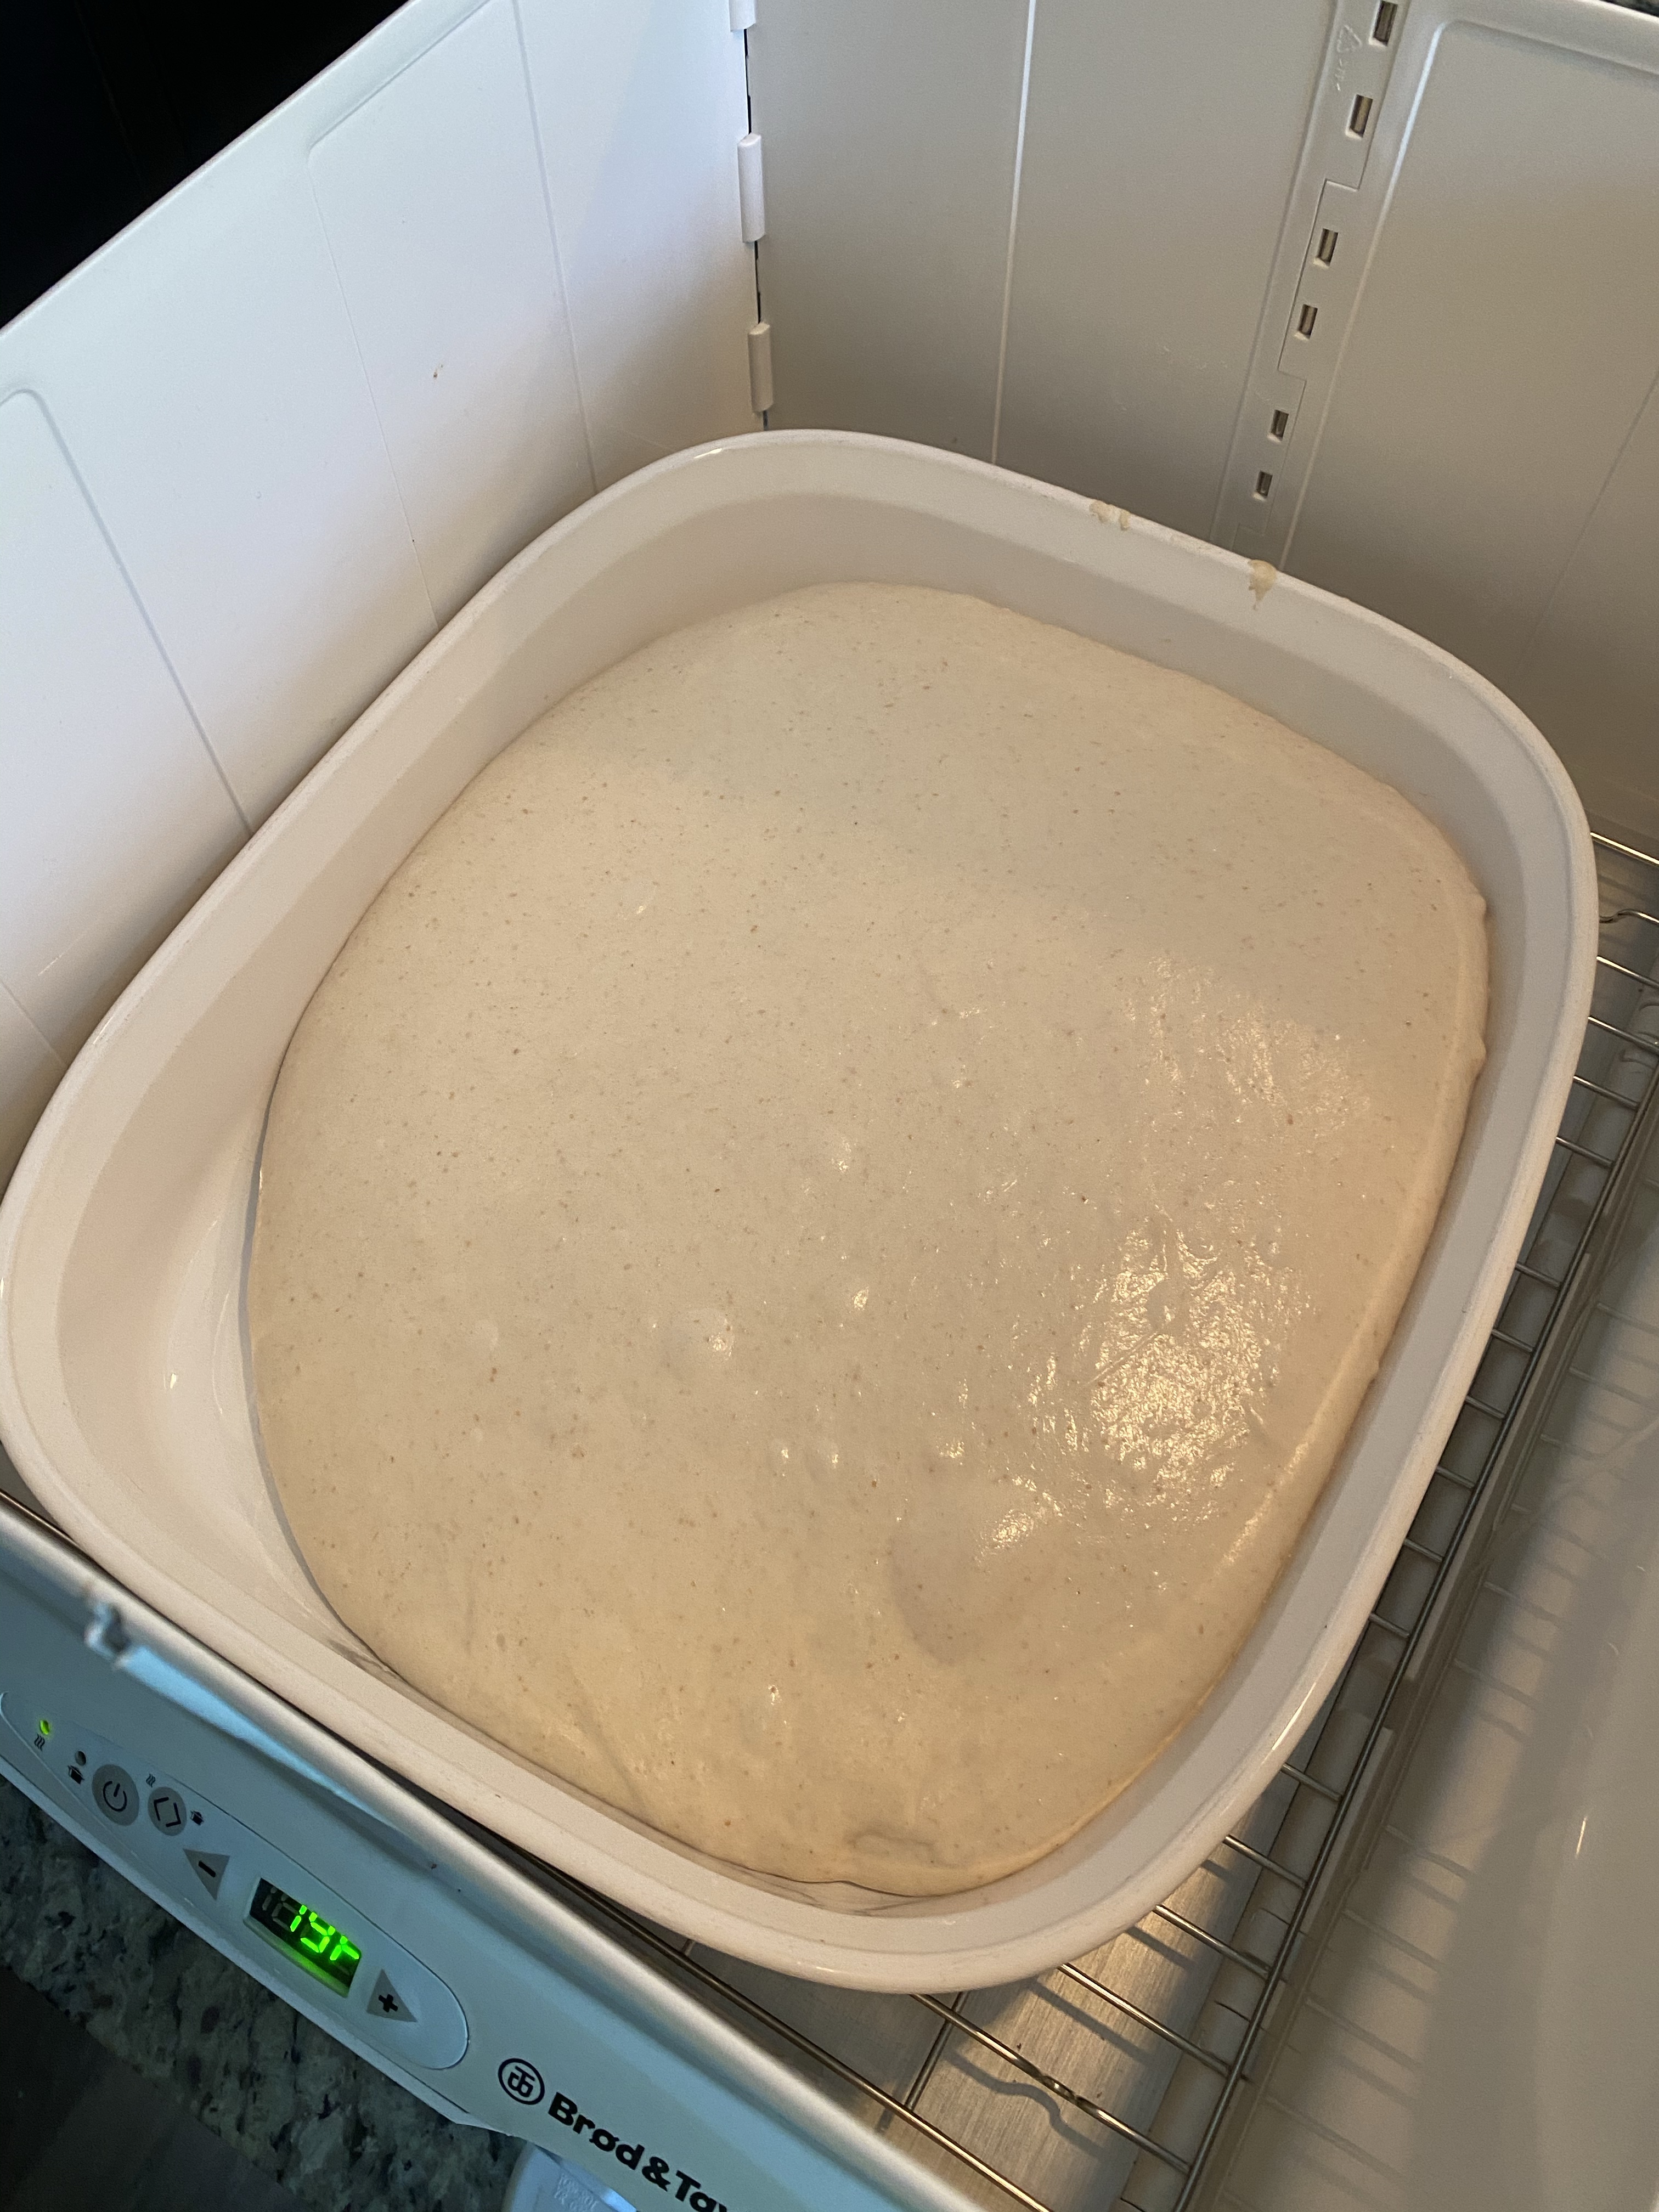
Pillowy in need of a coil fold 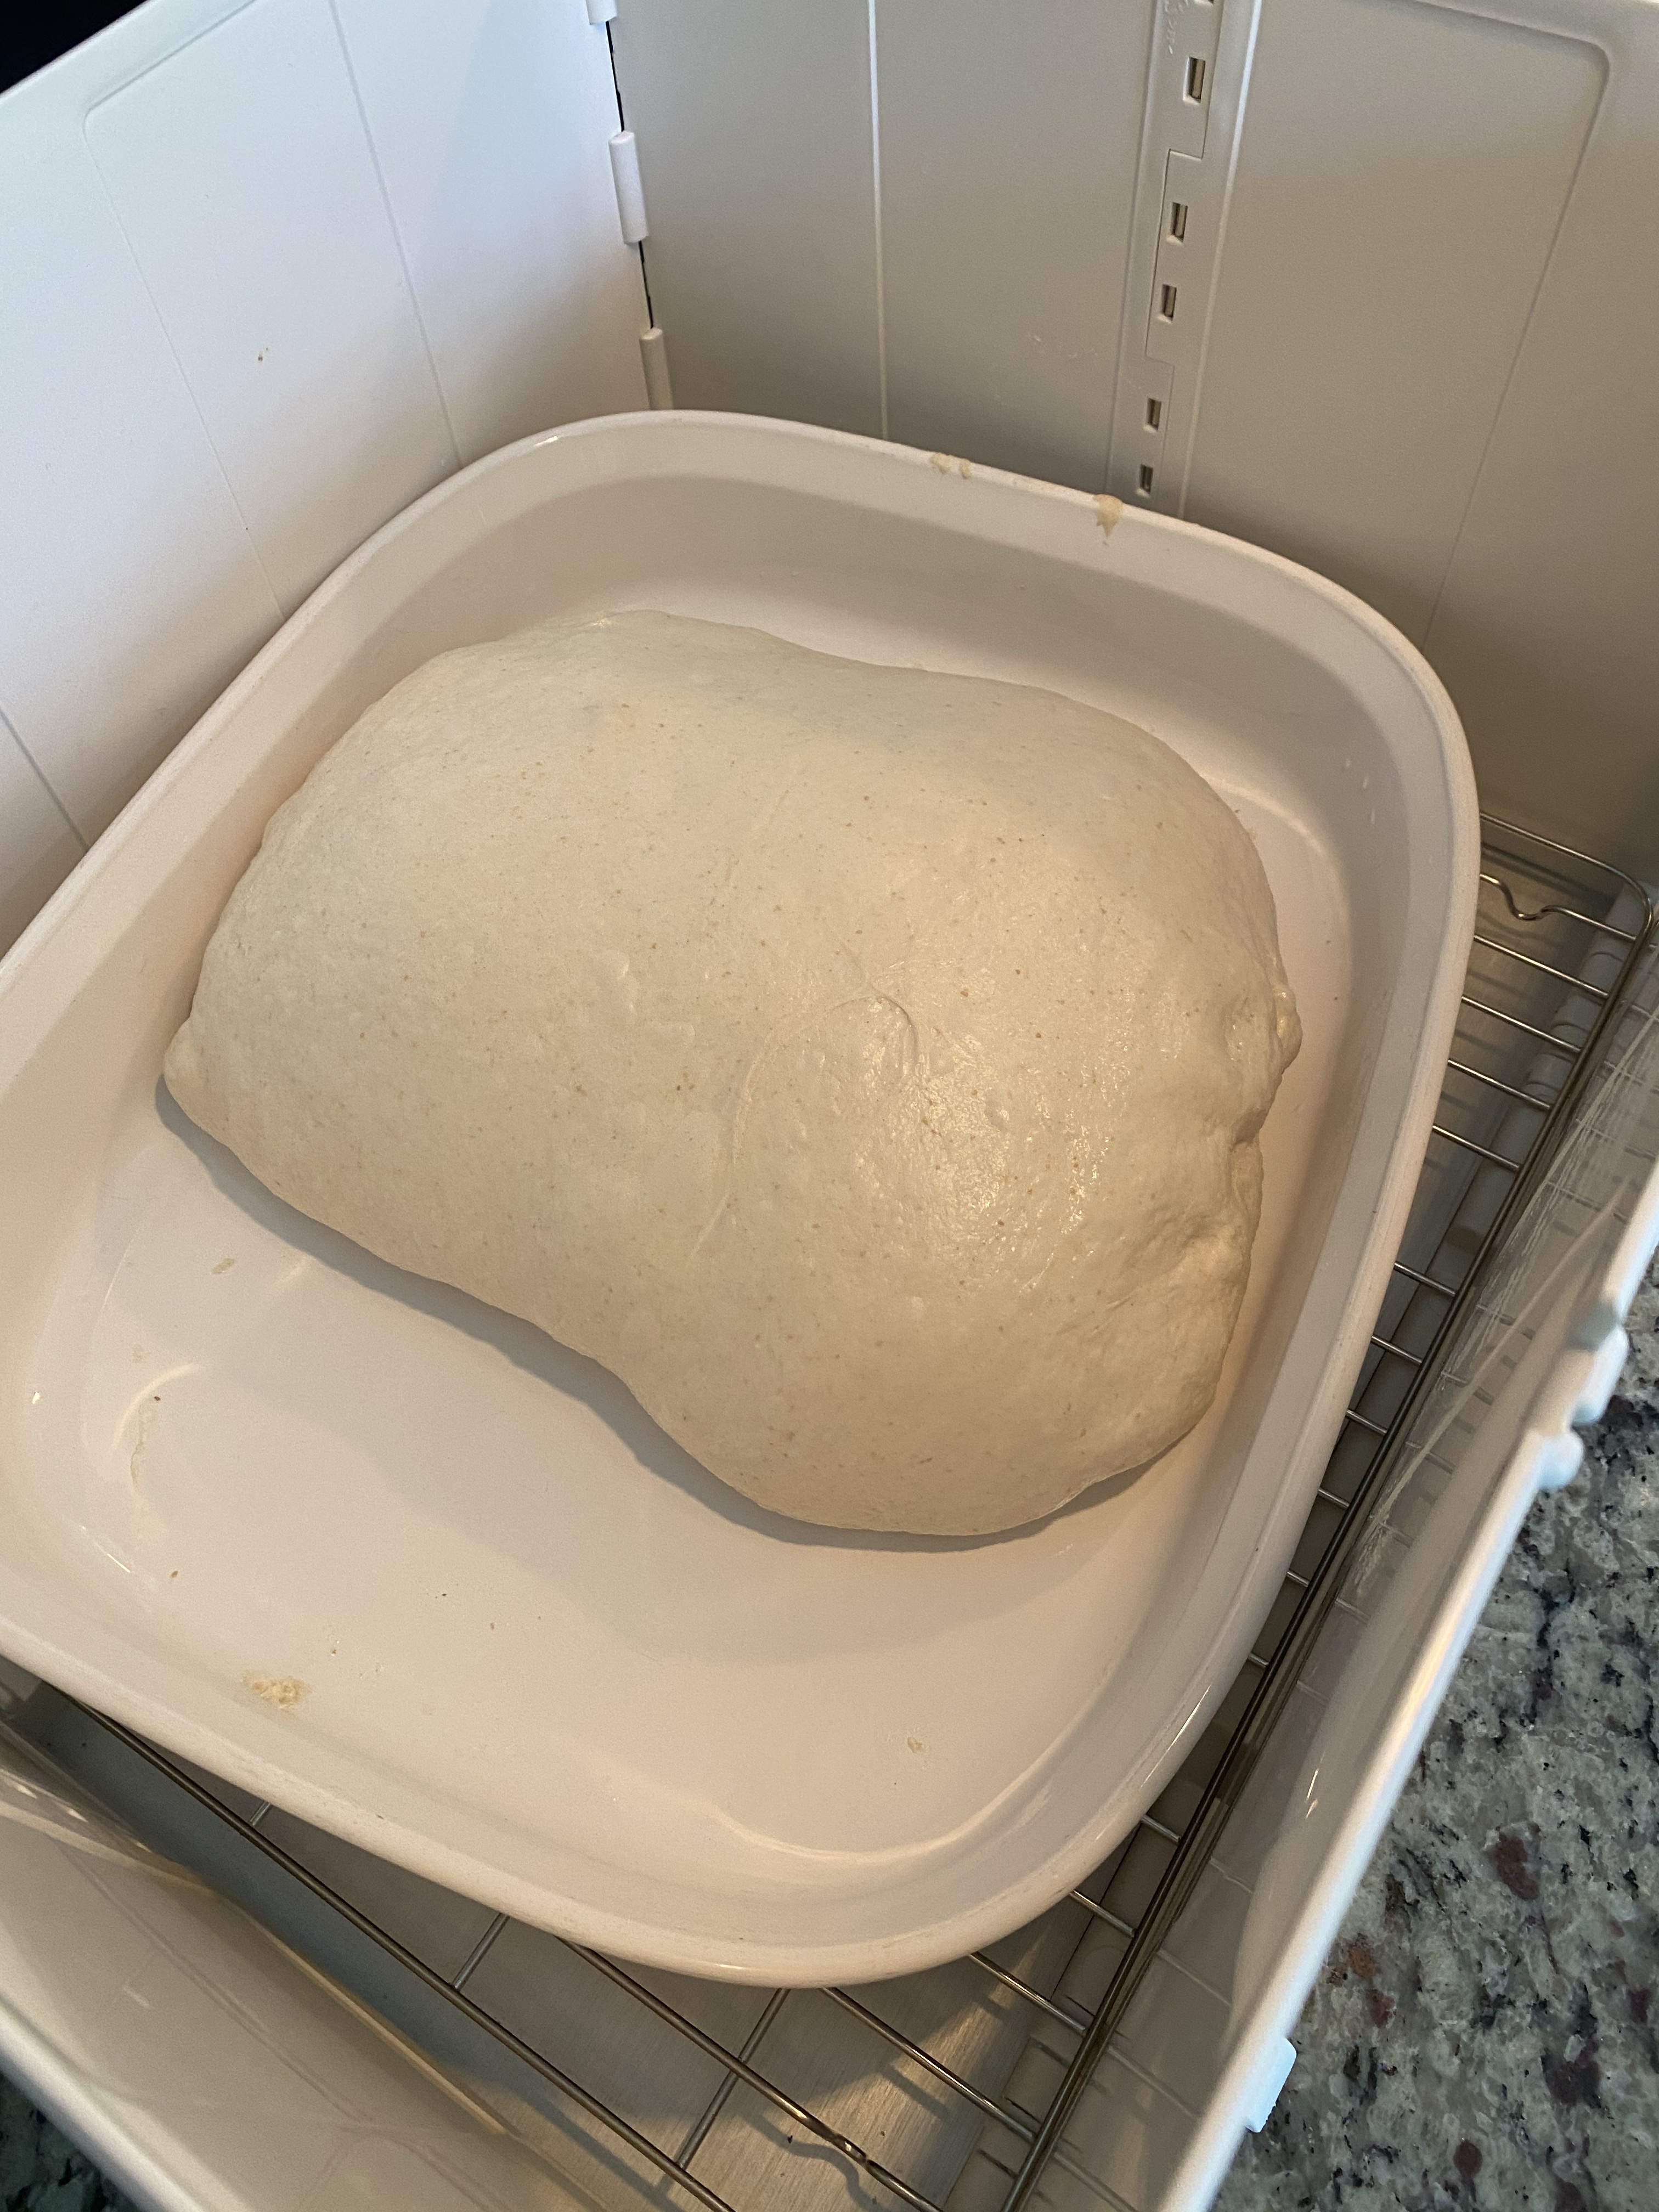
After coil fold
After letting bulk ferment for a total of four hours I split the dough into two loaves, shaped and placed into bannetons. My internet was to leave overnight.
However, after about an hour they looked “right” to me and so I decided to bake. I got my Dutch Ovens preheated and then popped the loaves i!
I was VERY pleased with my results!

Good oven bloom, color, ear and blisters. Really excited to see how these came out!
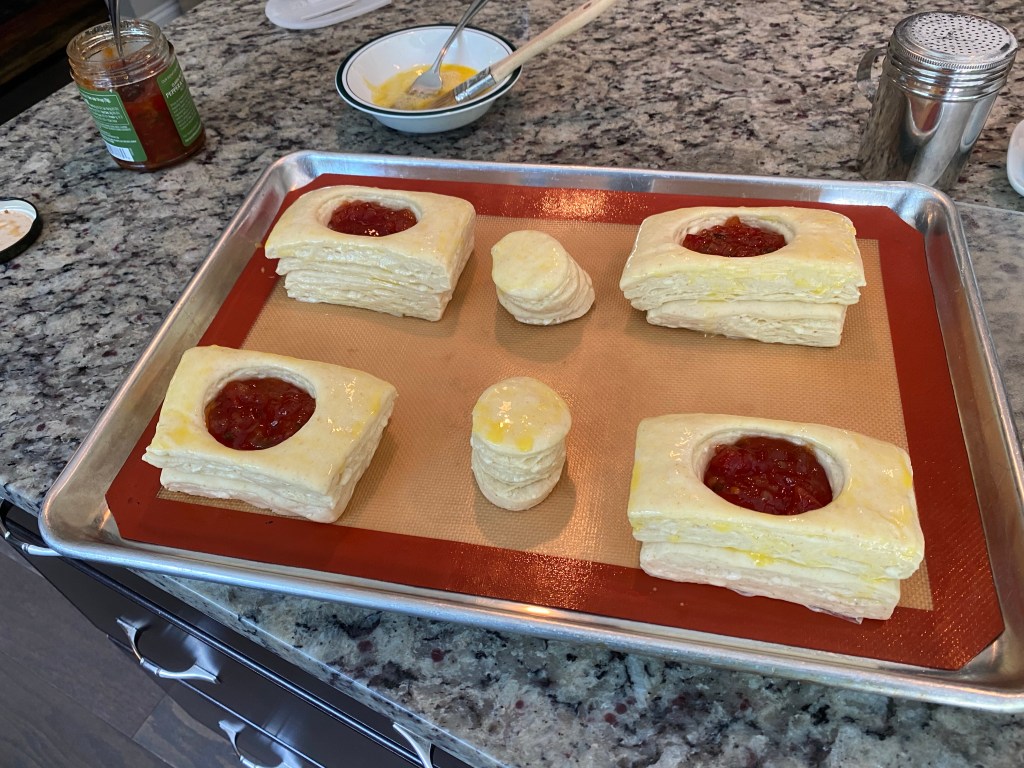
Savory Sourdough Pastries
Trying savory sourdough pastries. I’d never made some before so I thought I’d give it a go!

I used my standard laminated dough recipe and method up to the point of cutting/shaping.
I cut eight rectangles, cut holes out of four and then stacked.
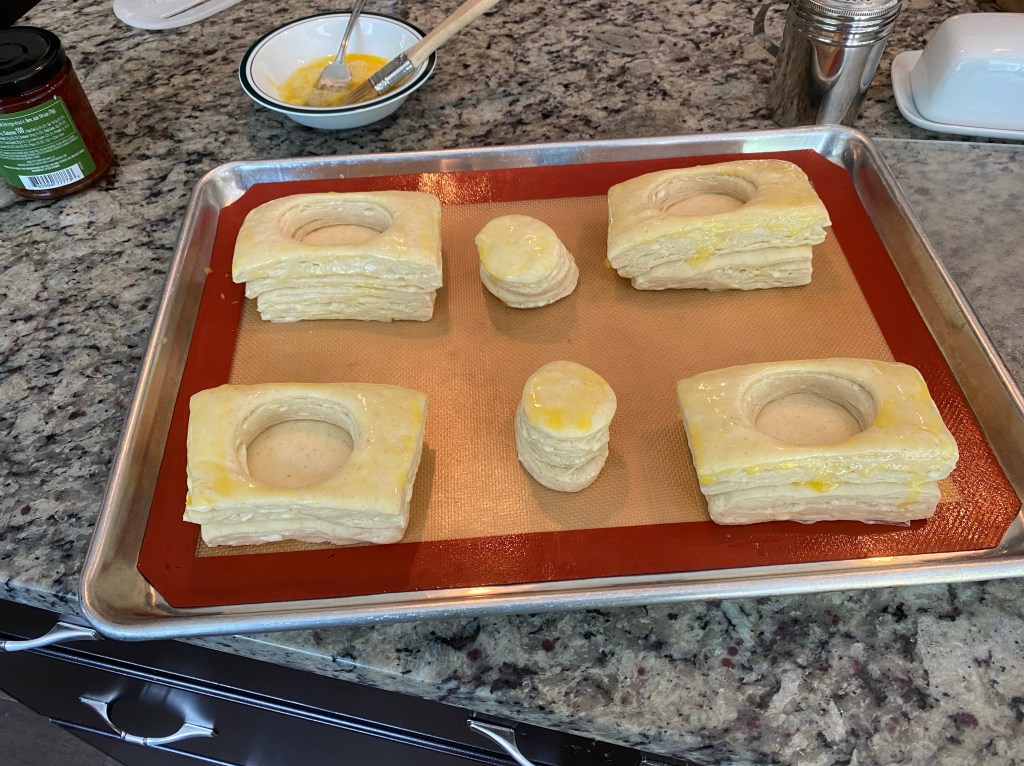
In hindsight I could have let rise a bit more (see lower left corner of top right pastry in pic above). Additionally, I should have done something to get the top pieces with the holes to stick to the bottom pieces. They slid during baking and the filling tended to “escape”!
Going forward I’m not going to stack the circle cutouts. They just tipped over. Better to have four.
Overall, I’m very pleased with this first attempt at savory pastries! Will experiment further and try to improve my technique!
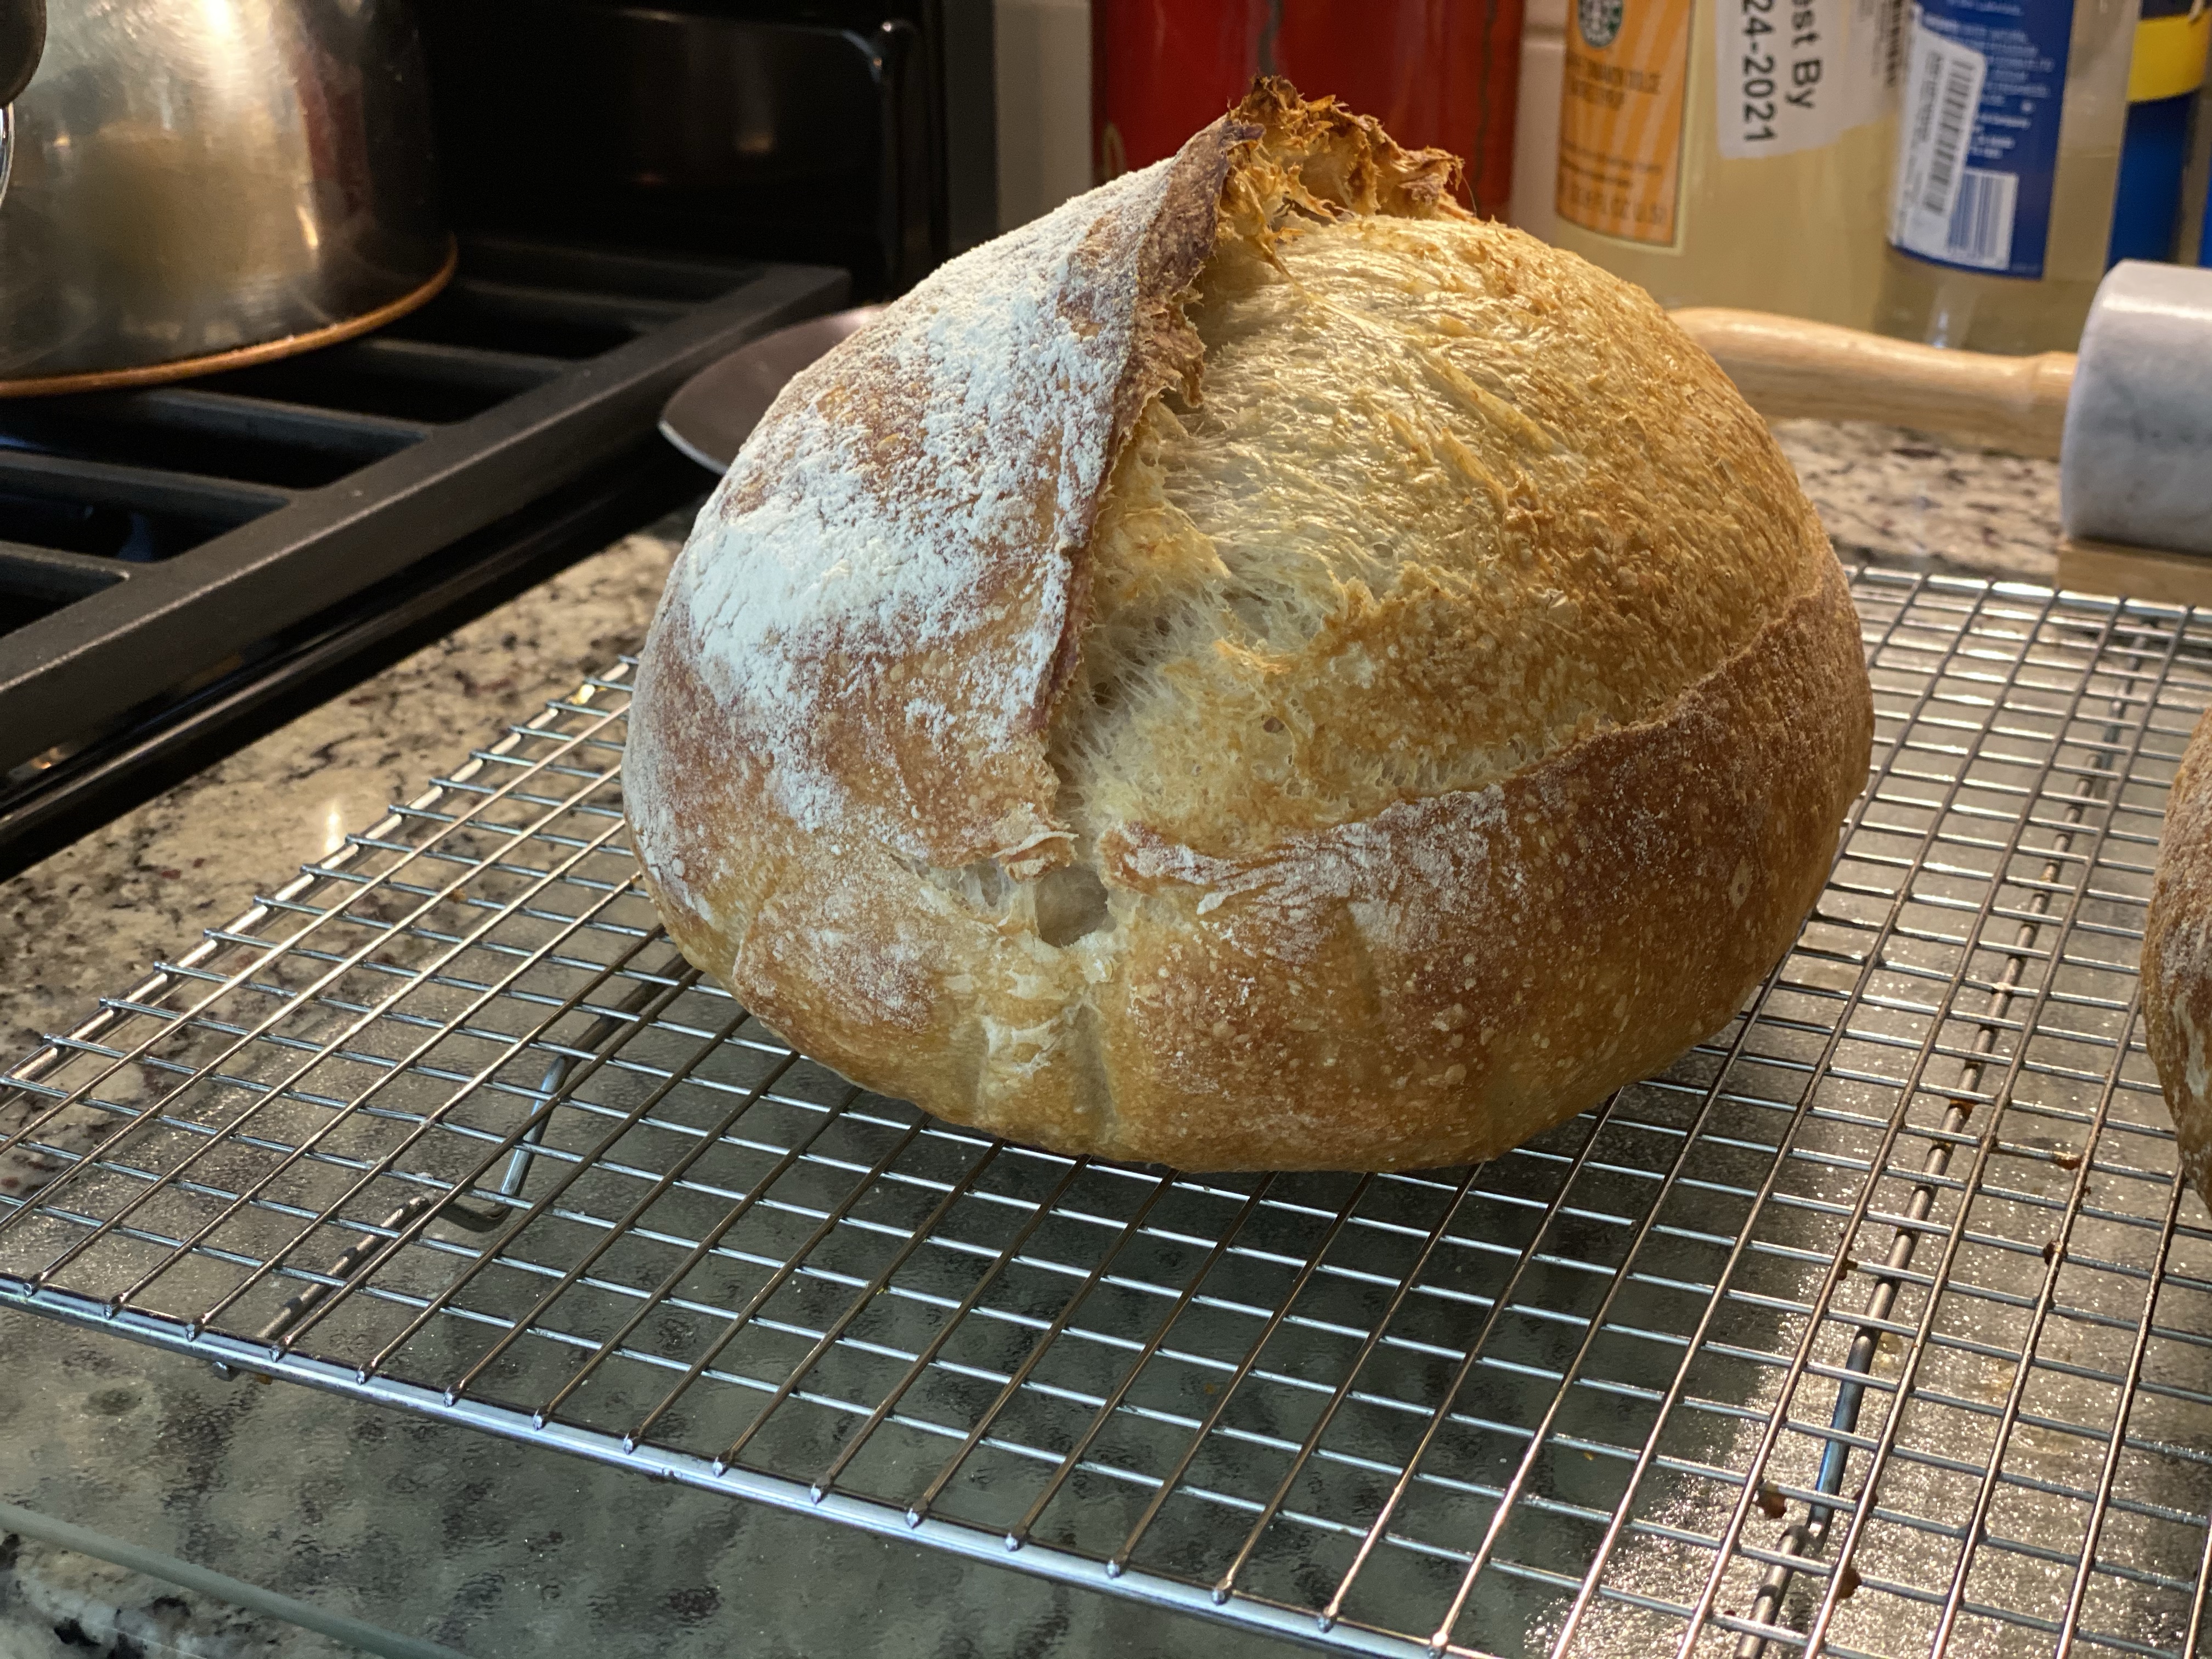
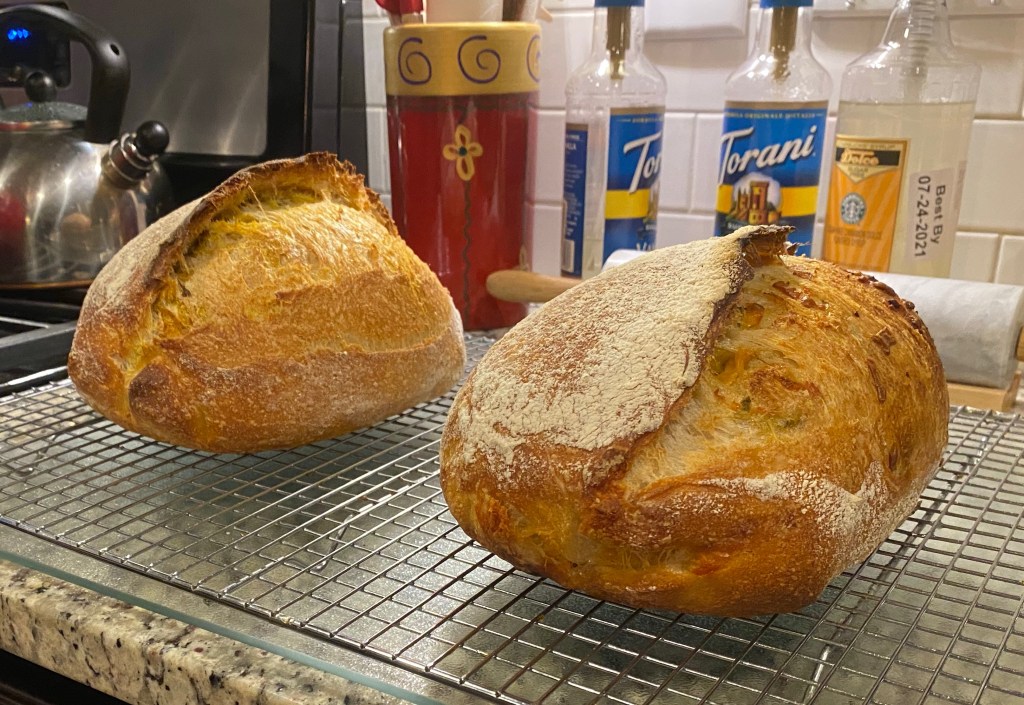
Sourdough Bread w/ Inclusions
After that last bake (with the apparent over-proving) I HAD to do another.
The first part of my hypothesis was a potentially weak starter due to sub-par flour. The second part was about the strength I built in shaping. What I didn’t include was the overall time in bulk fermenting nor the time on-counter resting.
There are a LOT of variables!!
My starter rose just fine after feeding (>2X). My time letting the levain rise (yet another variable) was shorter. Mostly this was due to when I started the whole process and I was wanting to get to bed by the time I needed to mix in the levain and then salt.
I bulk fermented for 24 hours as usual. The dough didn’t seem to have risen as much so I was a bit skeptical about how it might do in the final bake.
For some reason I decided to mess with my experiment by adding additional variables by lamination and adding inclusions.
Why not?!!
Shaped as best I could and got them into the bannetons.
Altered (yet again) another variable because I was impatient and just covered the bannetons with a towel and decided to bake them later in the evening since my oven had already been used for dinner.
Overall, they came out quite nicely. The Turmeric loaf has all the attributes I had been hoping for in terms of shape, bloom, ear development etc. The cheddar-jalapeño did well to and wasn’t off from what I expected given the moisture in the cheese and jalapeños.
So much for recreation of my conditions that might have led to my previous results. At least I proved them a bit less (overall) and tried better to shape and score.
At least I’ve two additional tasty loaves on which to chew on as I ponder what to do next…
