“Flexibility is the key to AirPower” said Italian airpower theorist Gen. Giulio Douhet. It was one of the first tenets taught to me as a cadet at the US Air Force Academy.
I guess it also applies to bread making.
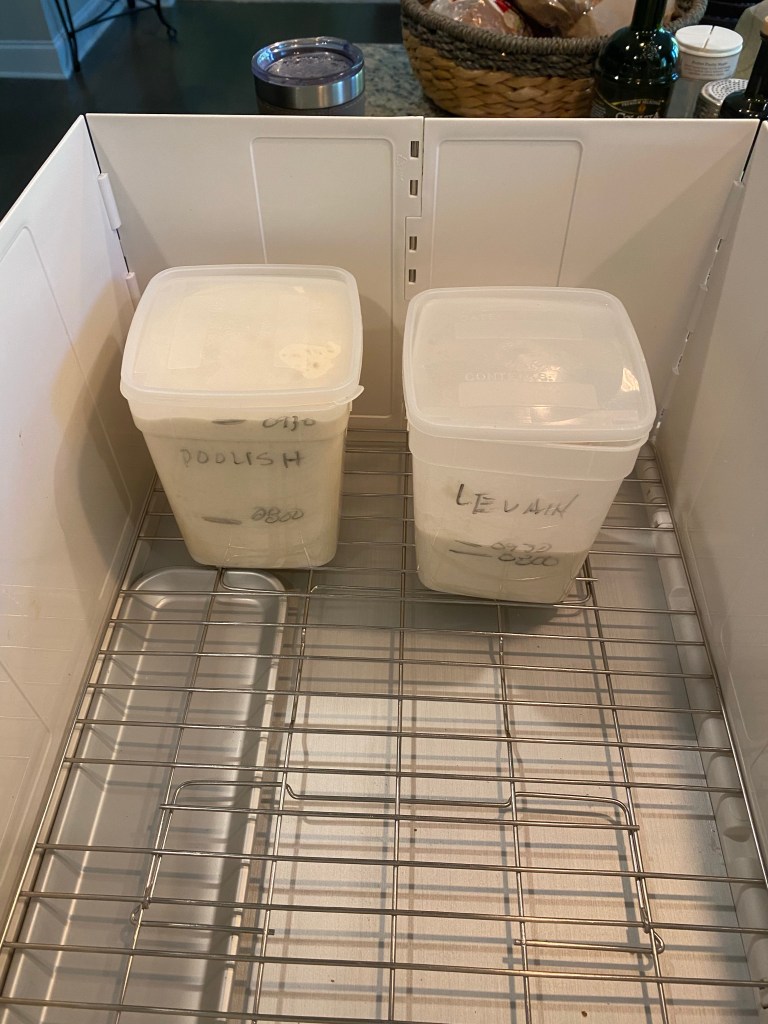
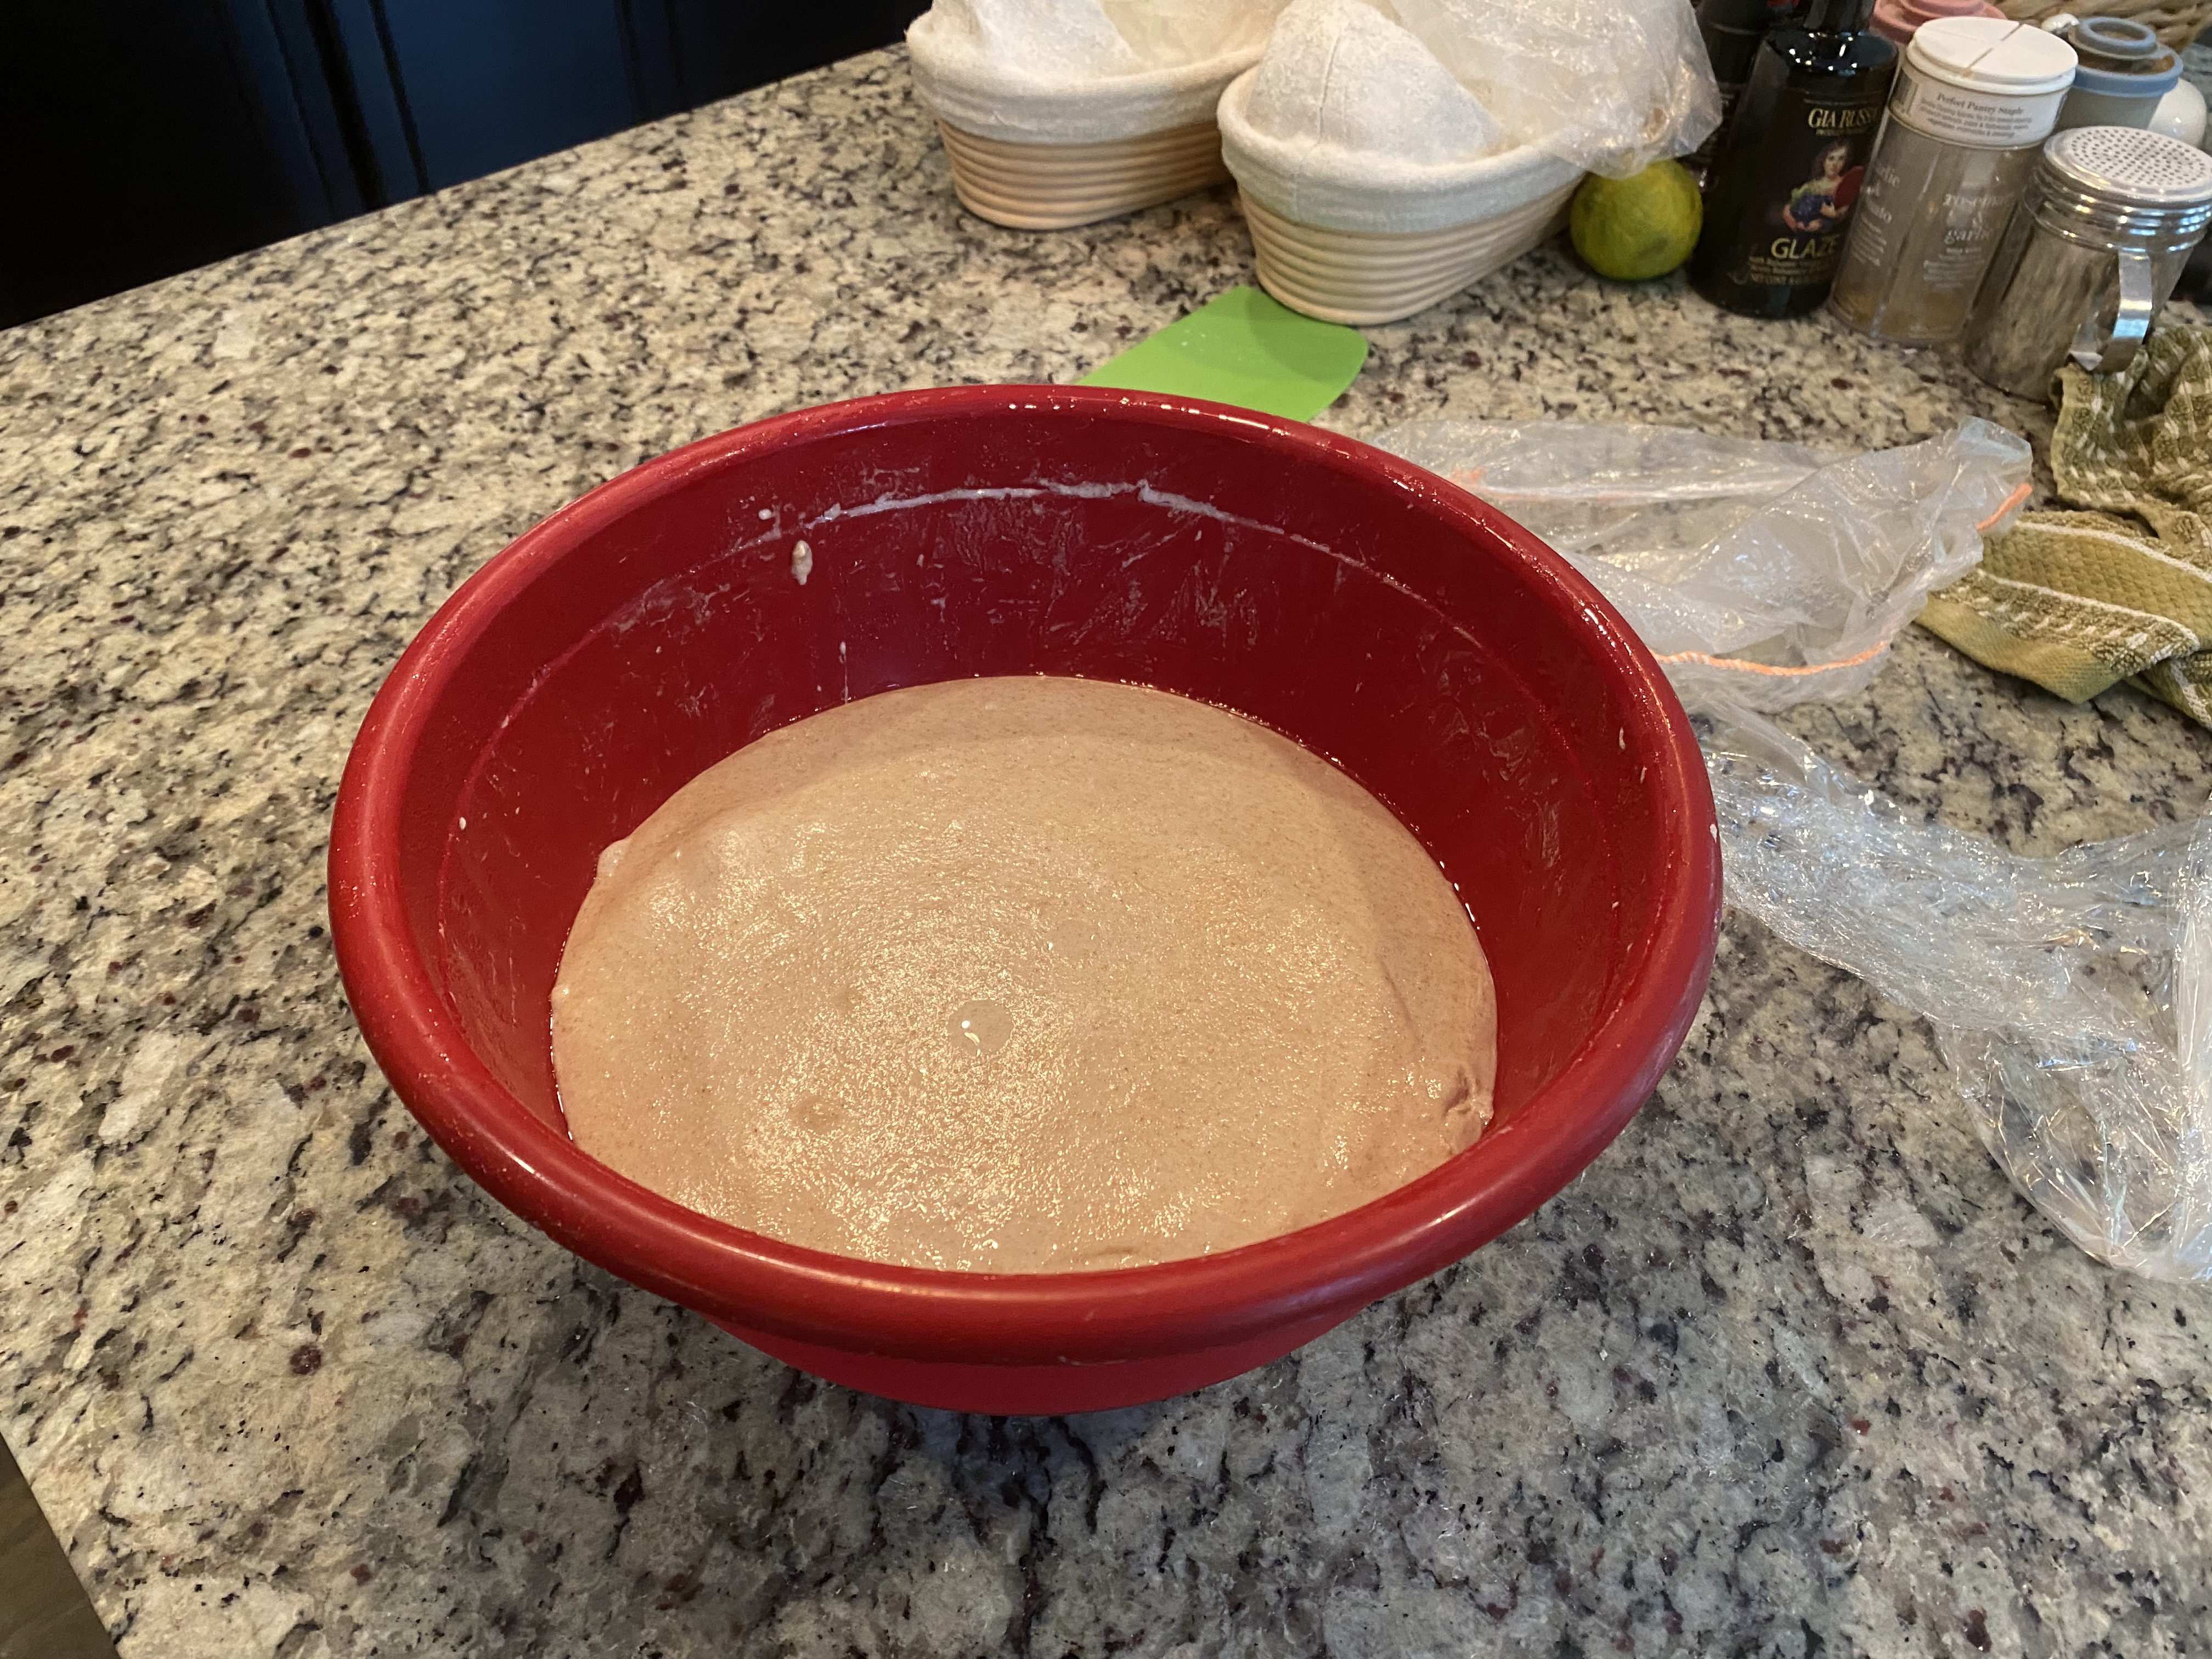
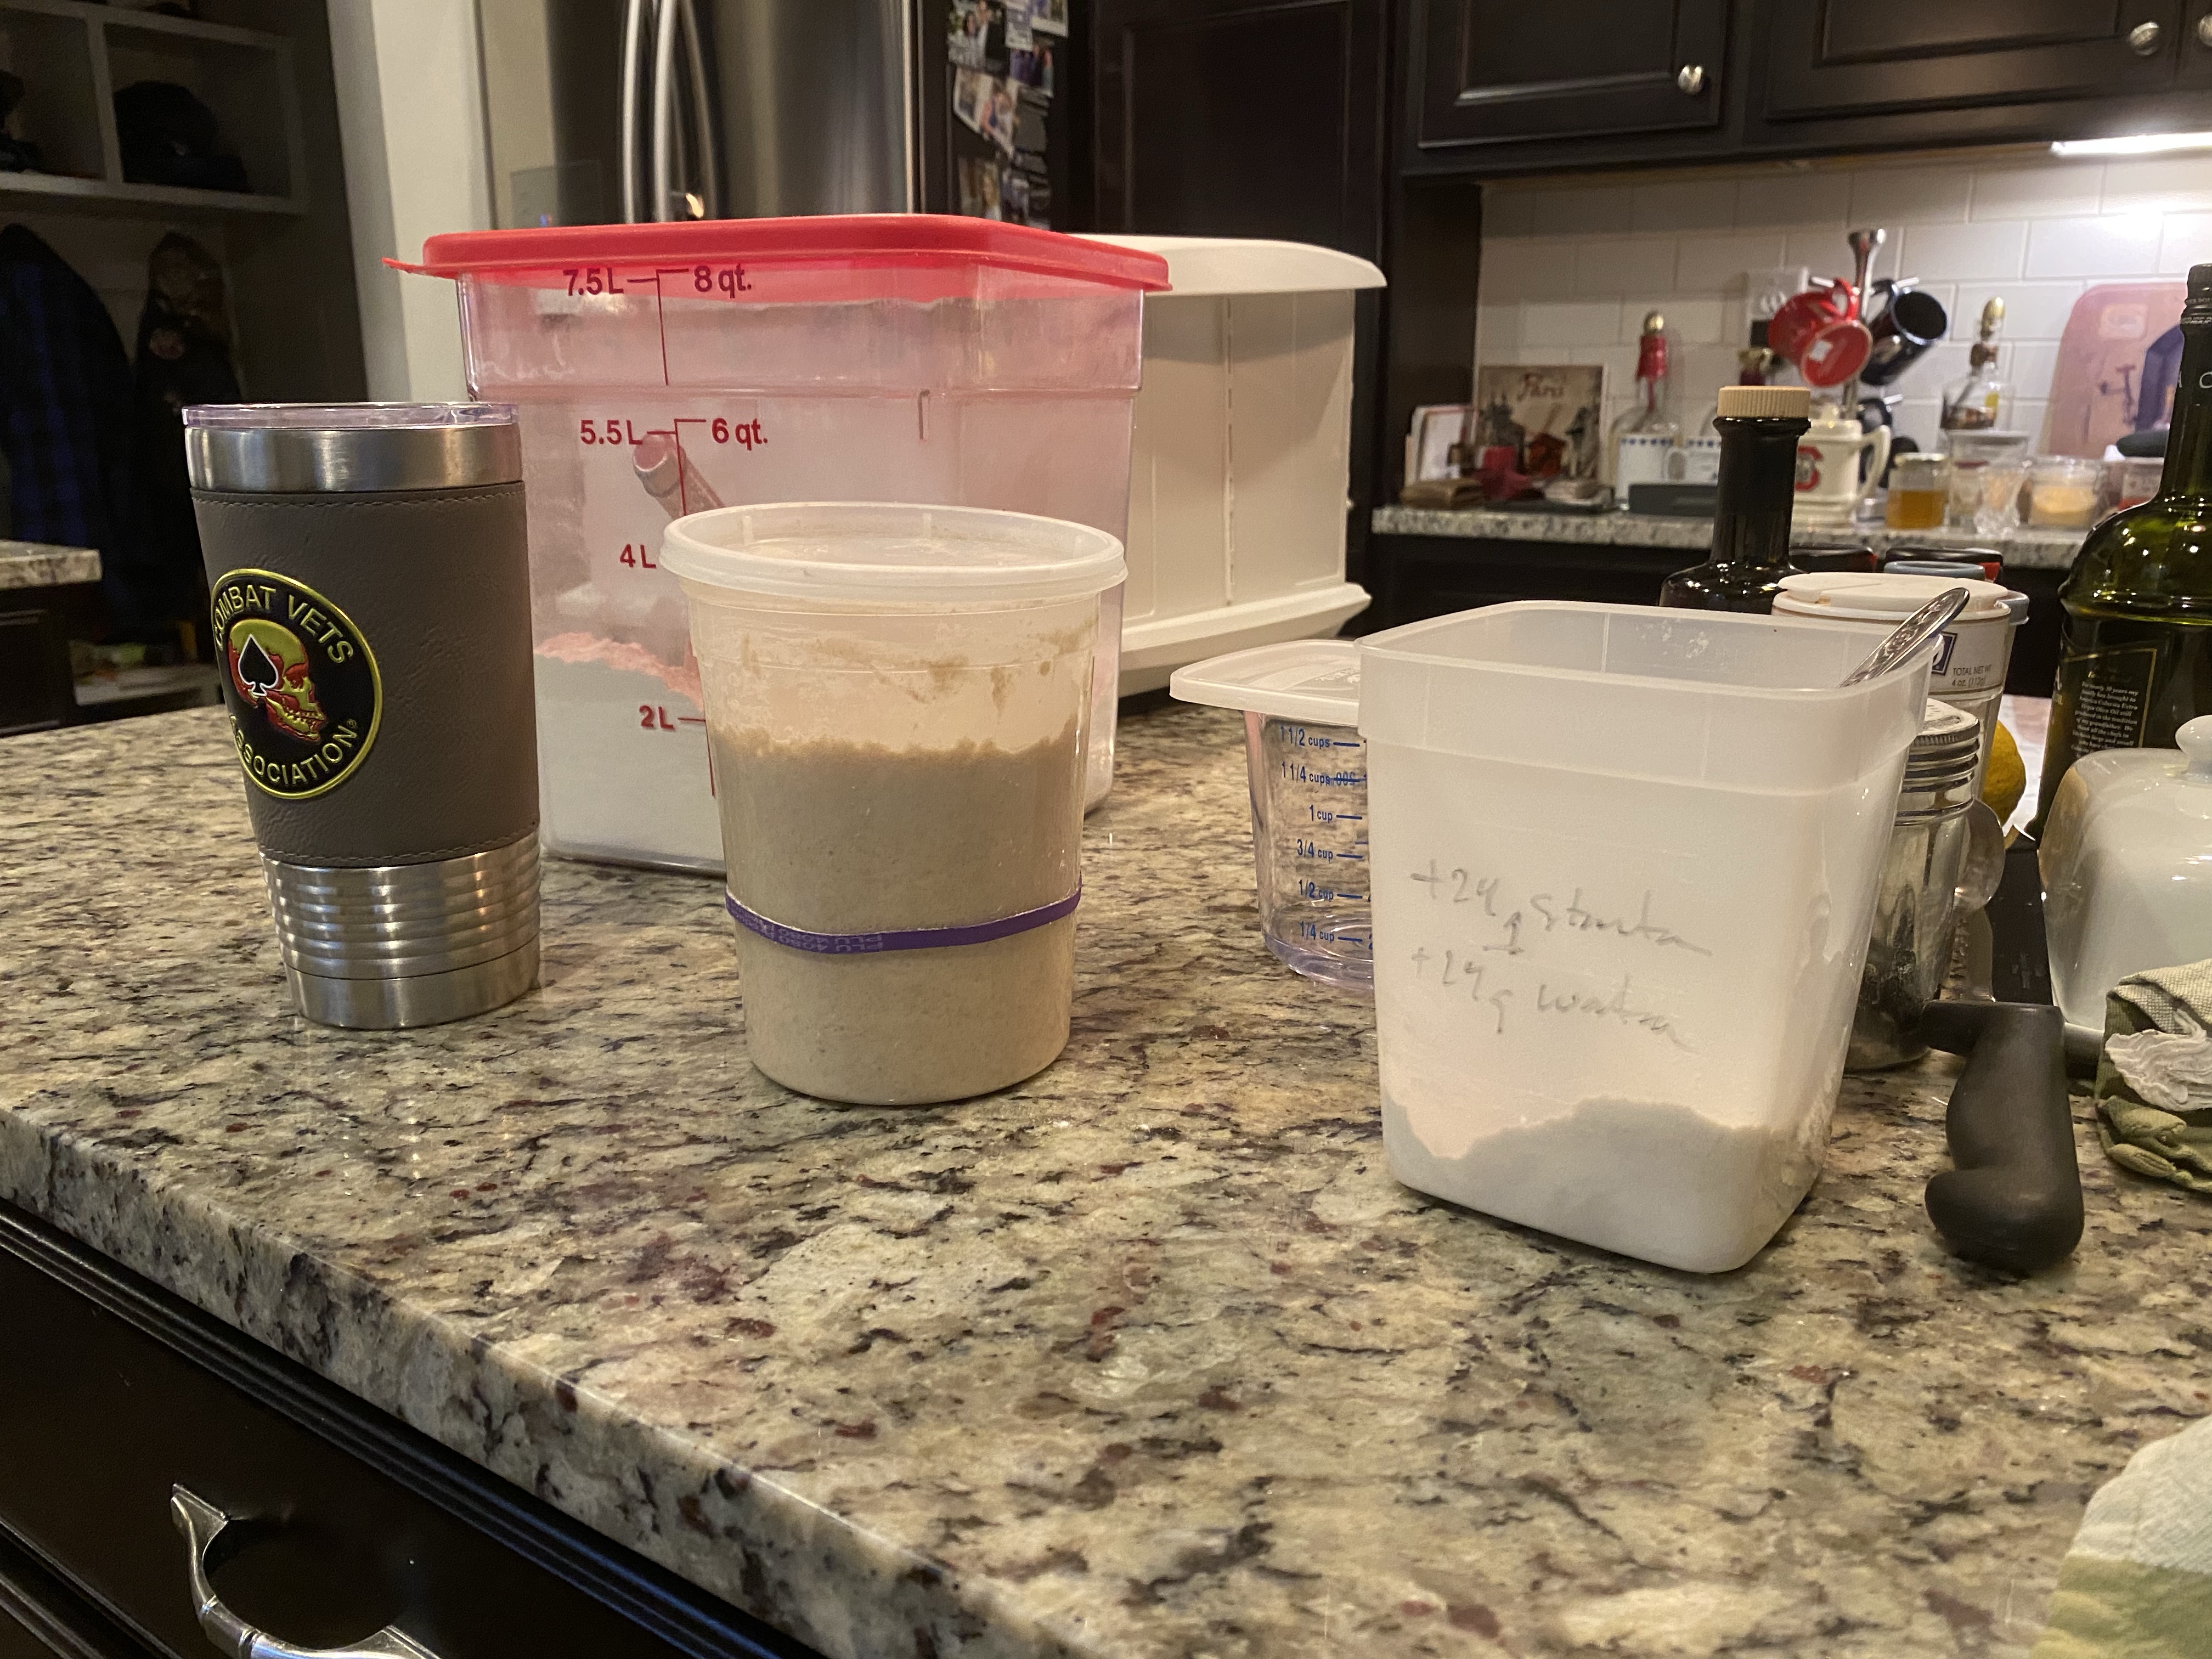
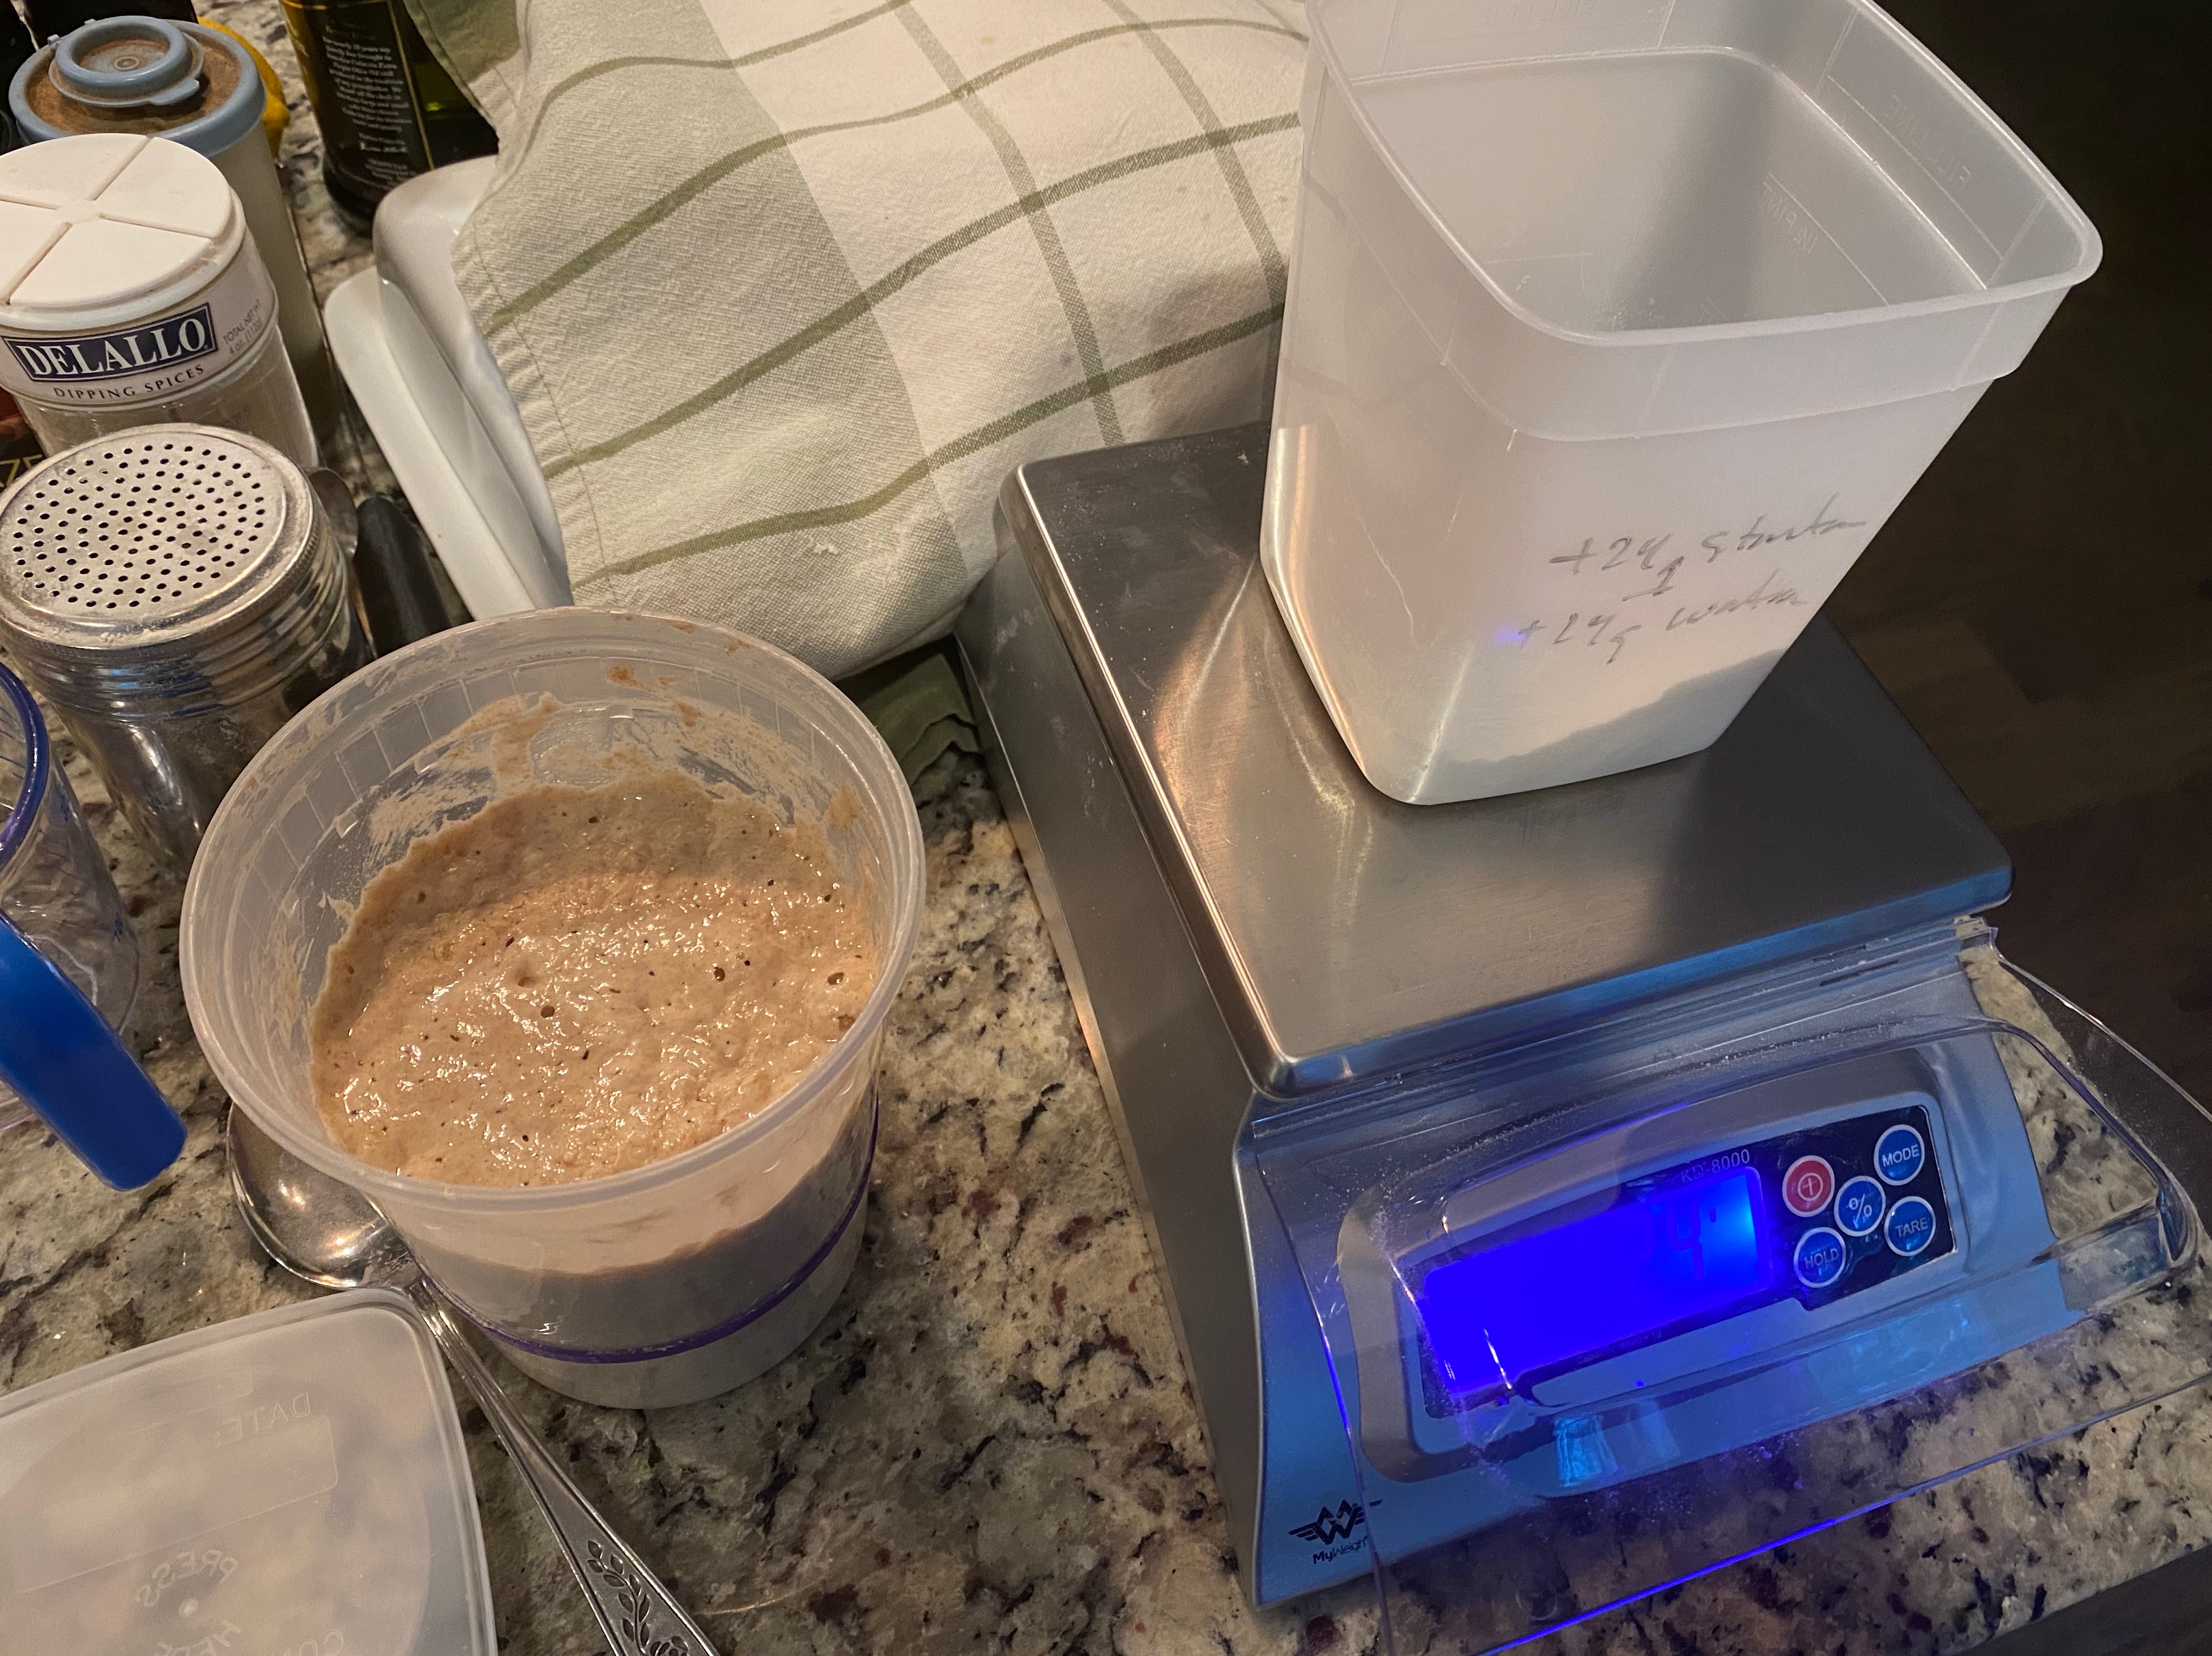
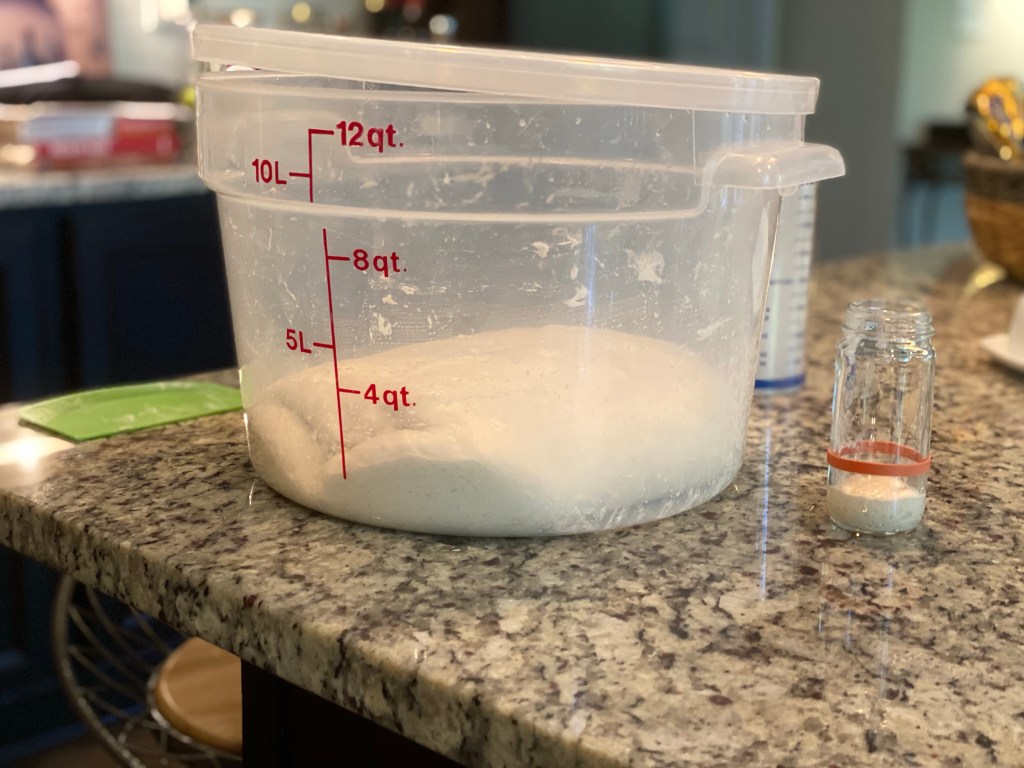
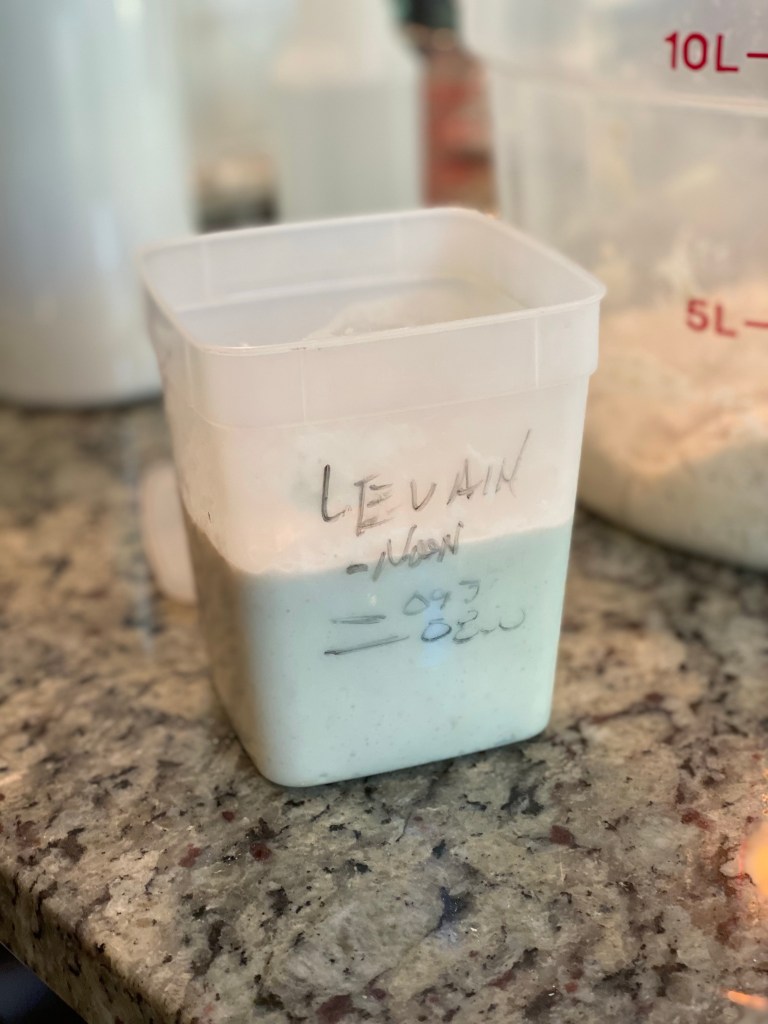
My Poolish was rising at a much faster rate than my Leaven.
Next time I will use differs temps for both (e.g. 75°F for the Poolish and 80°F for the leaven). I’ll also mix my leaven at a 1:1:1 ratio not the 1:10:10 ratio…need a higher percentage of active starter to grow faster.
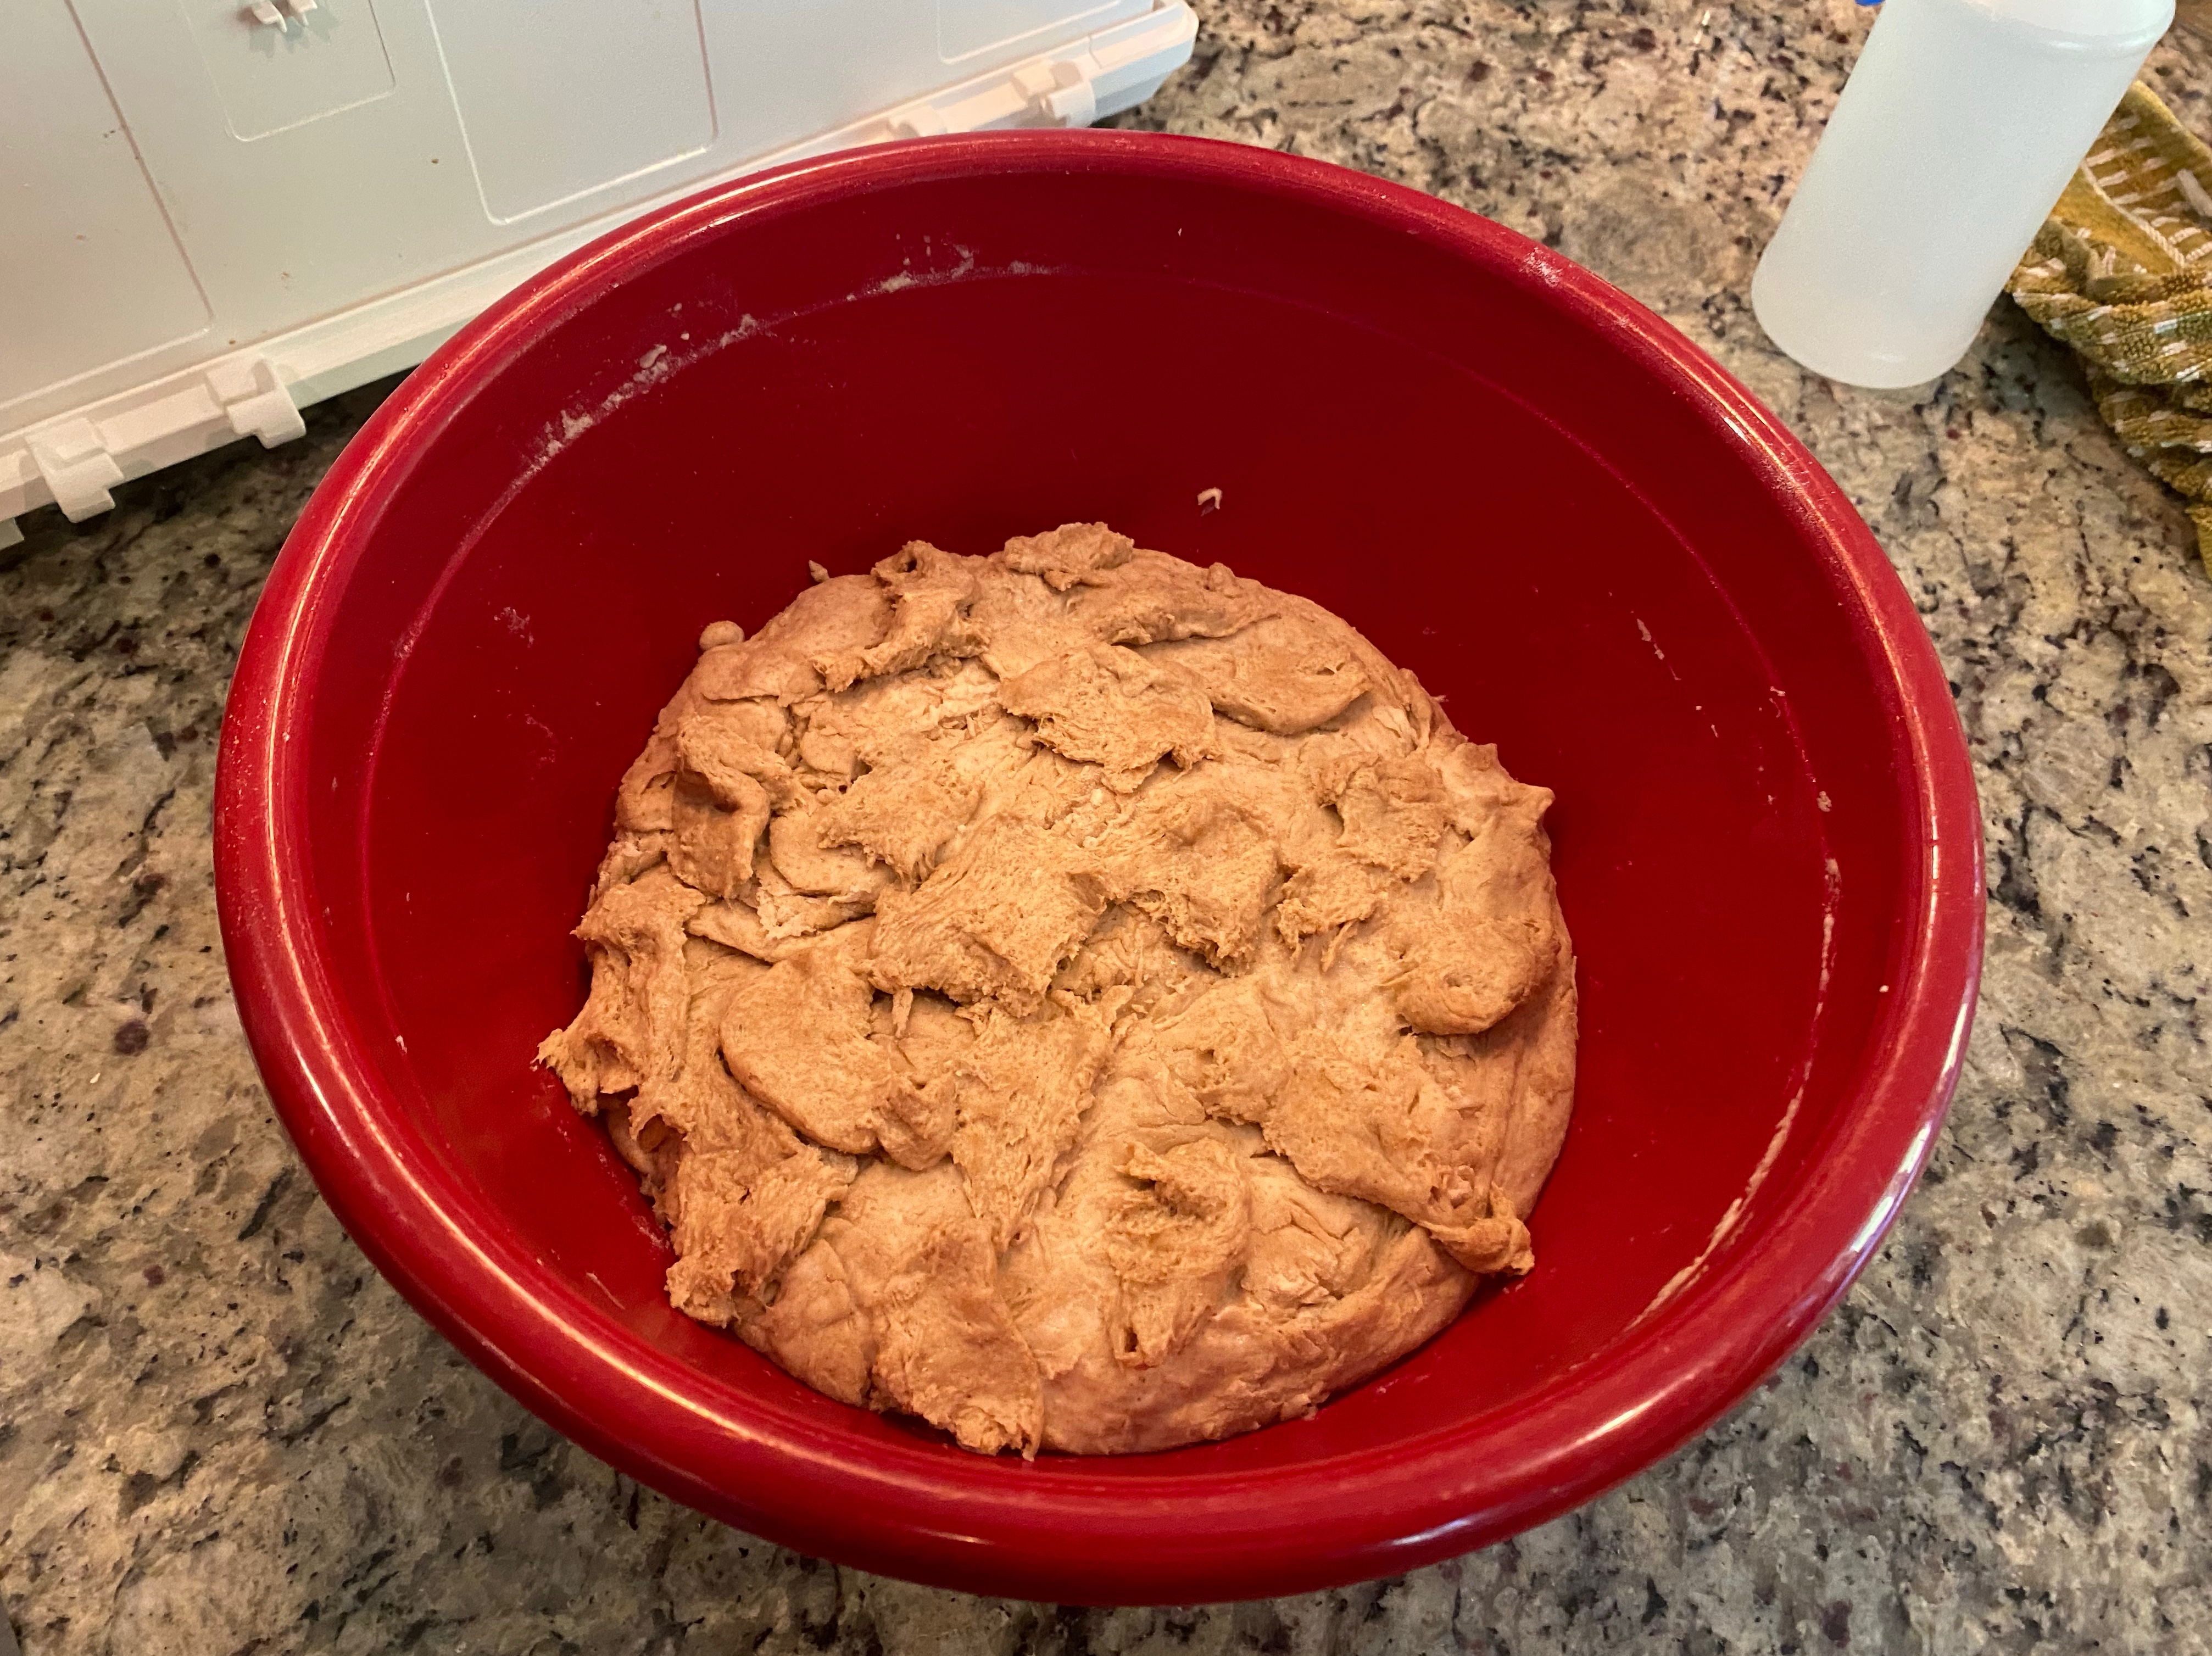
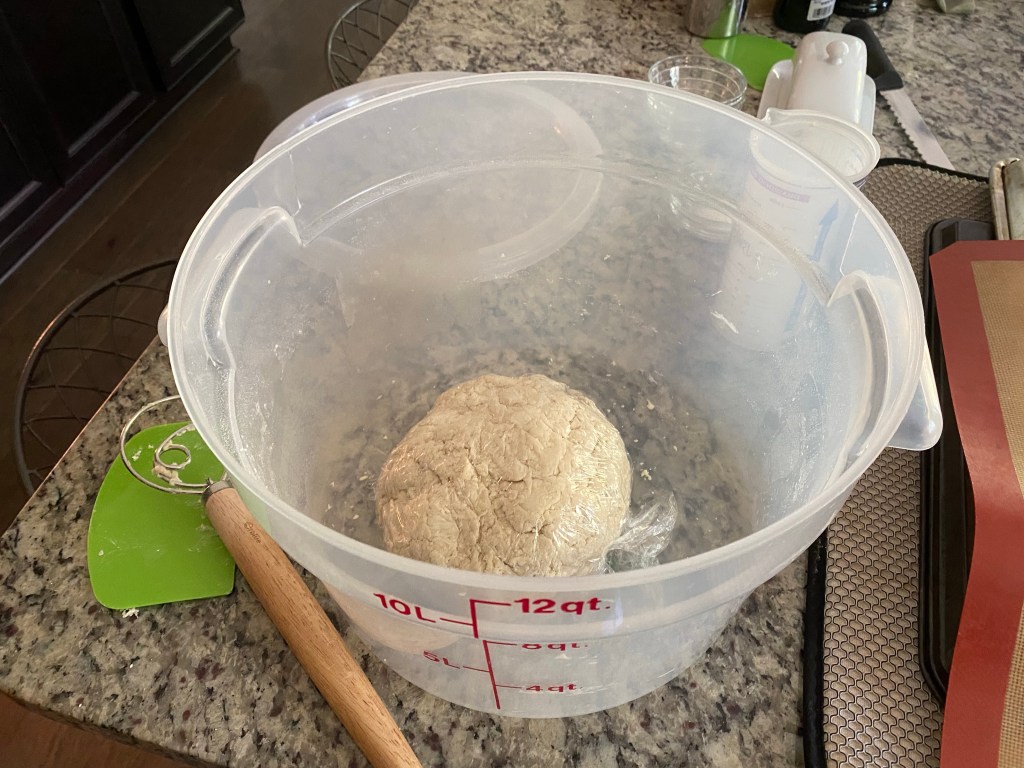
I could only wait until 1015 and then decided I needed to mix the Poolish into my main flour. When I realized I needed to adjust my method I decided to start the autolyse immediately. I figured 30 minutes would be better than none!
I hand mixed the Poolish just enough to incorporate and let it sit until Noon. This was roughly 4 hours after I’d mixed the Leaven and Poolish mixtures. My Leaven by this point had grown by about 2/3. This was the clue that next time I’d use a ratio of 1:1:1 instead of the 1:10:10.
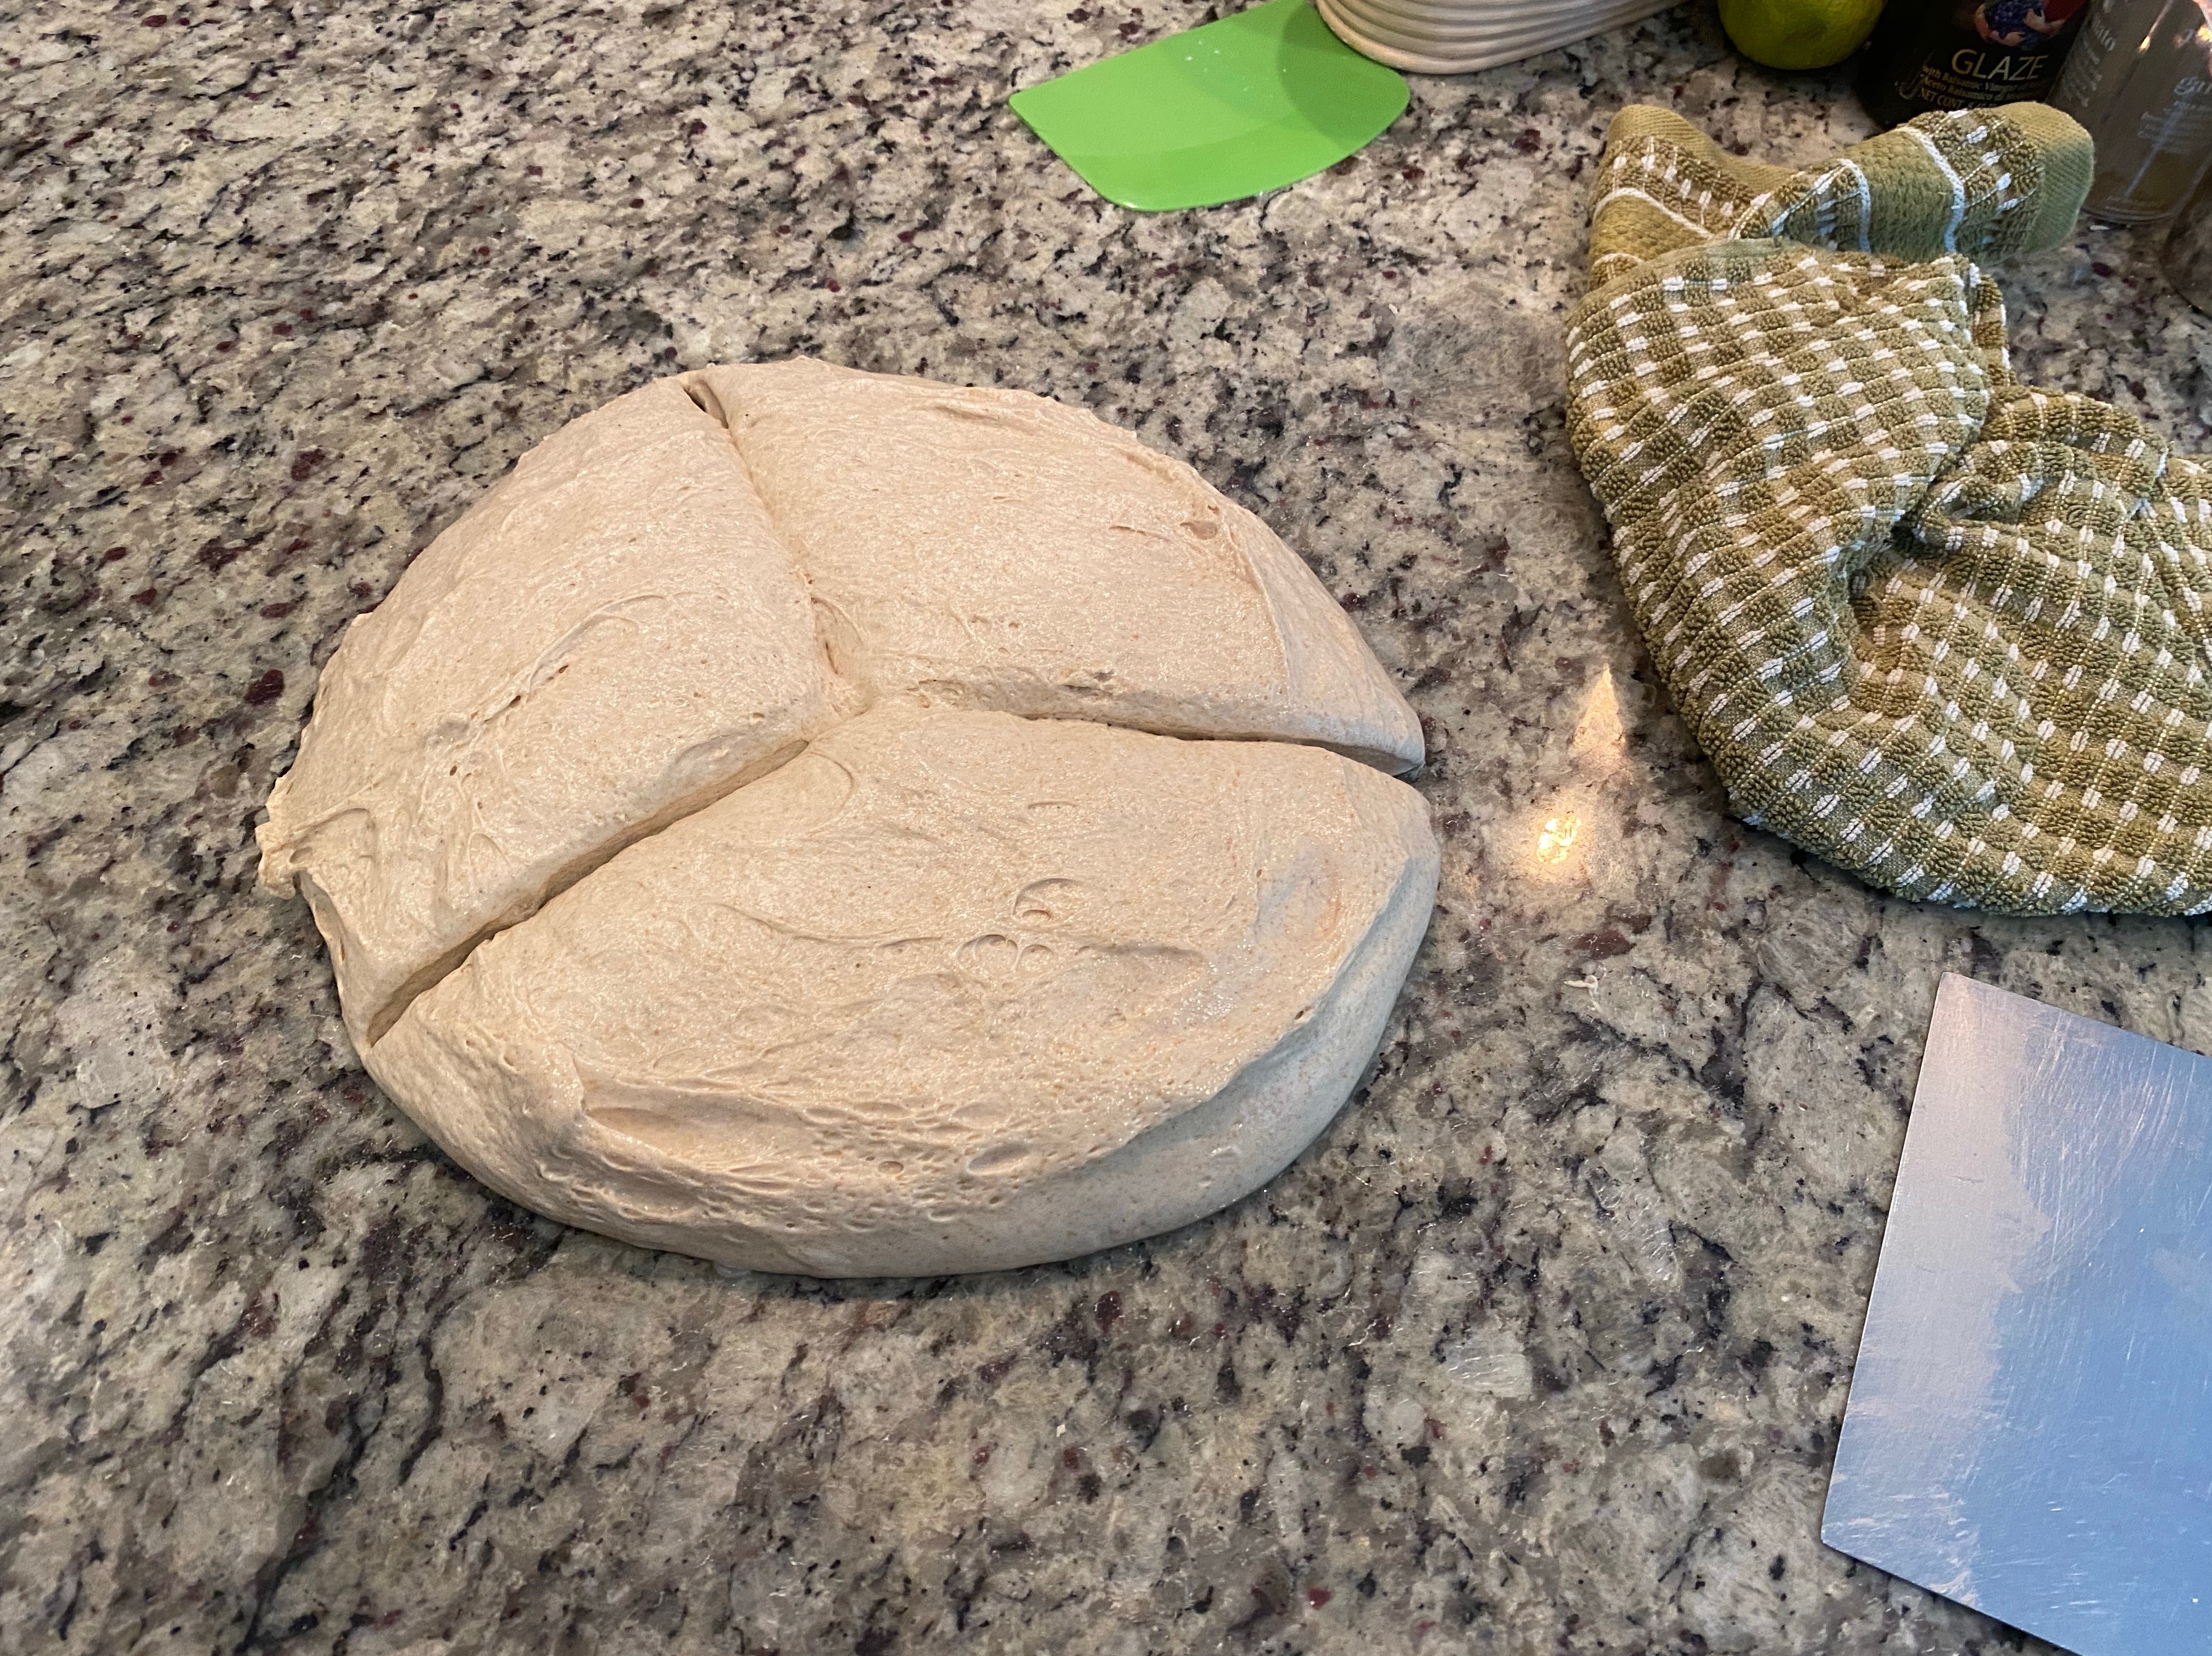
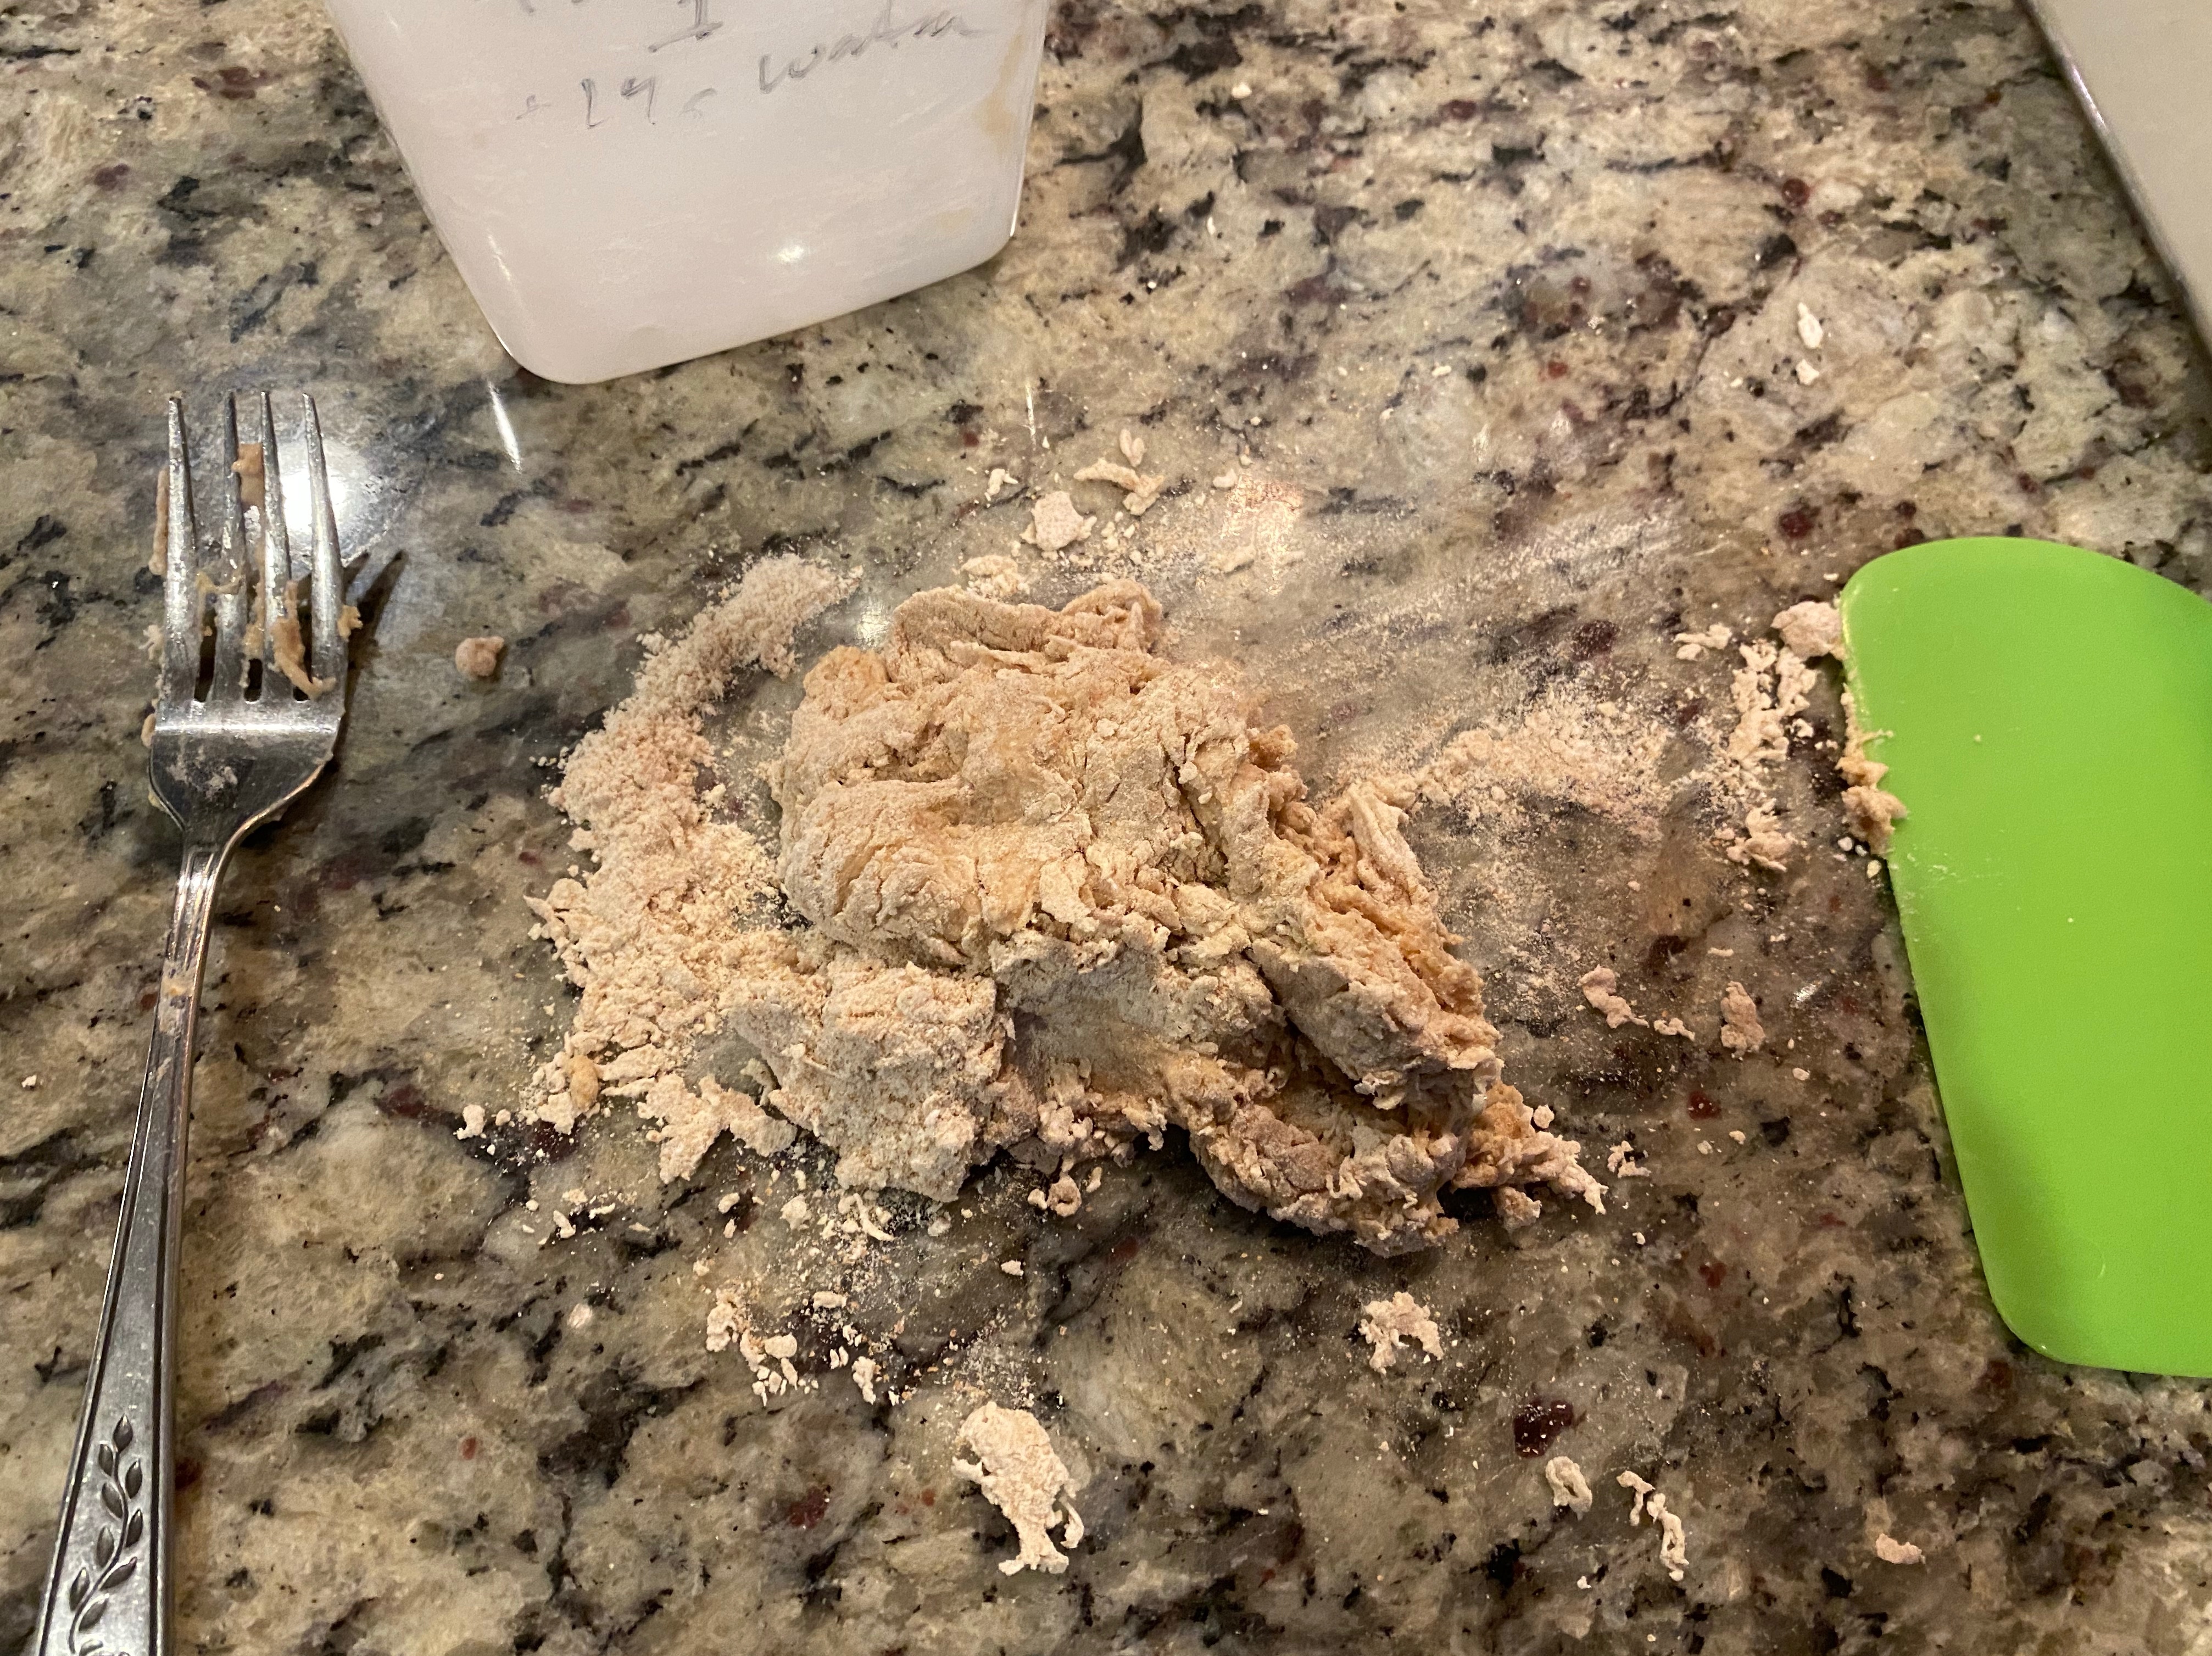
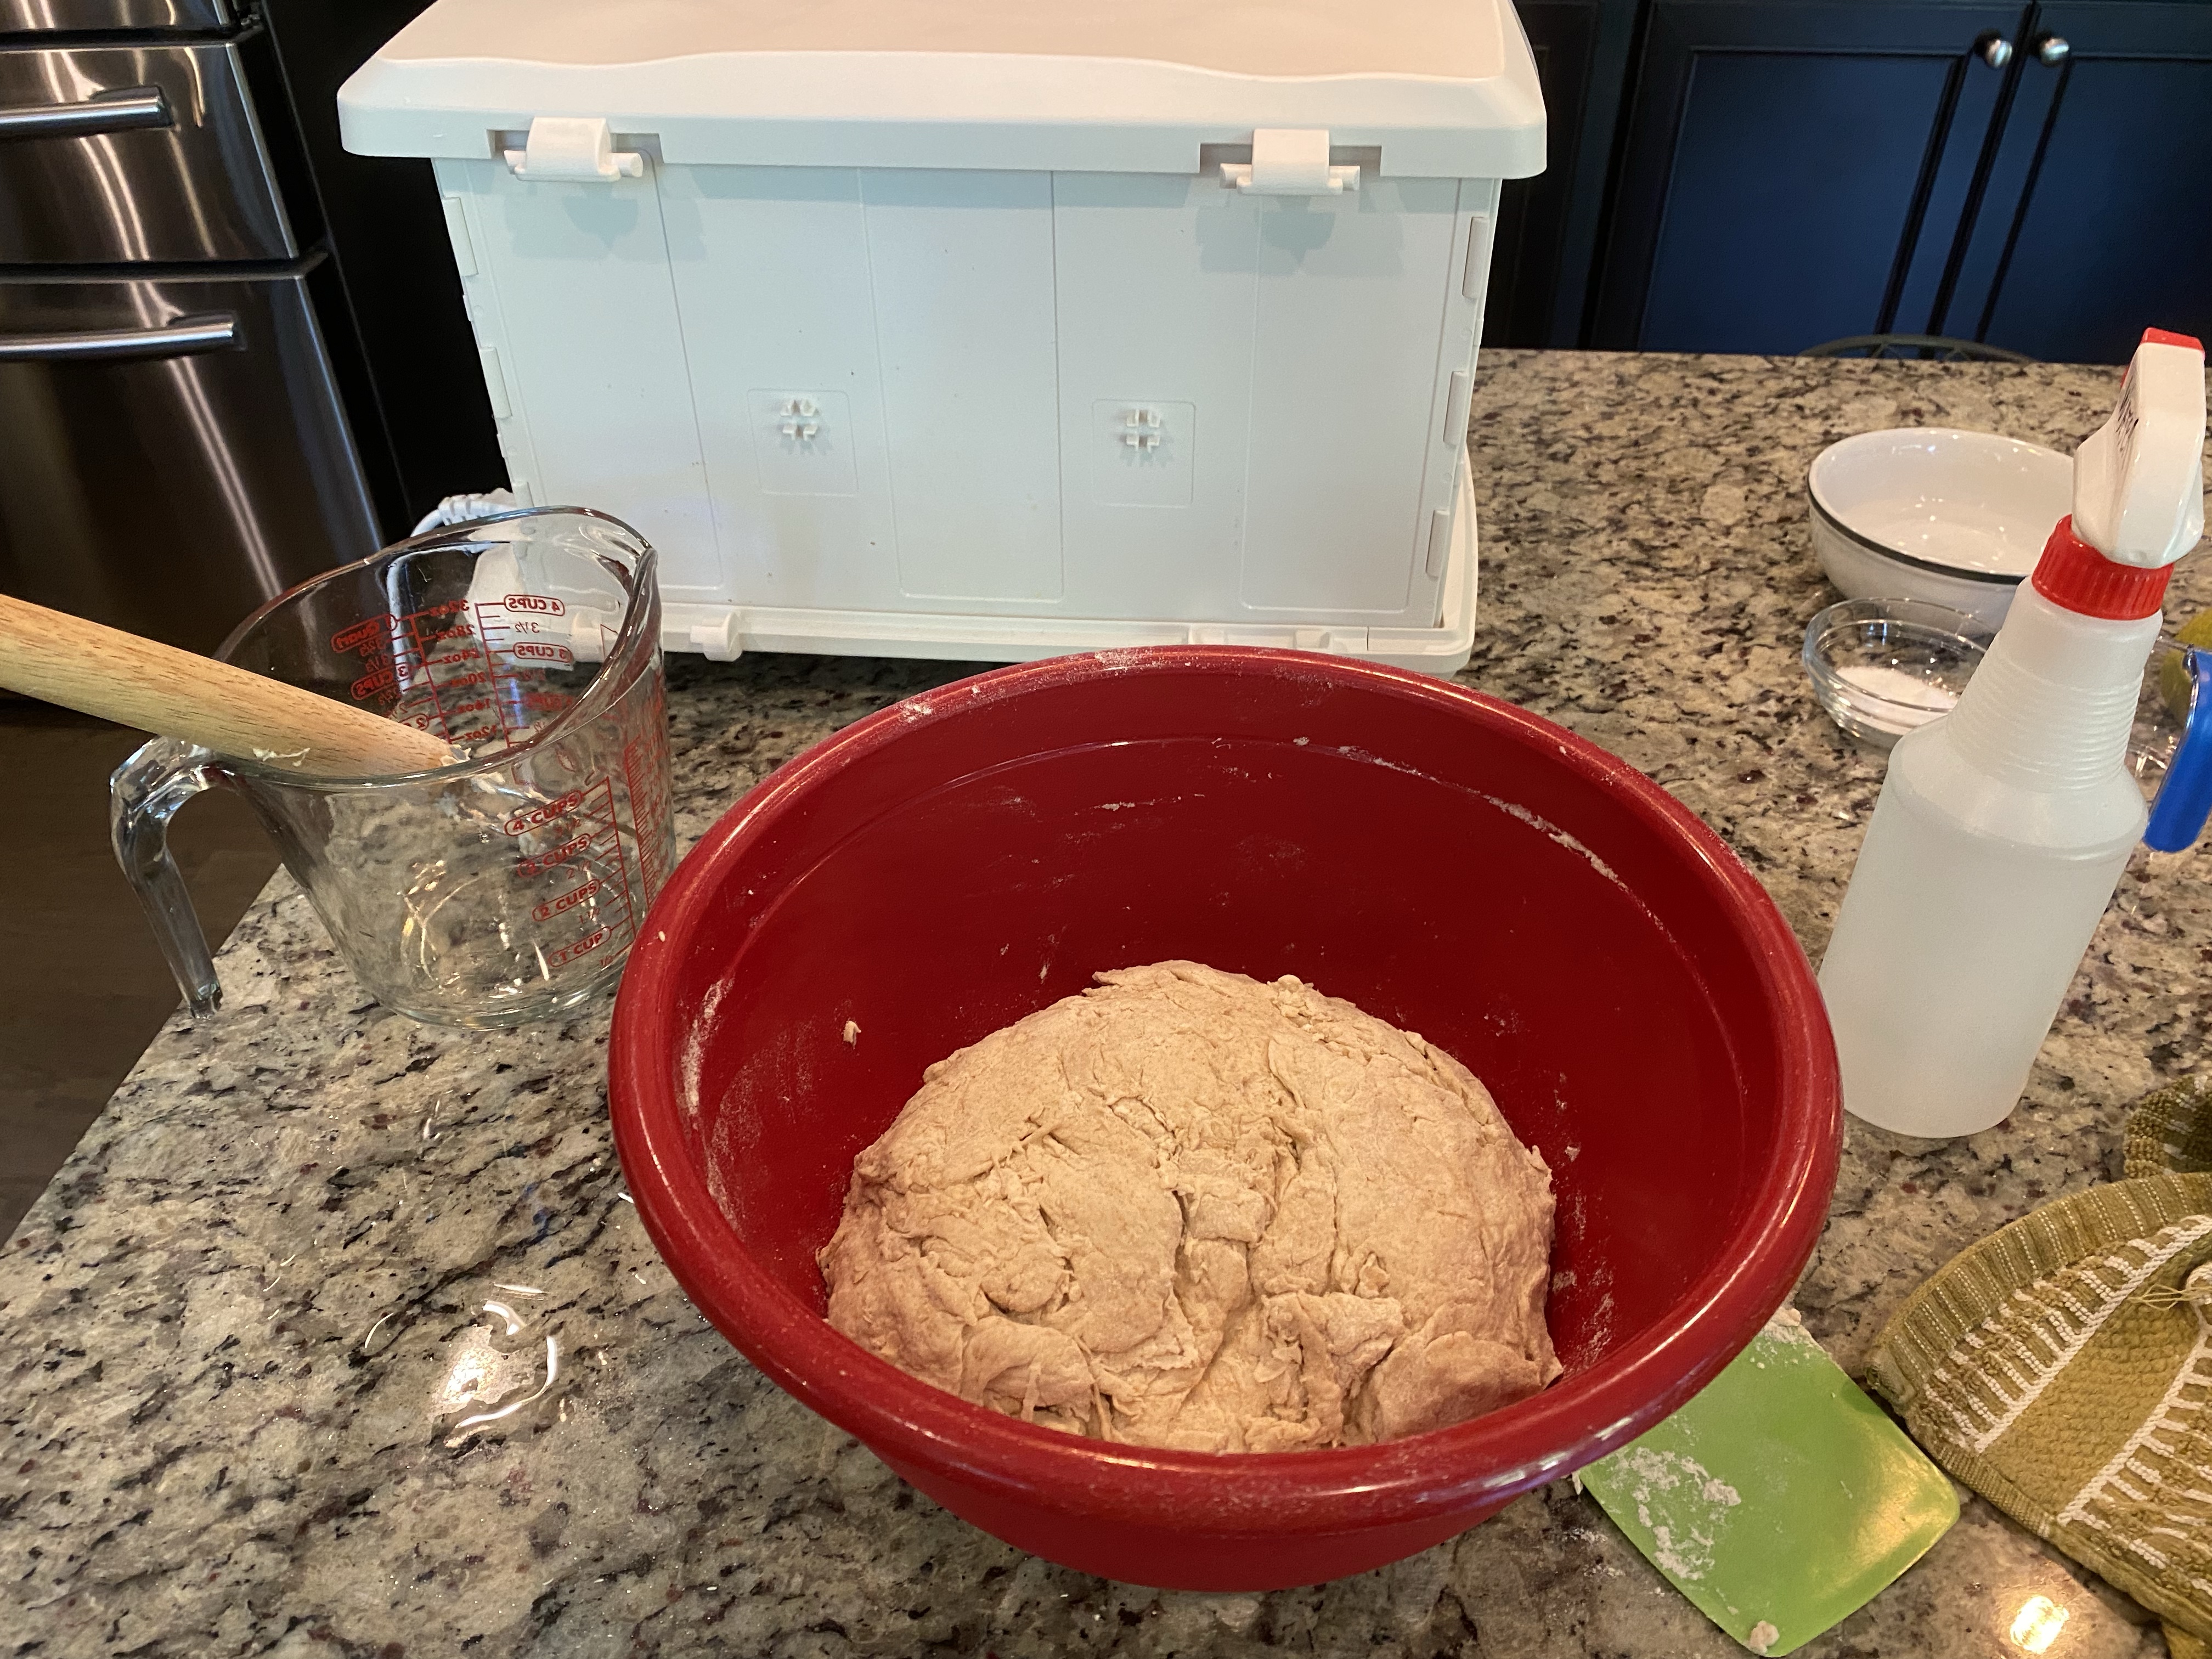
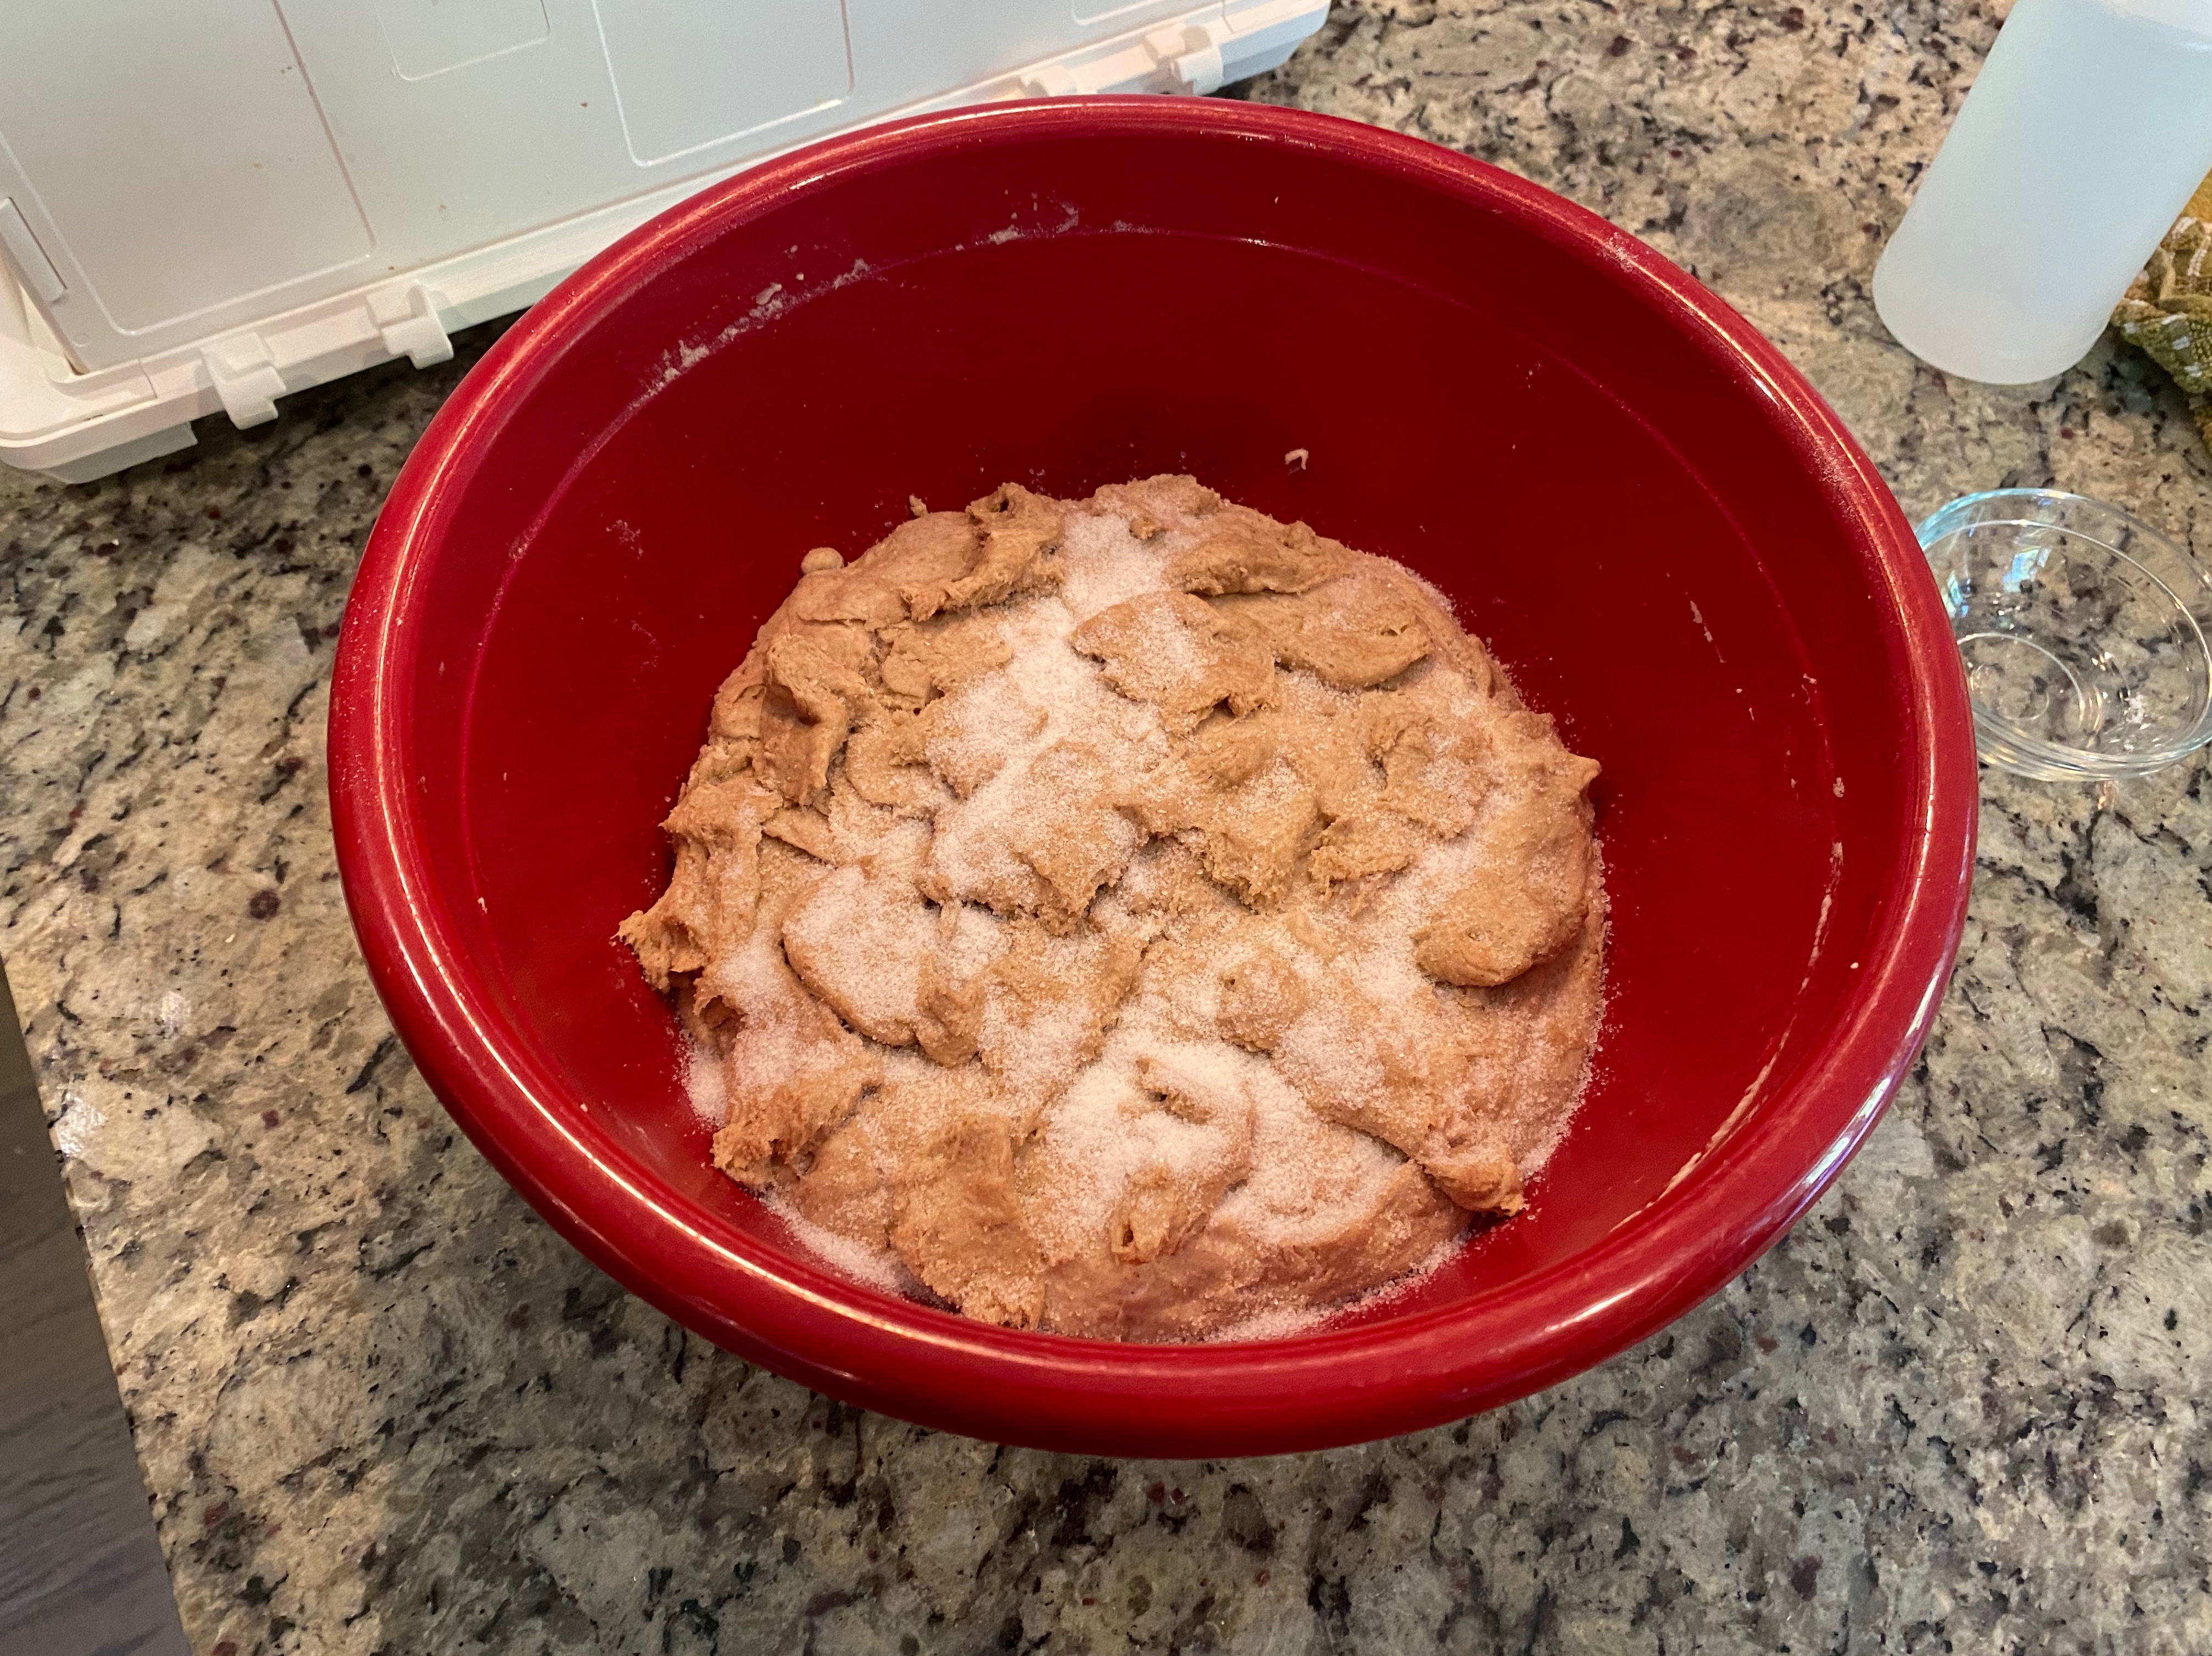
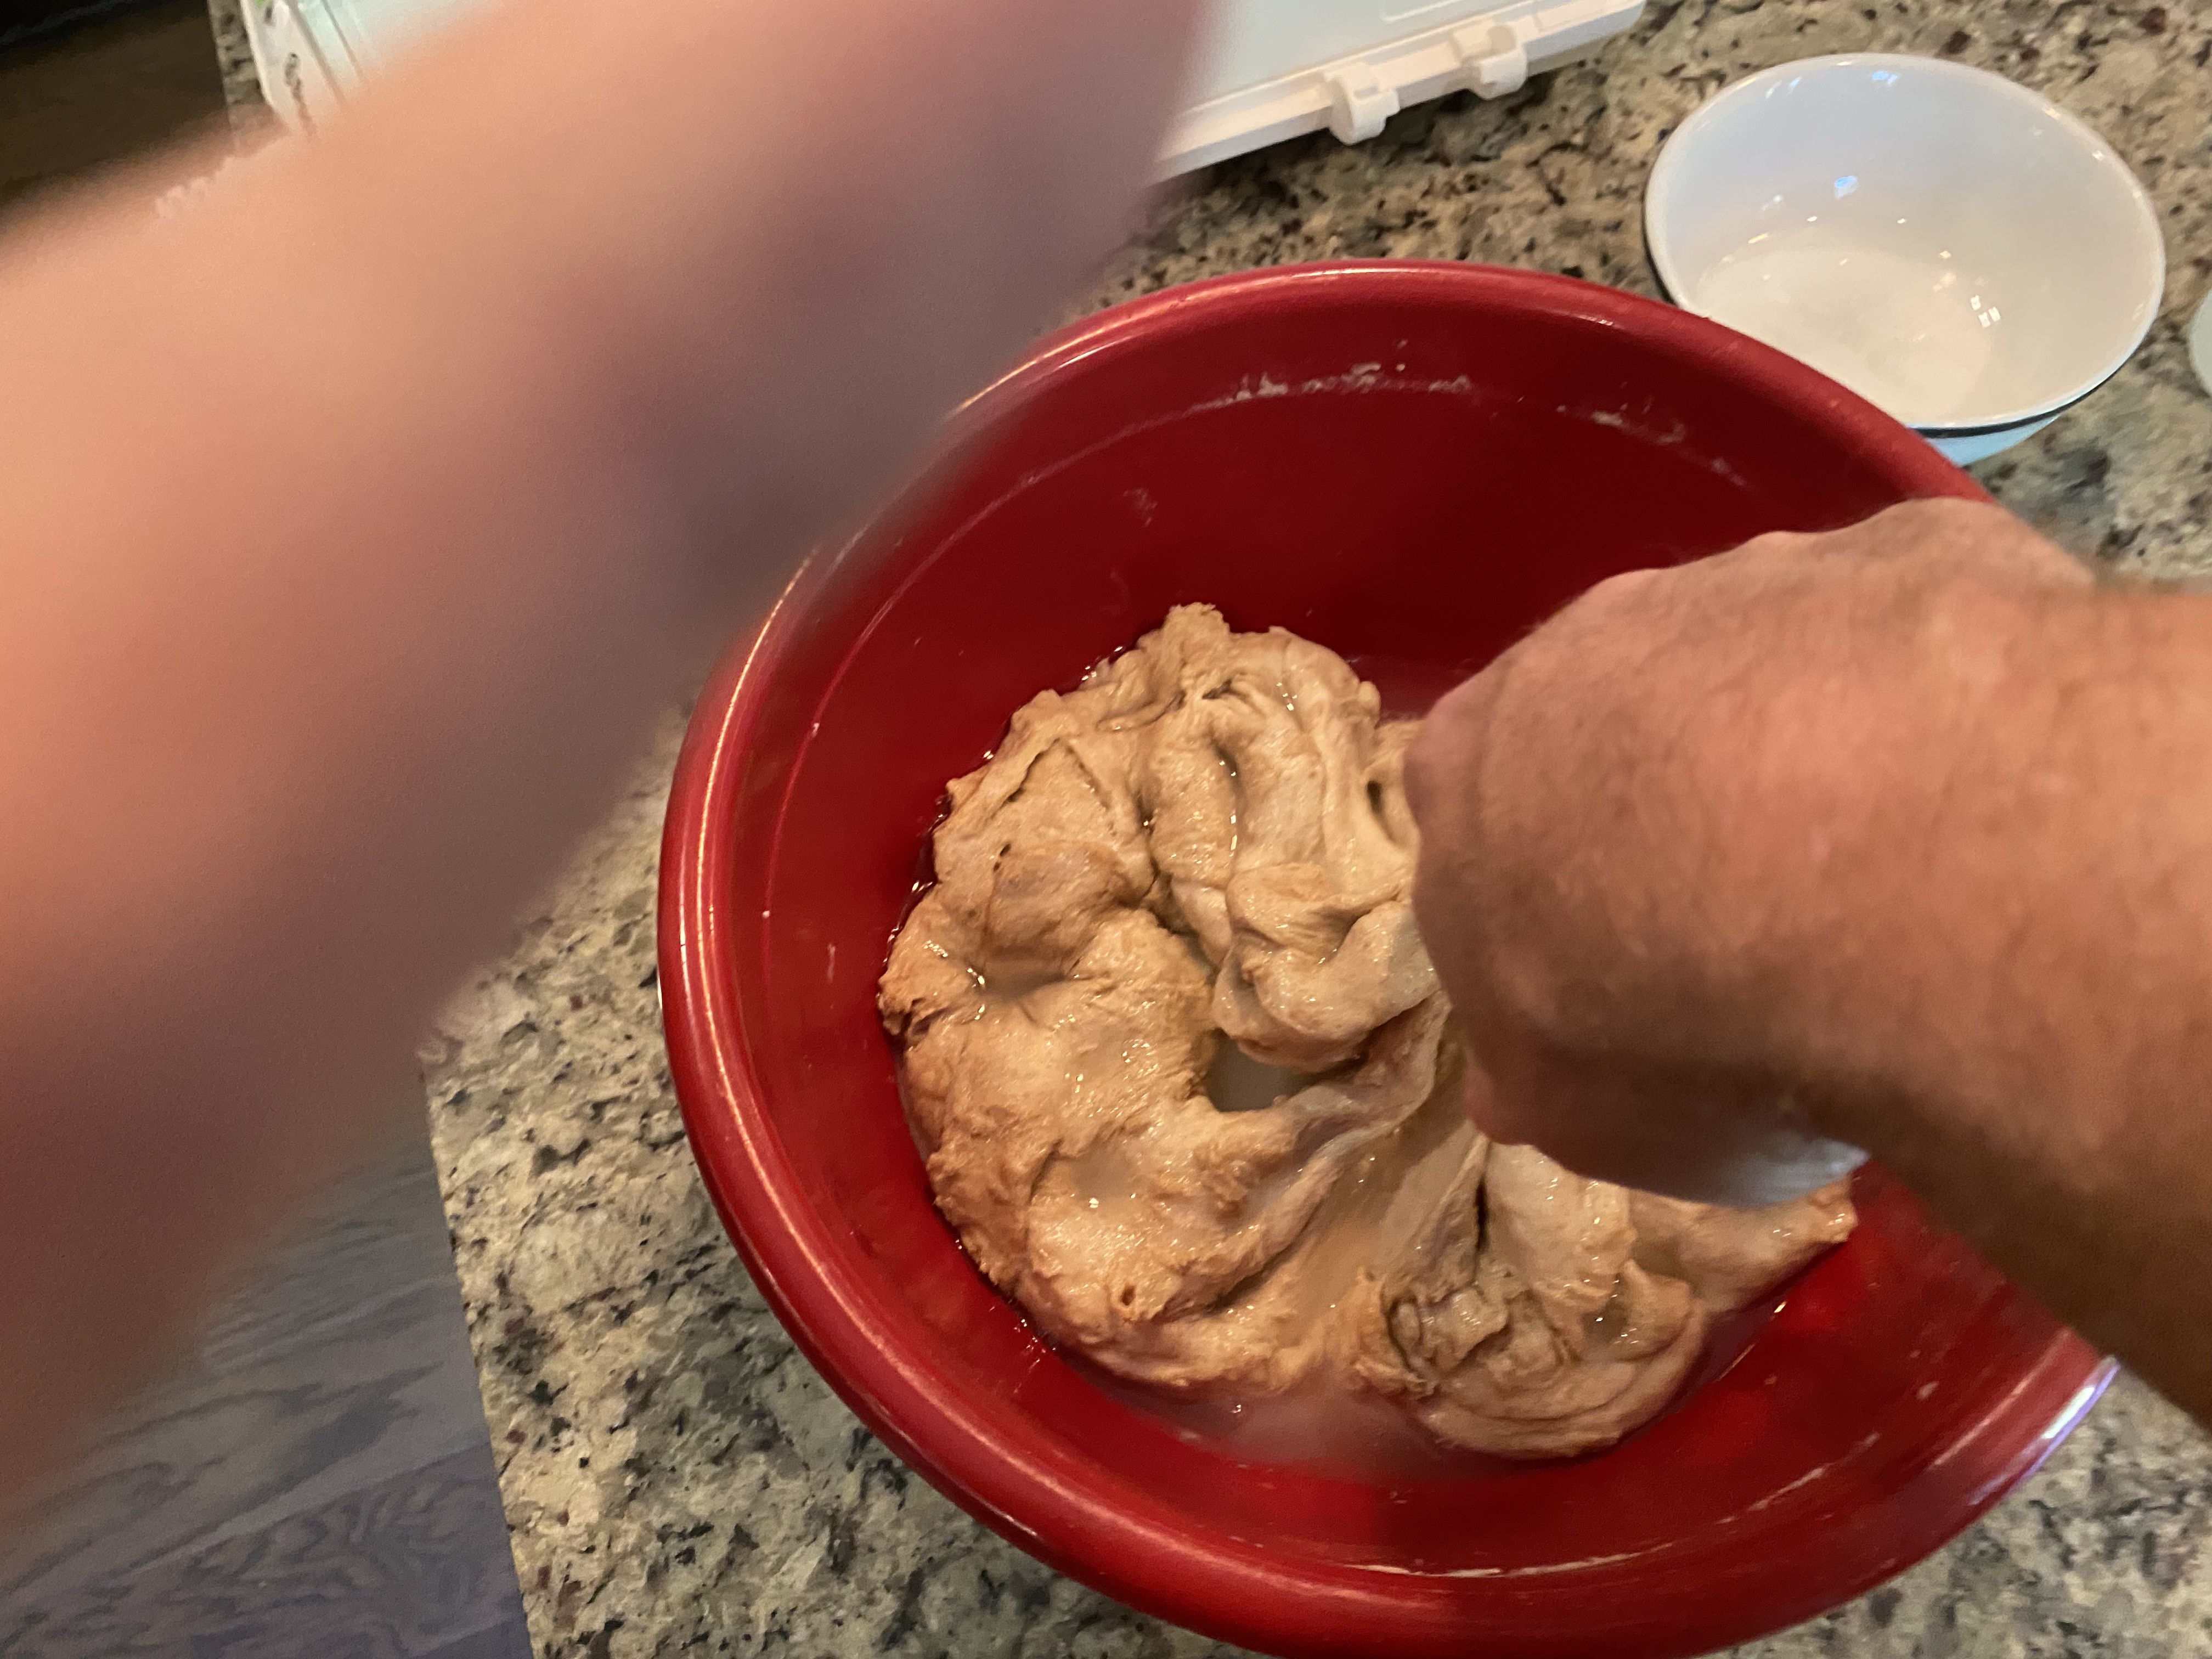
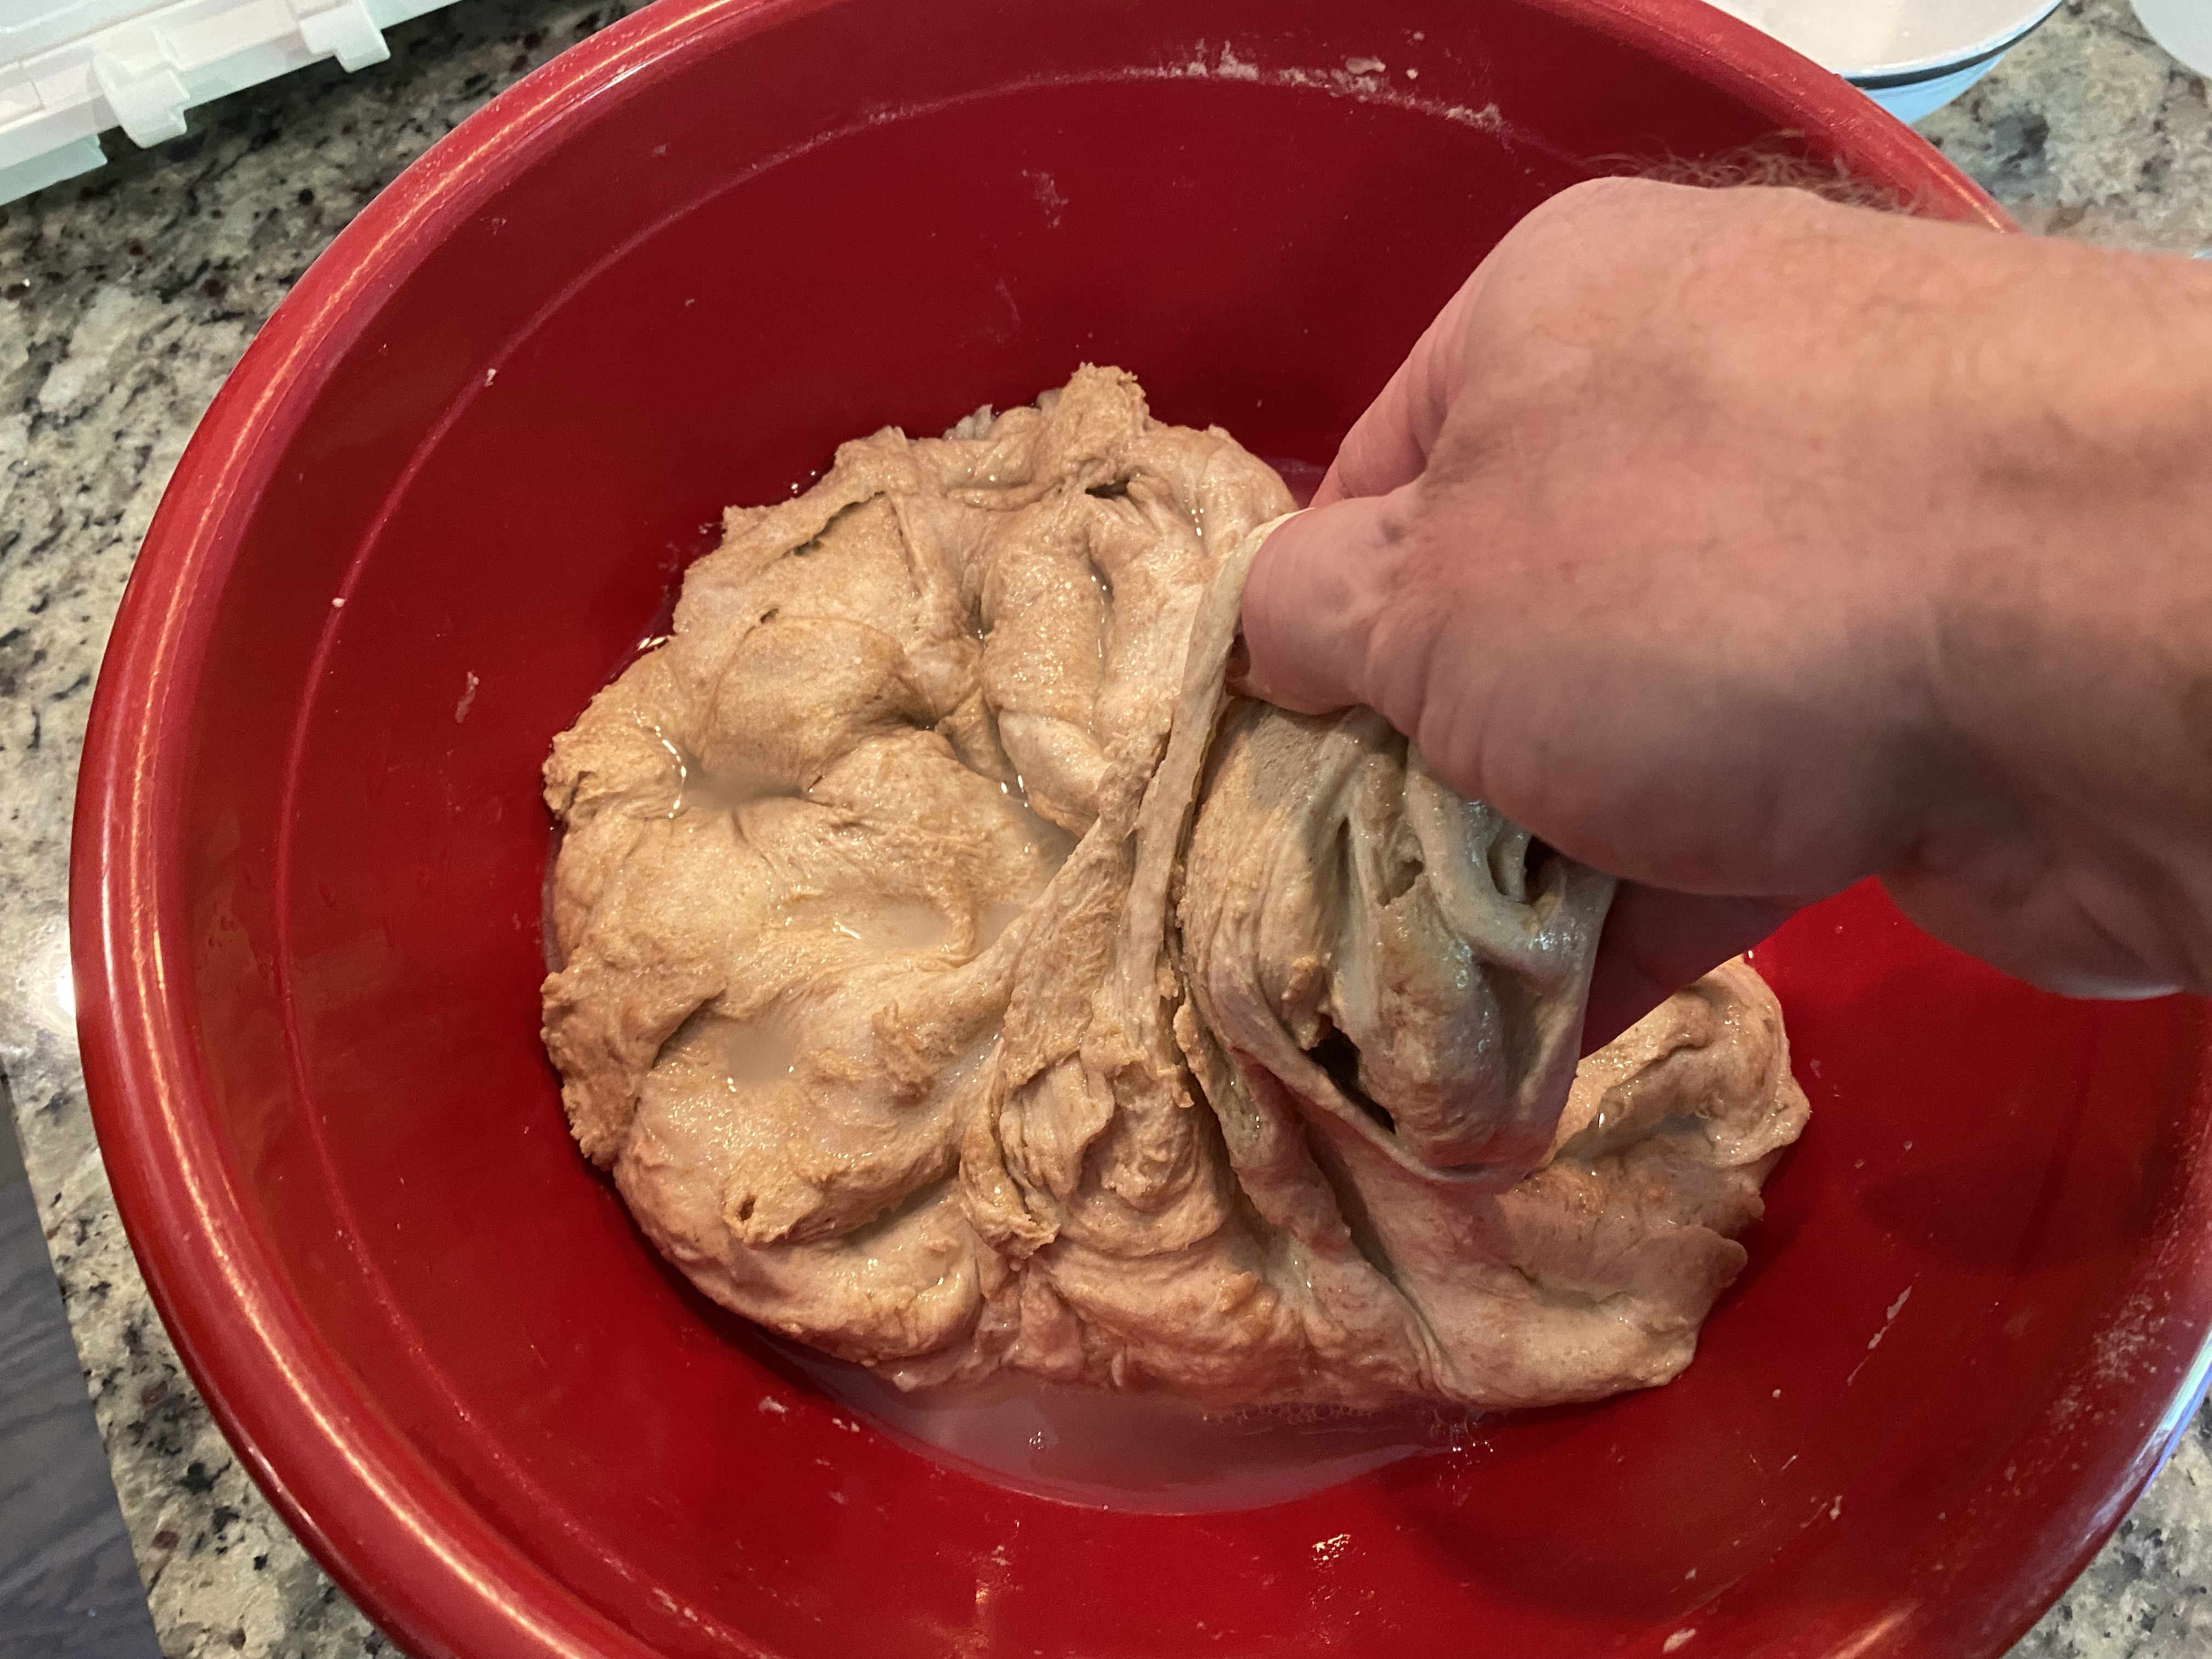
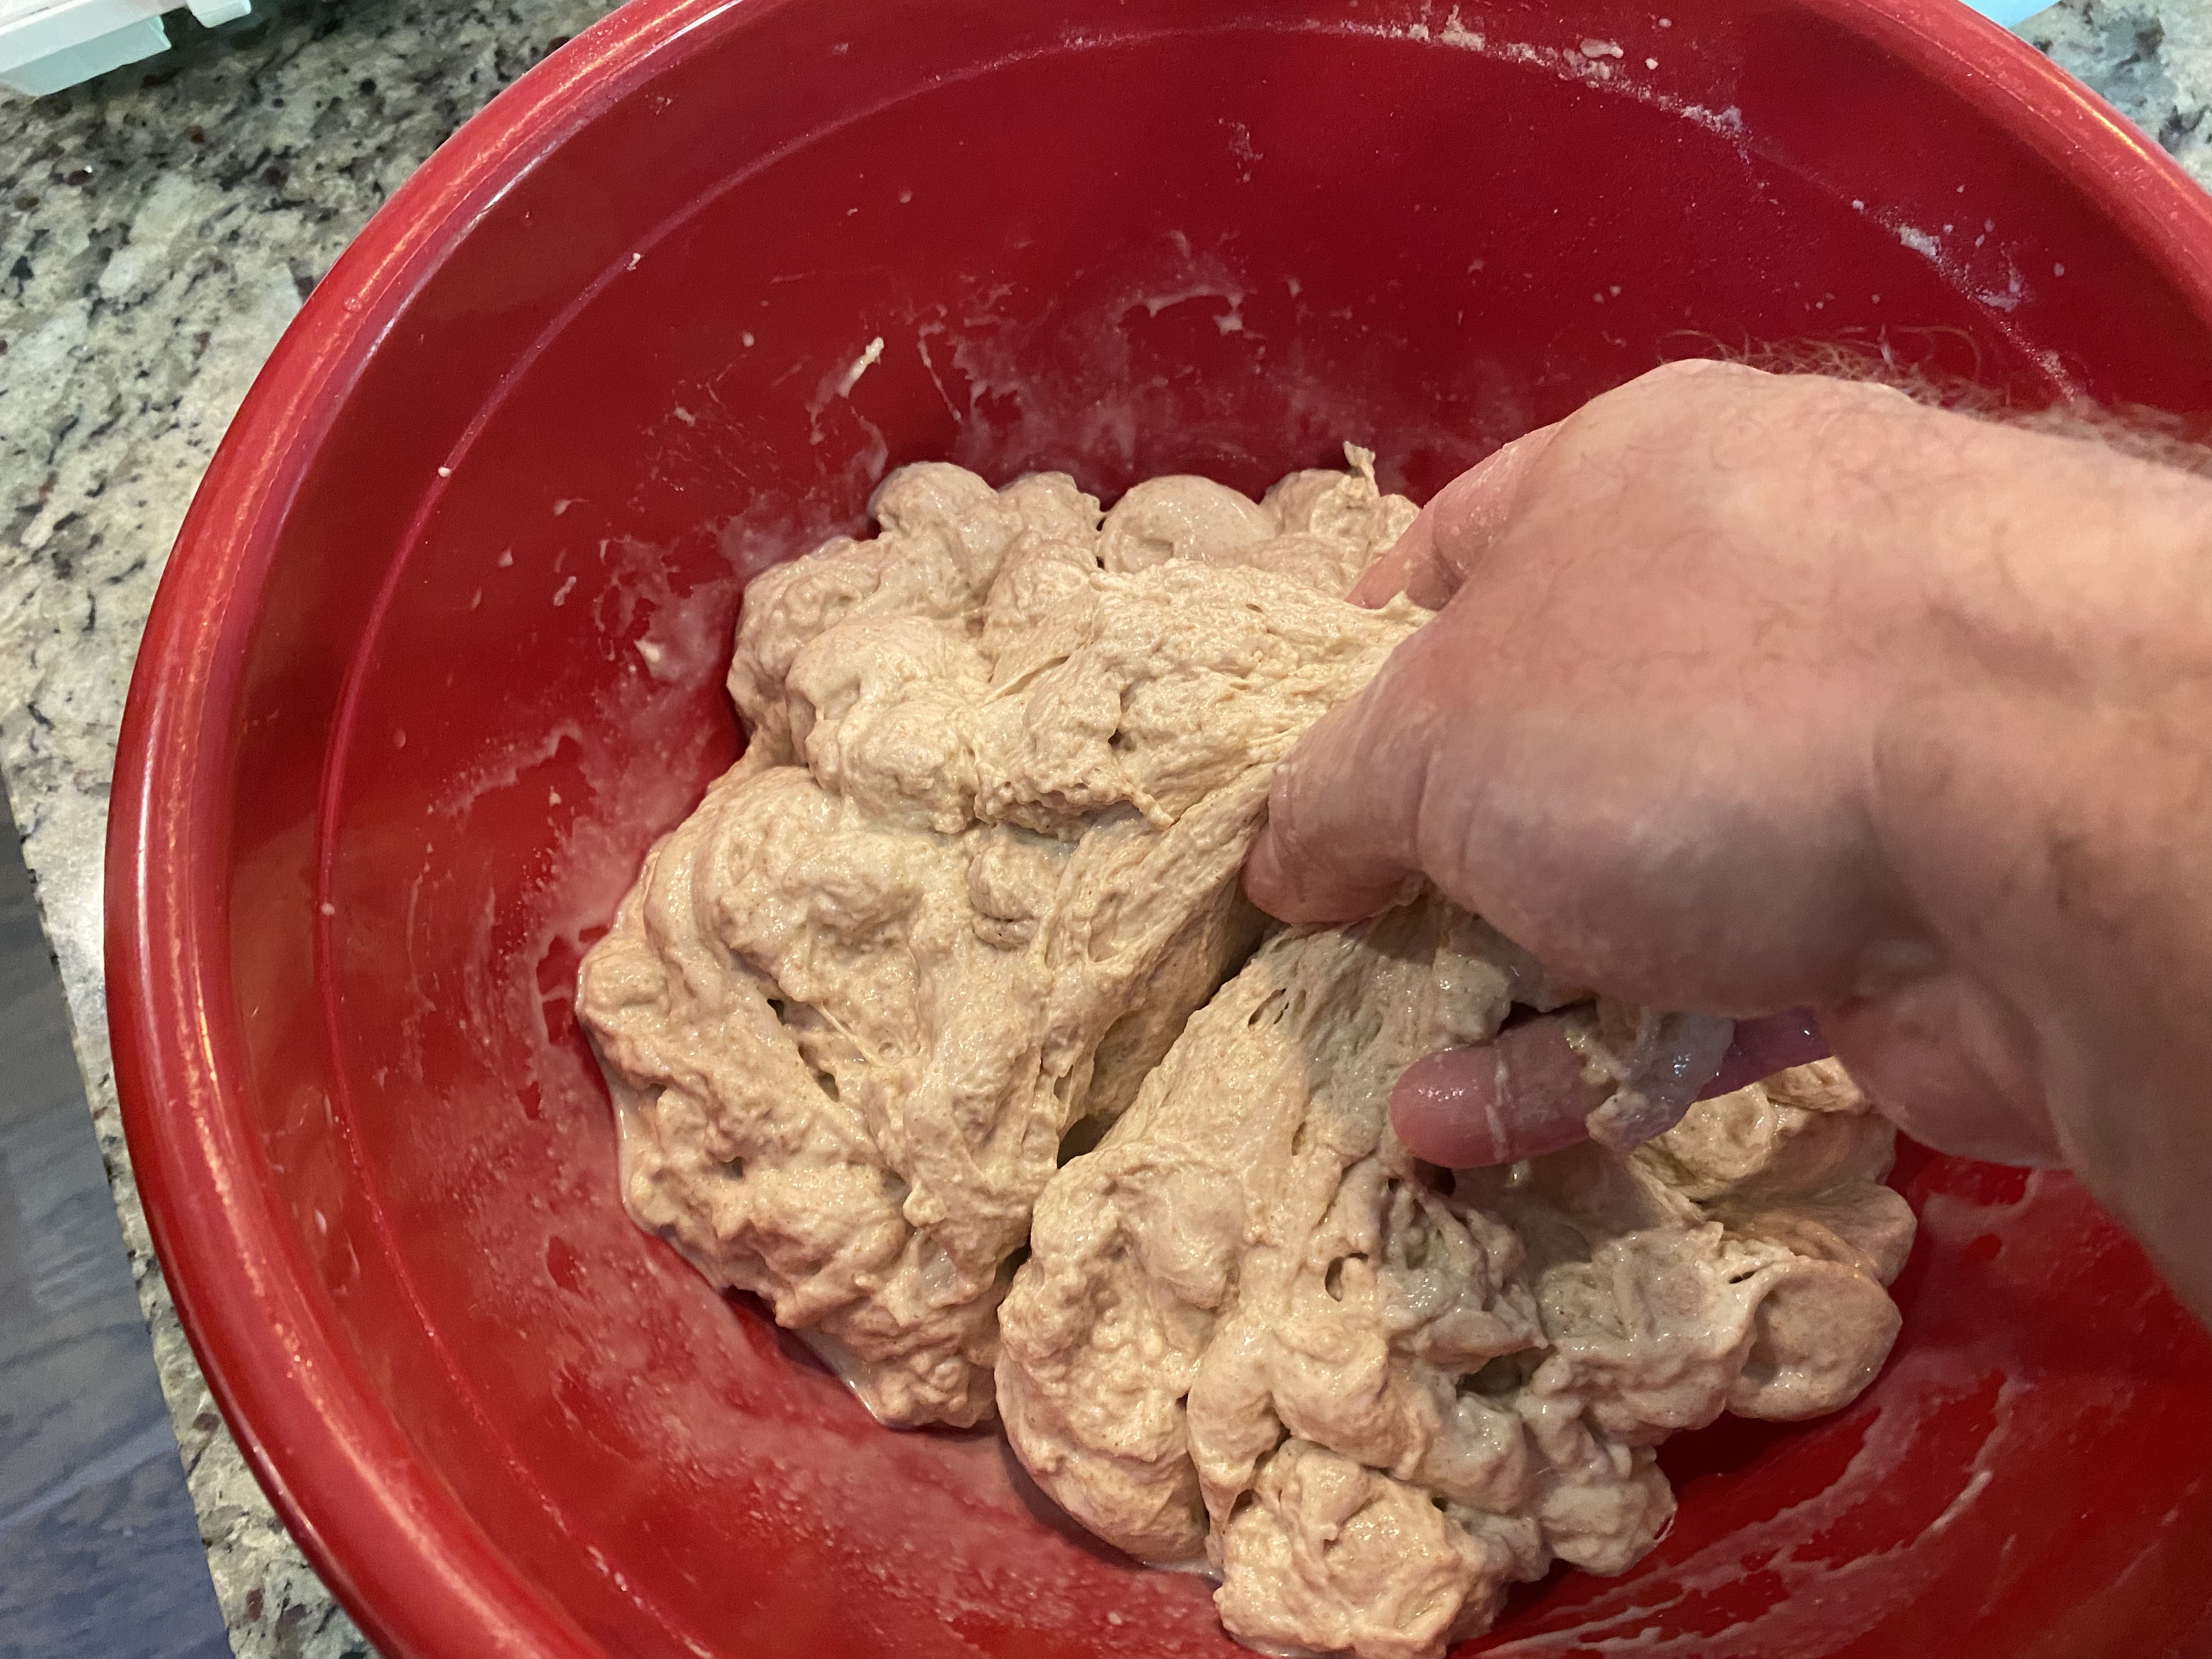
I squished in my leaven in a similar manner to the Poolish (video above). I then set my timer for 20 minutes to let it rest before I added the salt.
I simply sprinkle the salt on and squished it in. It feels gritty and I’m looking for a general consistency in the grittiness… not some places that are more so and others that have none.
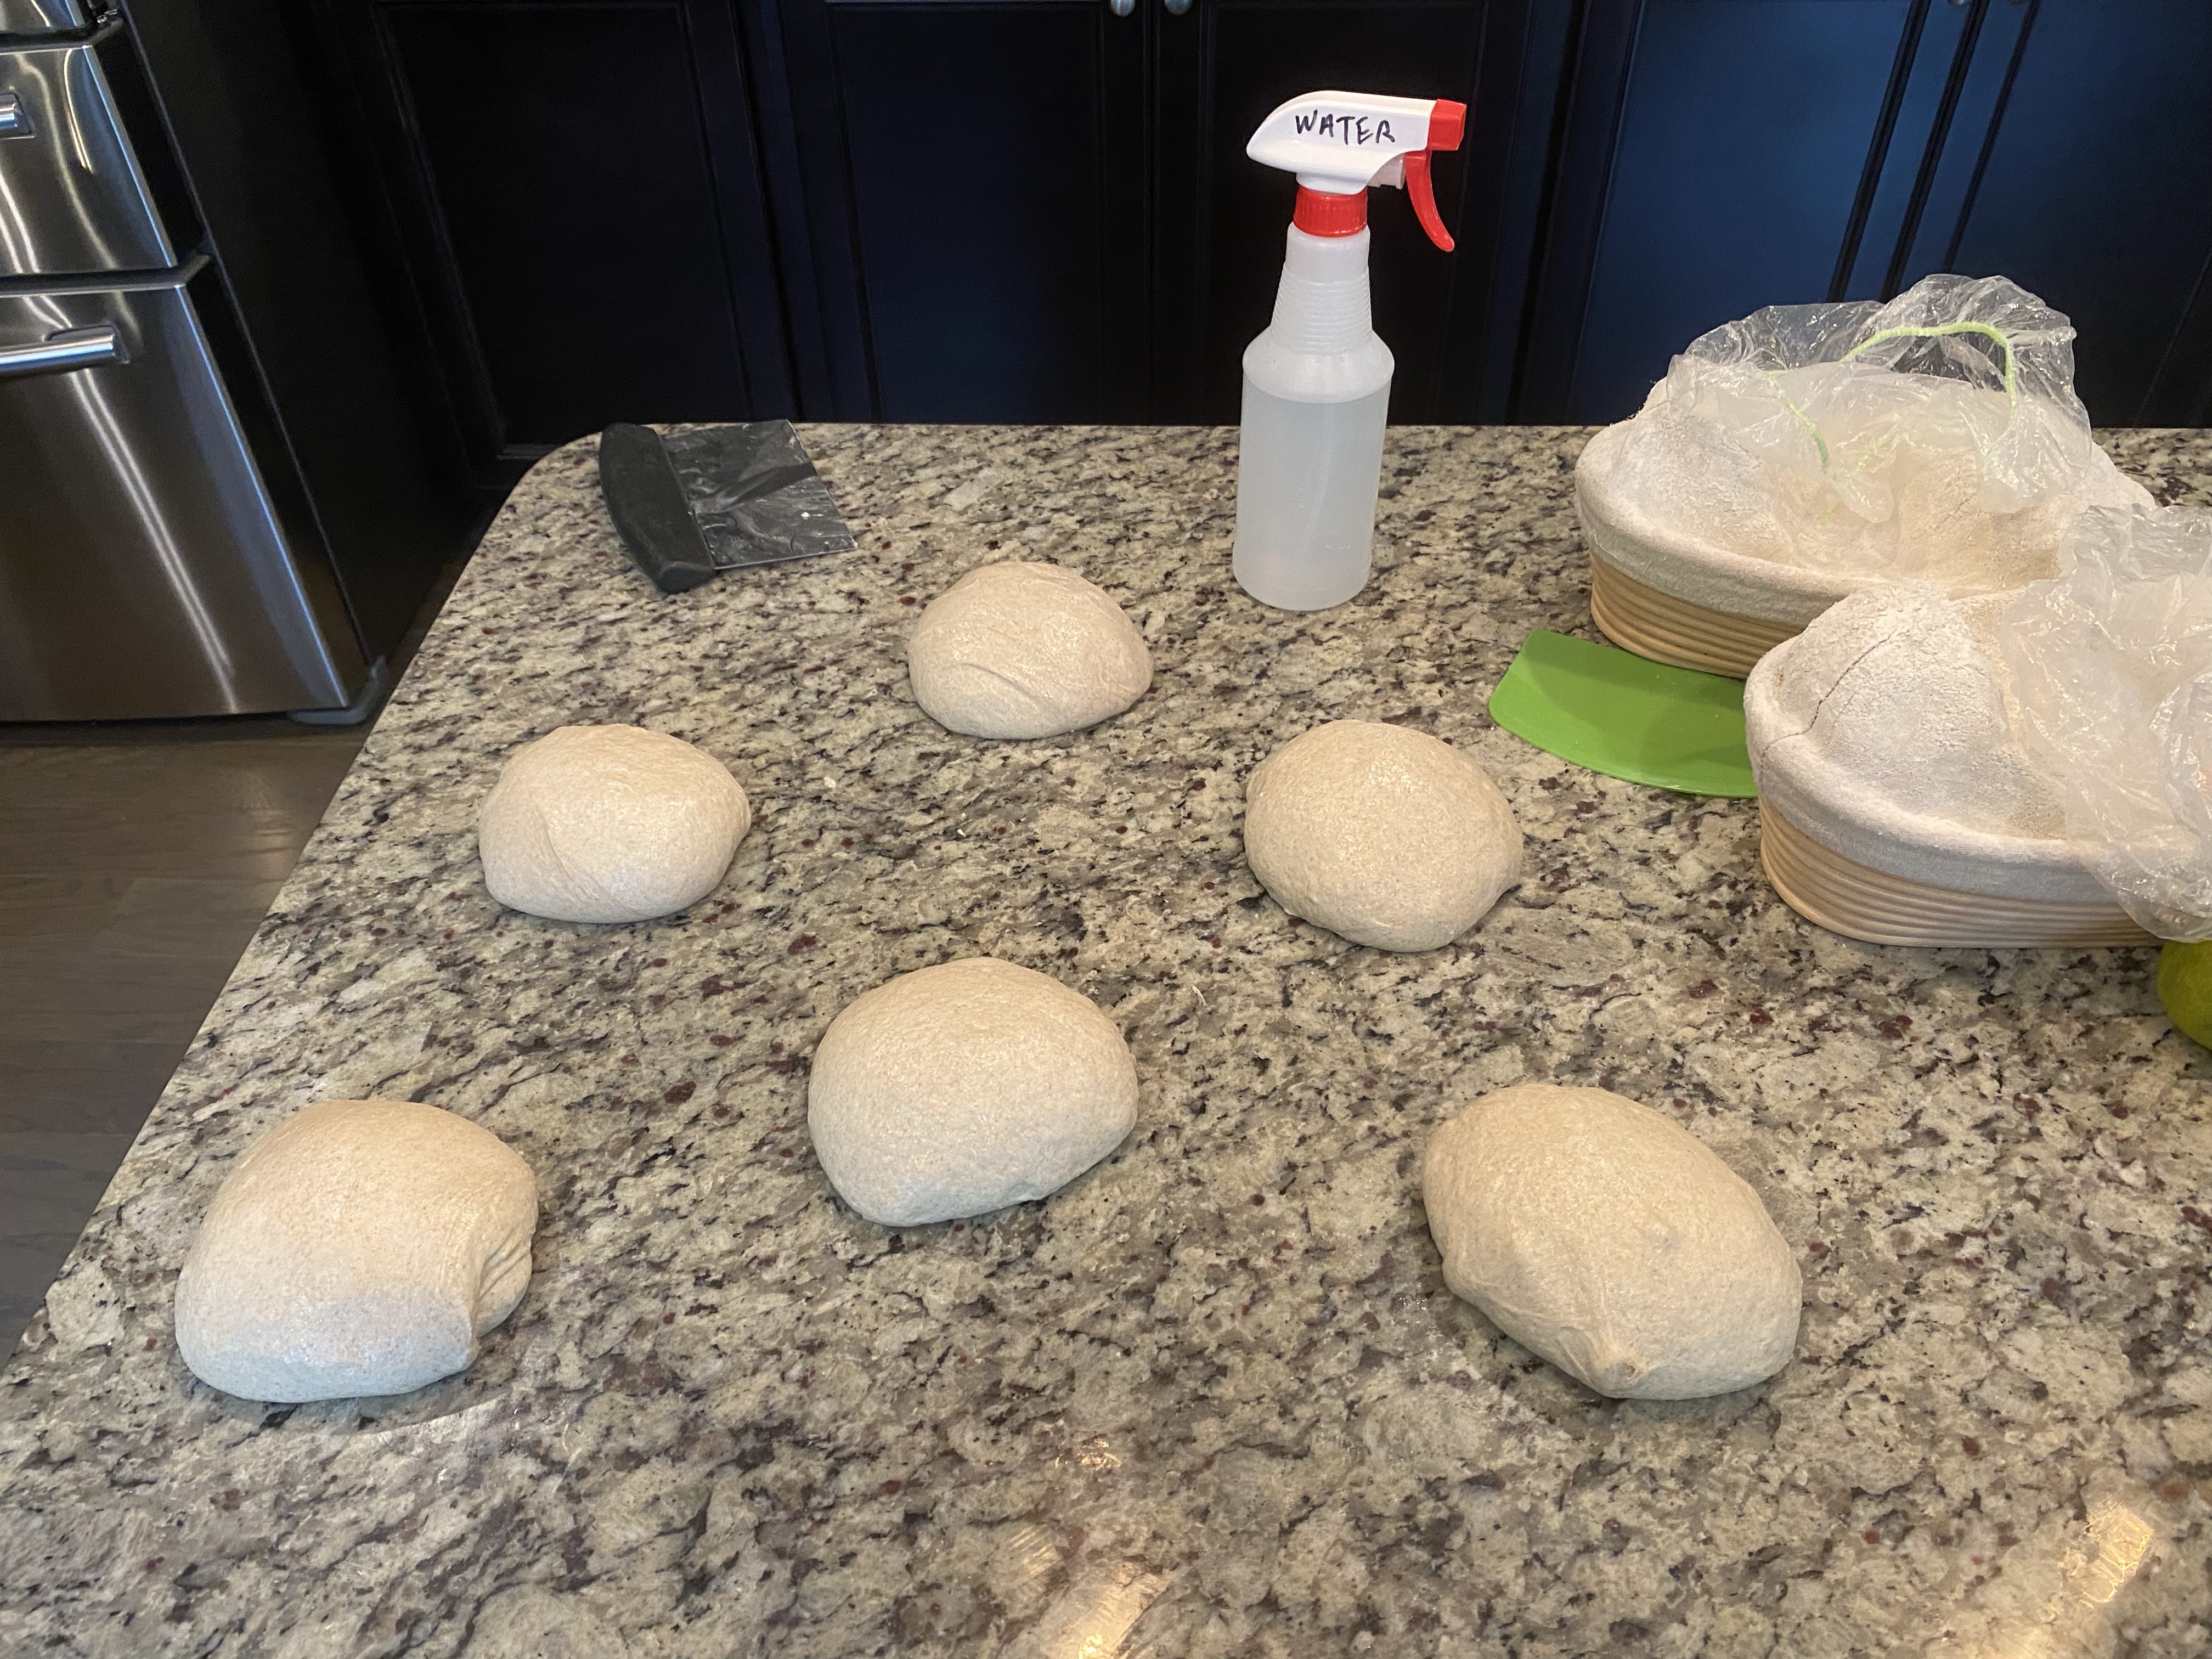
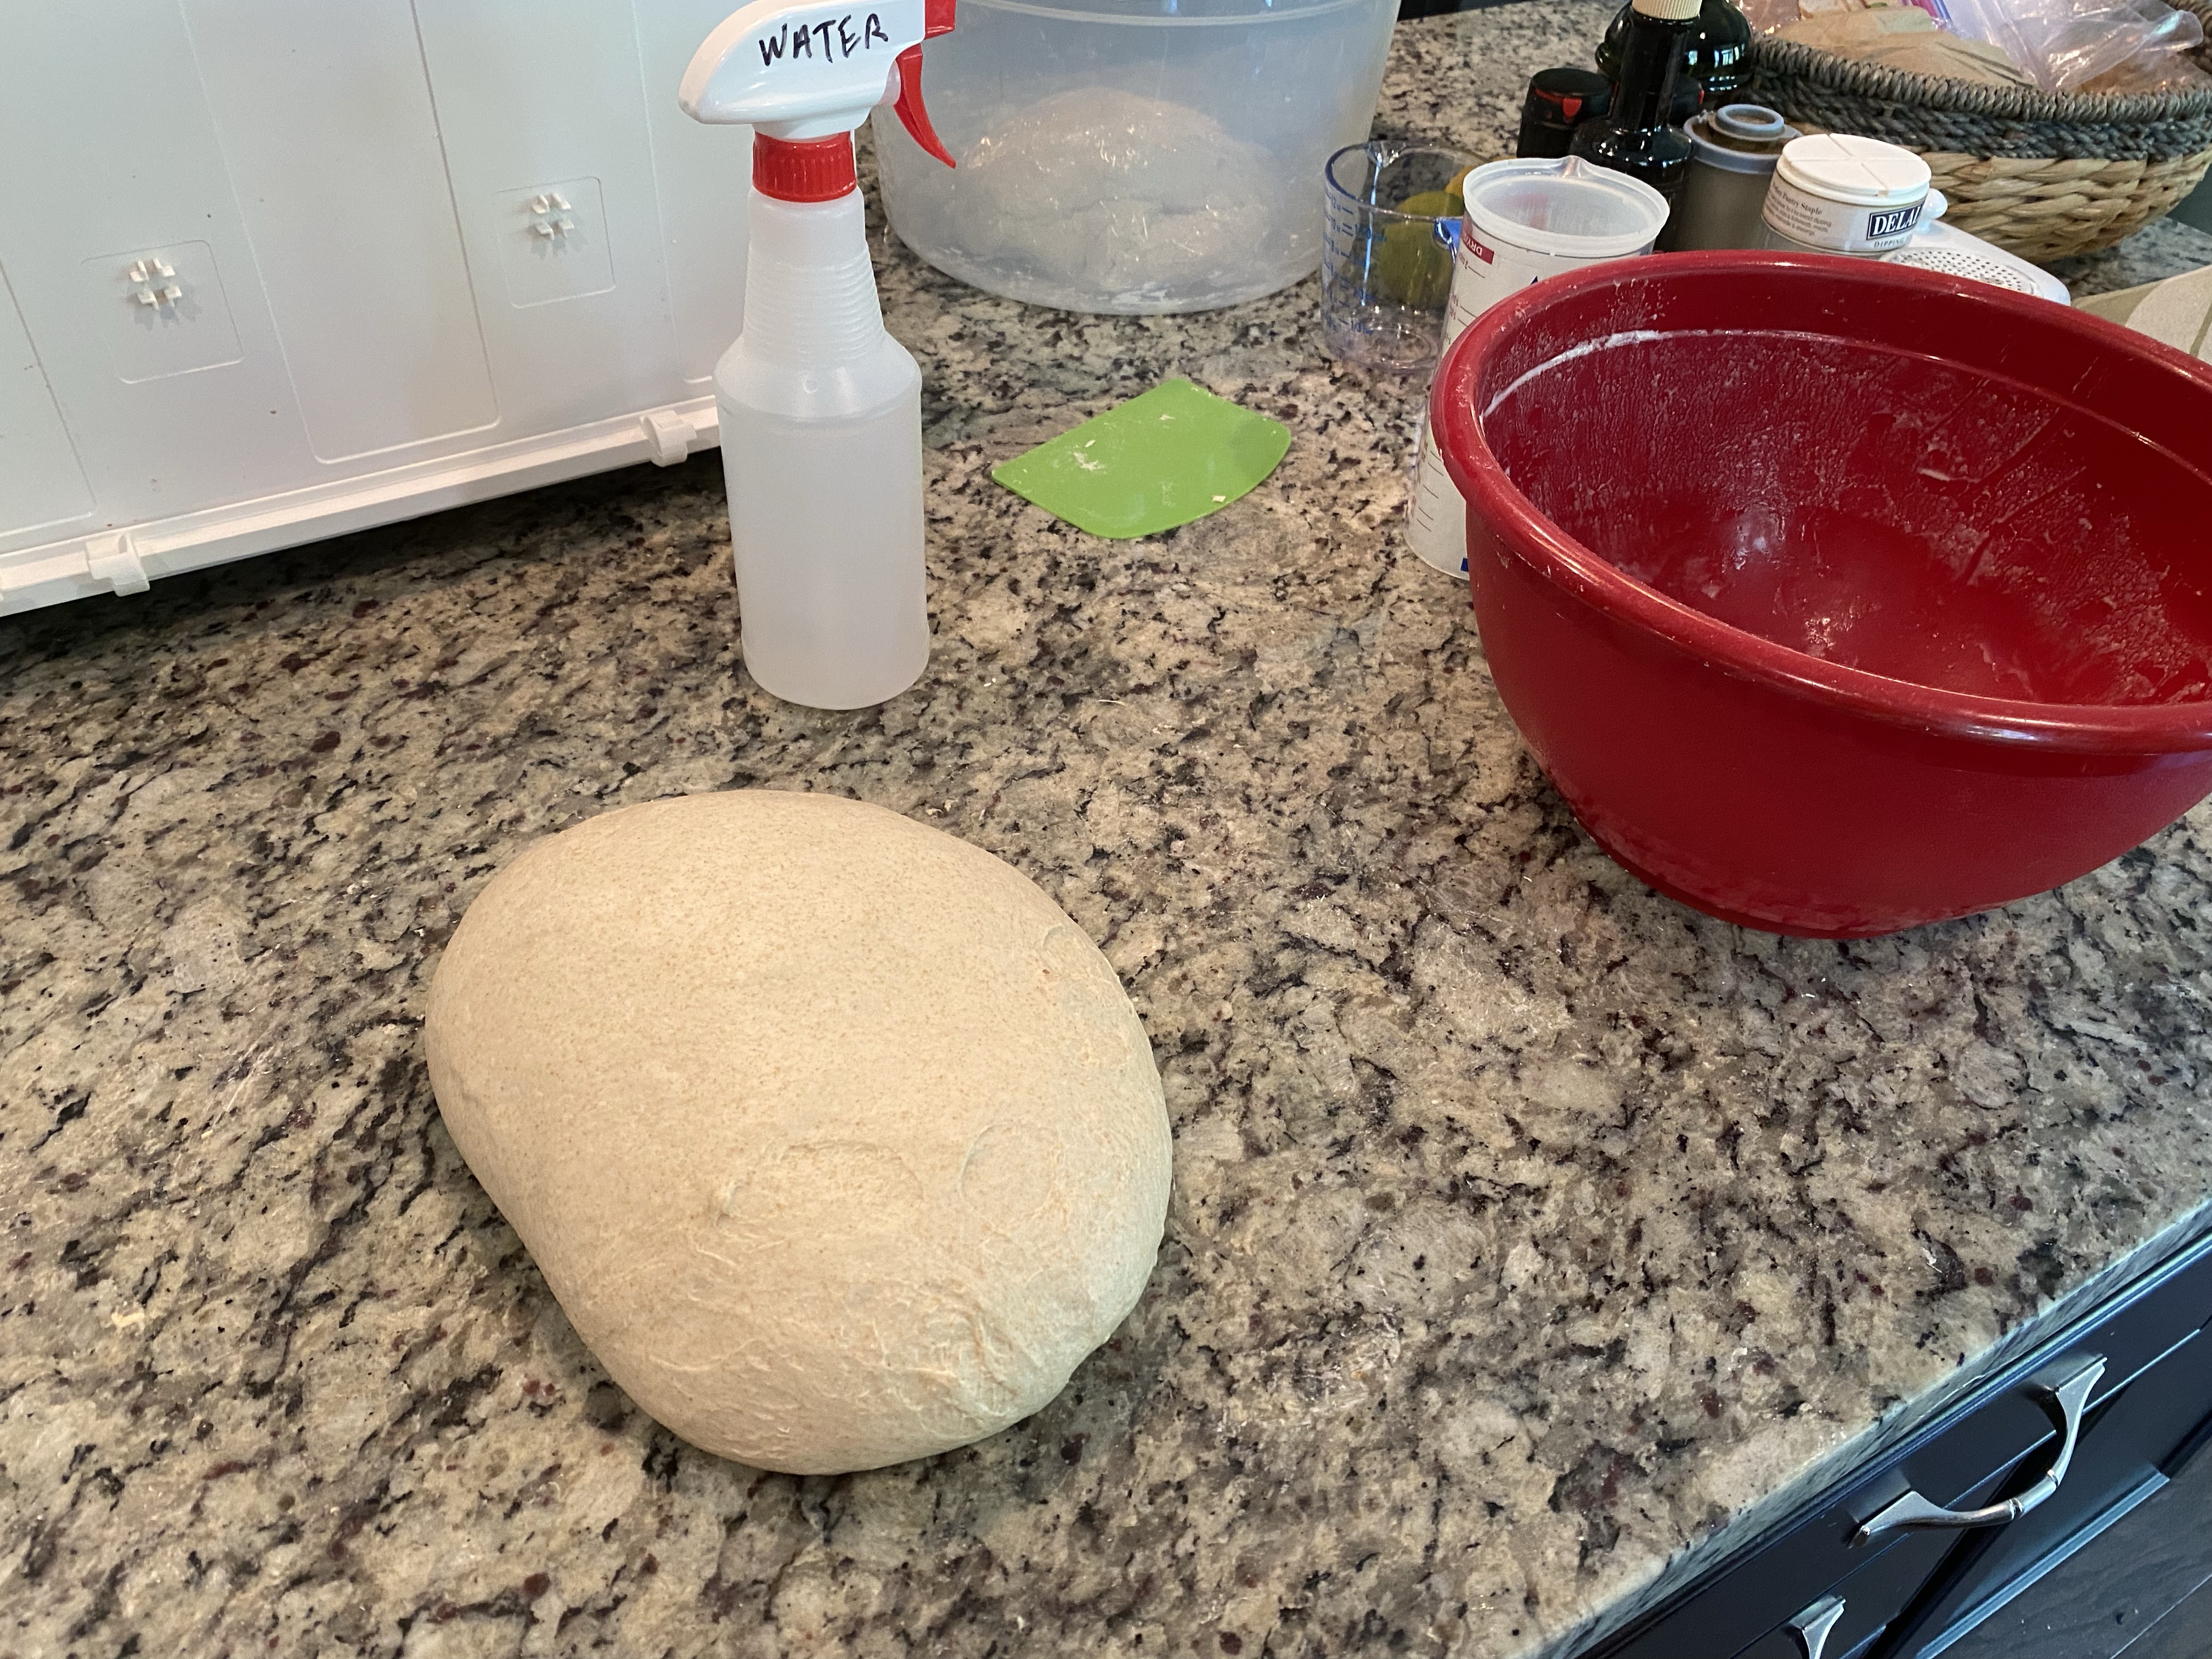
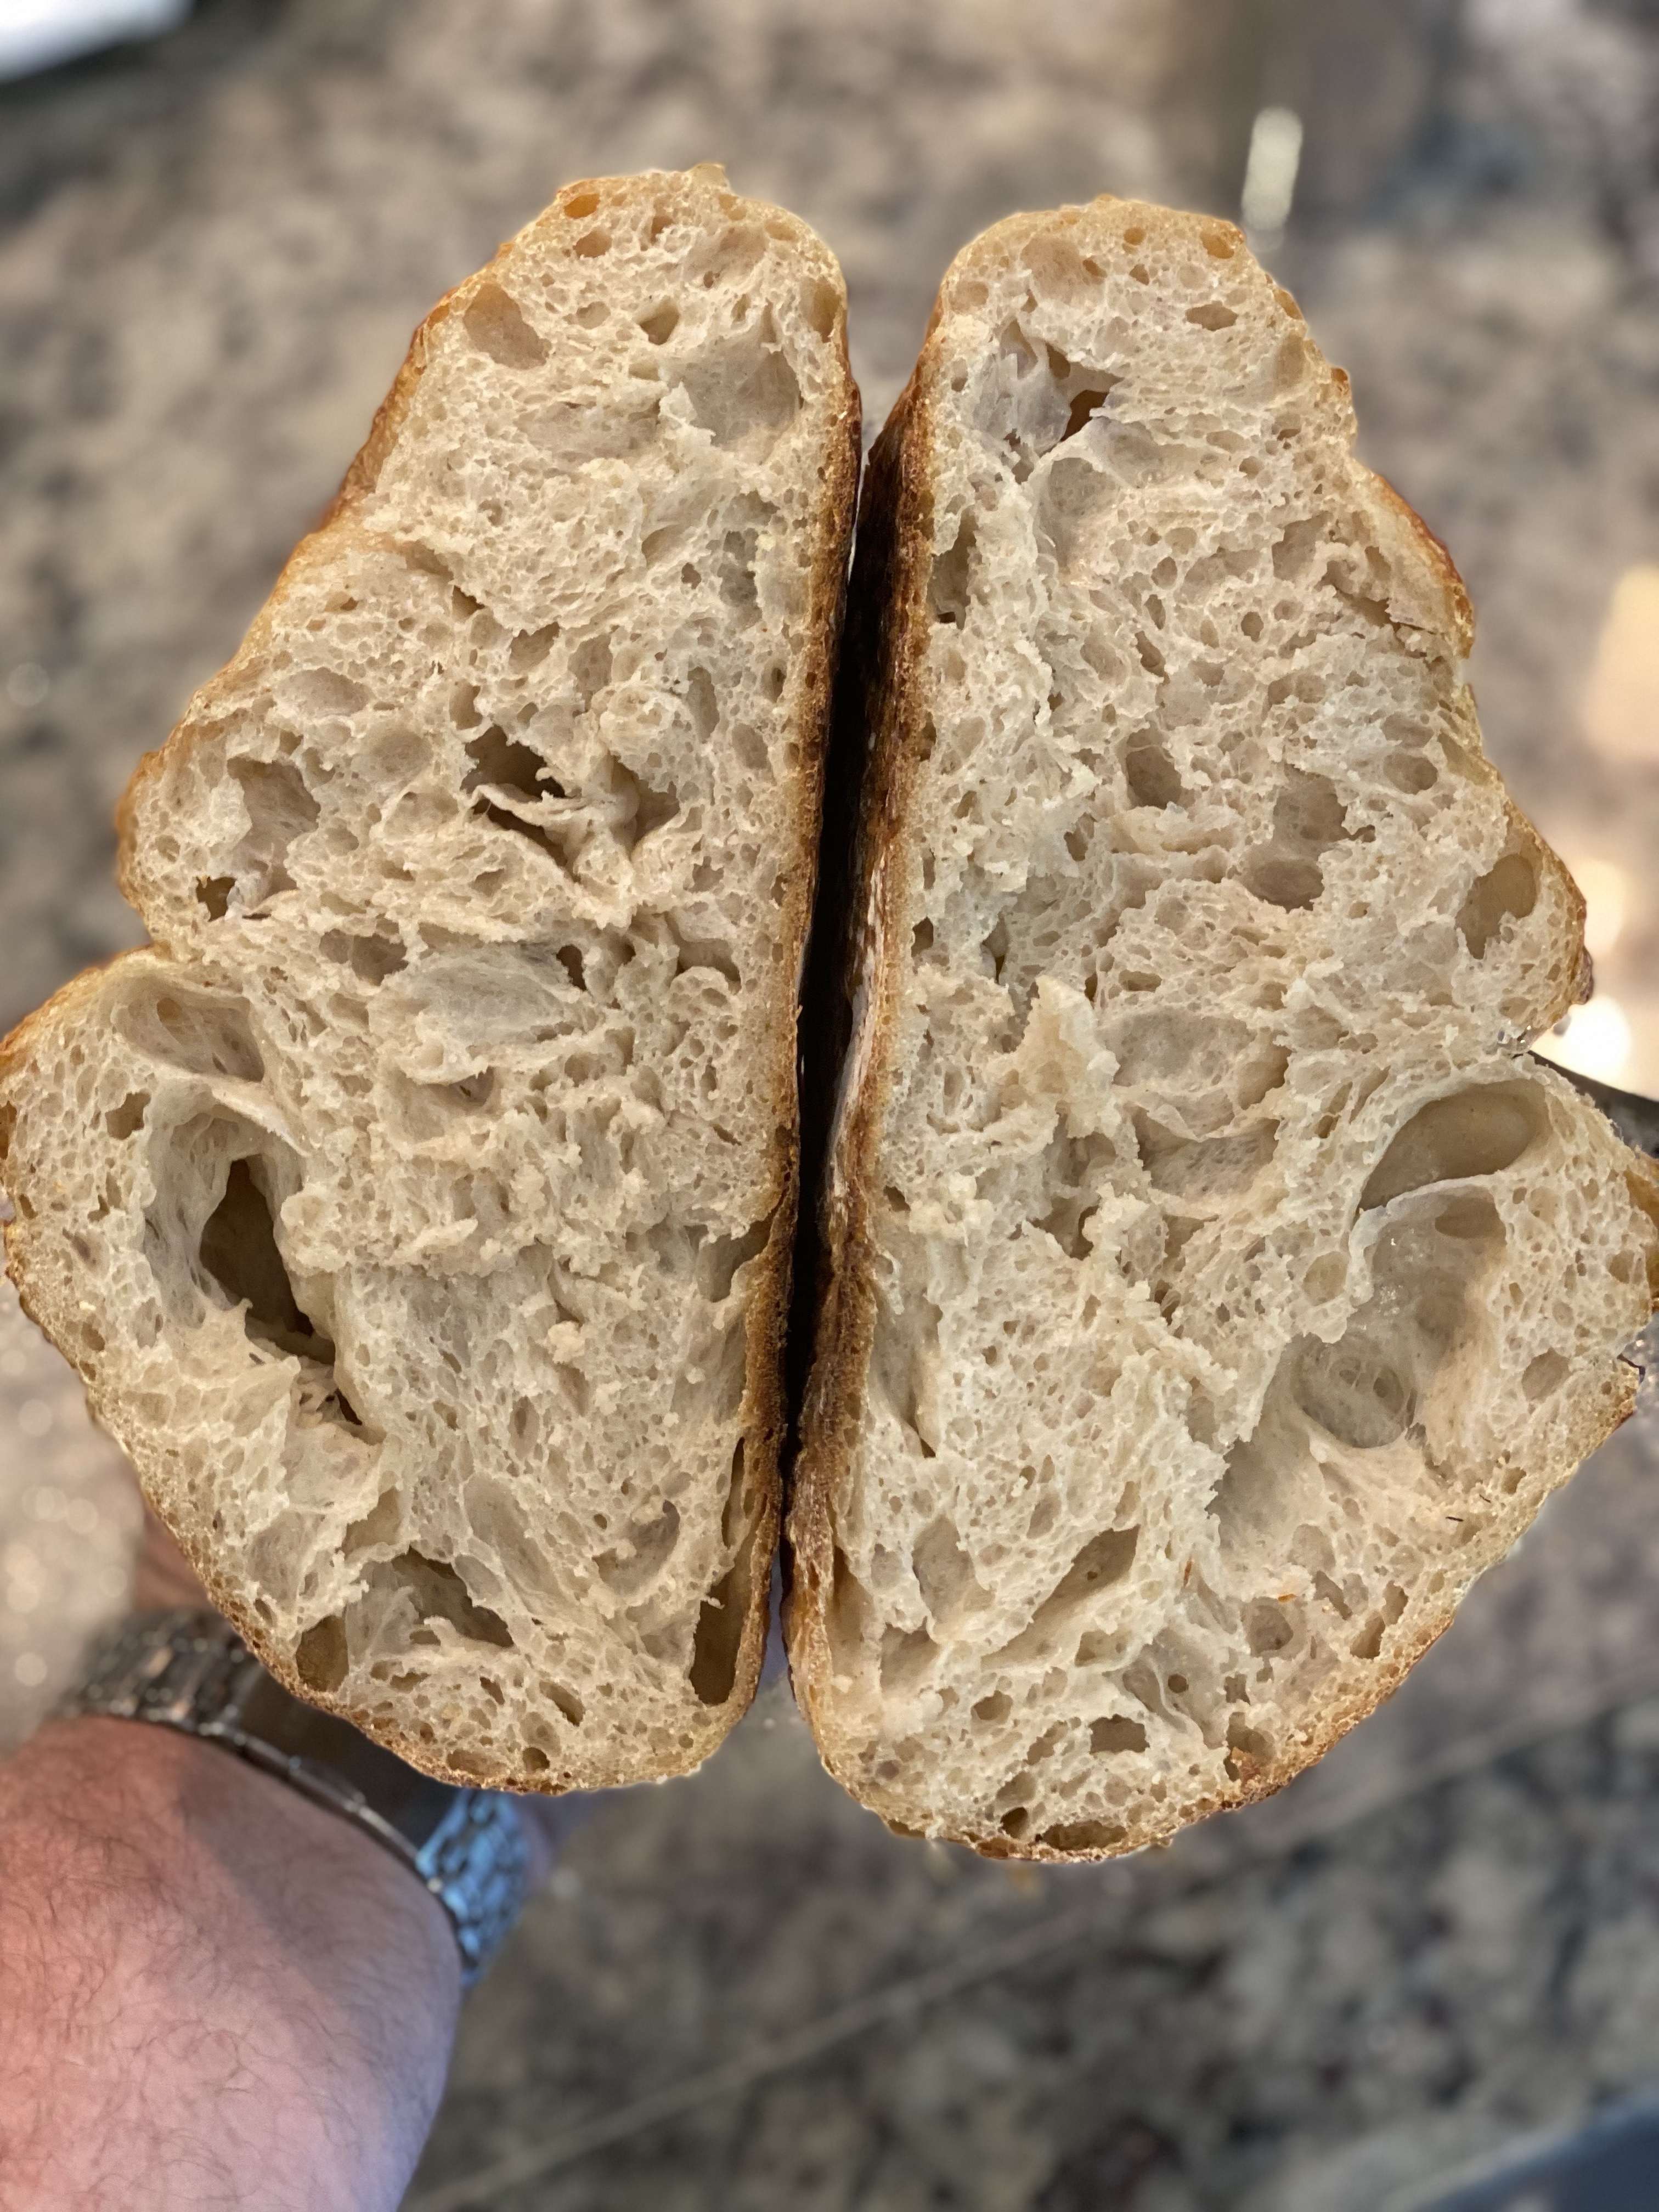
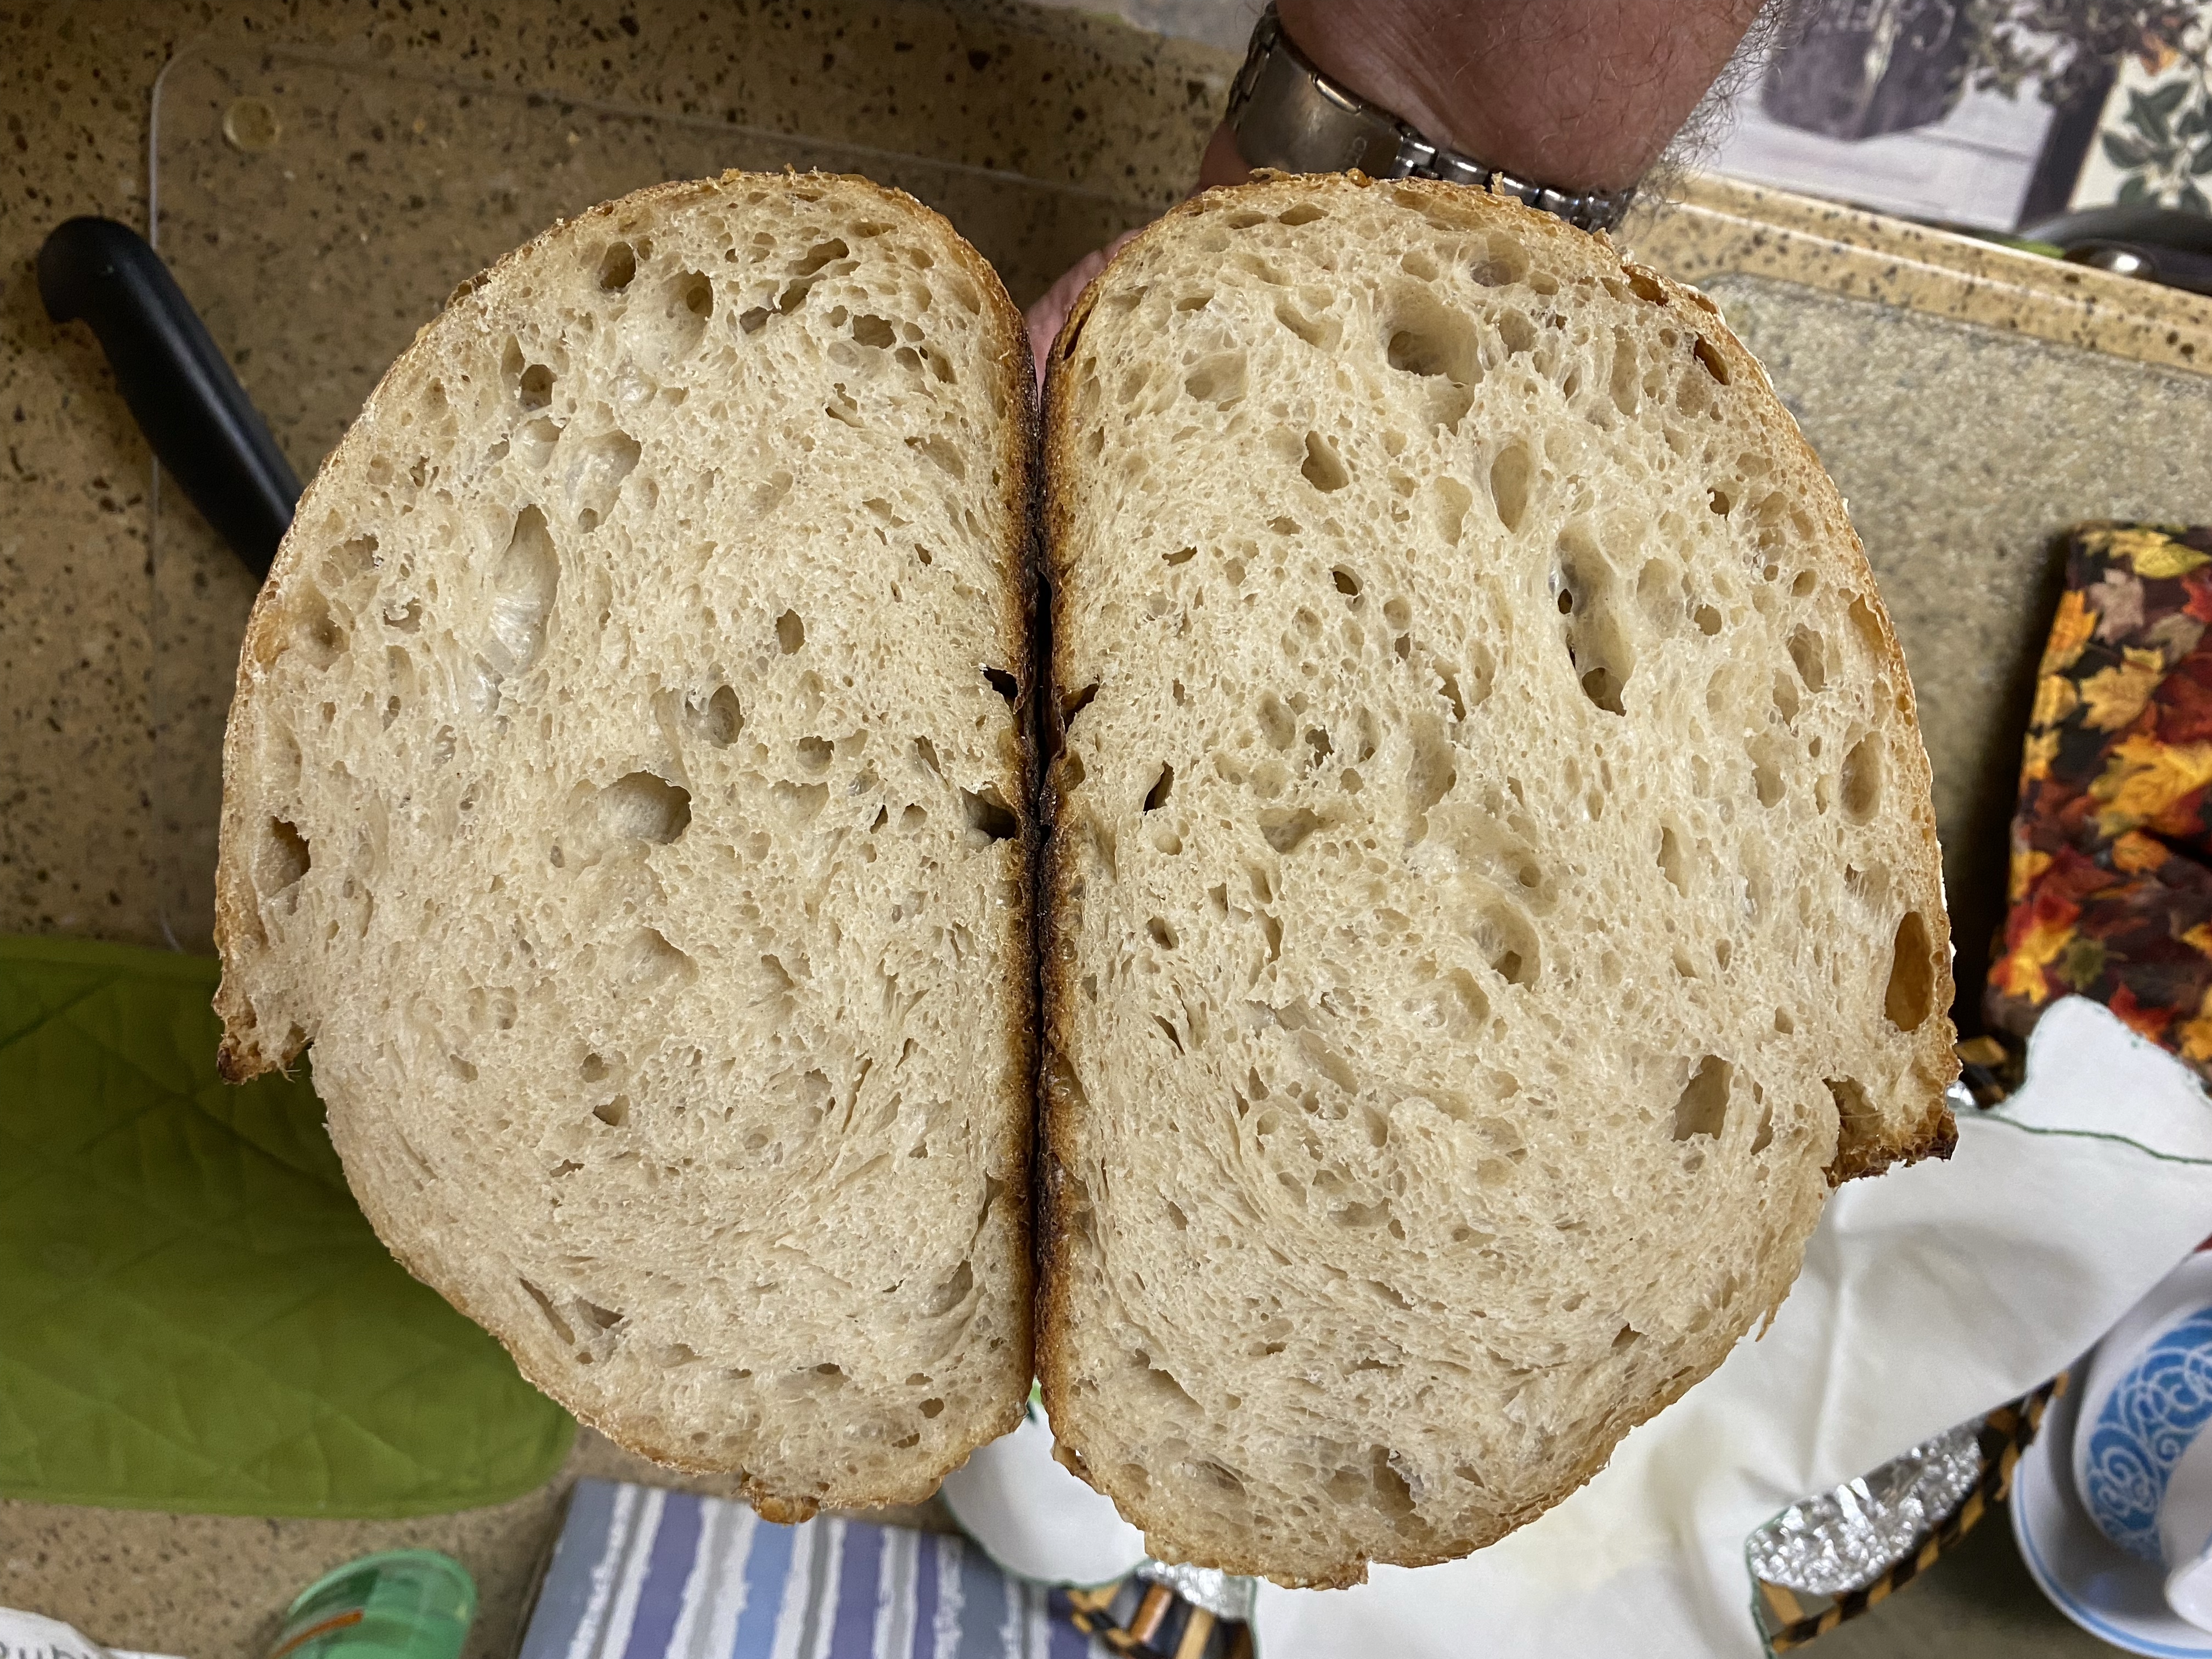
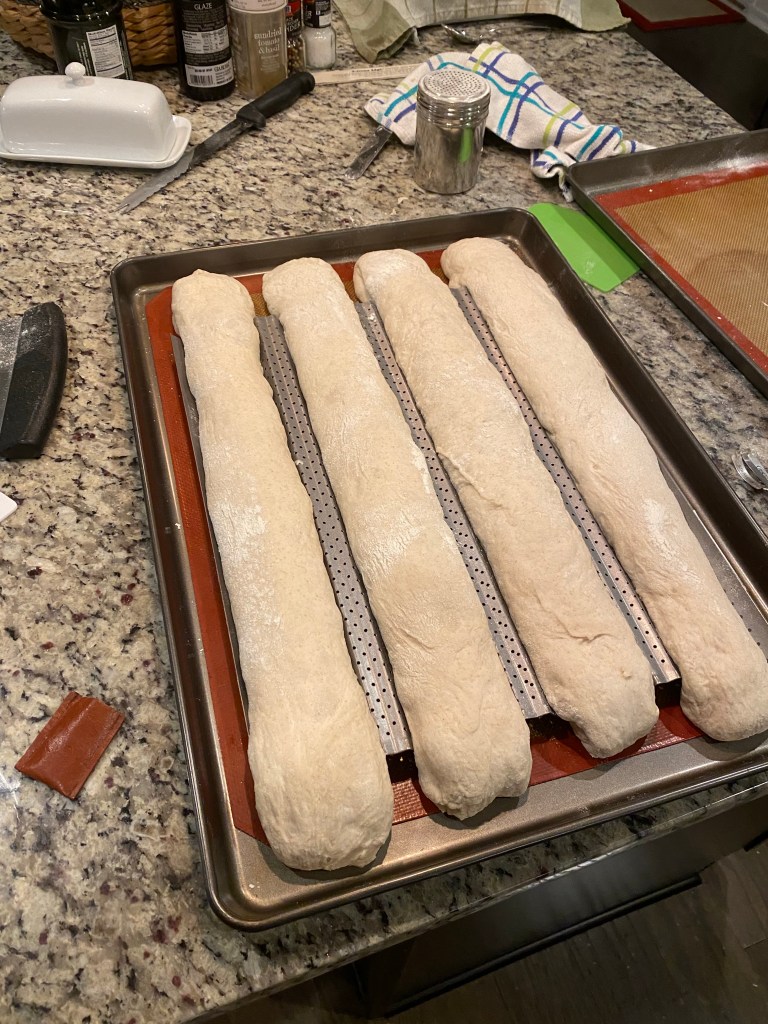
I’ll wait for about 30 mins and cut off a piece to stick in my Aliquot jar to judge the bulk ferment rise. At that time I’ll start my coil folds.
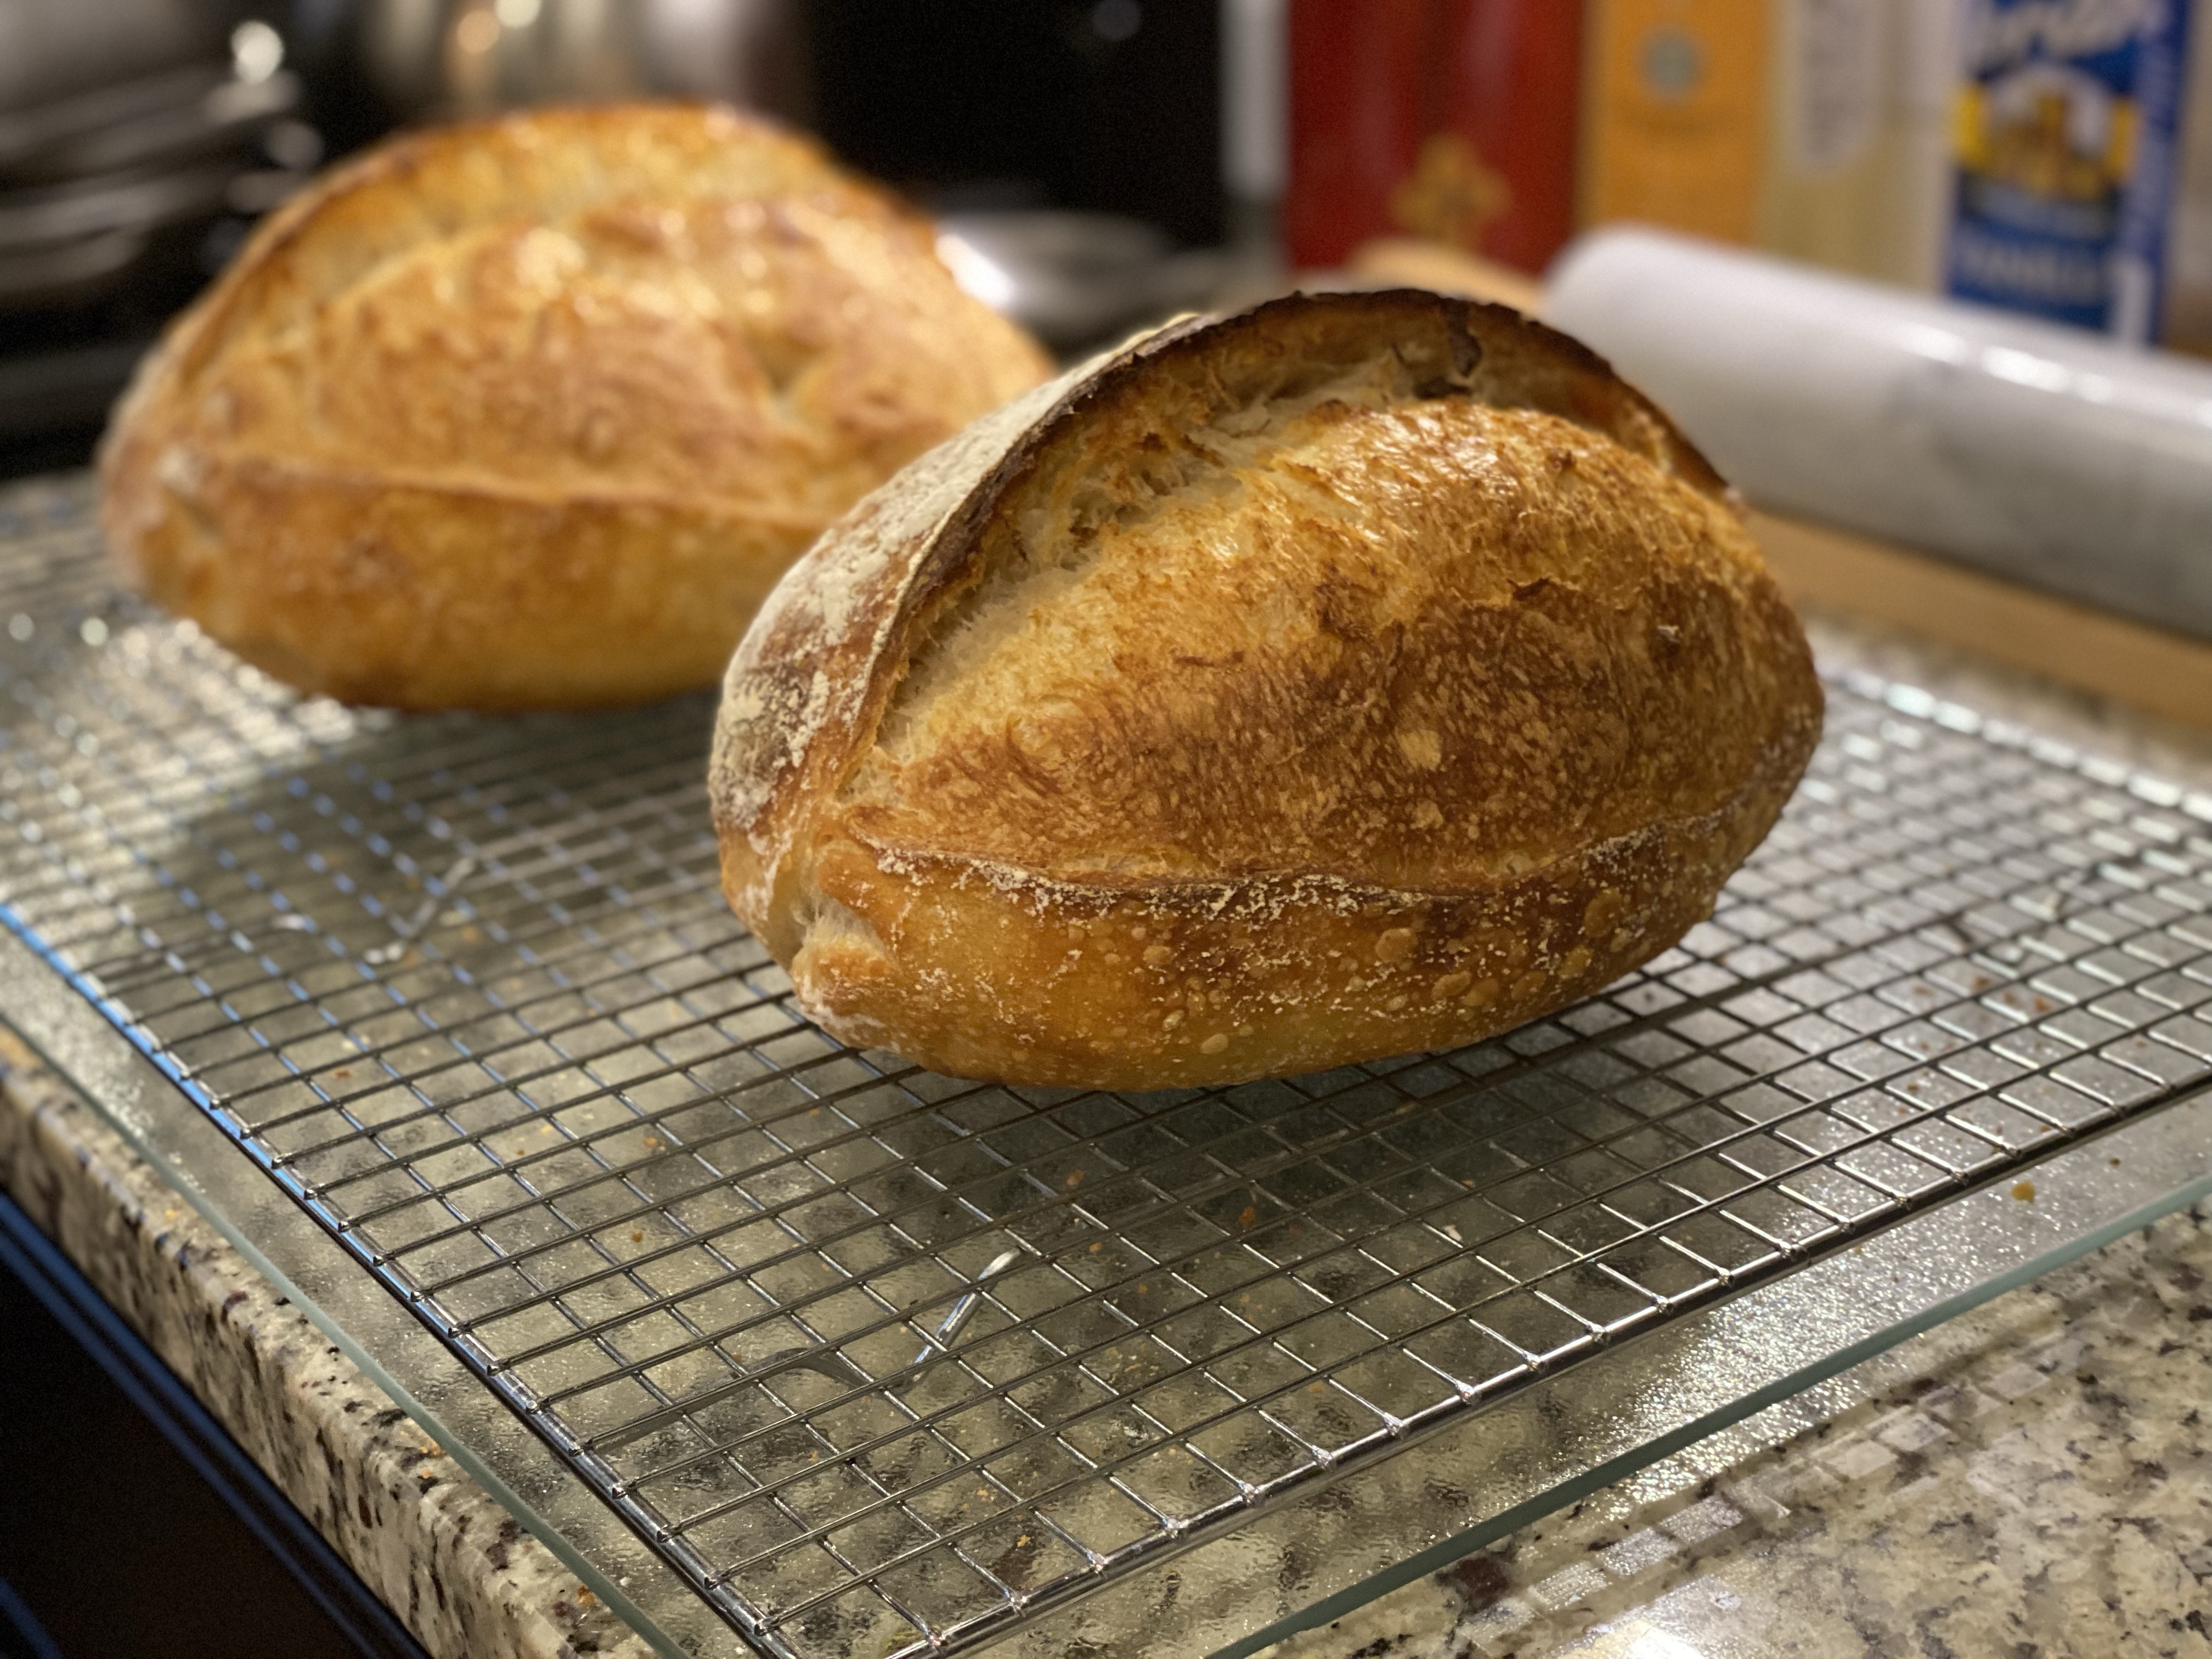
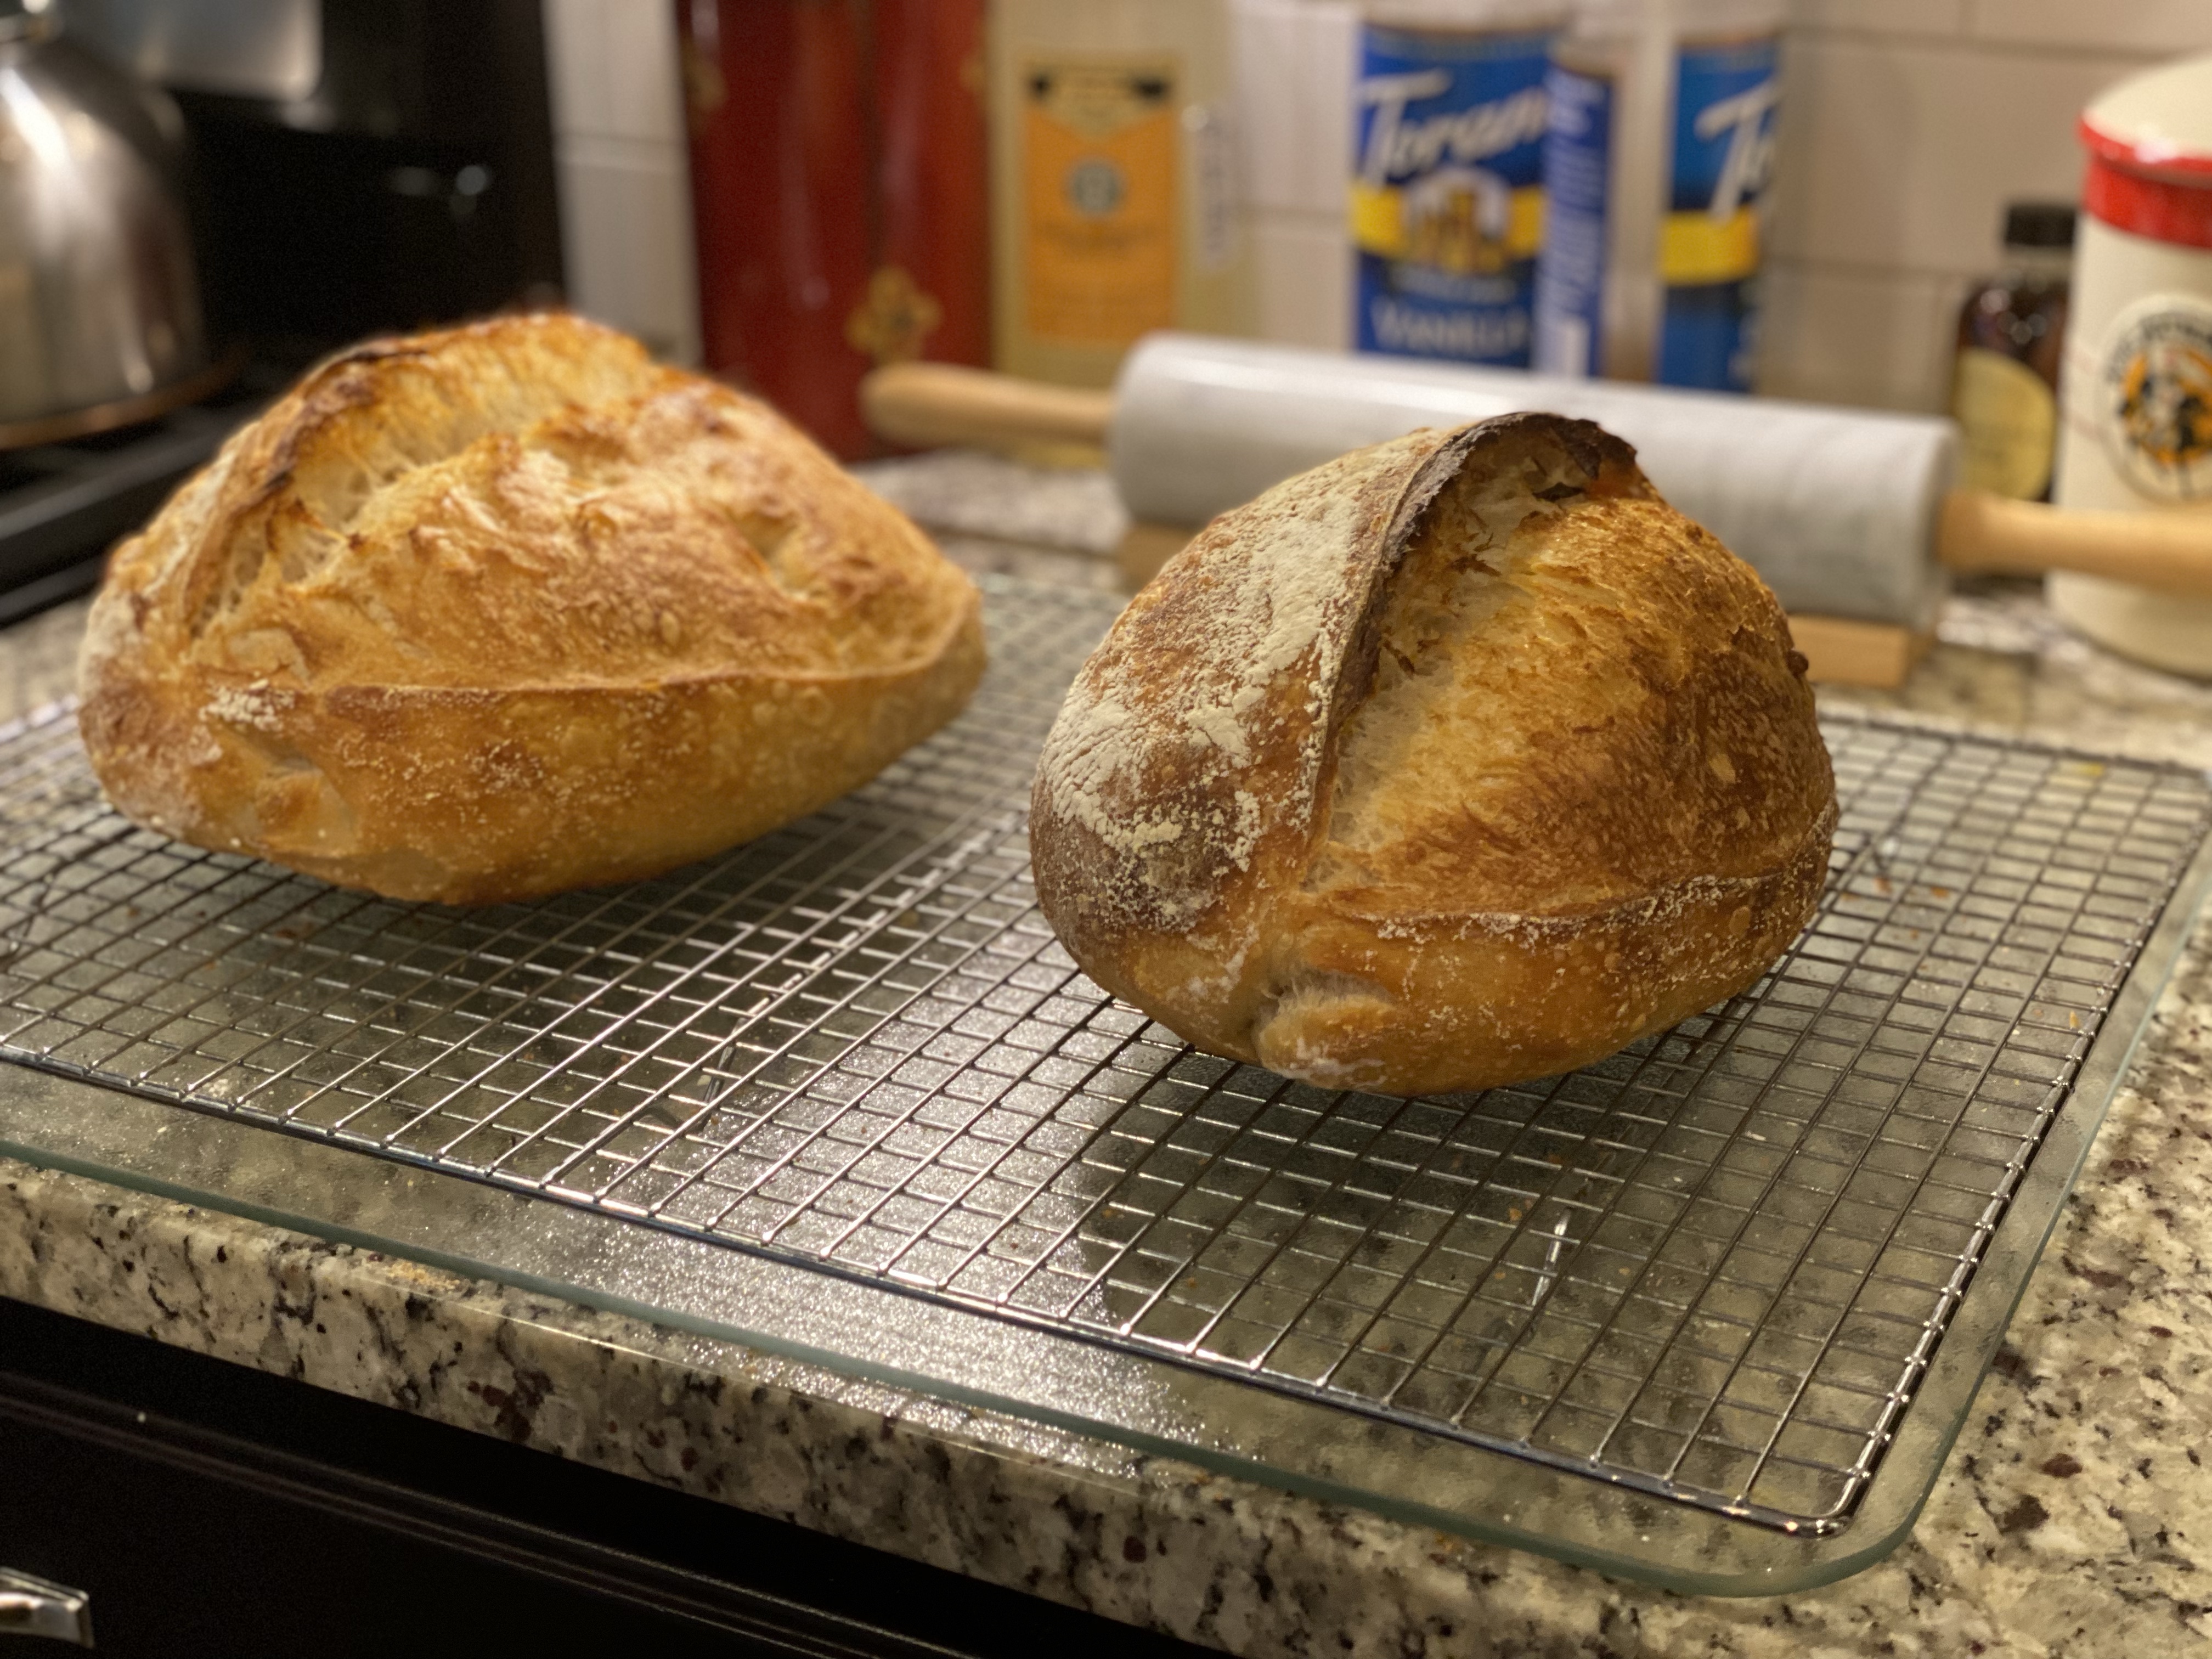
Think I’m
Back on track…