My baking has slowed down over the past couple of months. Life has twists and turns / ebbs and flows so I’ve dialed back a bit.
I’m m still baking weekly; just my experimentation and volume has decreased.
So thankful that I’ve taken notes and have enough “reps” that I’m able to be made ch more consistent. Technique can still be off from lack or recent “hands on dough” … but I’m still much better than if I left it to memory alone.
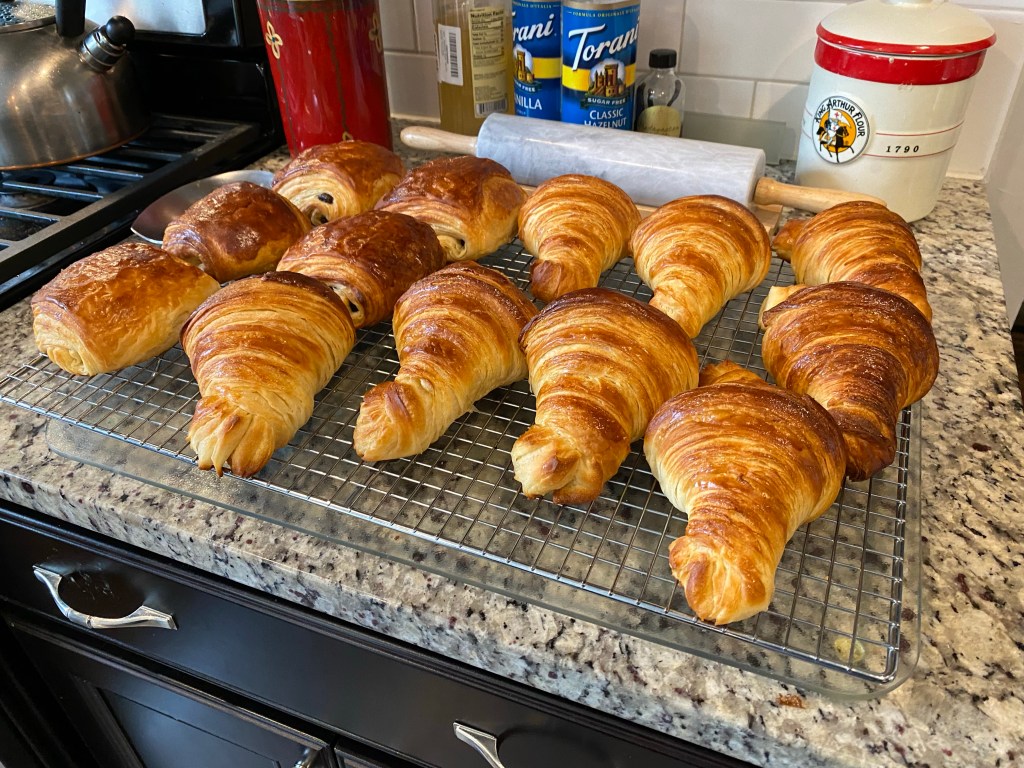
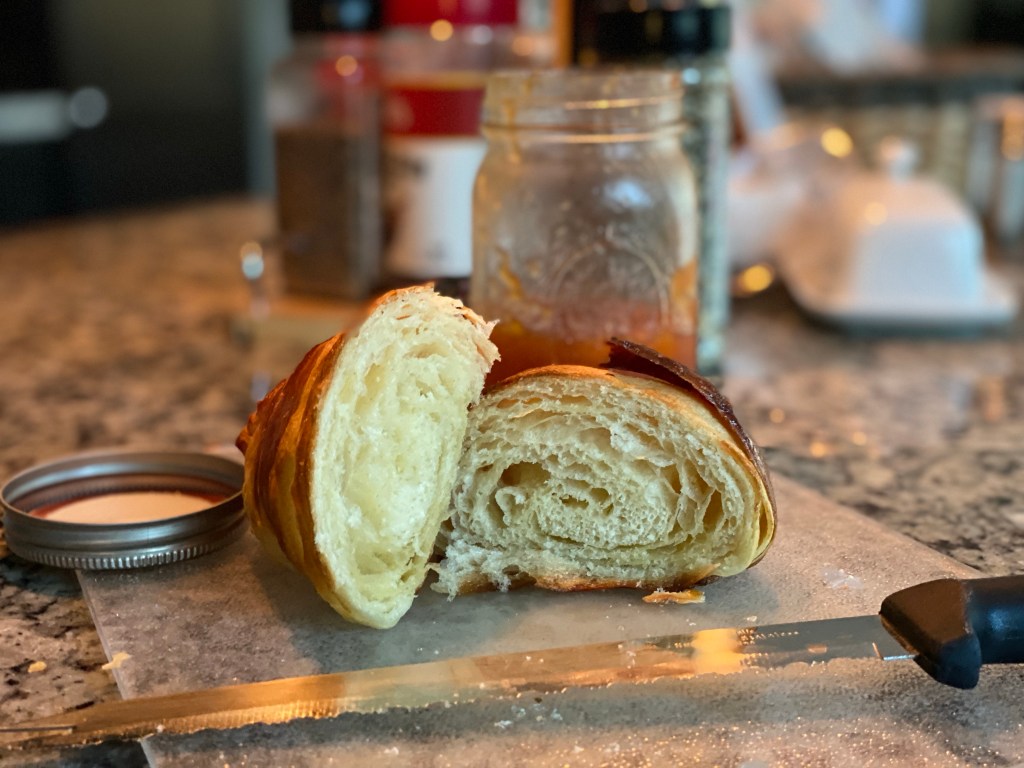
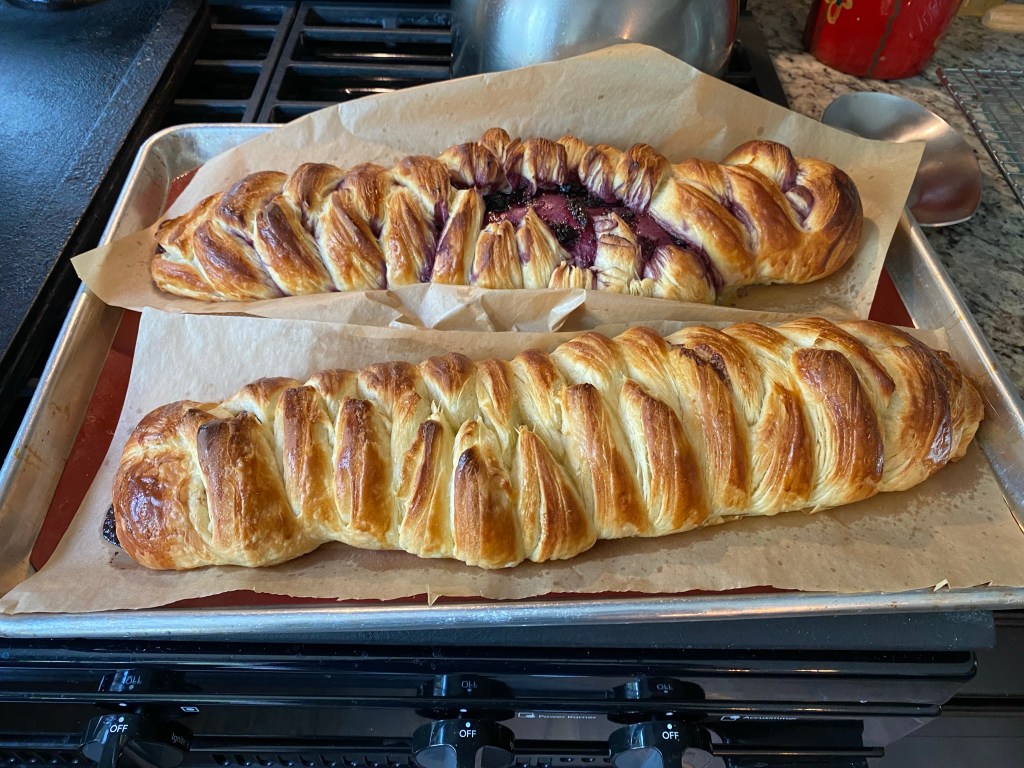
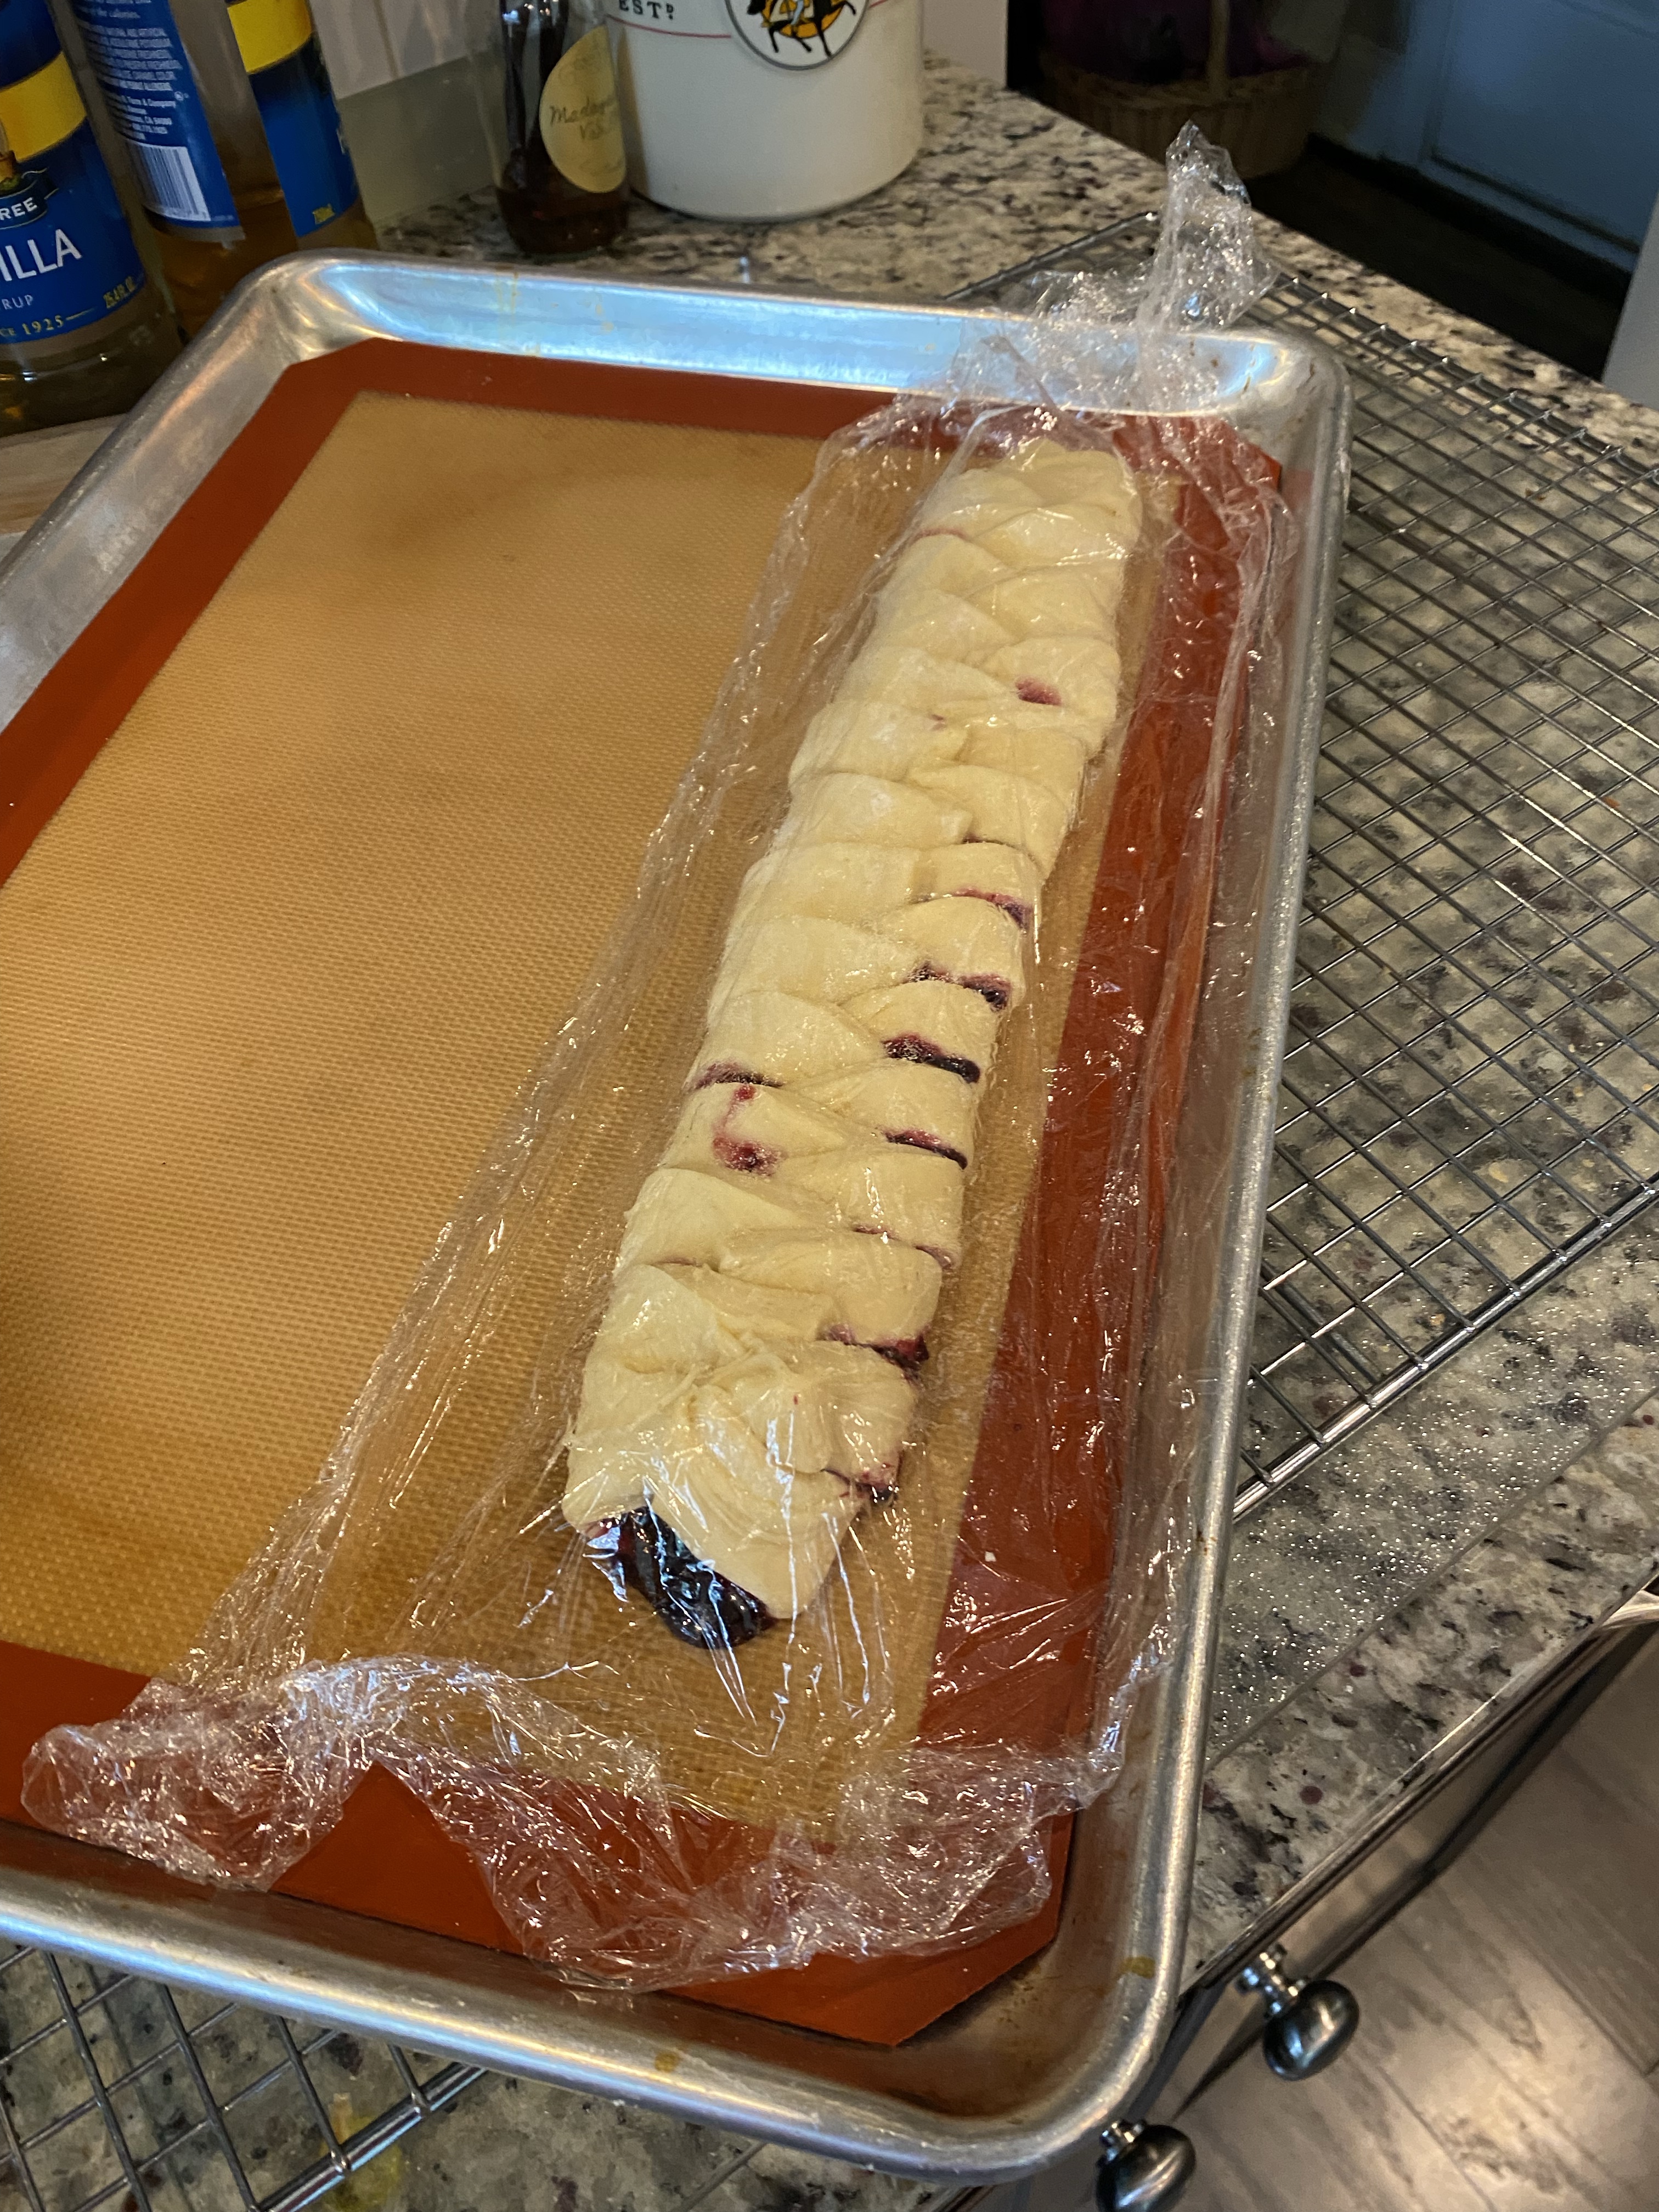
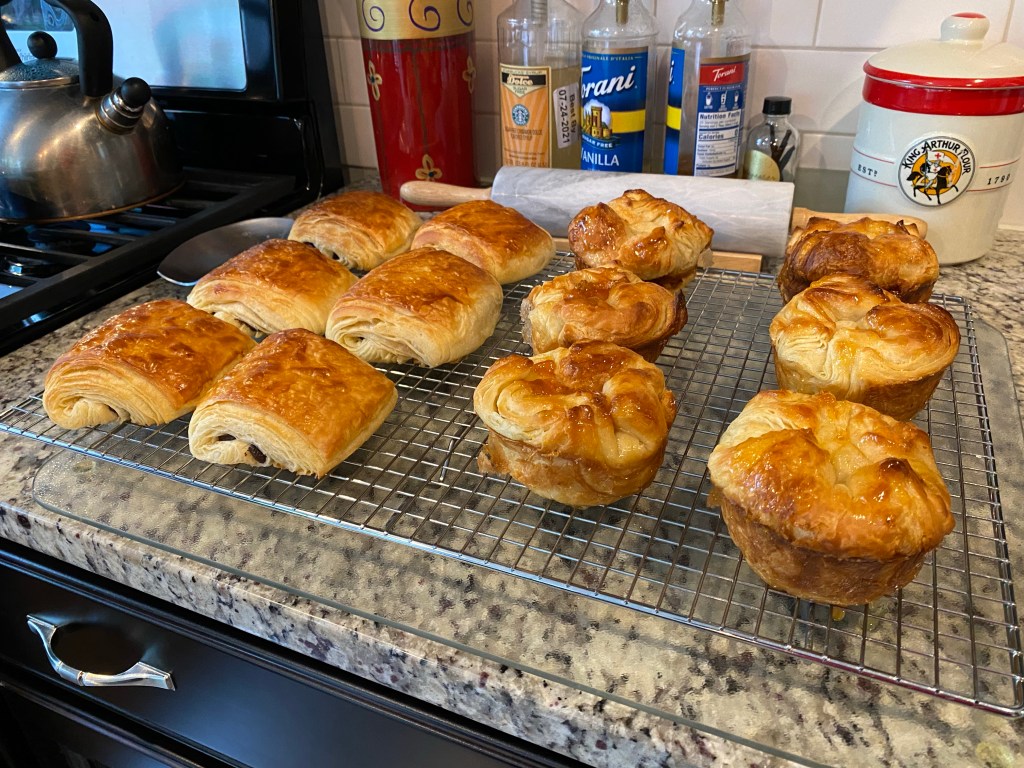
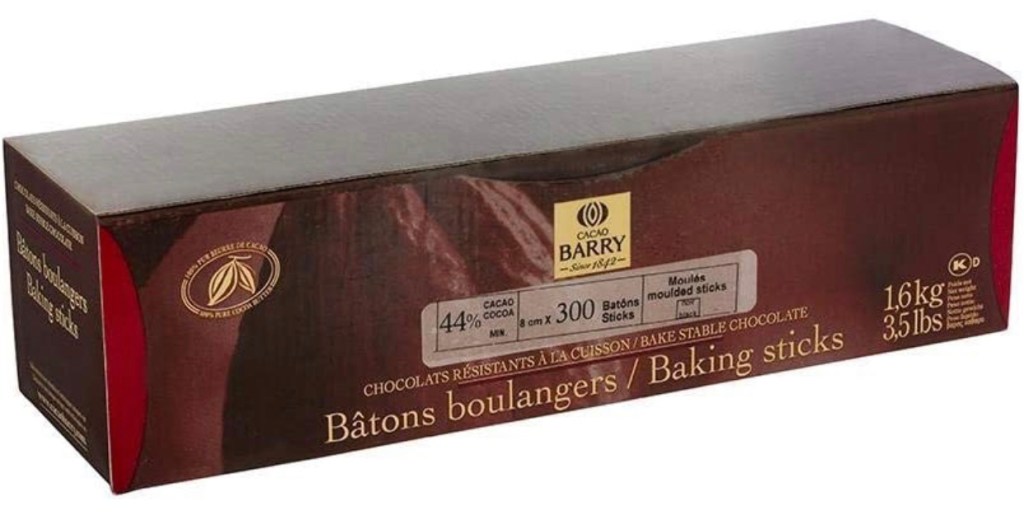
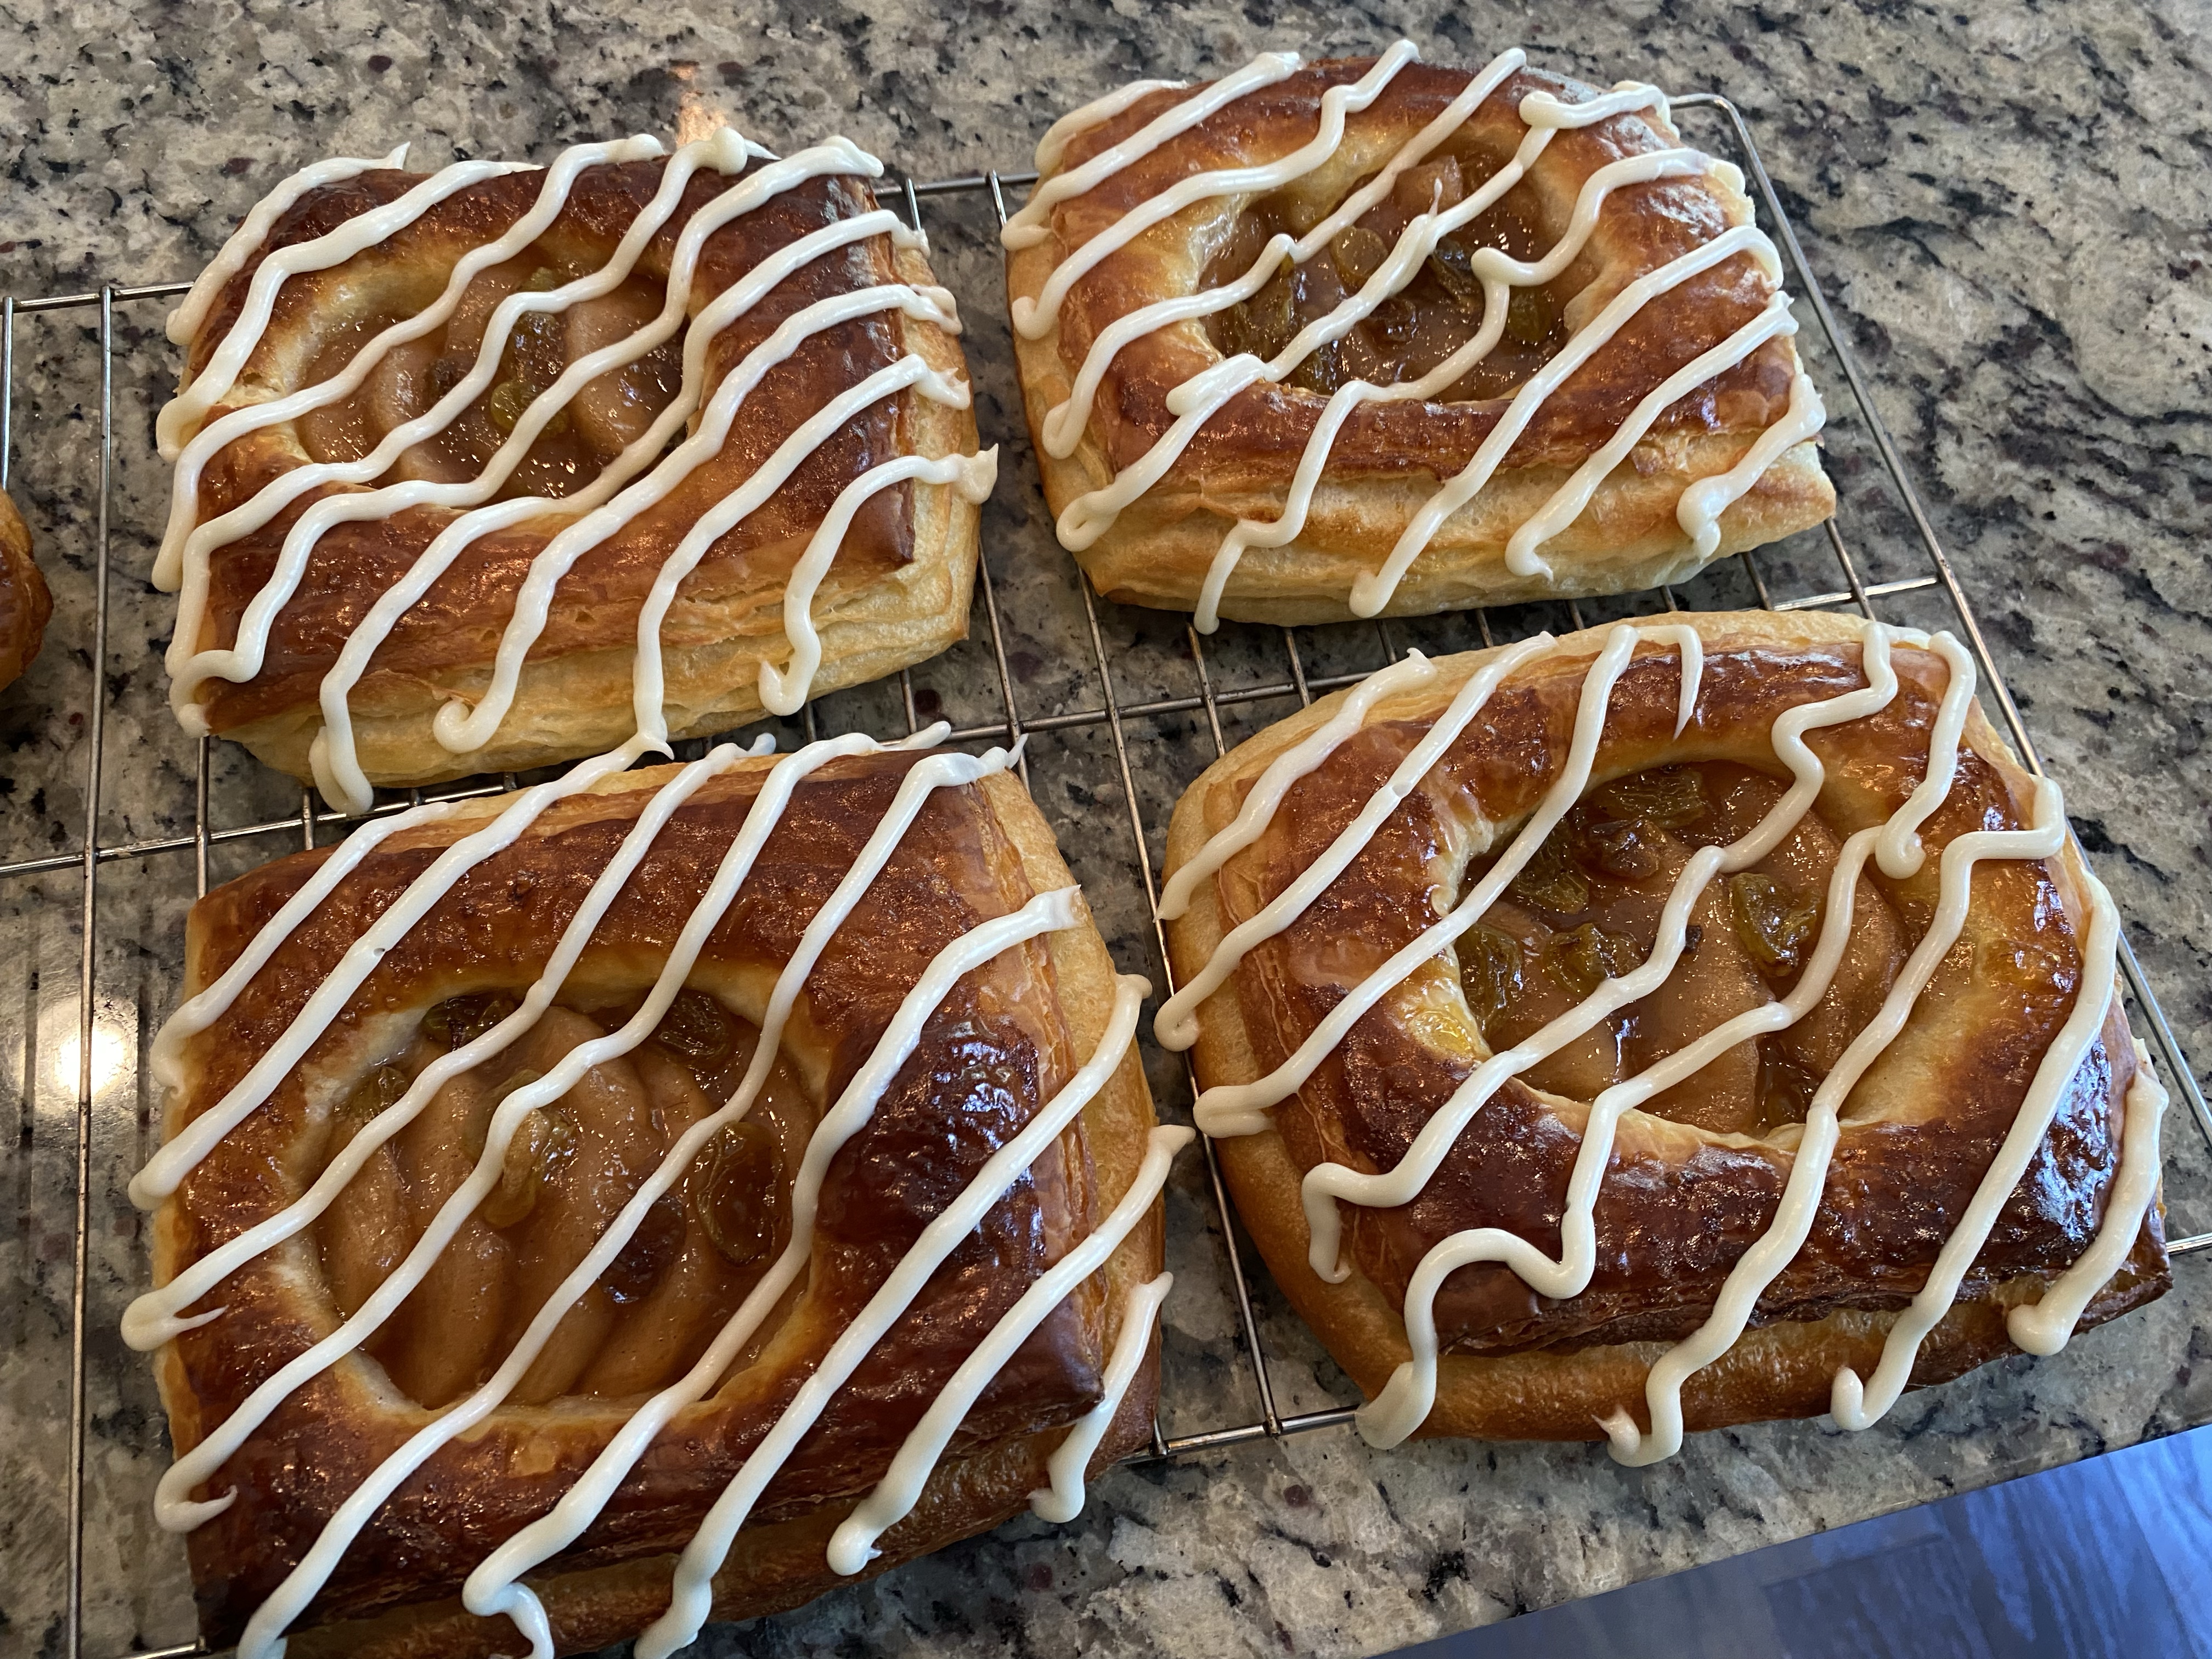
I’m thankful for my notes! This last batch of Pain Au Chocolat and Croissants would not have turned out as well had I not had my notes from previous bakes!
My biggest wins were a) proving time / visual clues and b) baking temperature and timing.
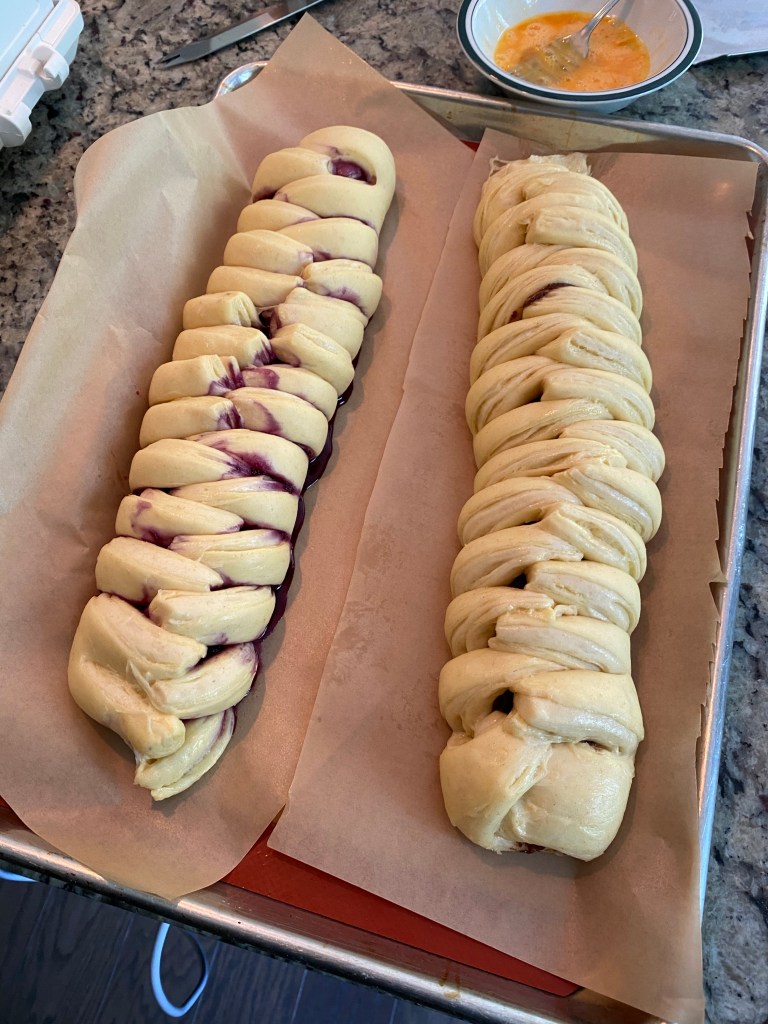
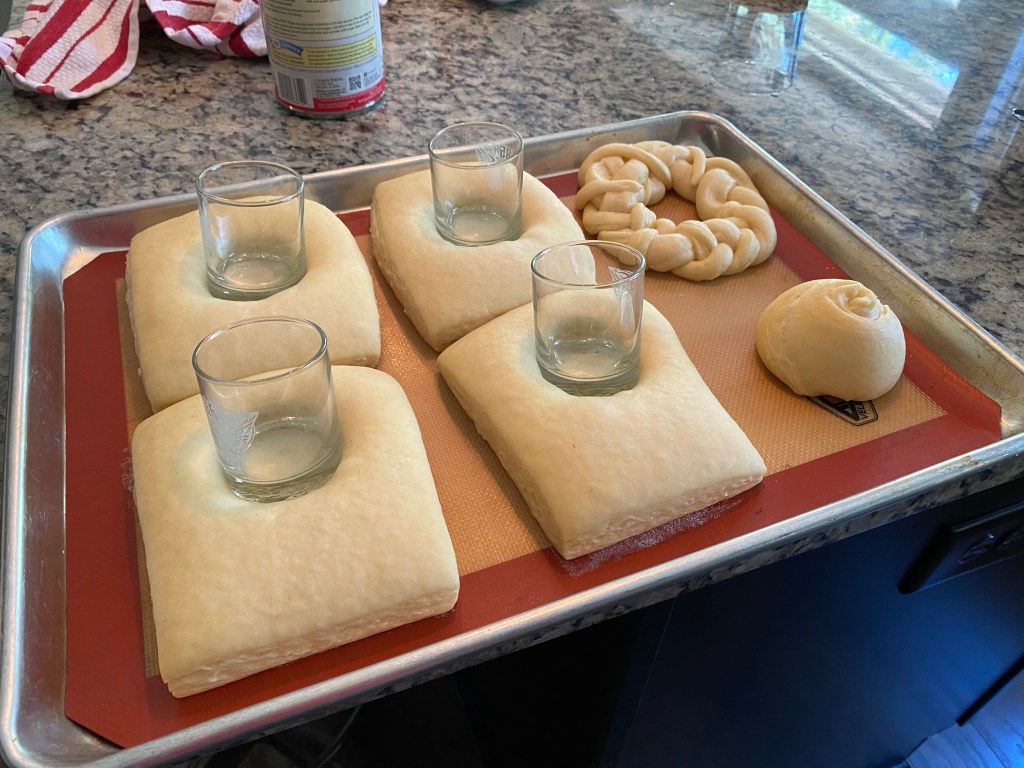
I actually let my pastries prove 5 hours from 7am to Noon. Mindful of the temp and clues I was able to be patient. Secondly, when I baked them it was exactly what I needed.
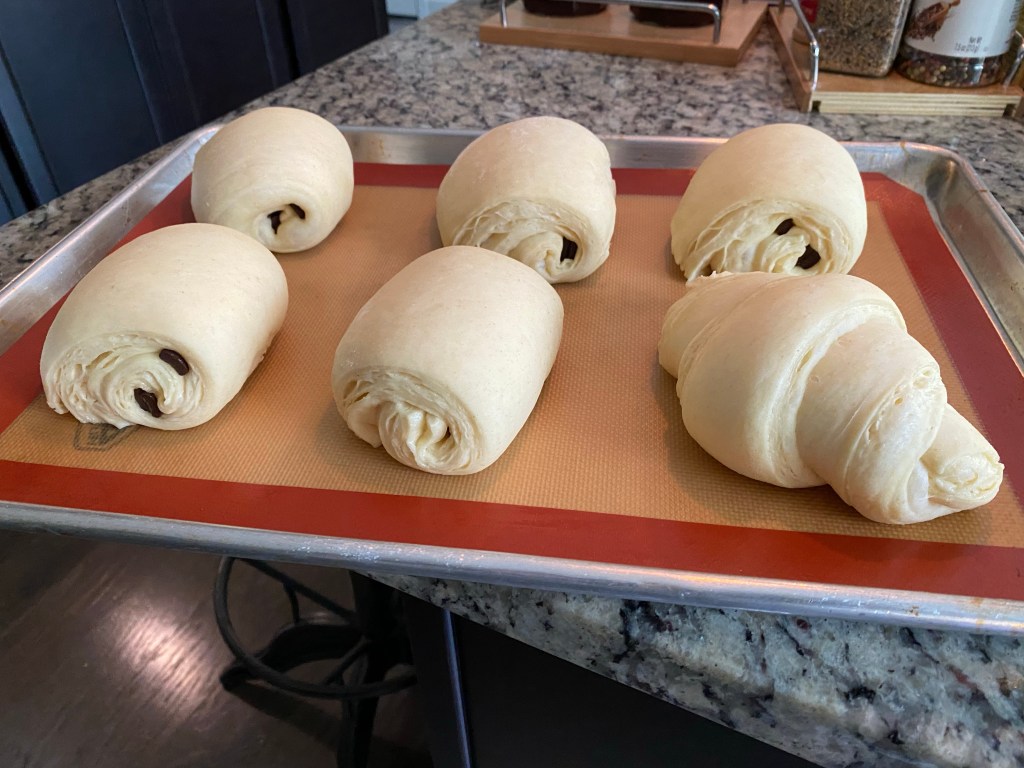
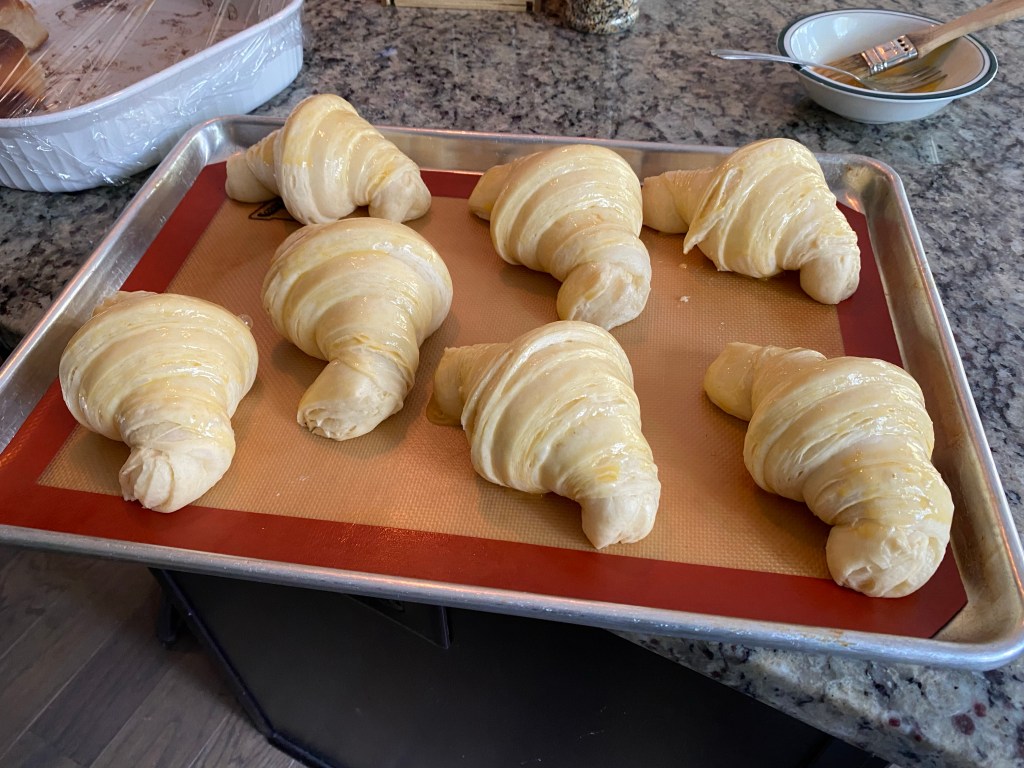
I was very pleased with how they looked going in and the bake confirmed!
Take copious notes about my bakes was probably some of the best advice I ever received (and accepted) for on my baking journey!