I’m trying out some new breads with inclusions. Thinking that I’d like to add some additional loaves to my repertoire and “dial them in”.
Thought I’d try a roasted red pepper/Jarlsberg cheese recipe. The red pepper was intentional (went to store and bought a jar). The cheese not so much … I had a piece of Jarlsberg cheese in my fridge that looked as if it wanted to join the fun.
RECIPE
200g Bread Flour
100g Spelt flour
200g Water
60g Levain
6g salt
35g Roasted Red Pepper purée
70g Jarlsberg Cheese
METHOD
- Mix the flour and water and autolyse 2 hours
- Mix in purée and levain and let rest 30 mins
- Mix in salt and let rest 30 mins
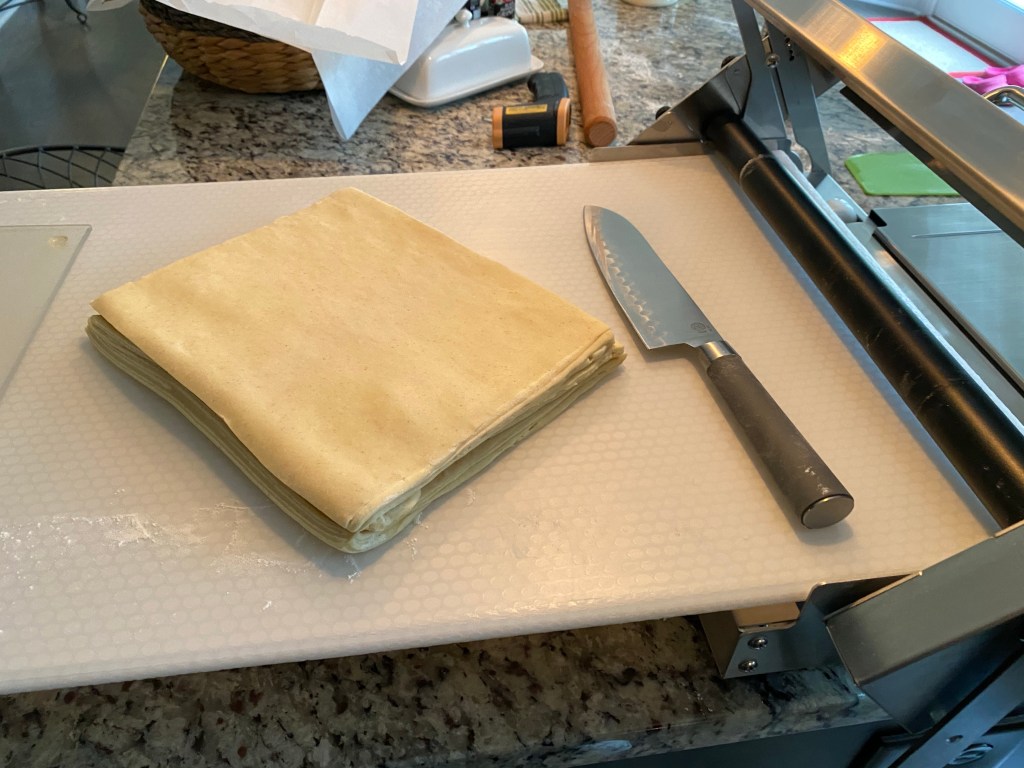
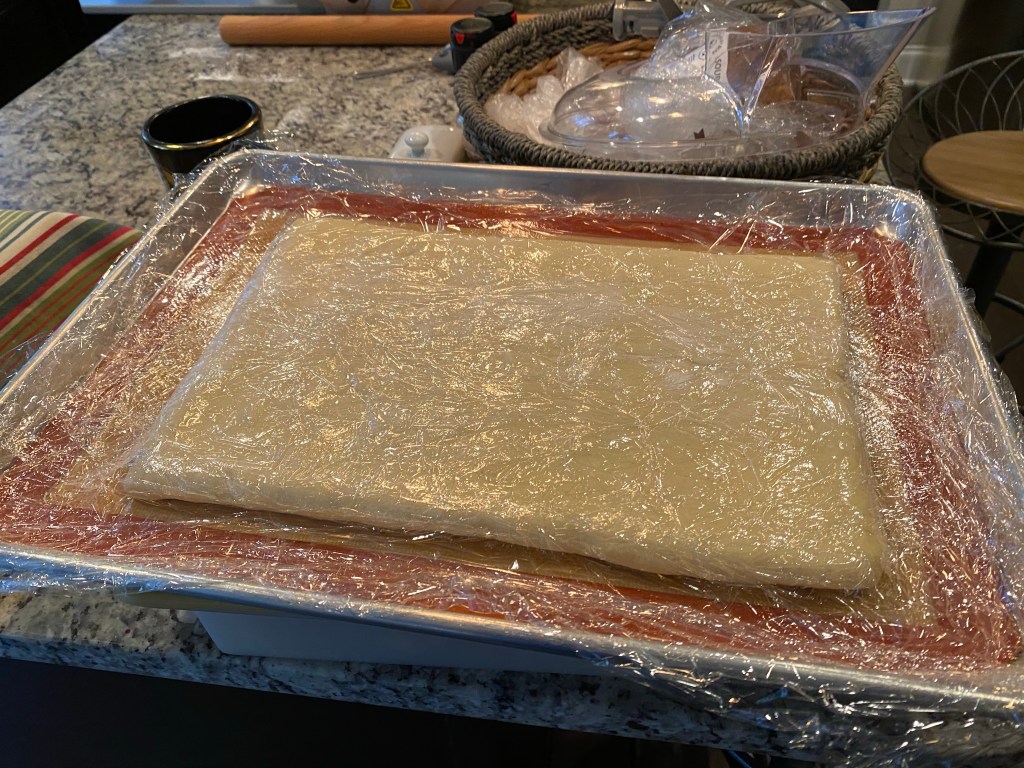
- Laminate in cheese
- Stretch and fold for strength for 2.5 hours or so
- Continue bulk ferment for a total of 5-6 hours from time of levain addition
- Shape and place into banneton
- Cool ferment overnight
- Bake next day 25 mins covered at 420°F convection
- Bake uncovered as necessary for crust color
Note: This loaf is about 670g (about 80% of my normal loaves which are typically 840g going into bake.) Thinking the covered bake is less time 25 mins vs 35 mins since it is smaller.
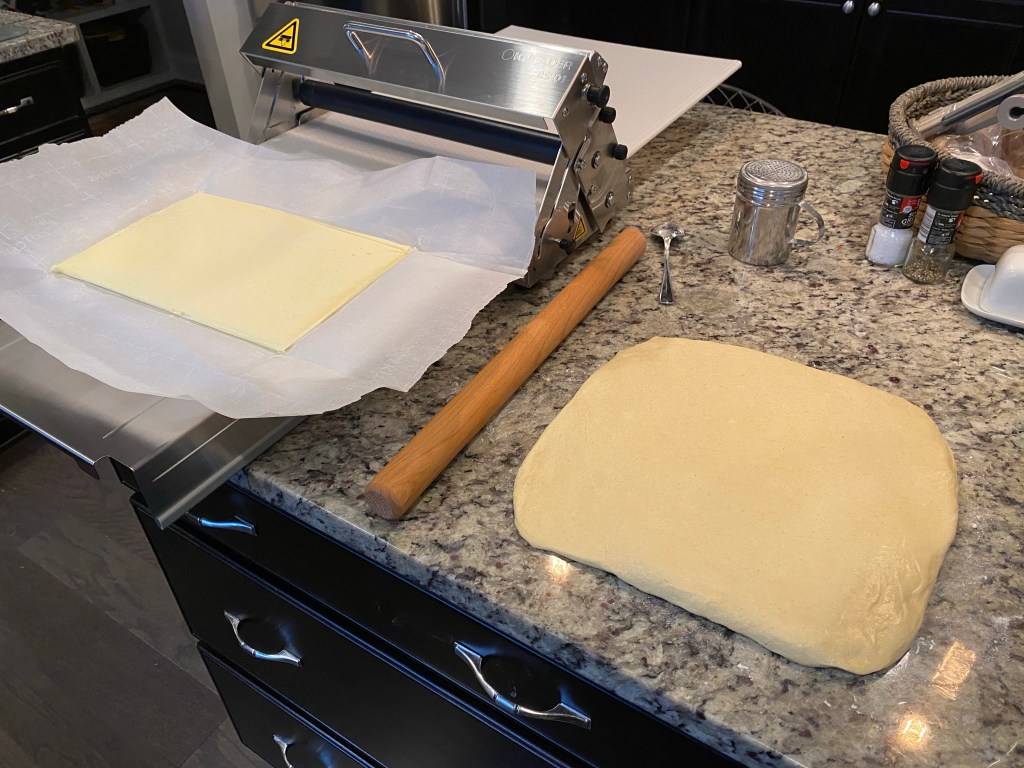
Here are photos from the initial mixing, autolyse folding in etc. as you can see I was a bit sparse on my documenting…
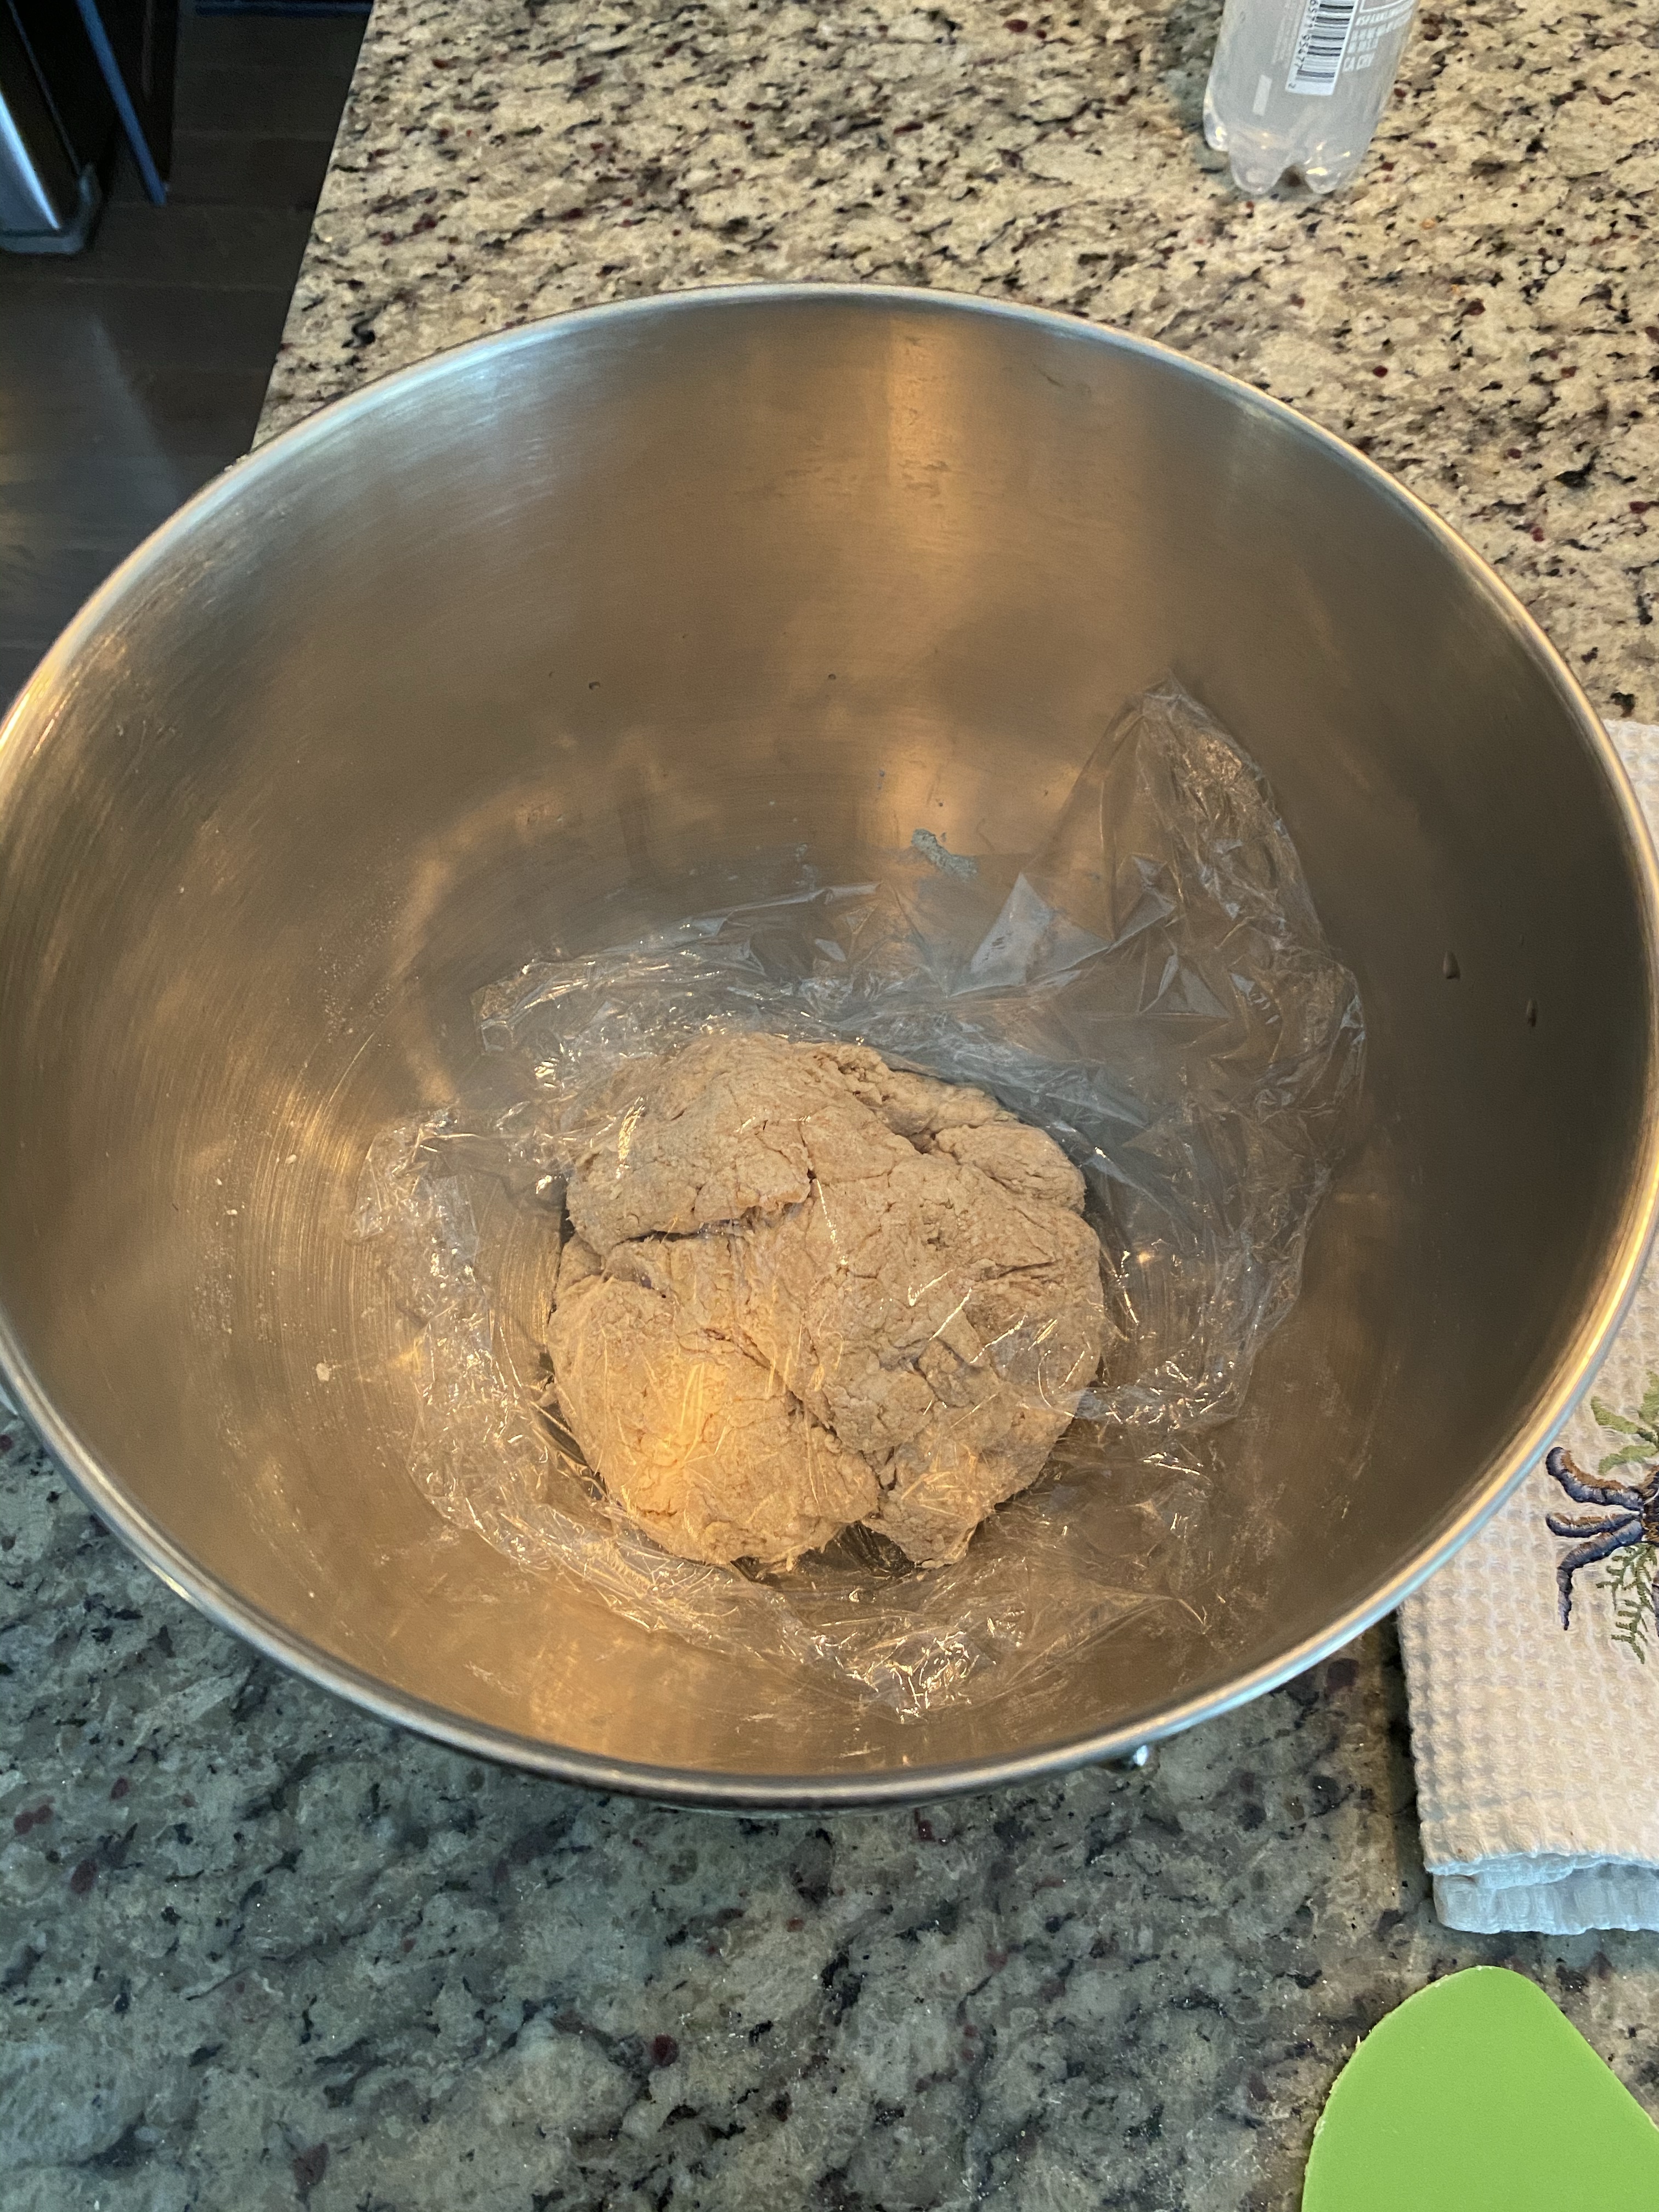
Dough mixed for autolyse 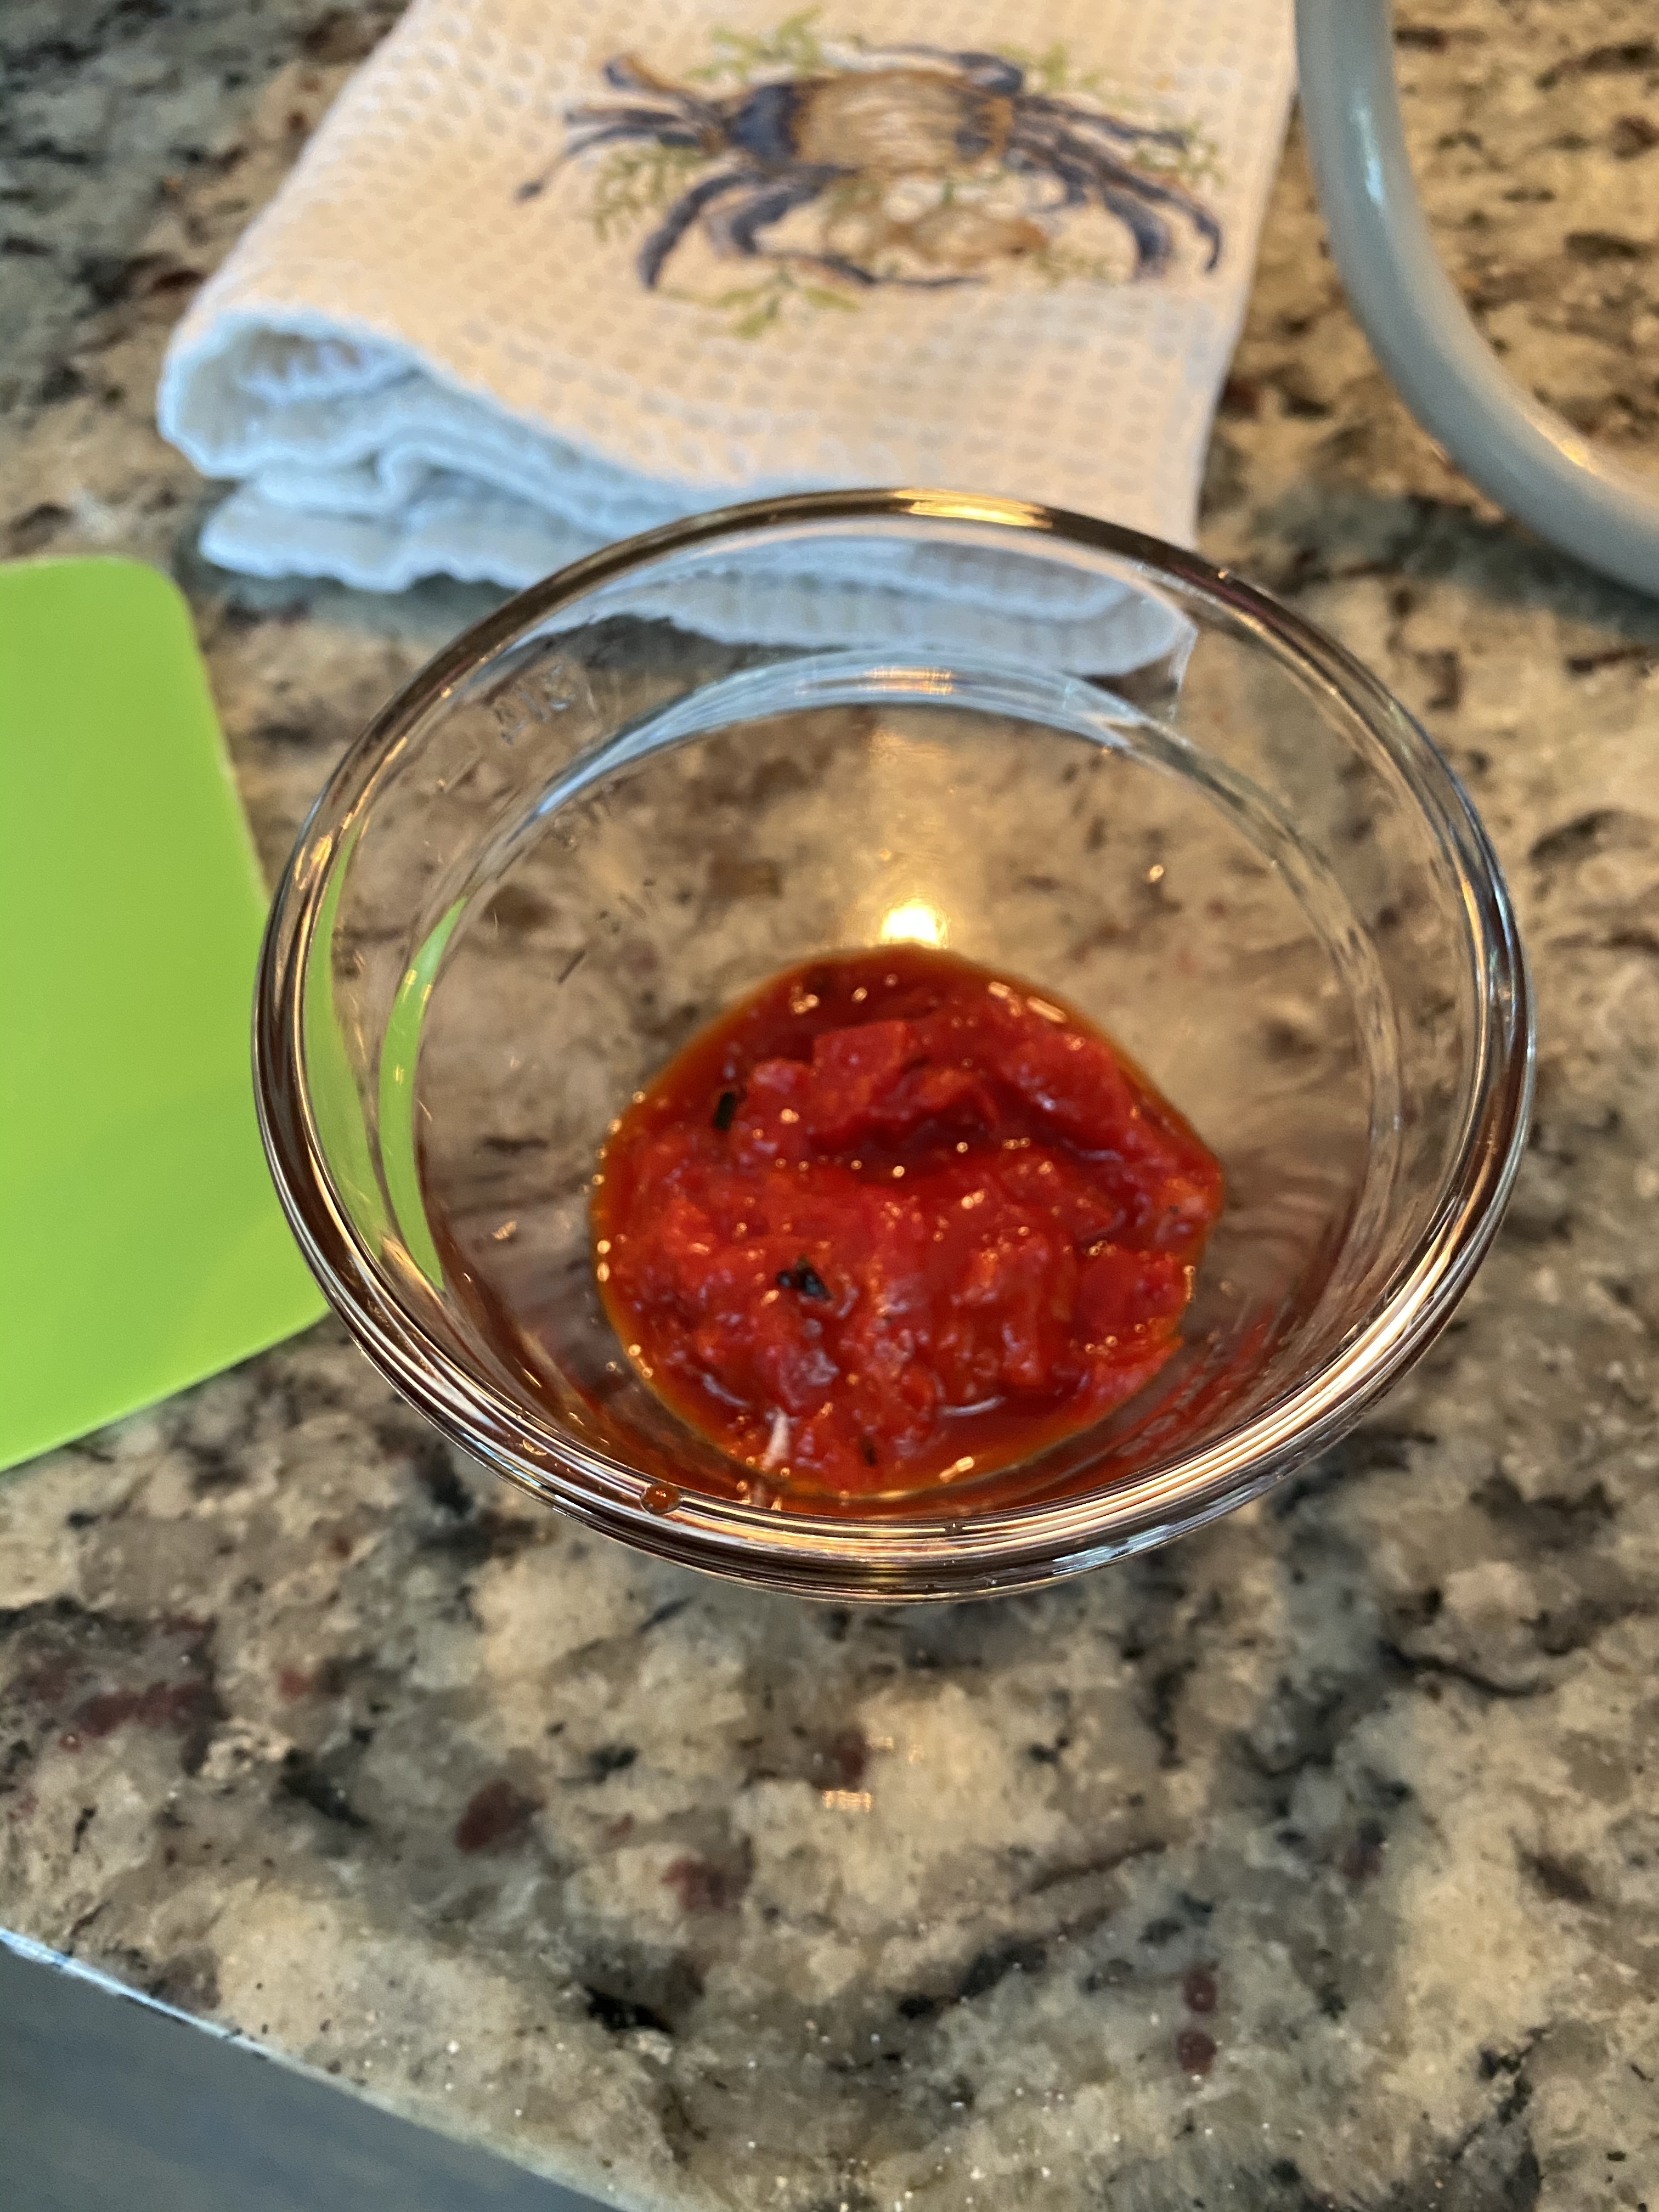
Red Pepper Purée 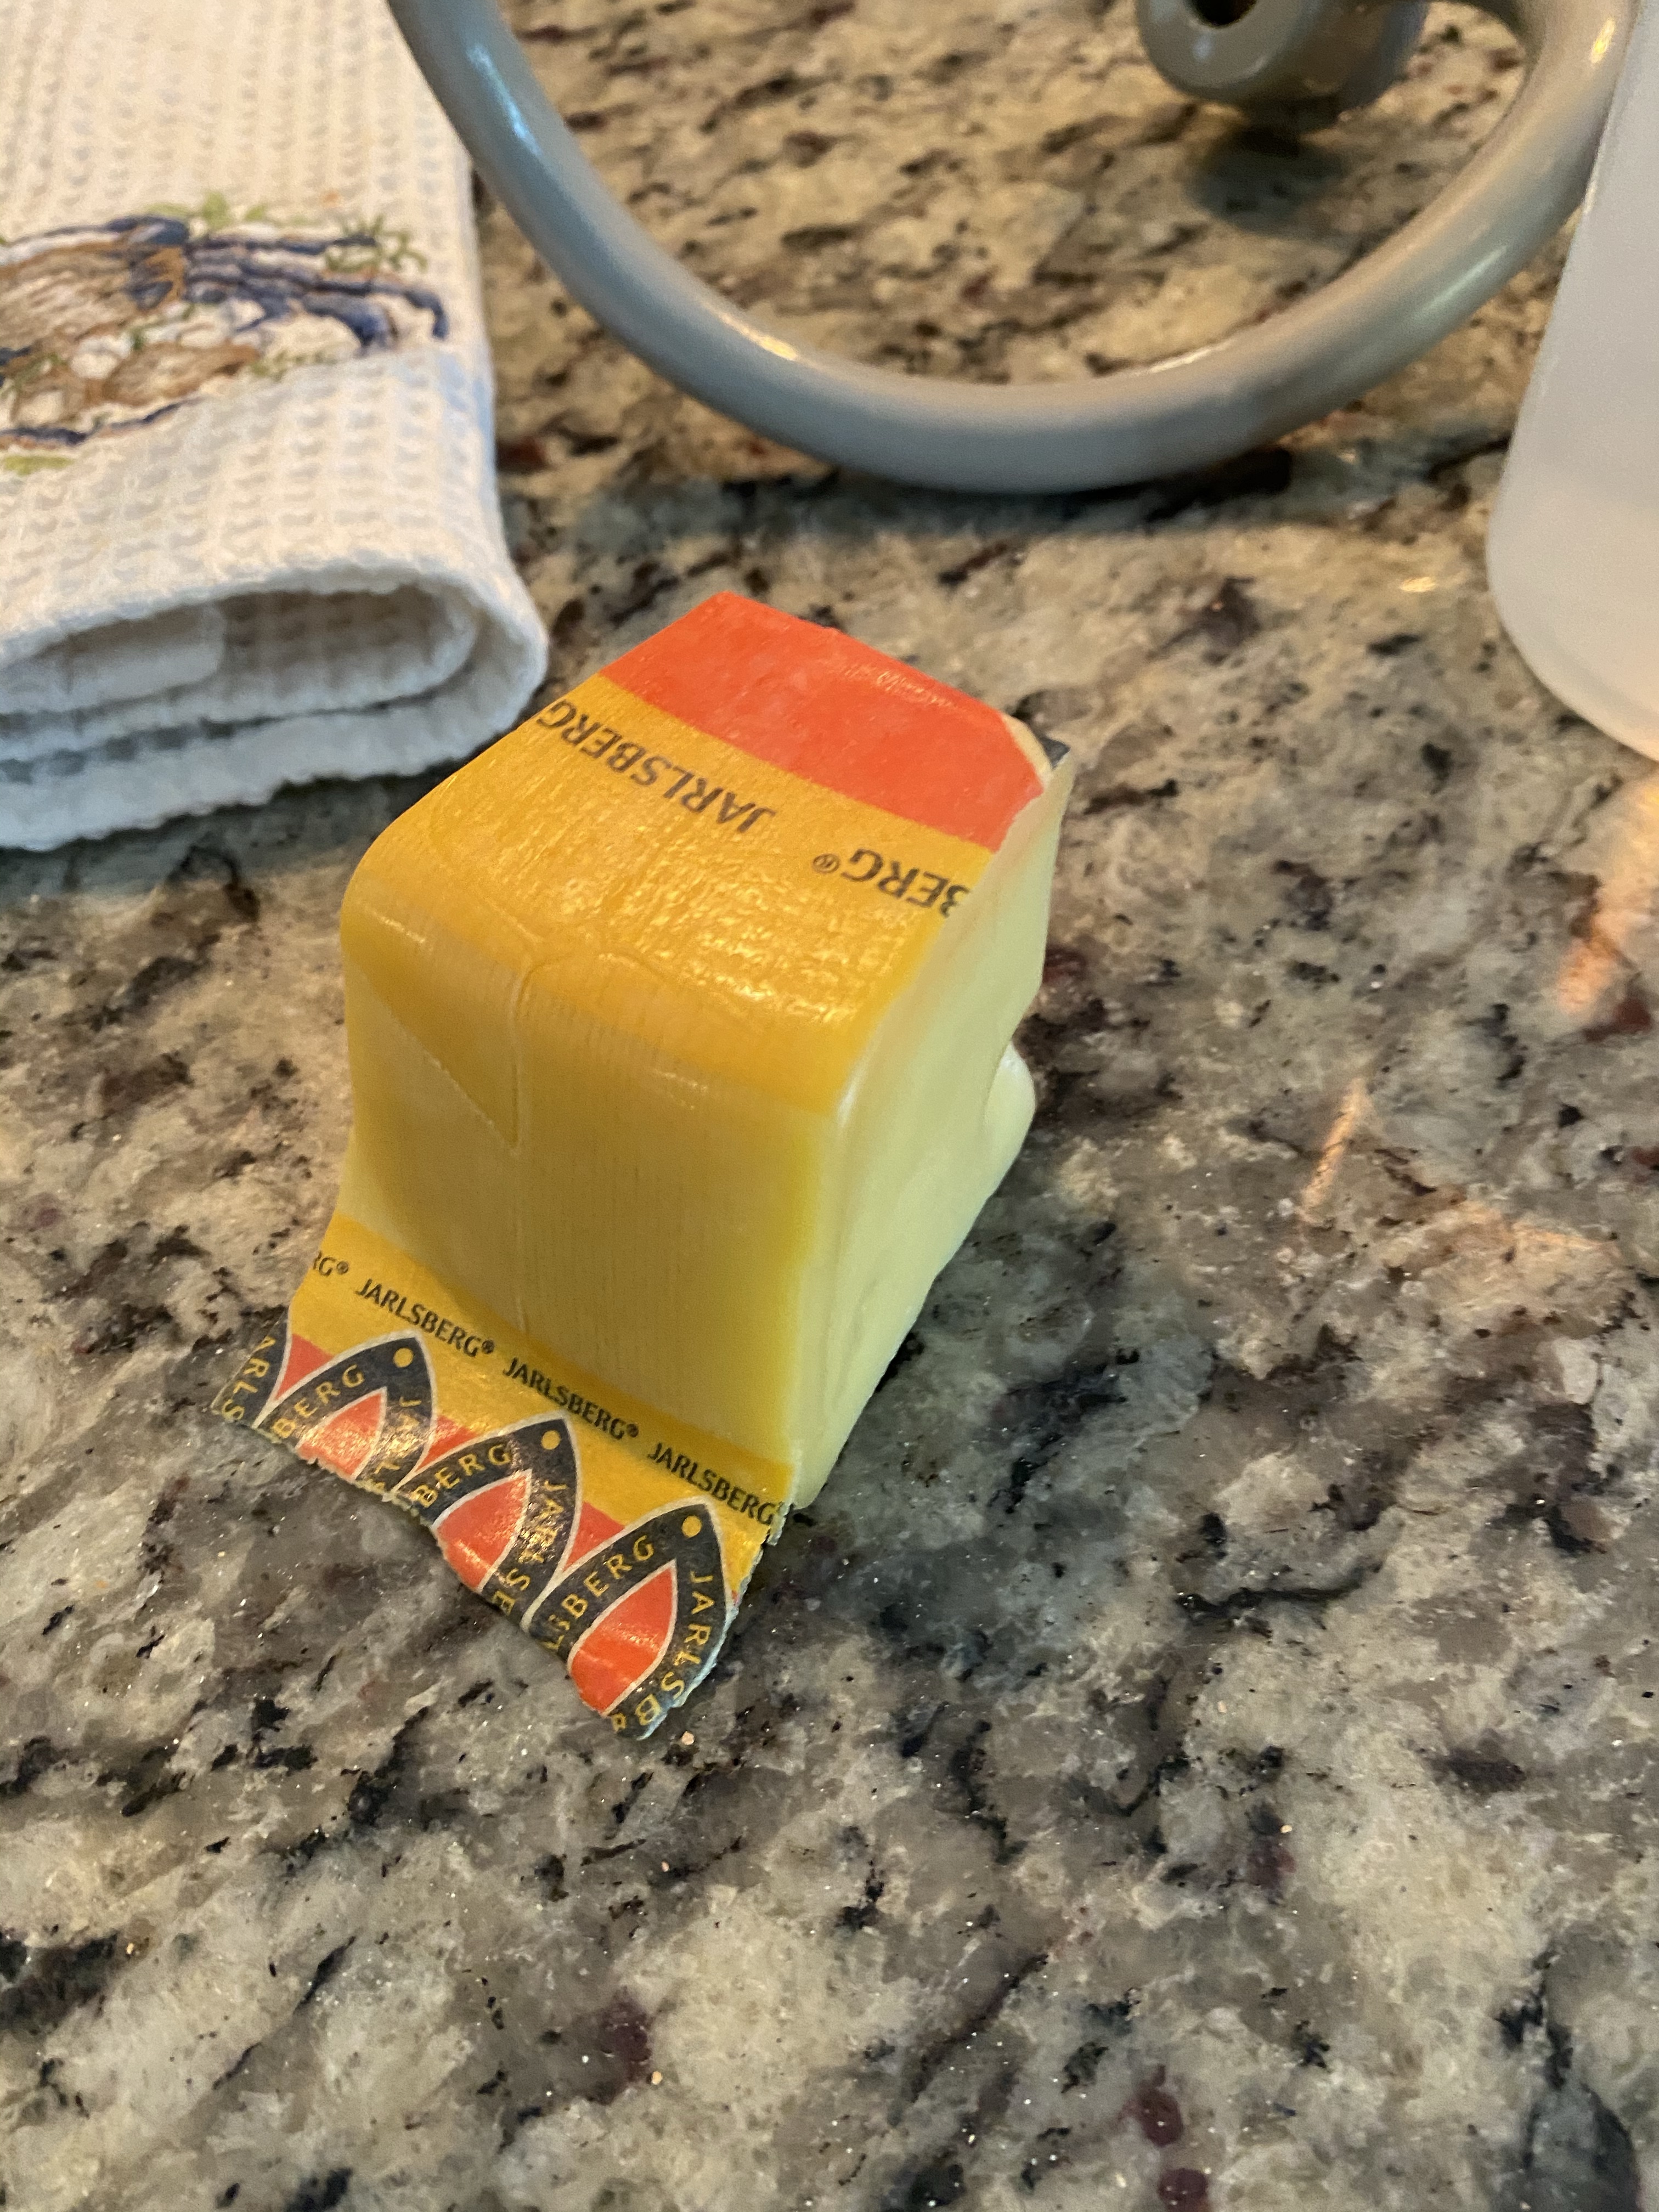
Jarlsberg Cheese
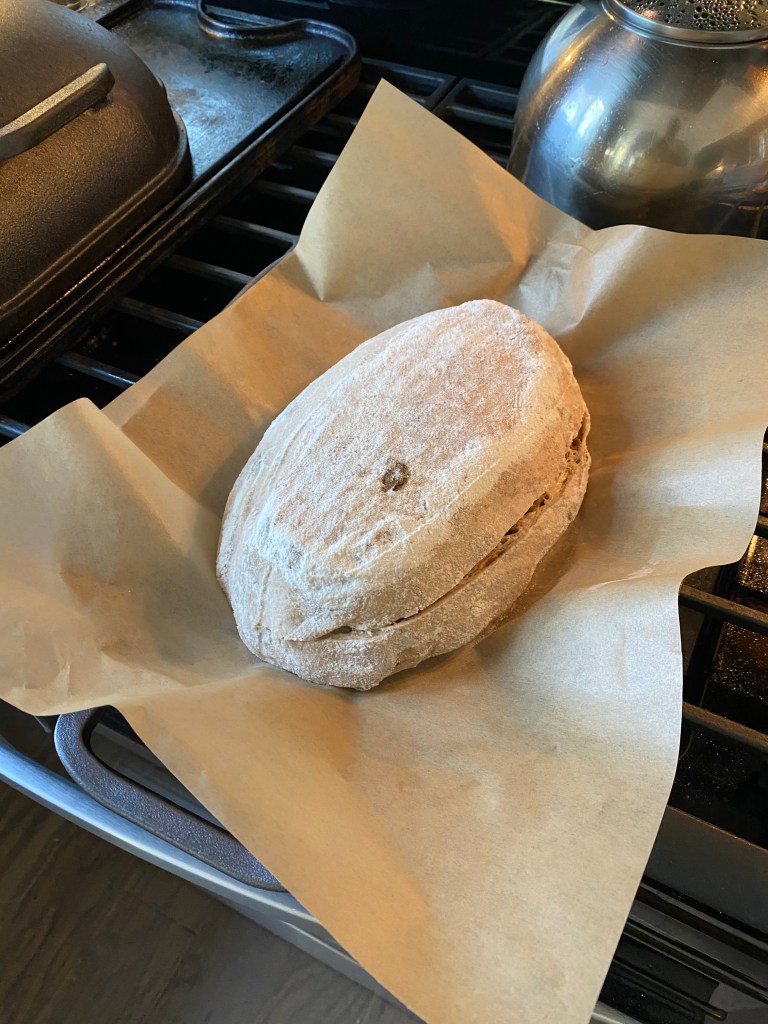
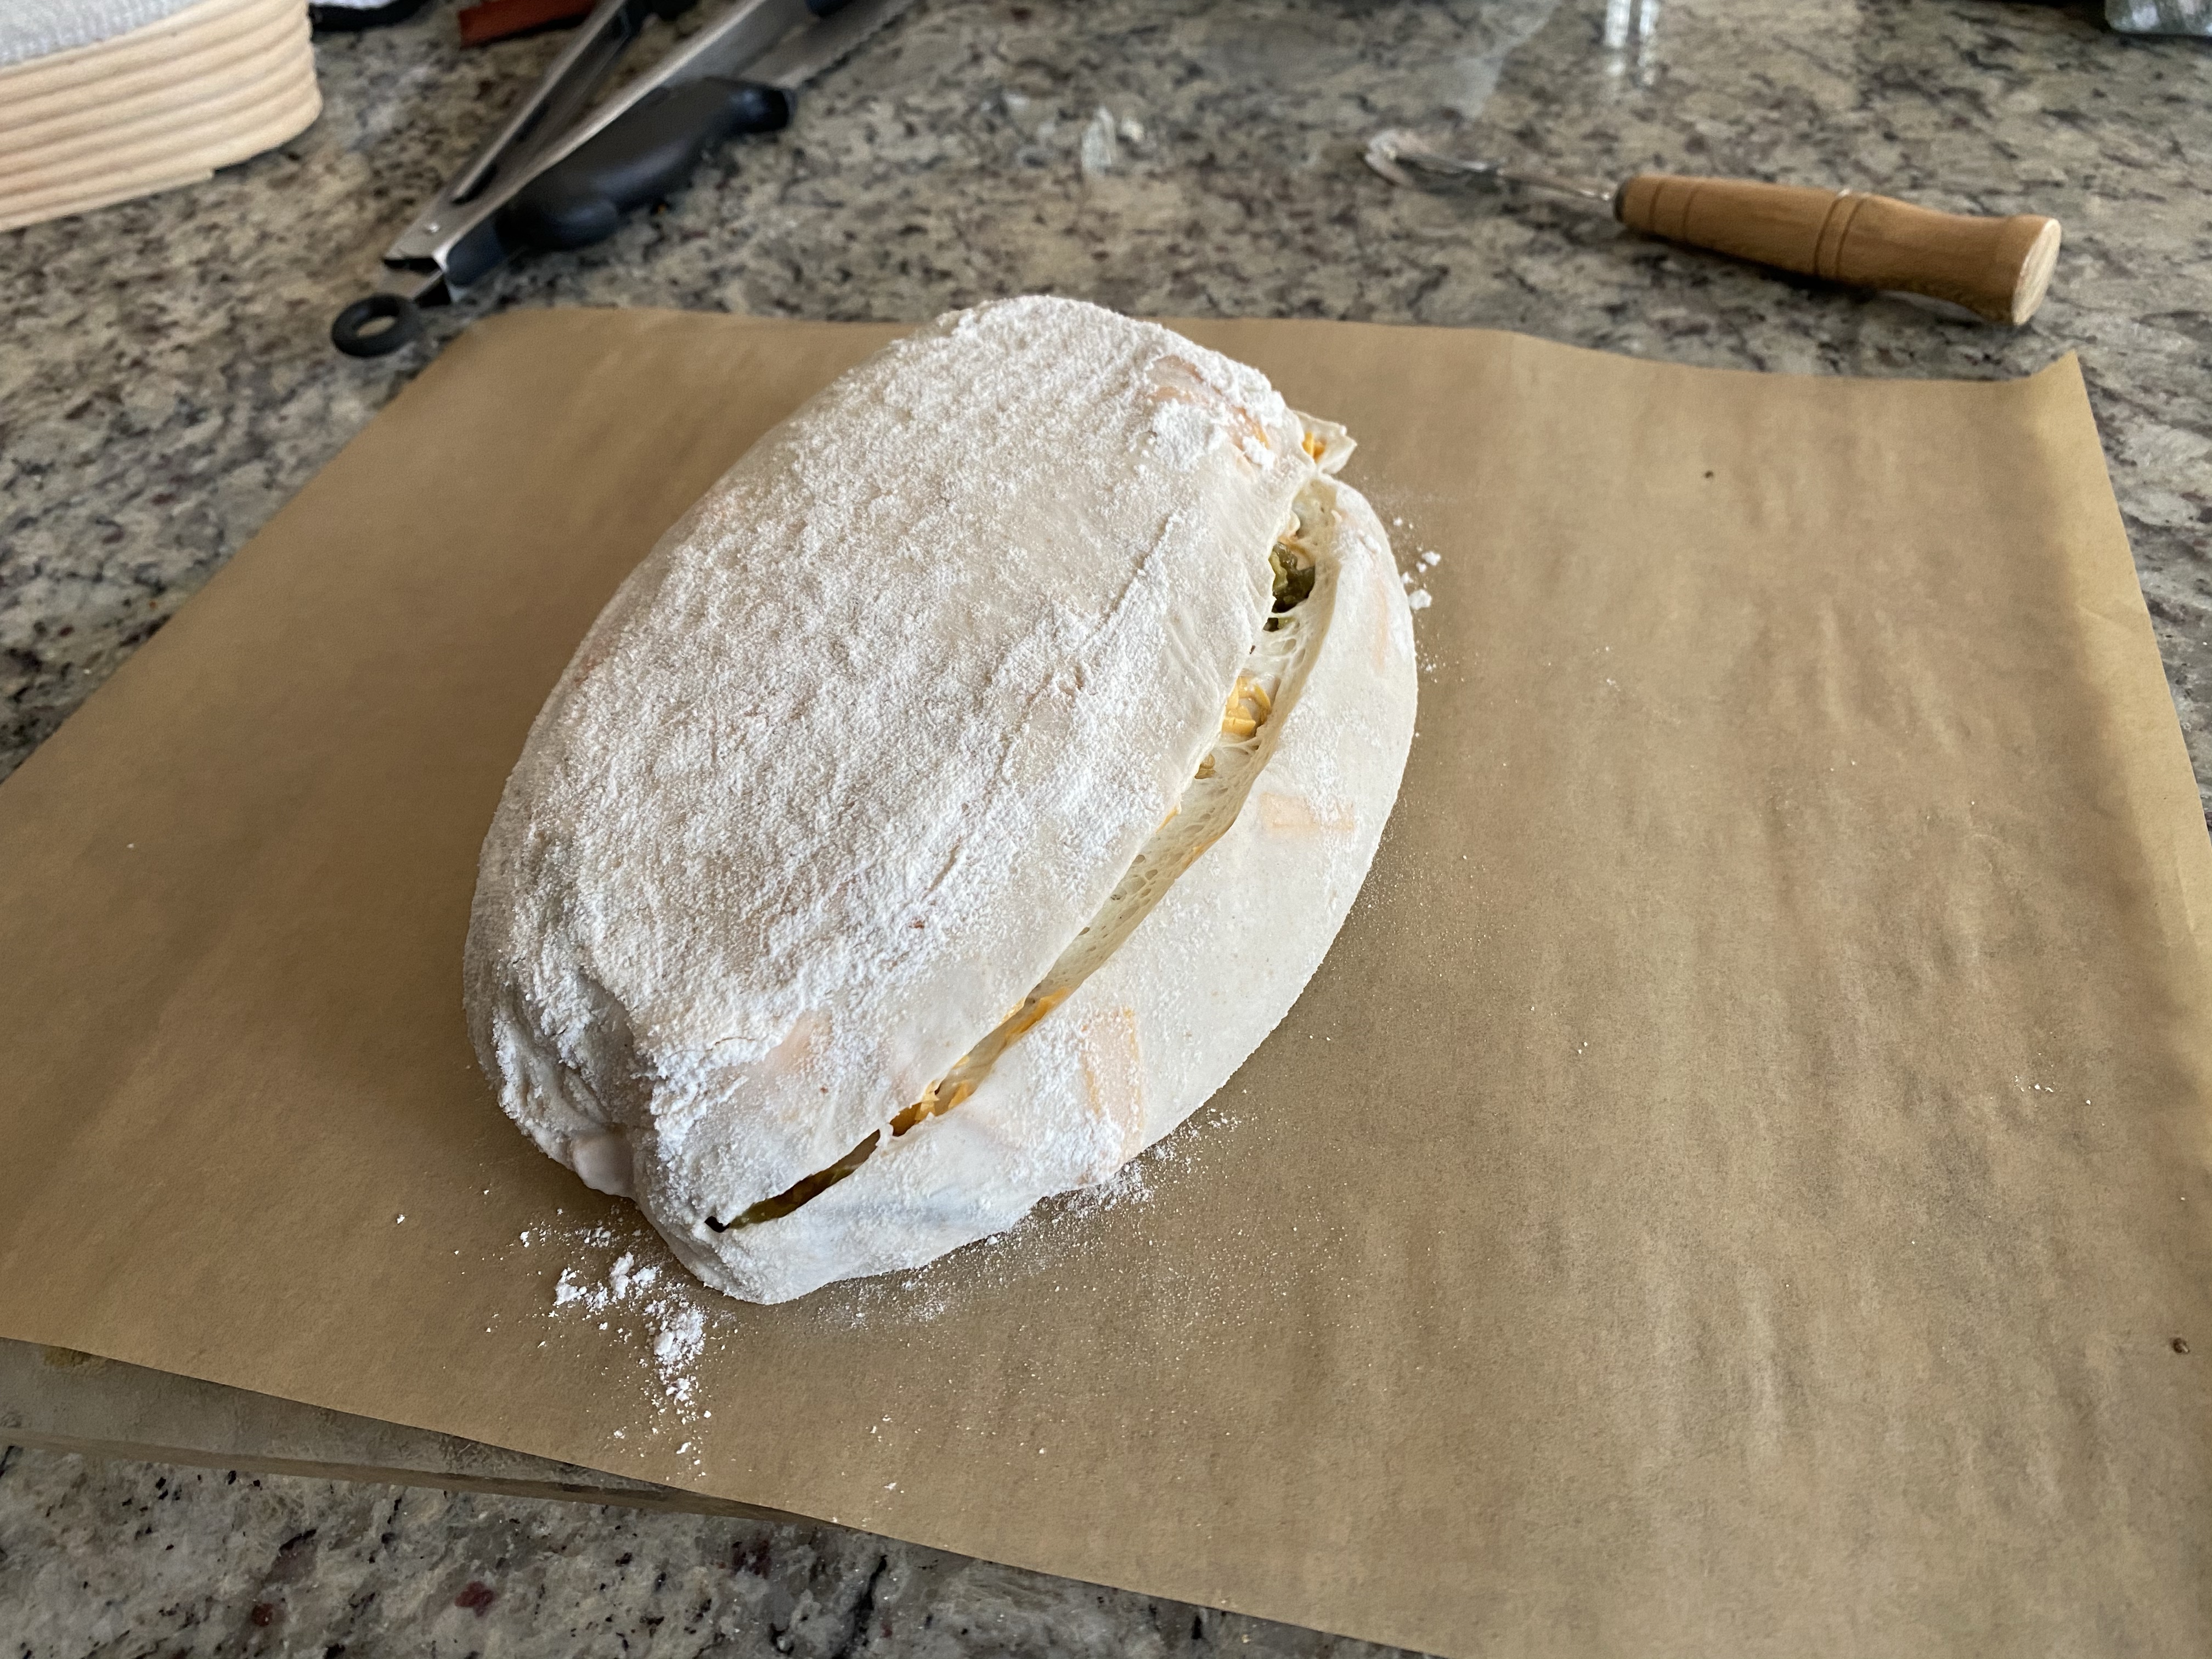
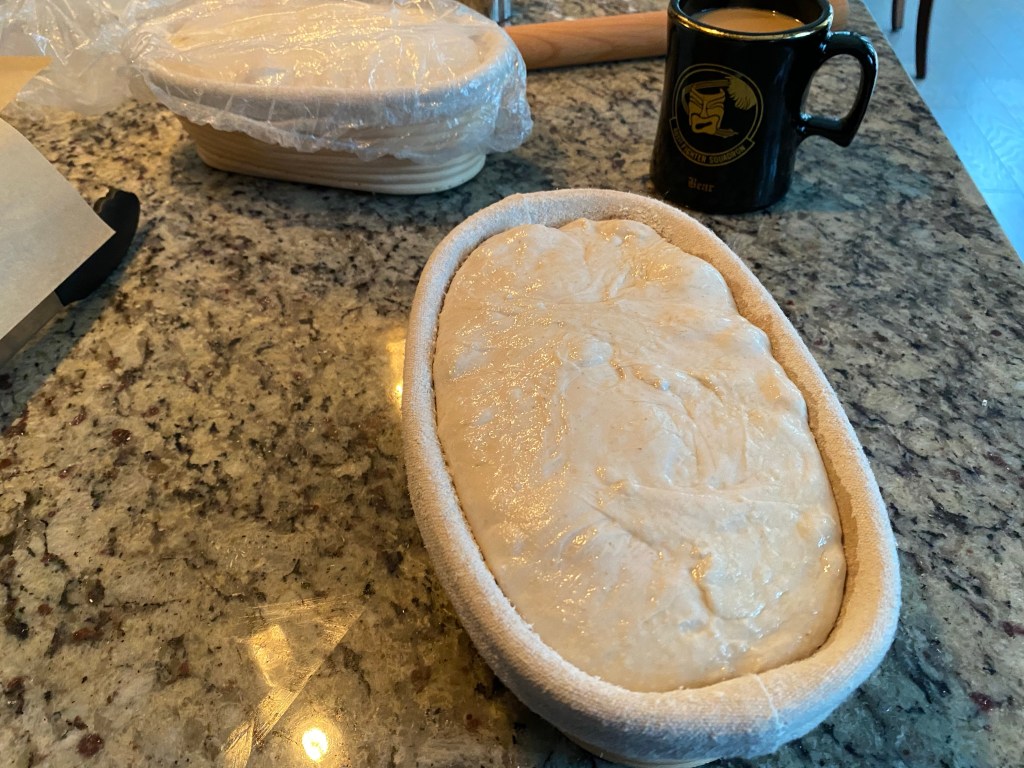
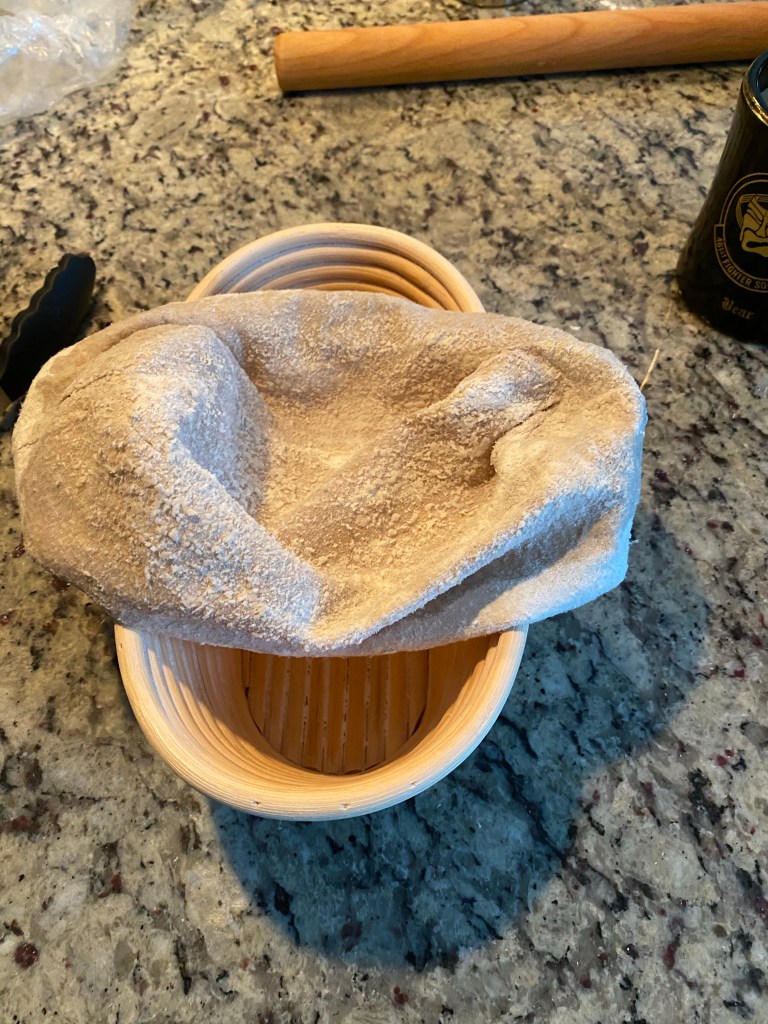
Here is how the loaf looked before baking…
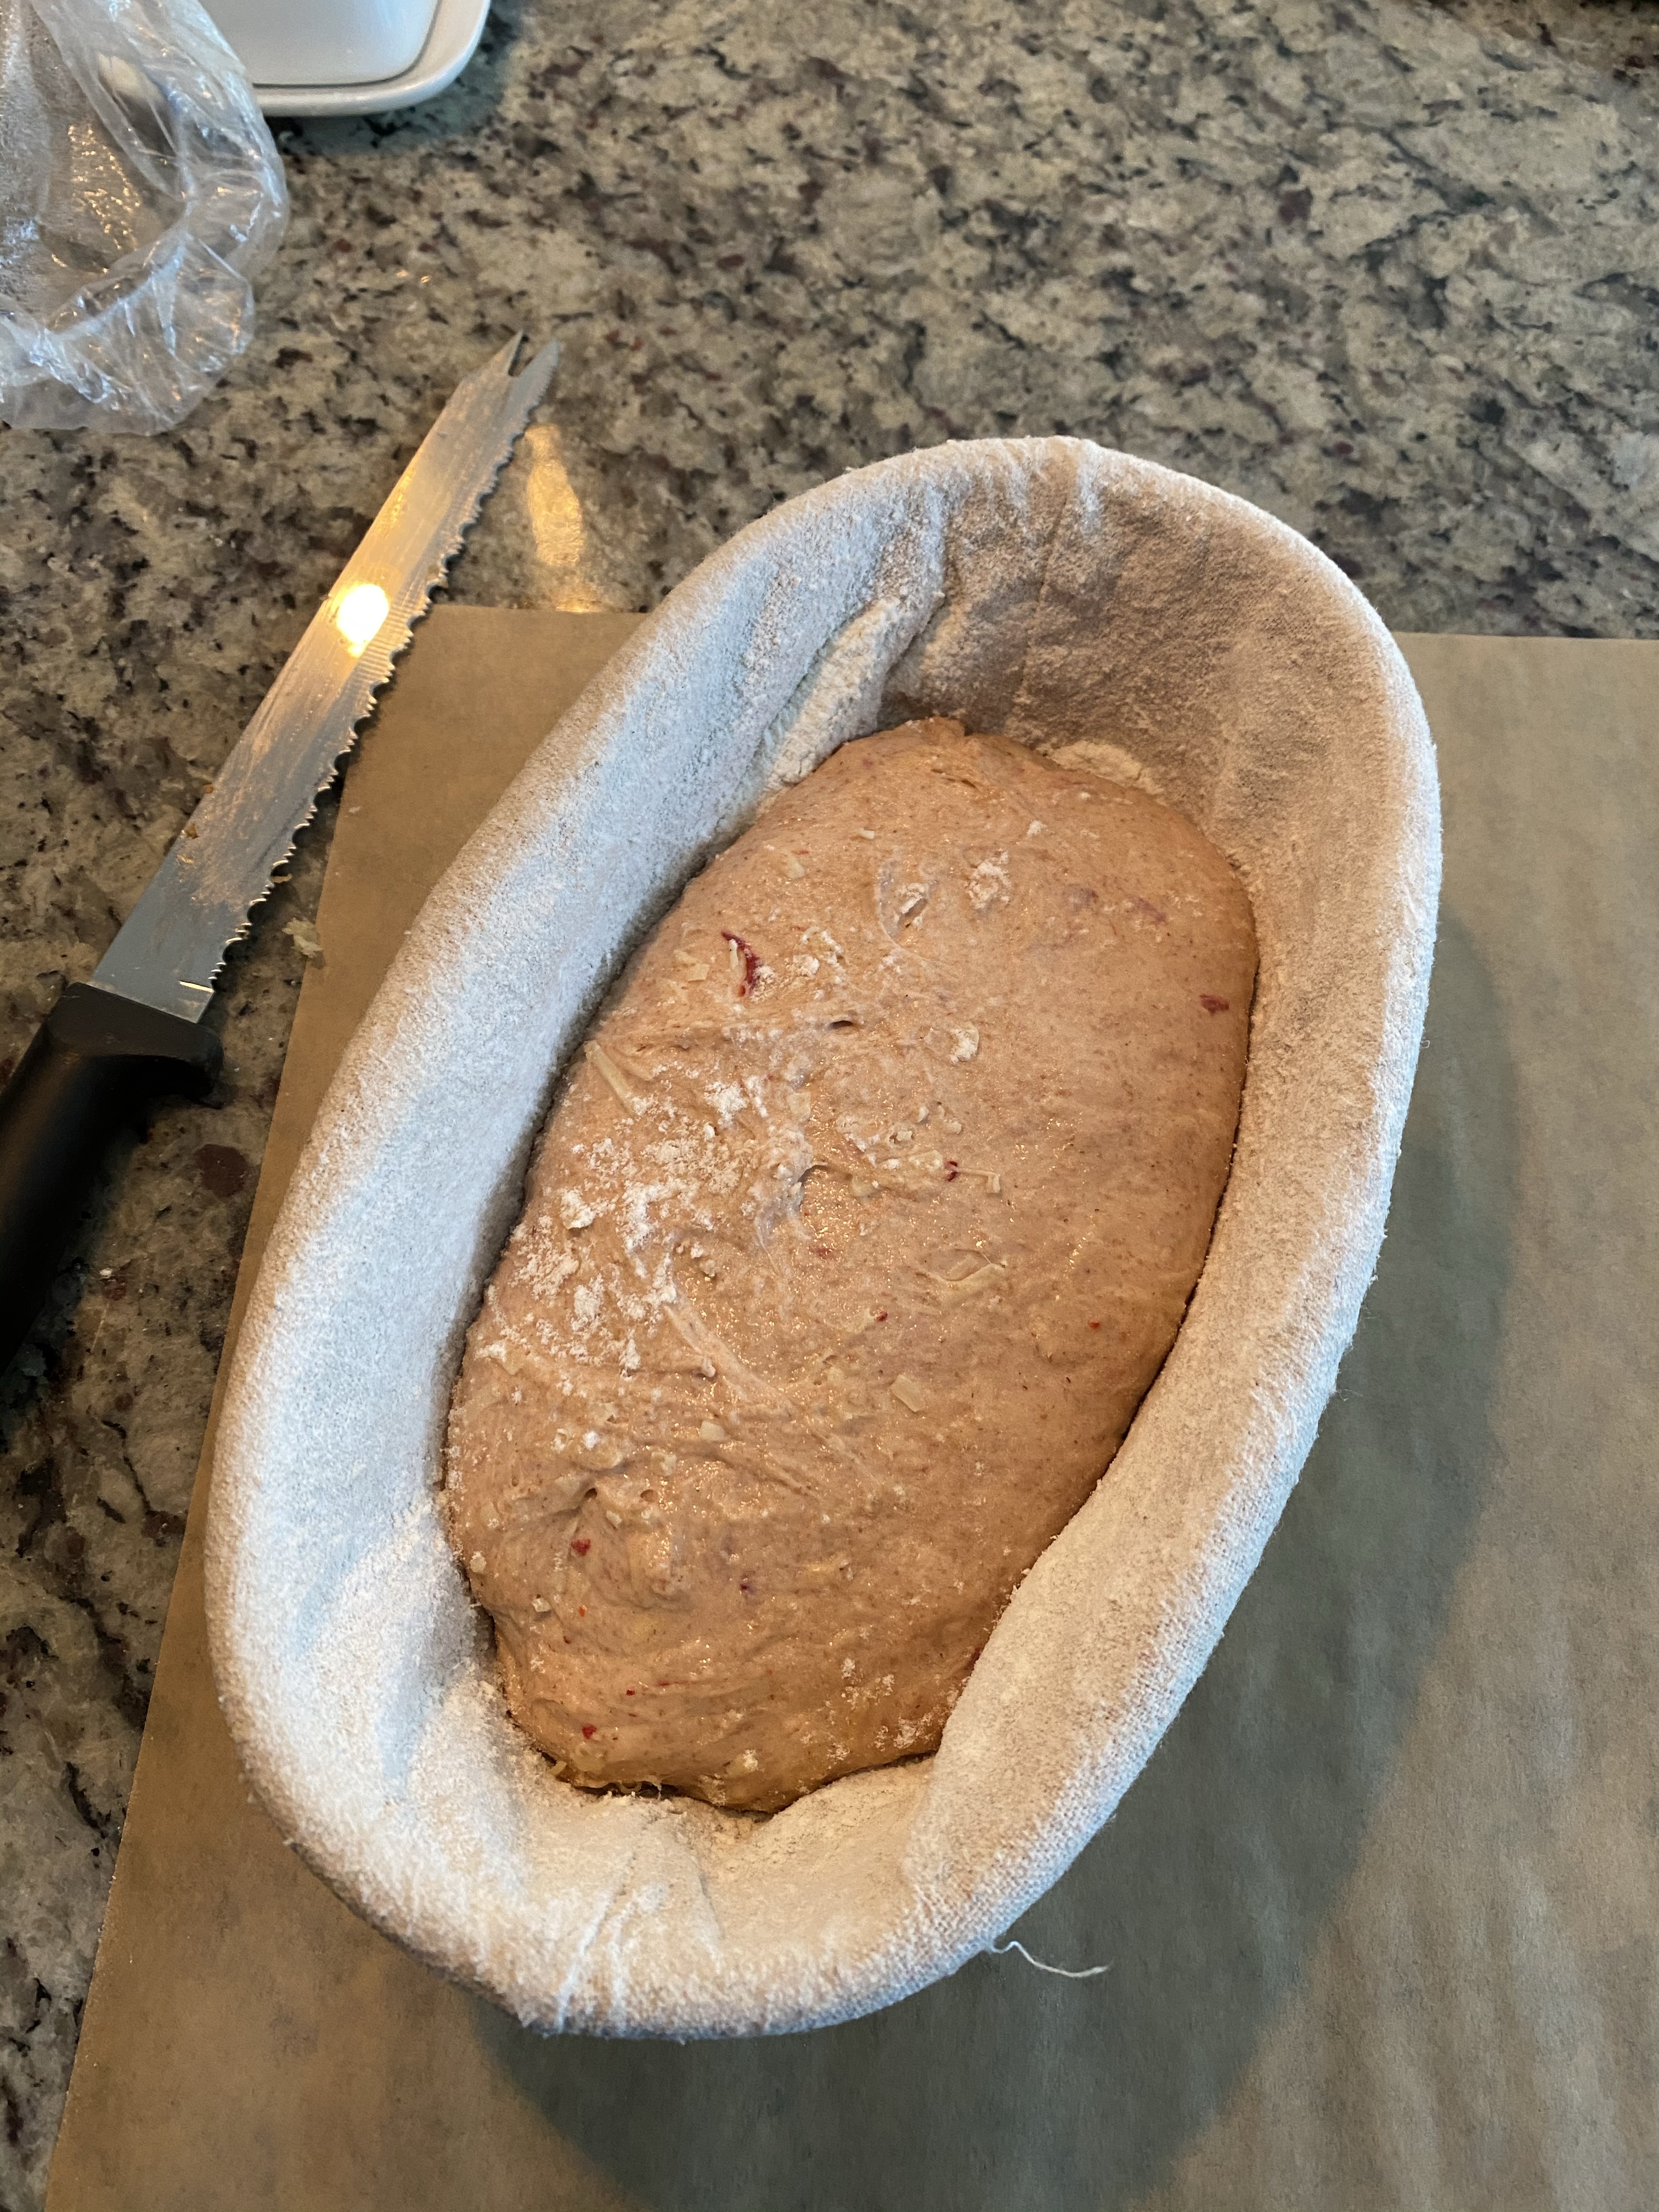
In banneton 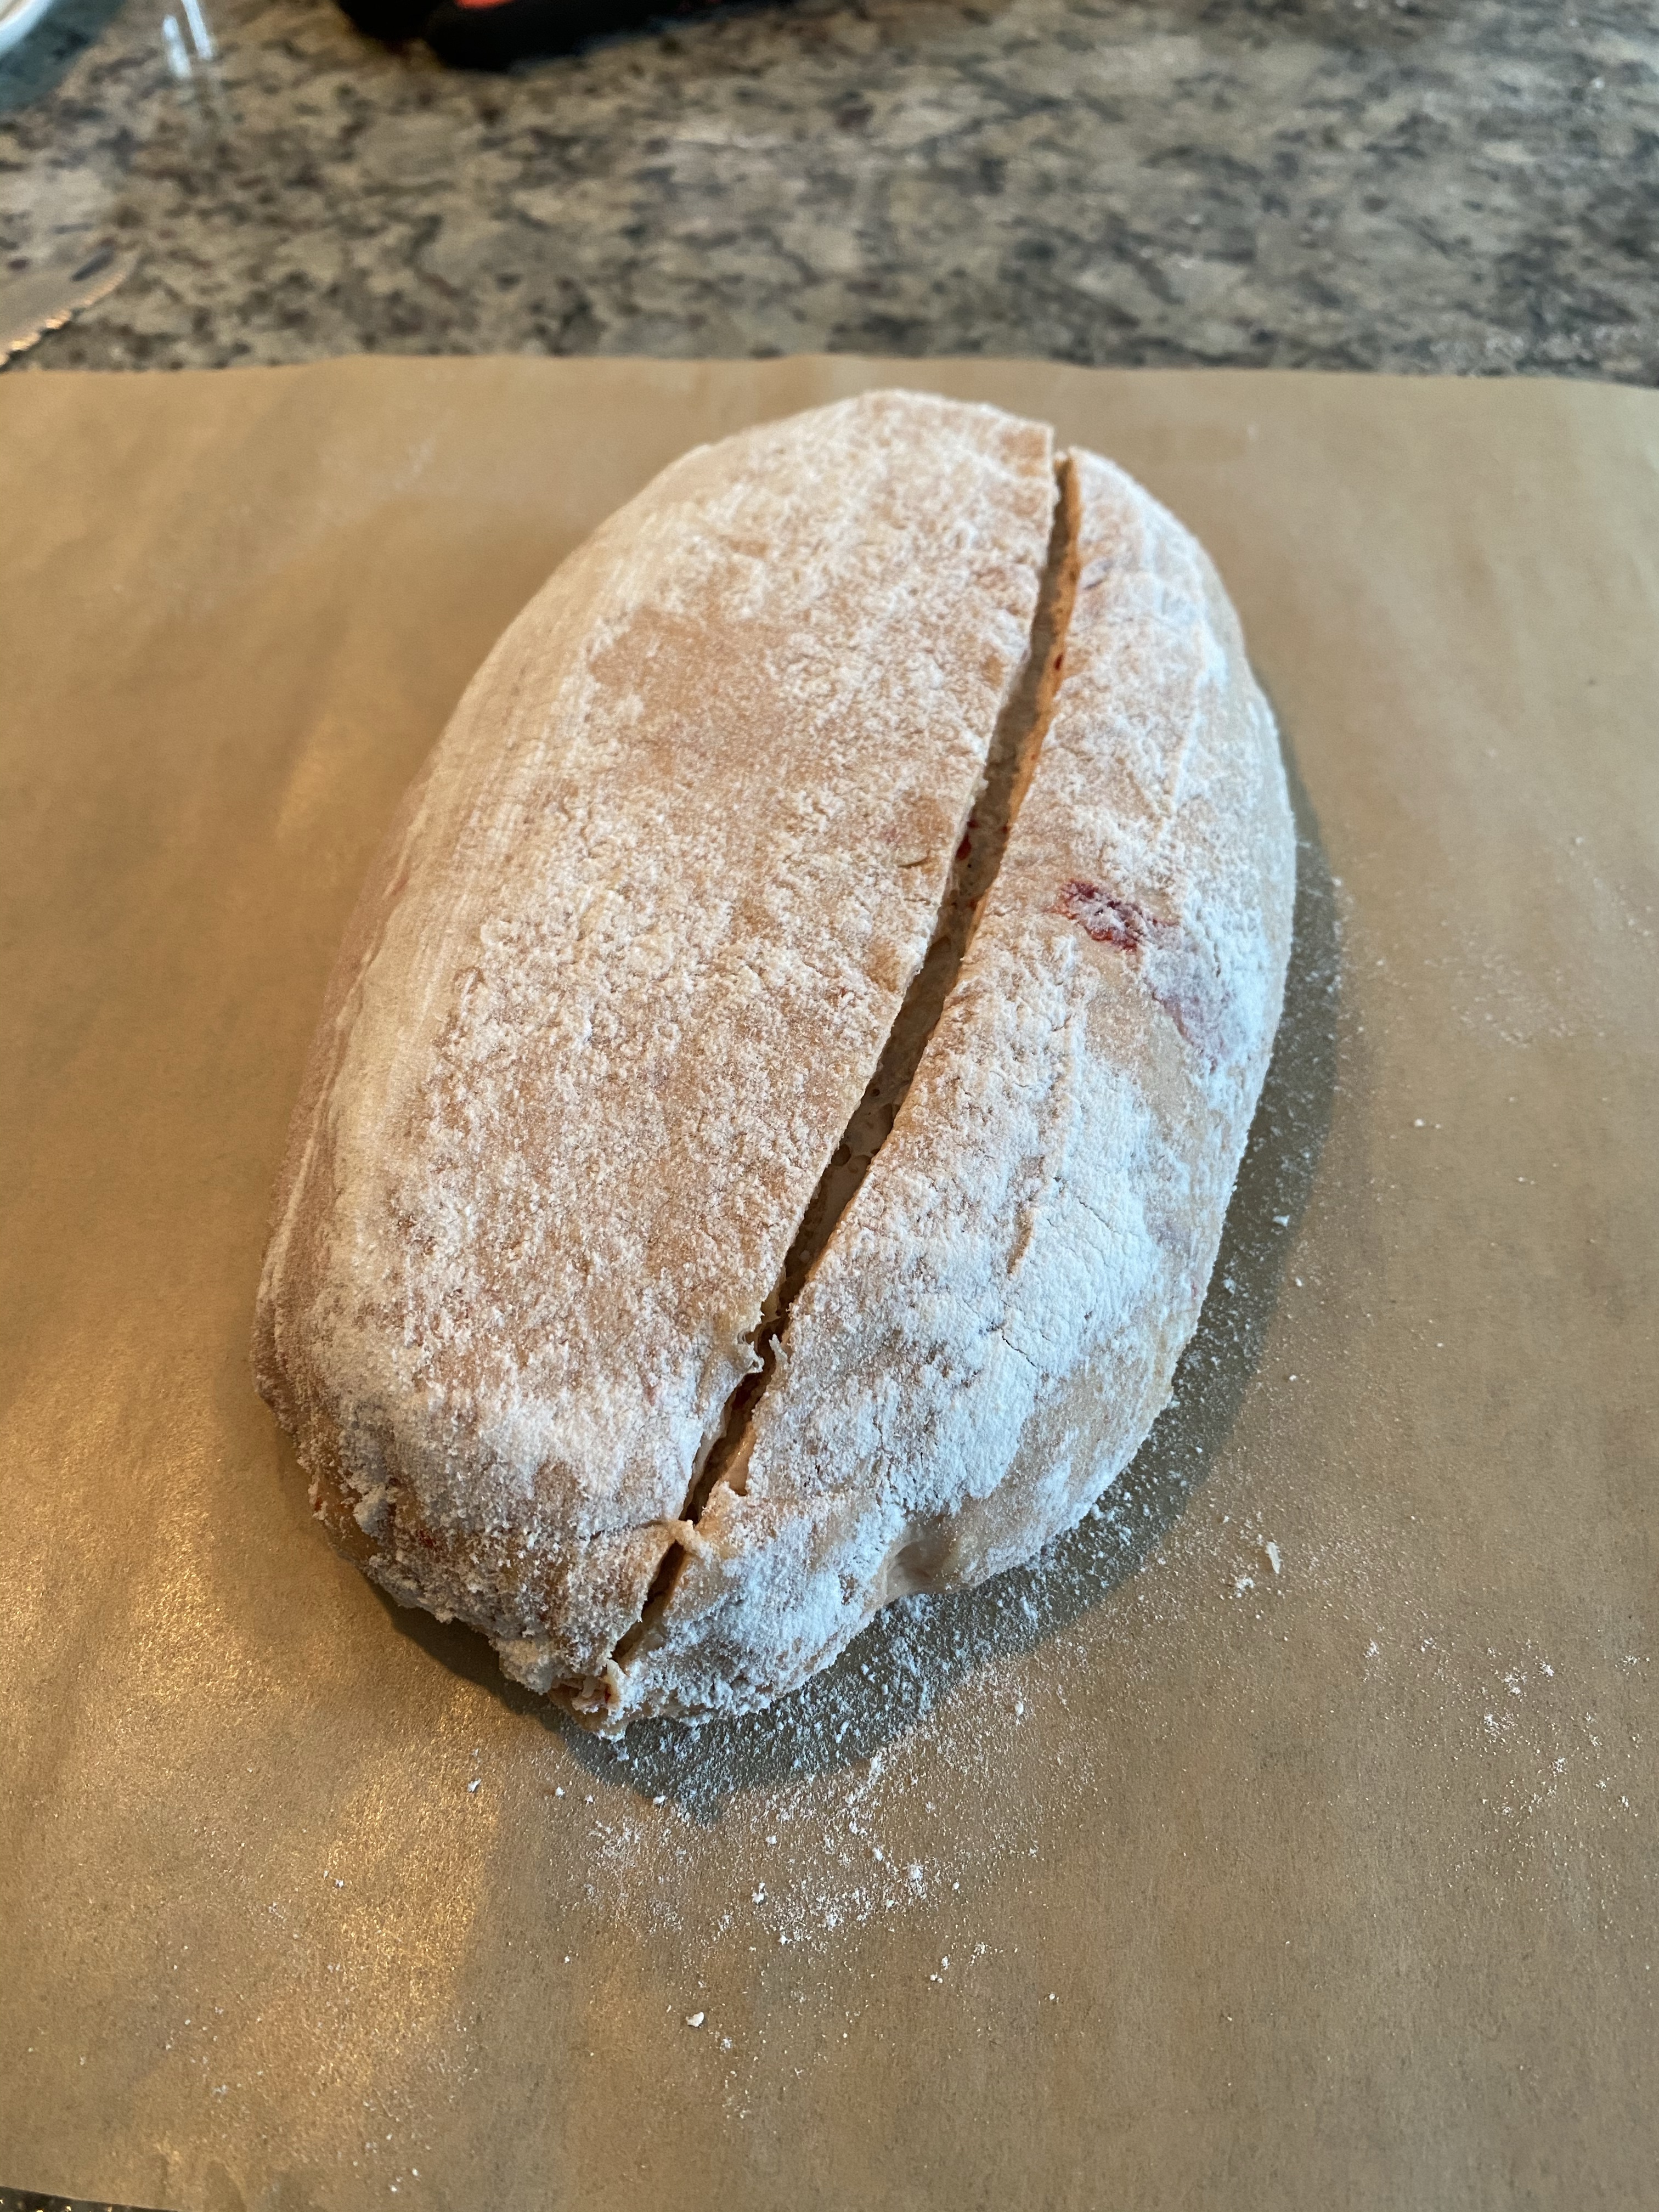
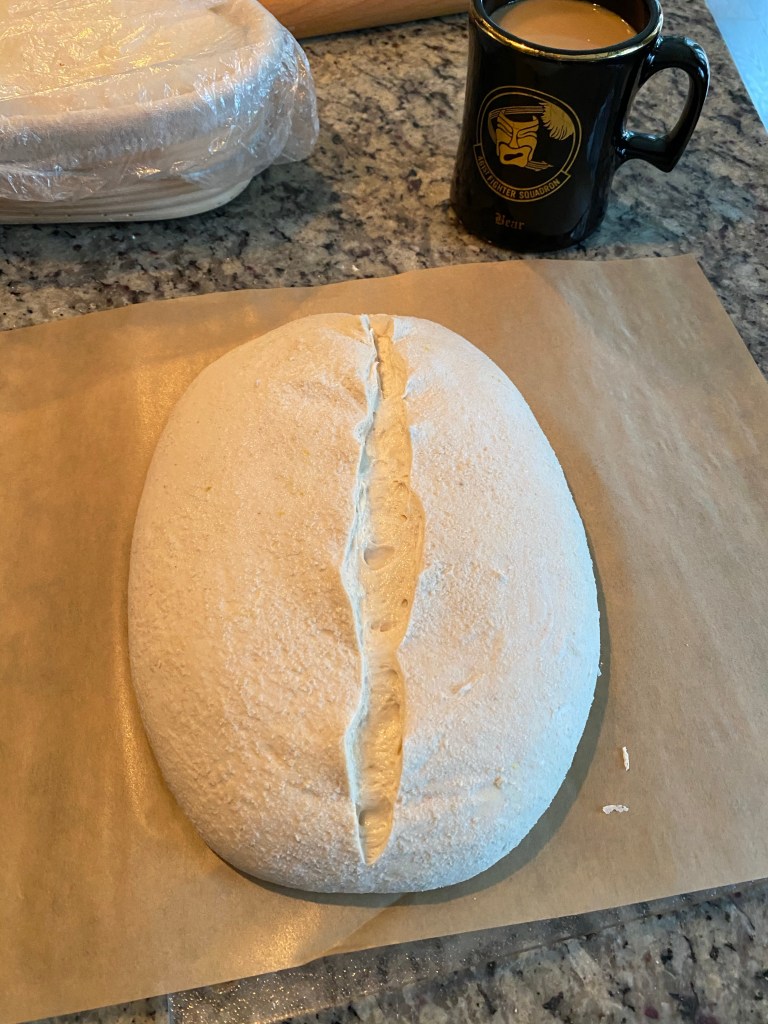
Scored and about to bake
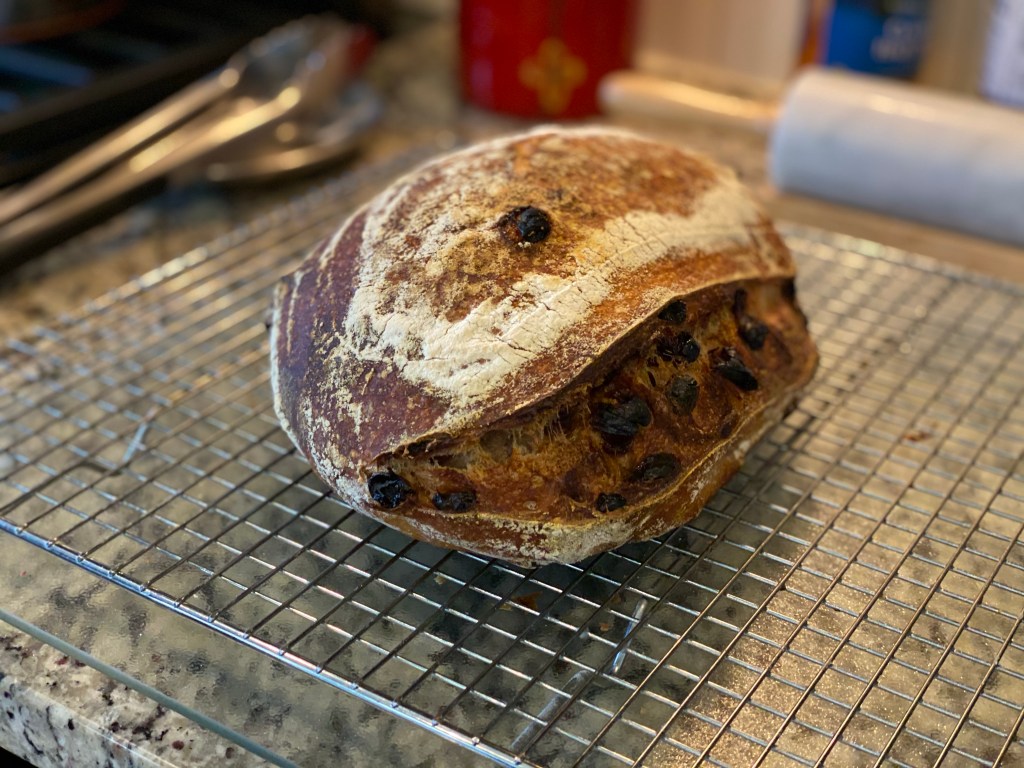
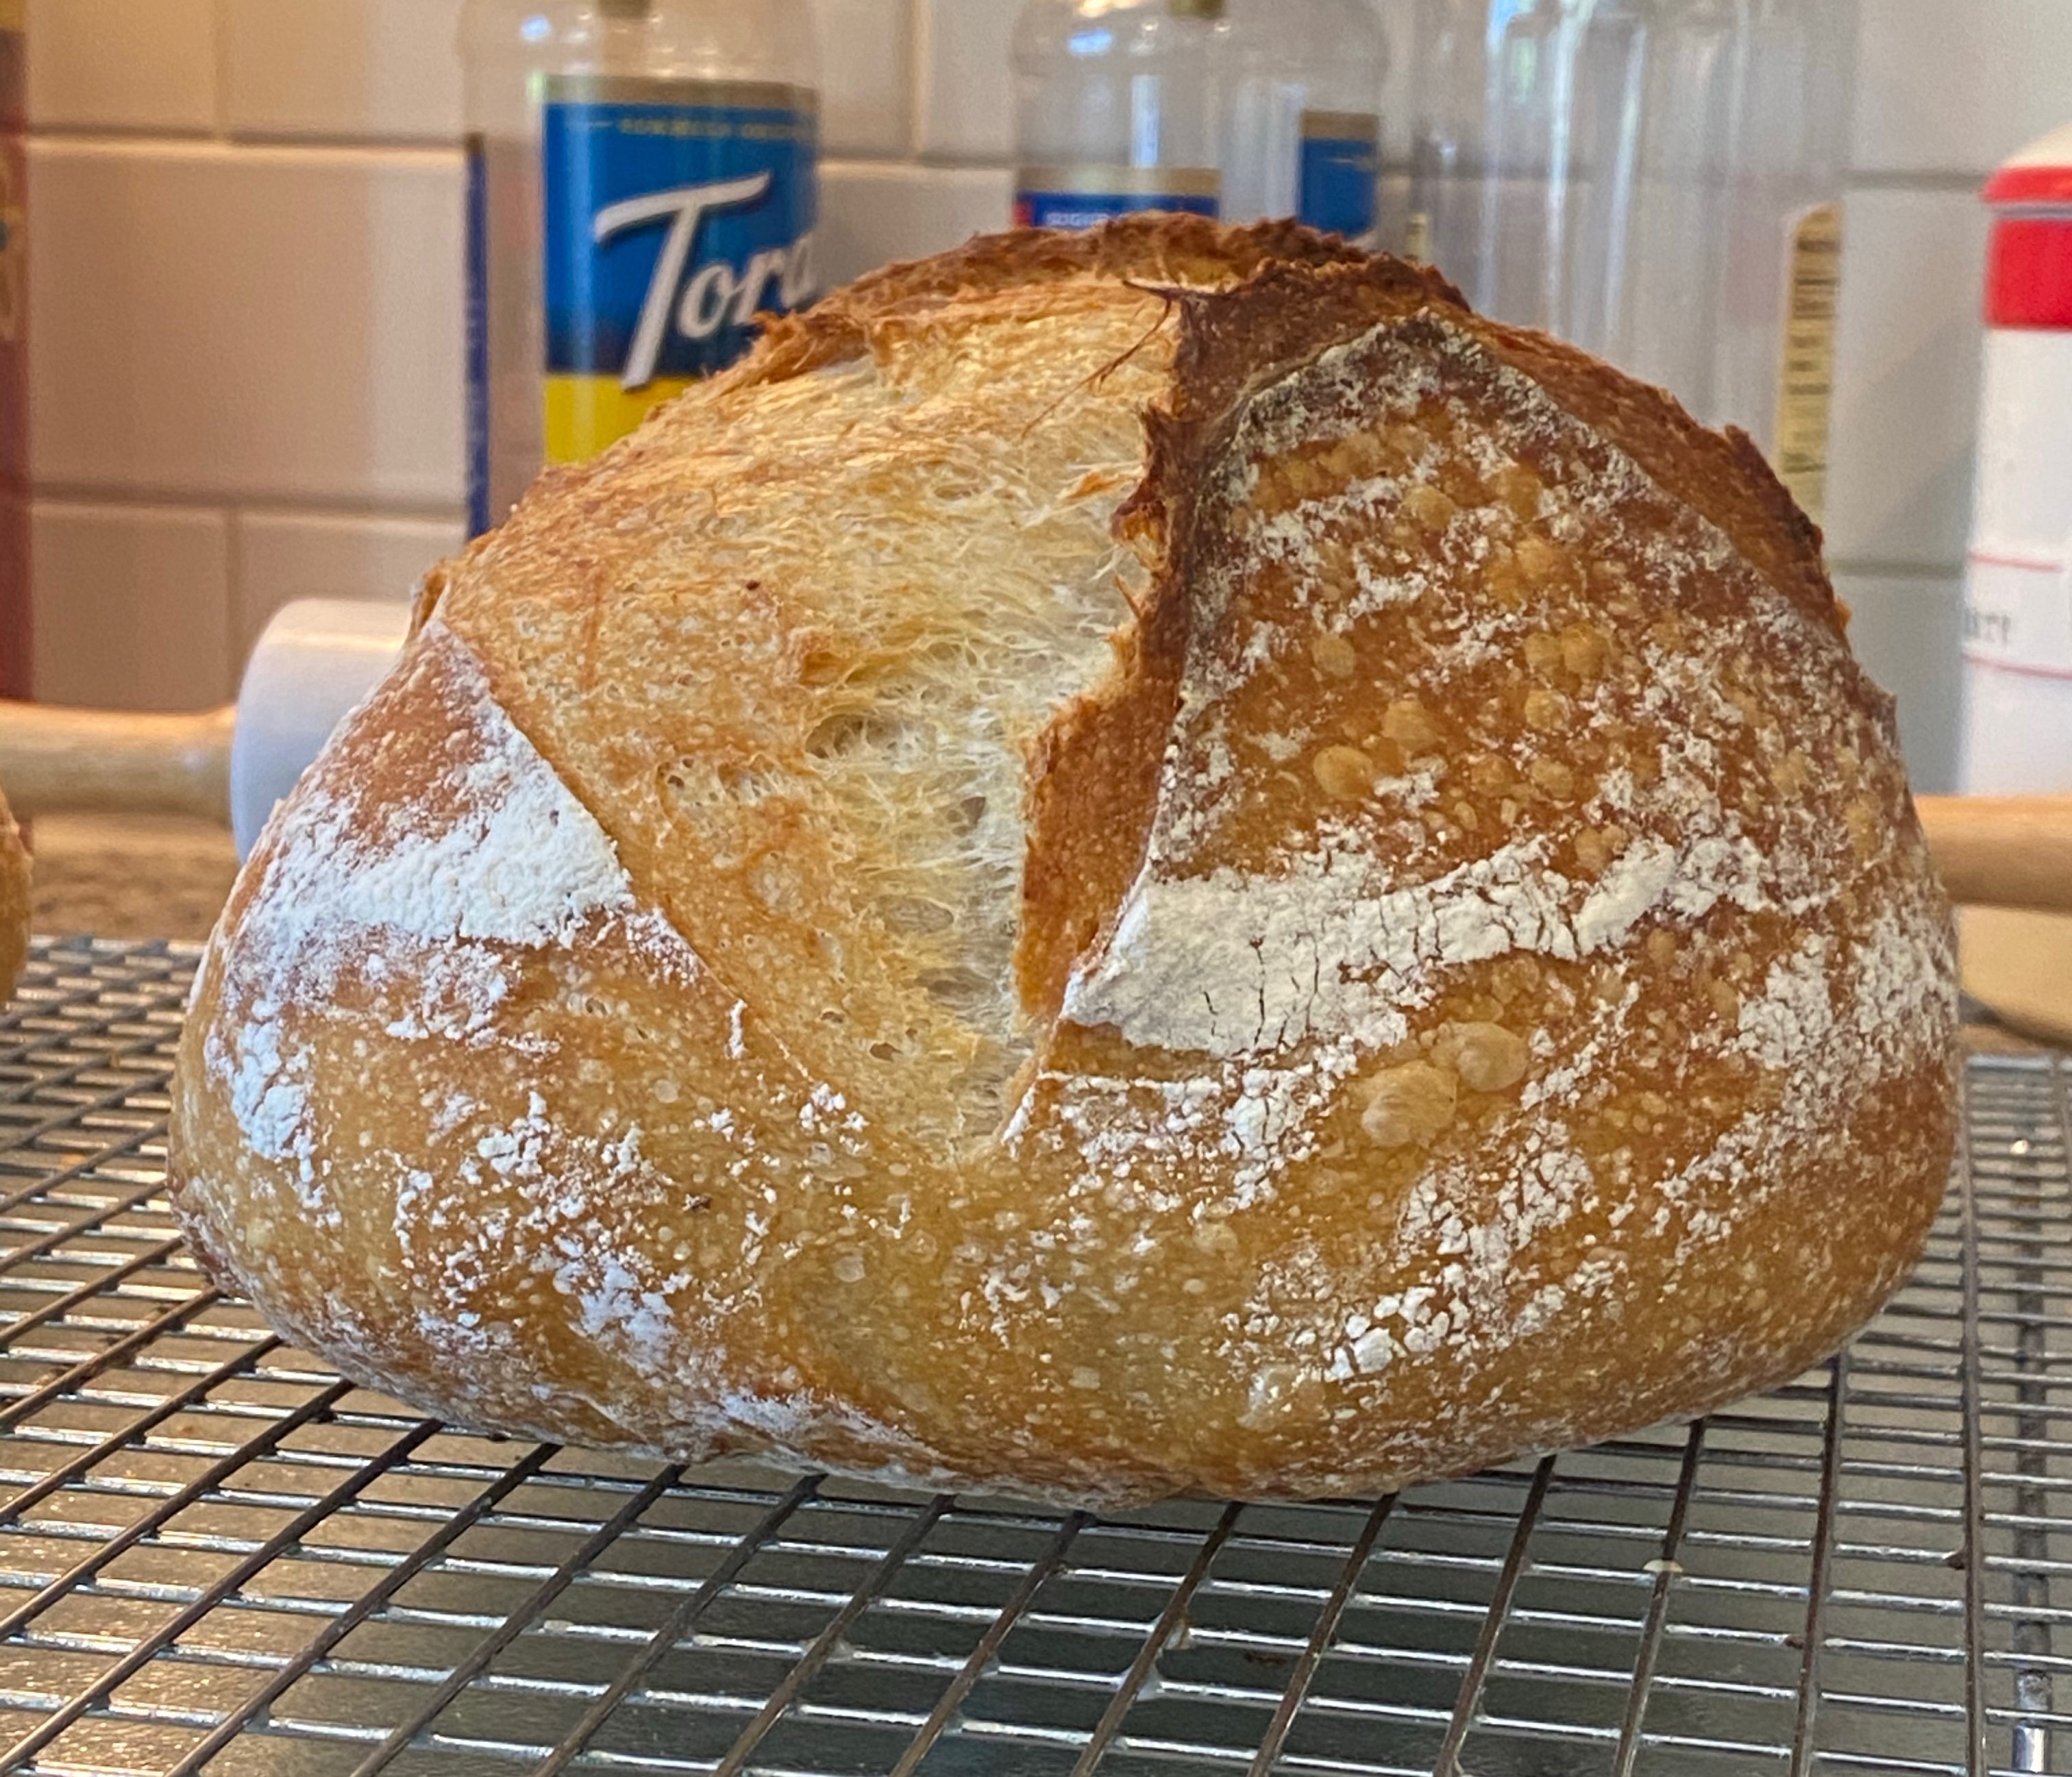
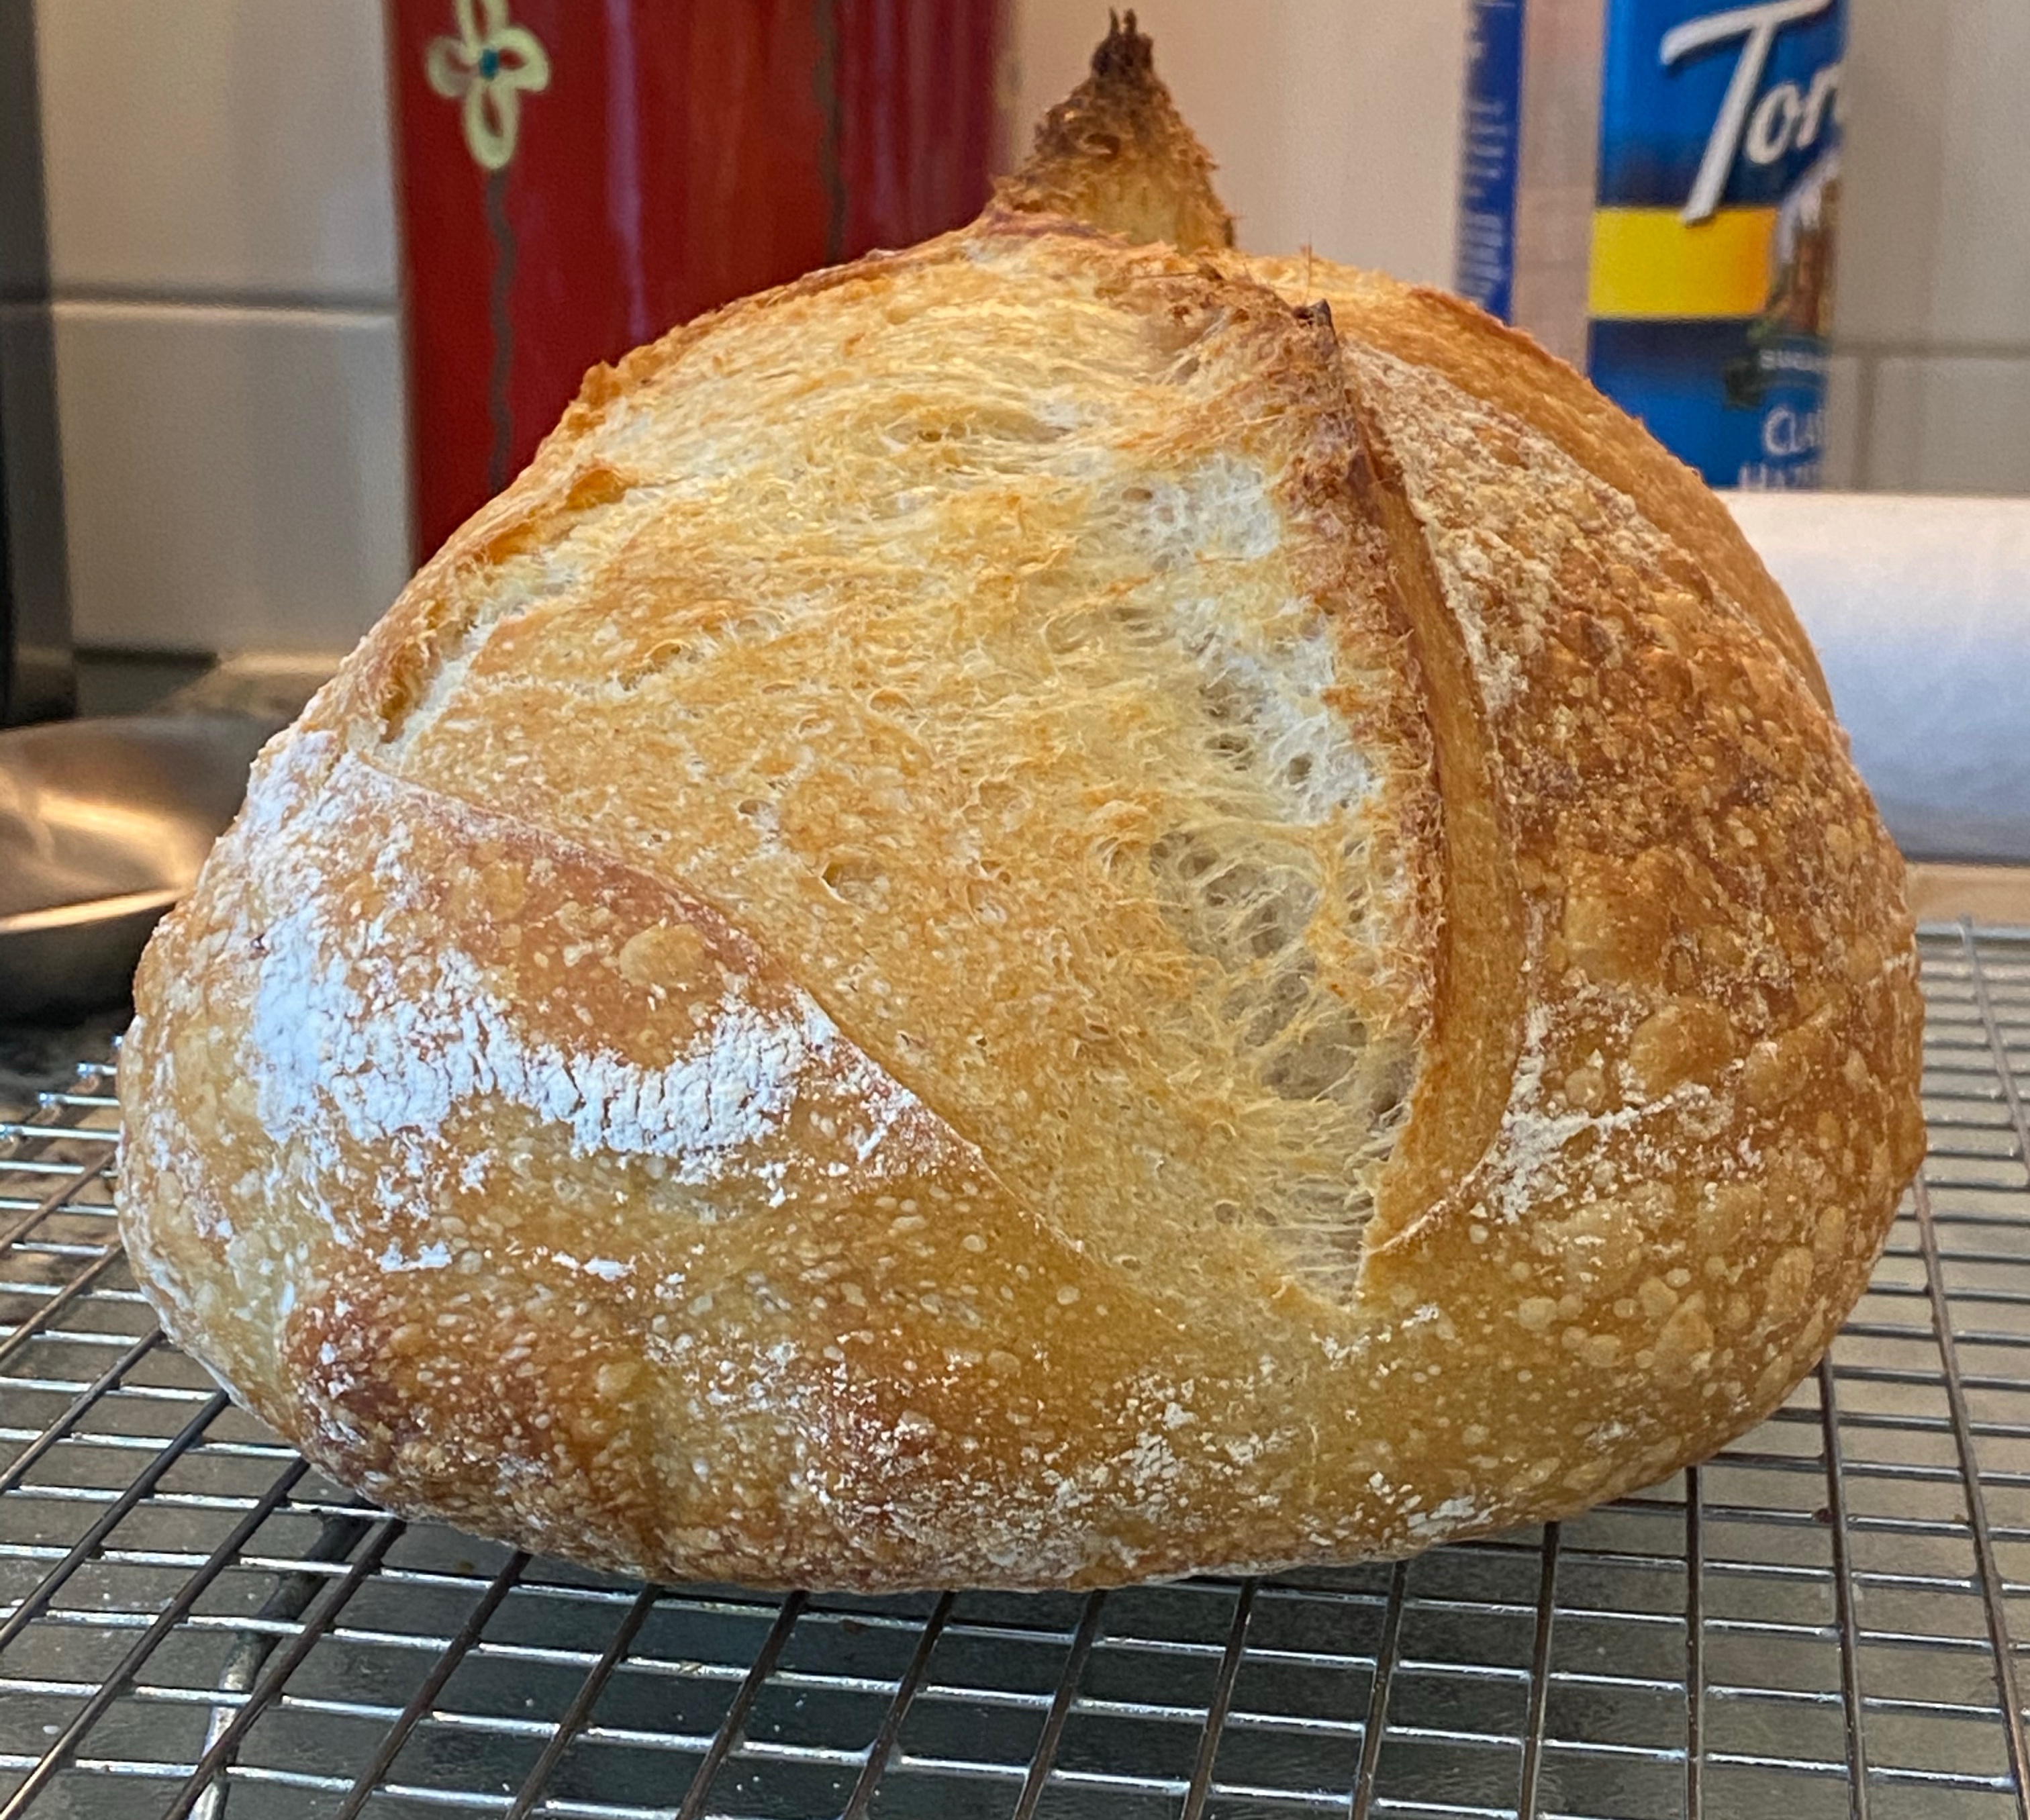
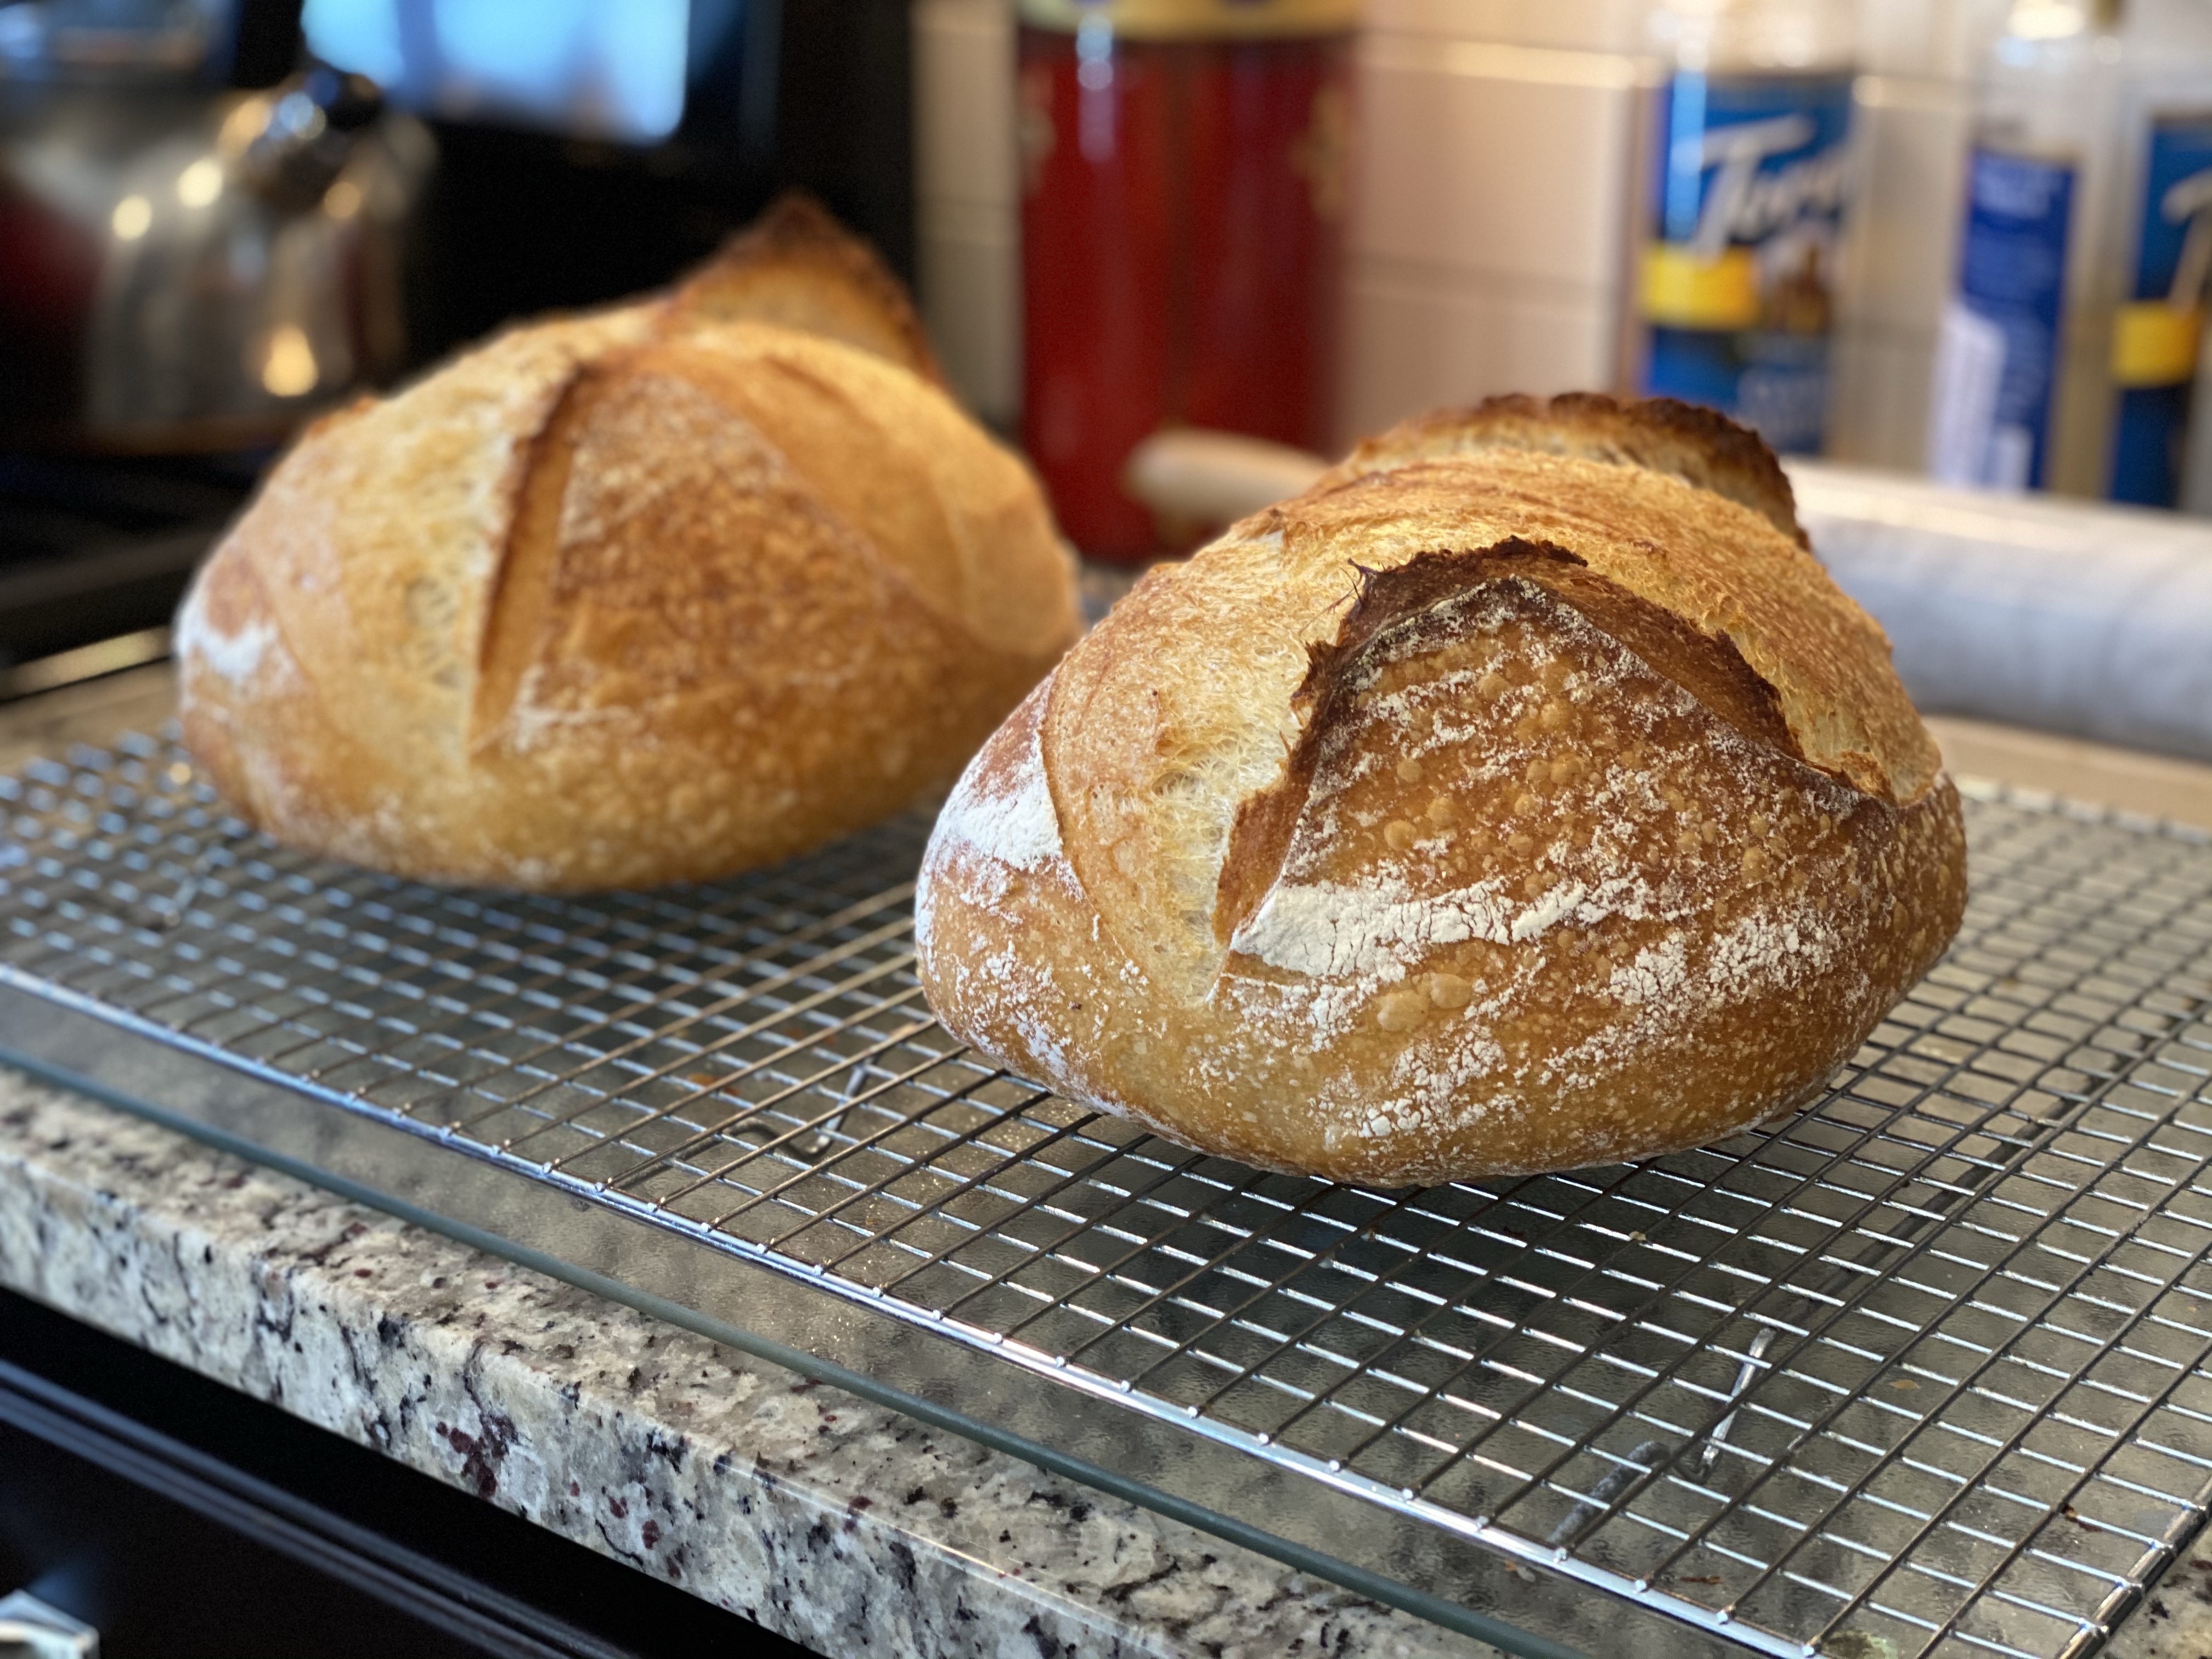
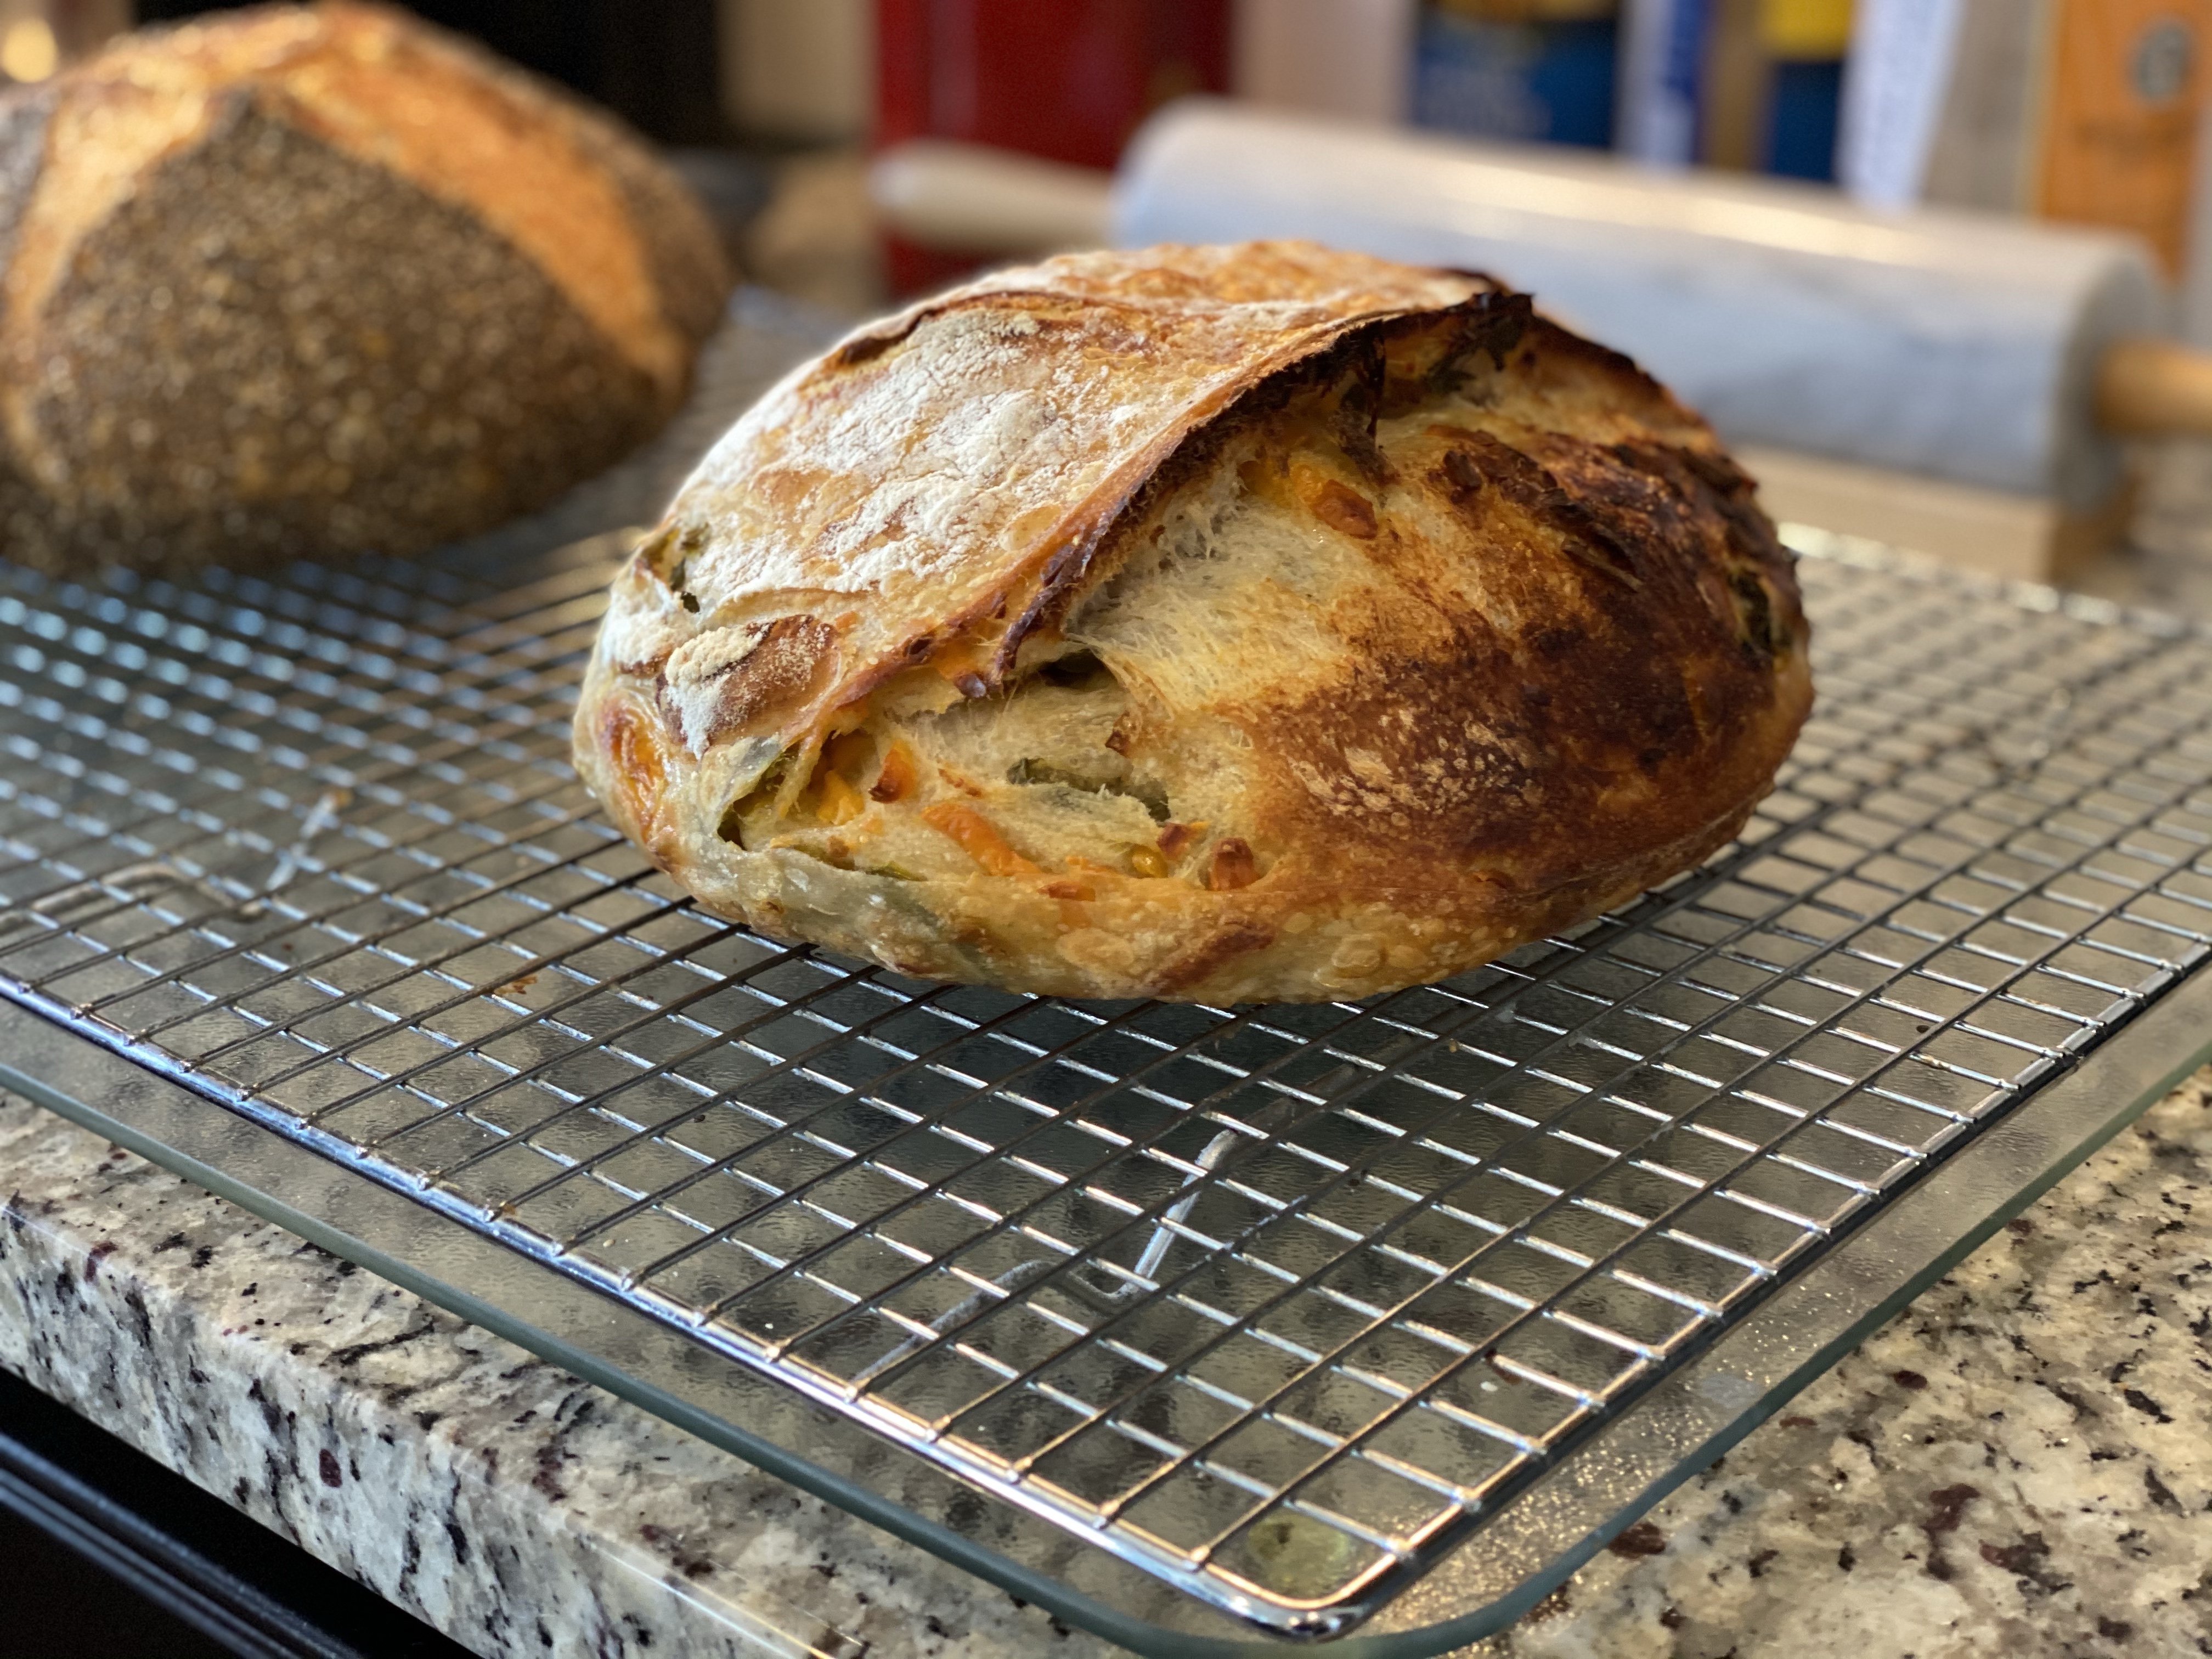
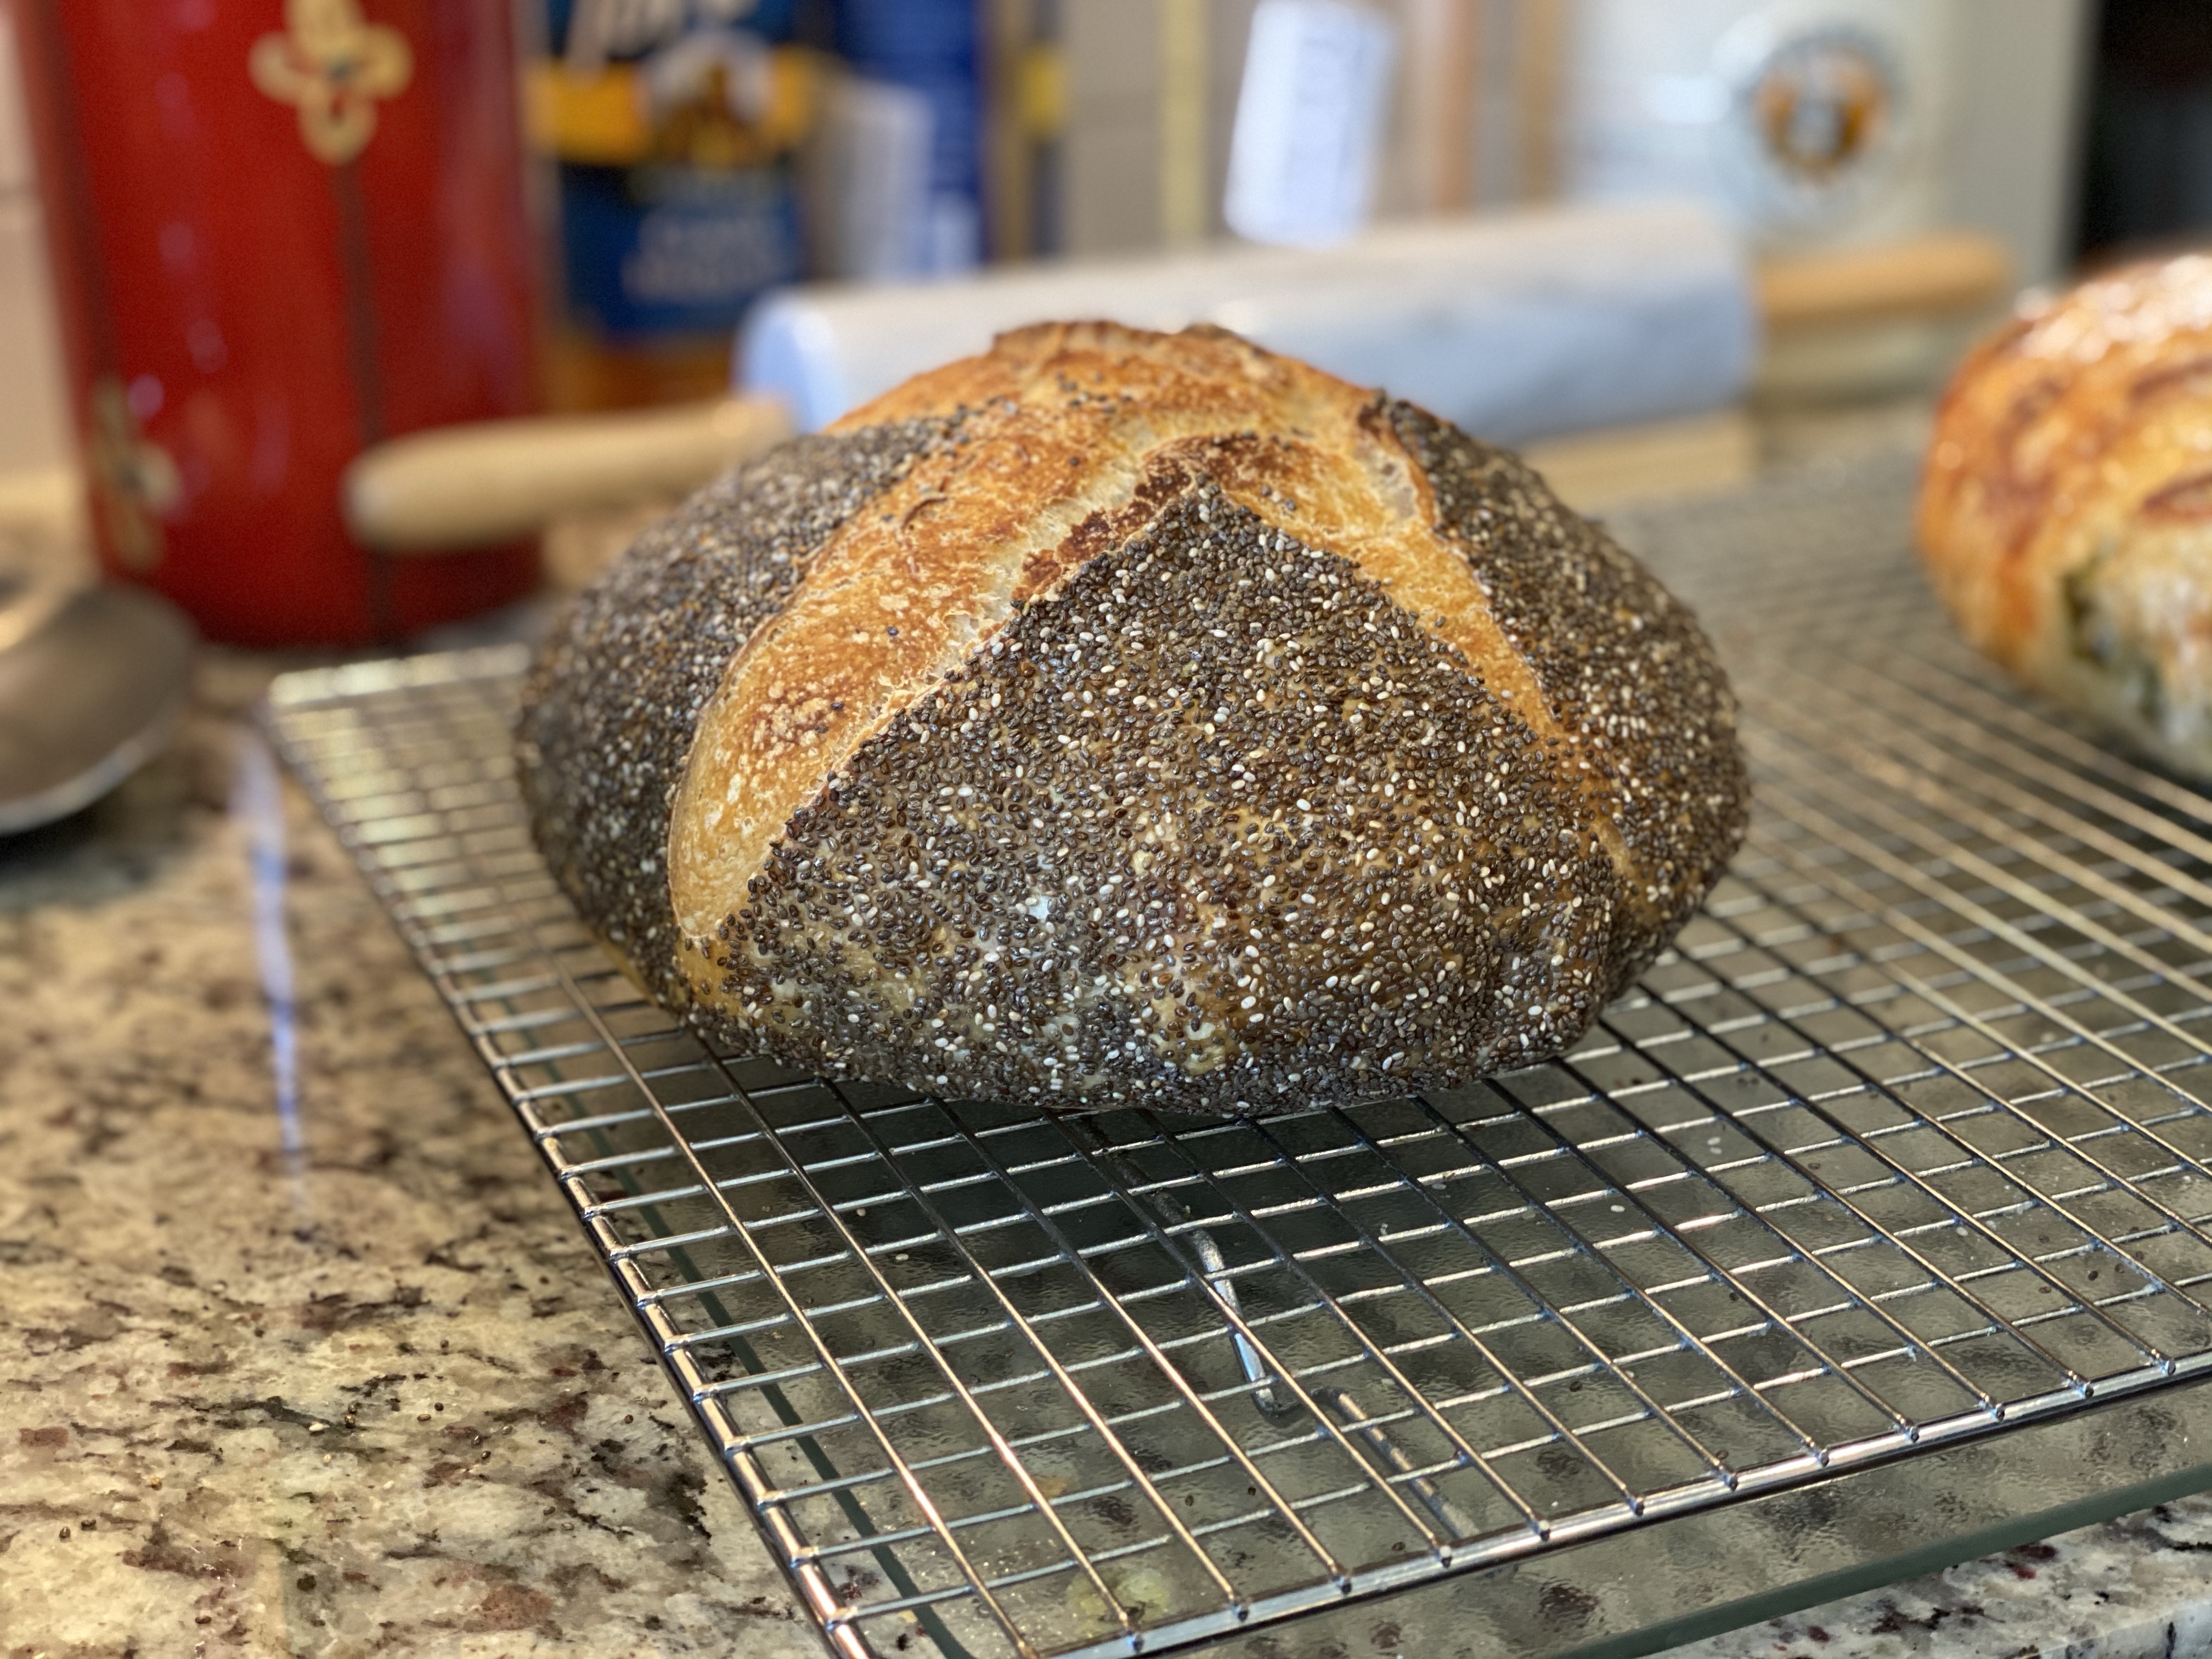
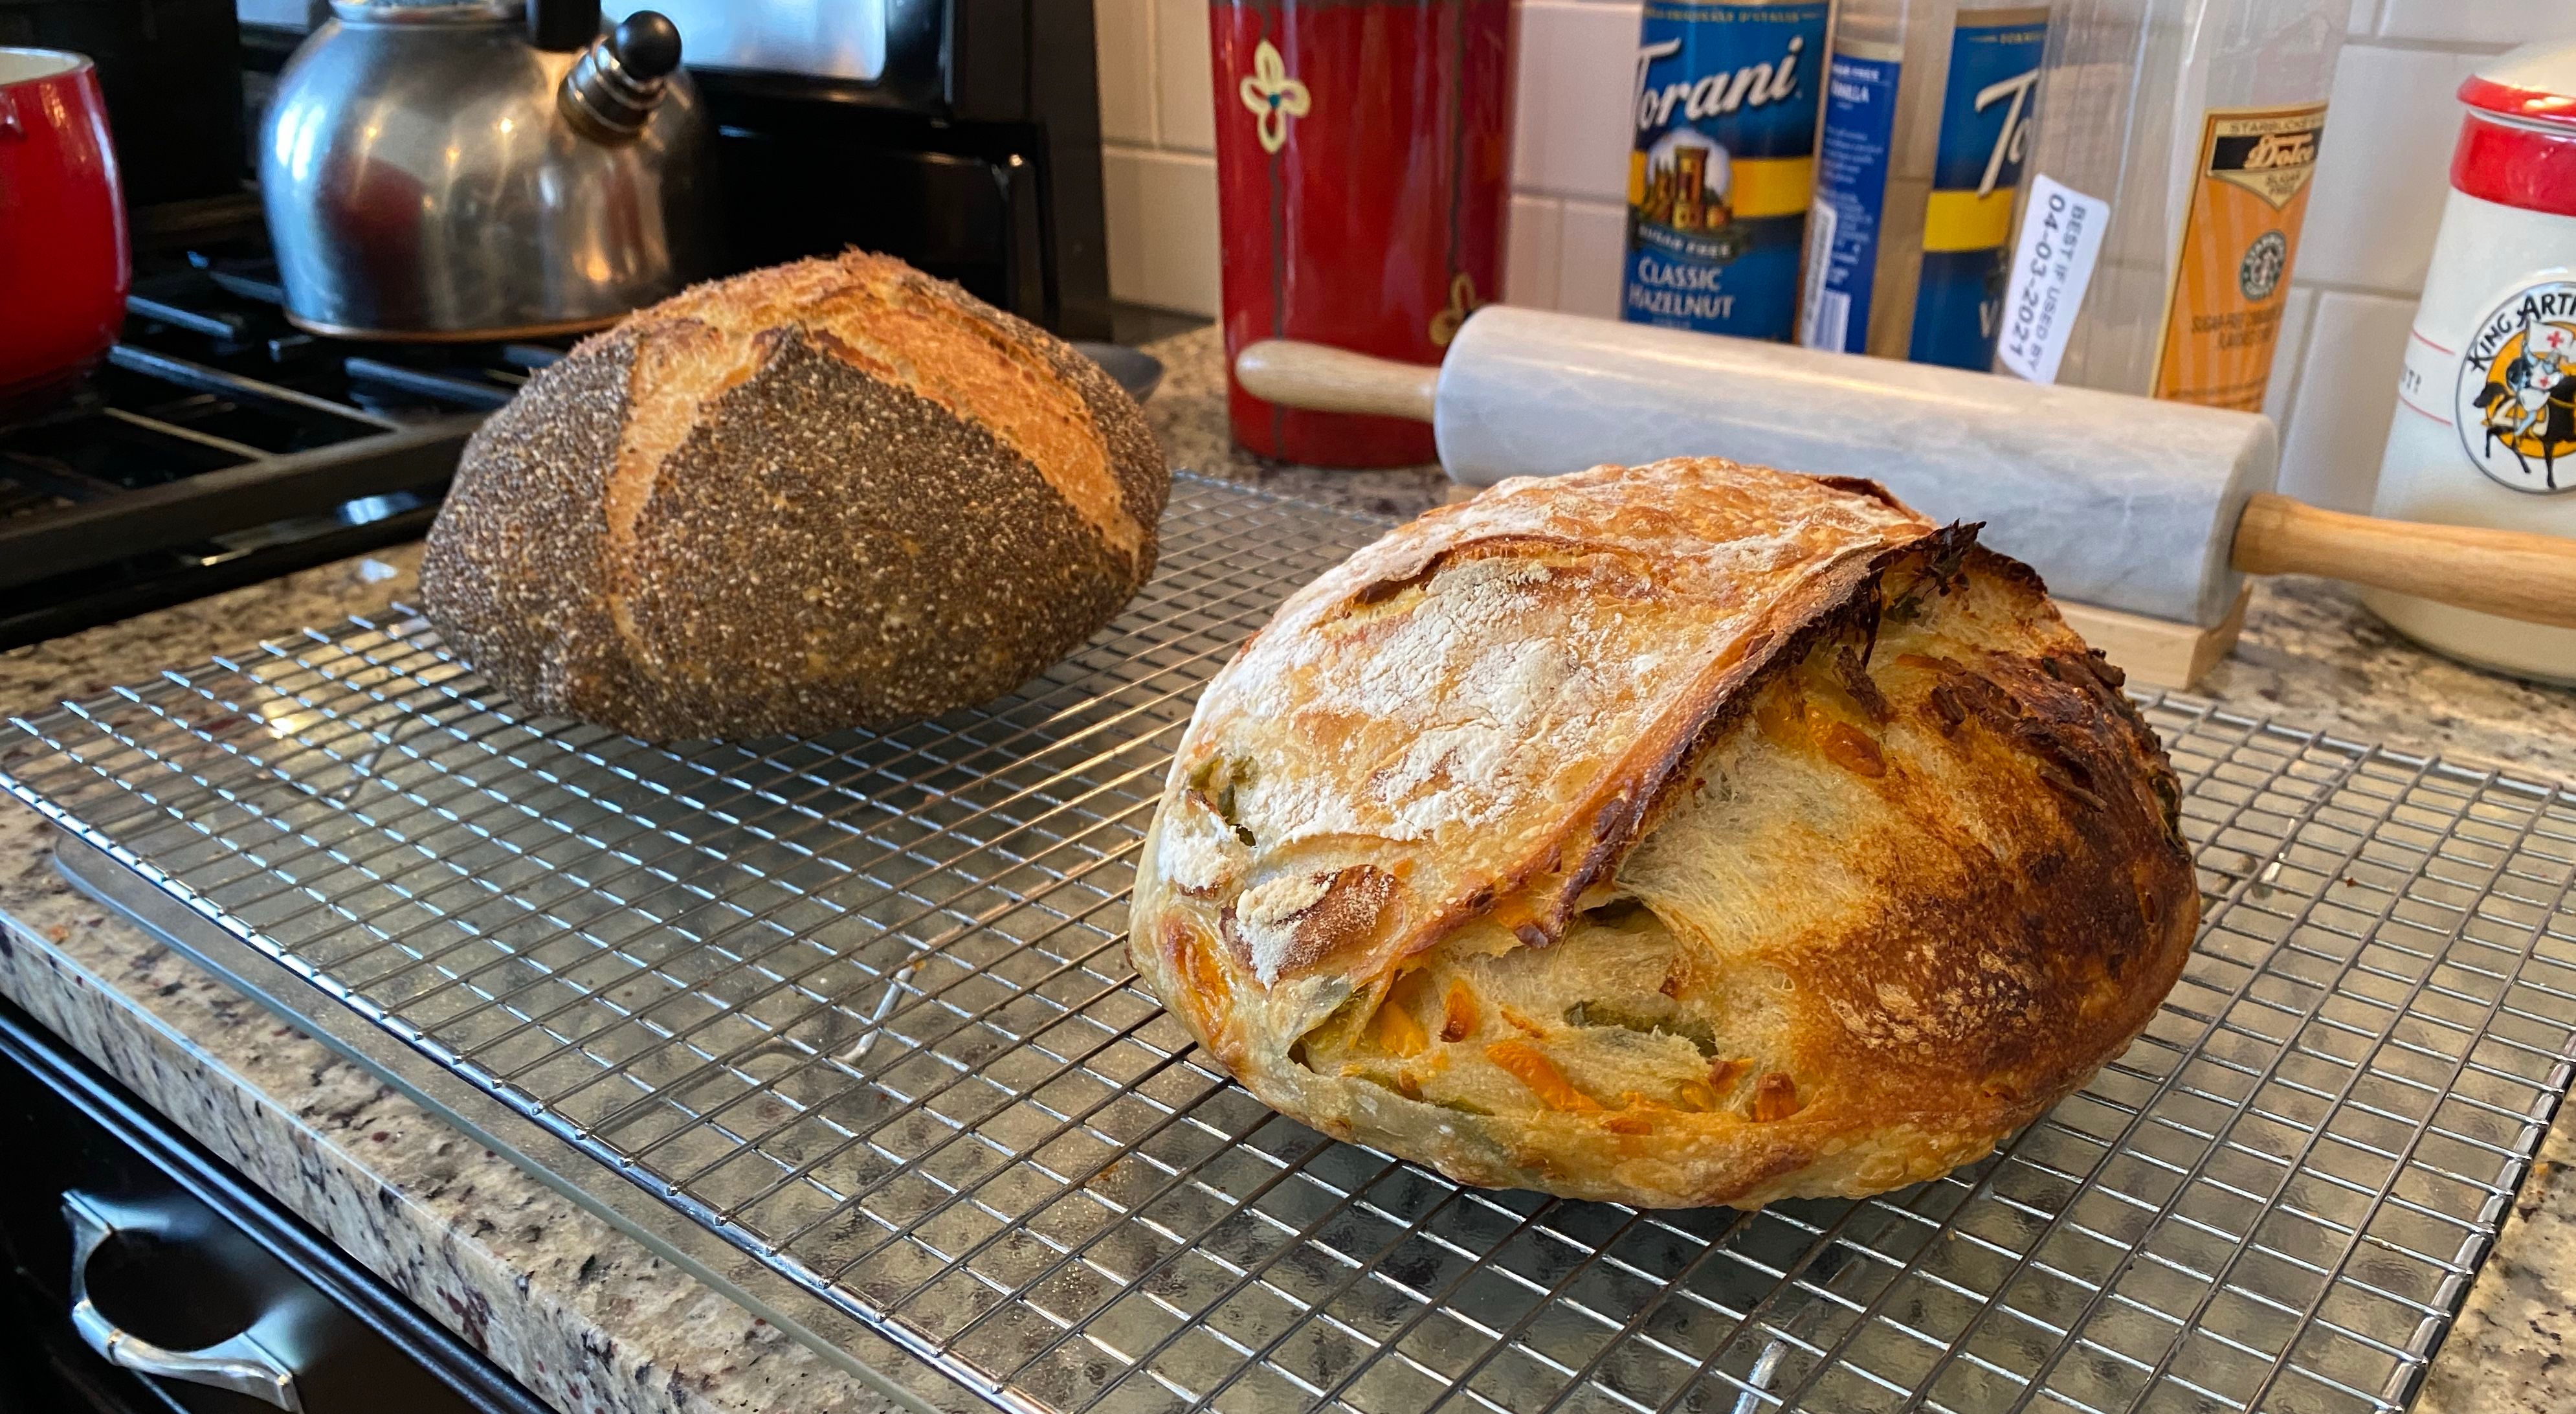
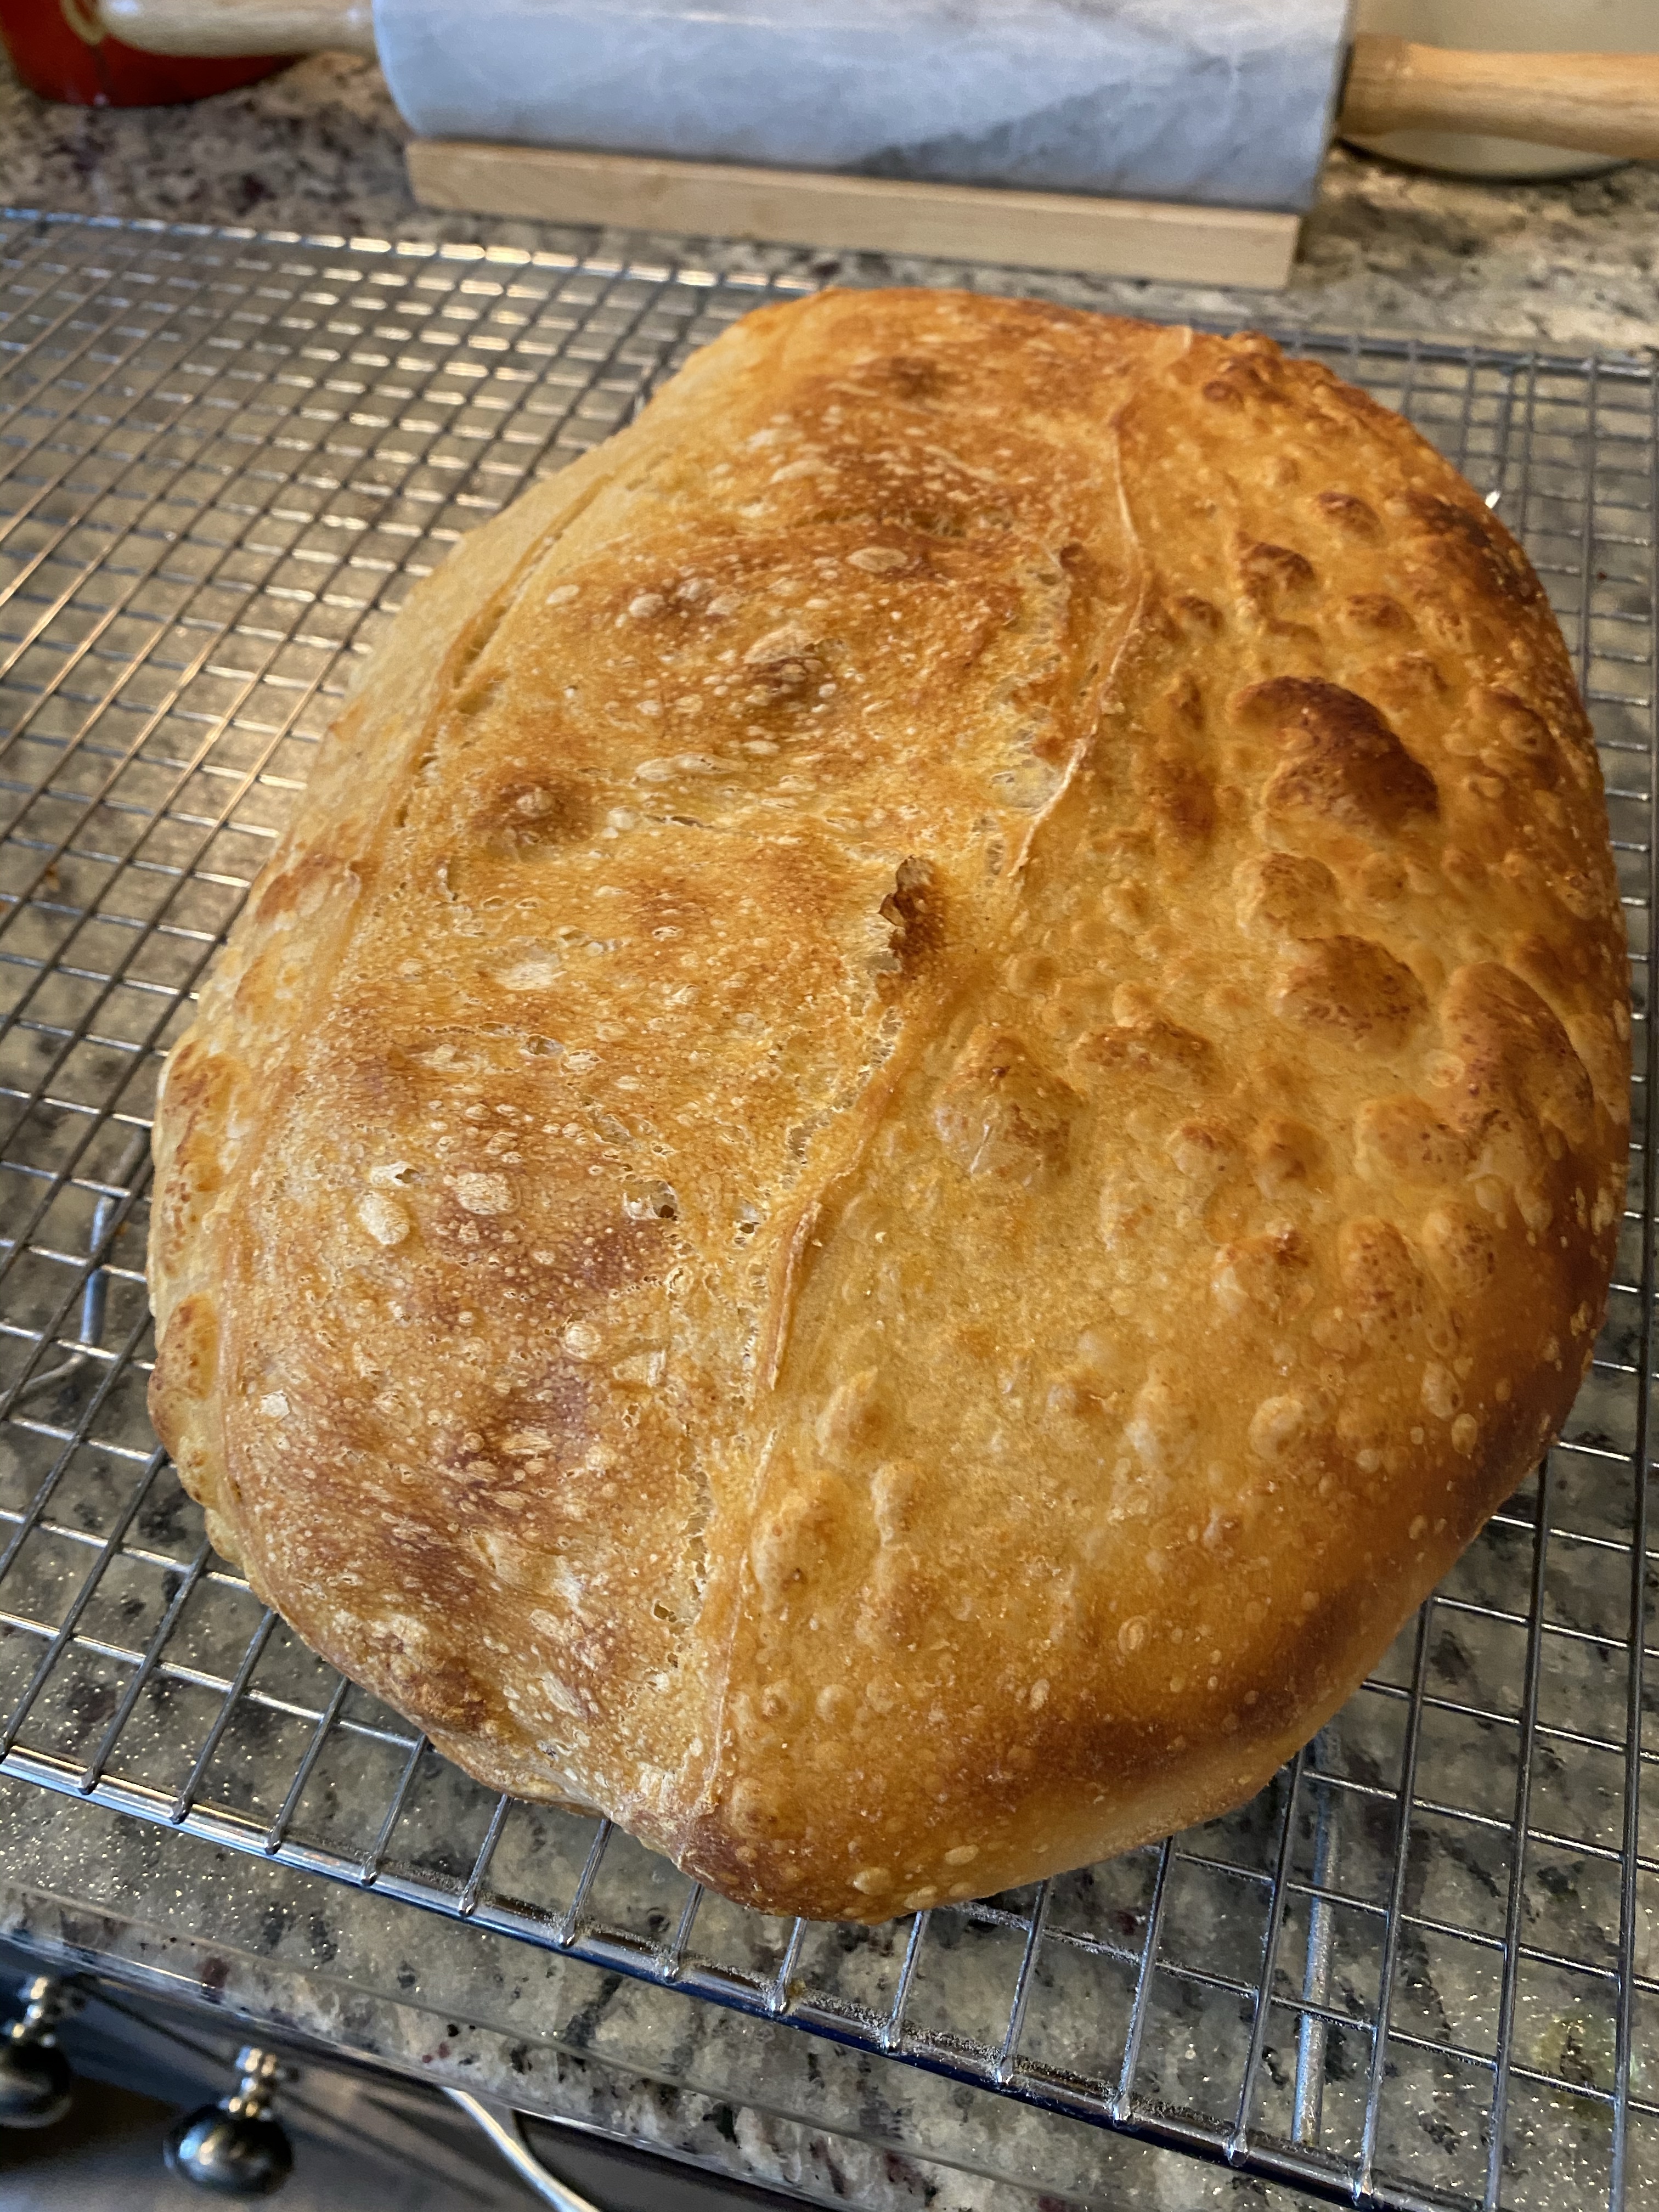
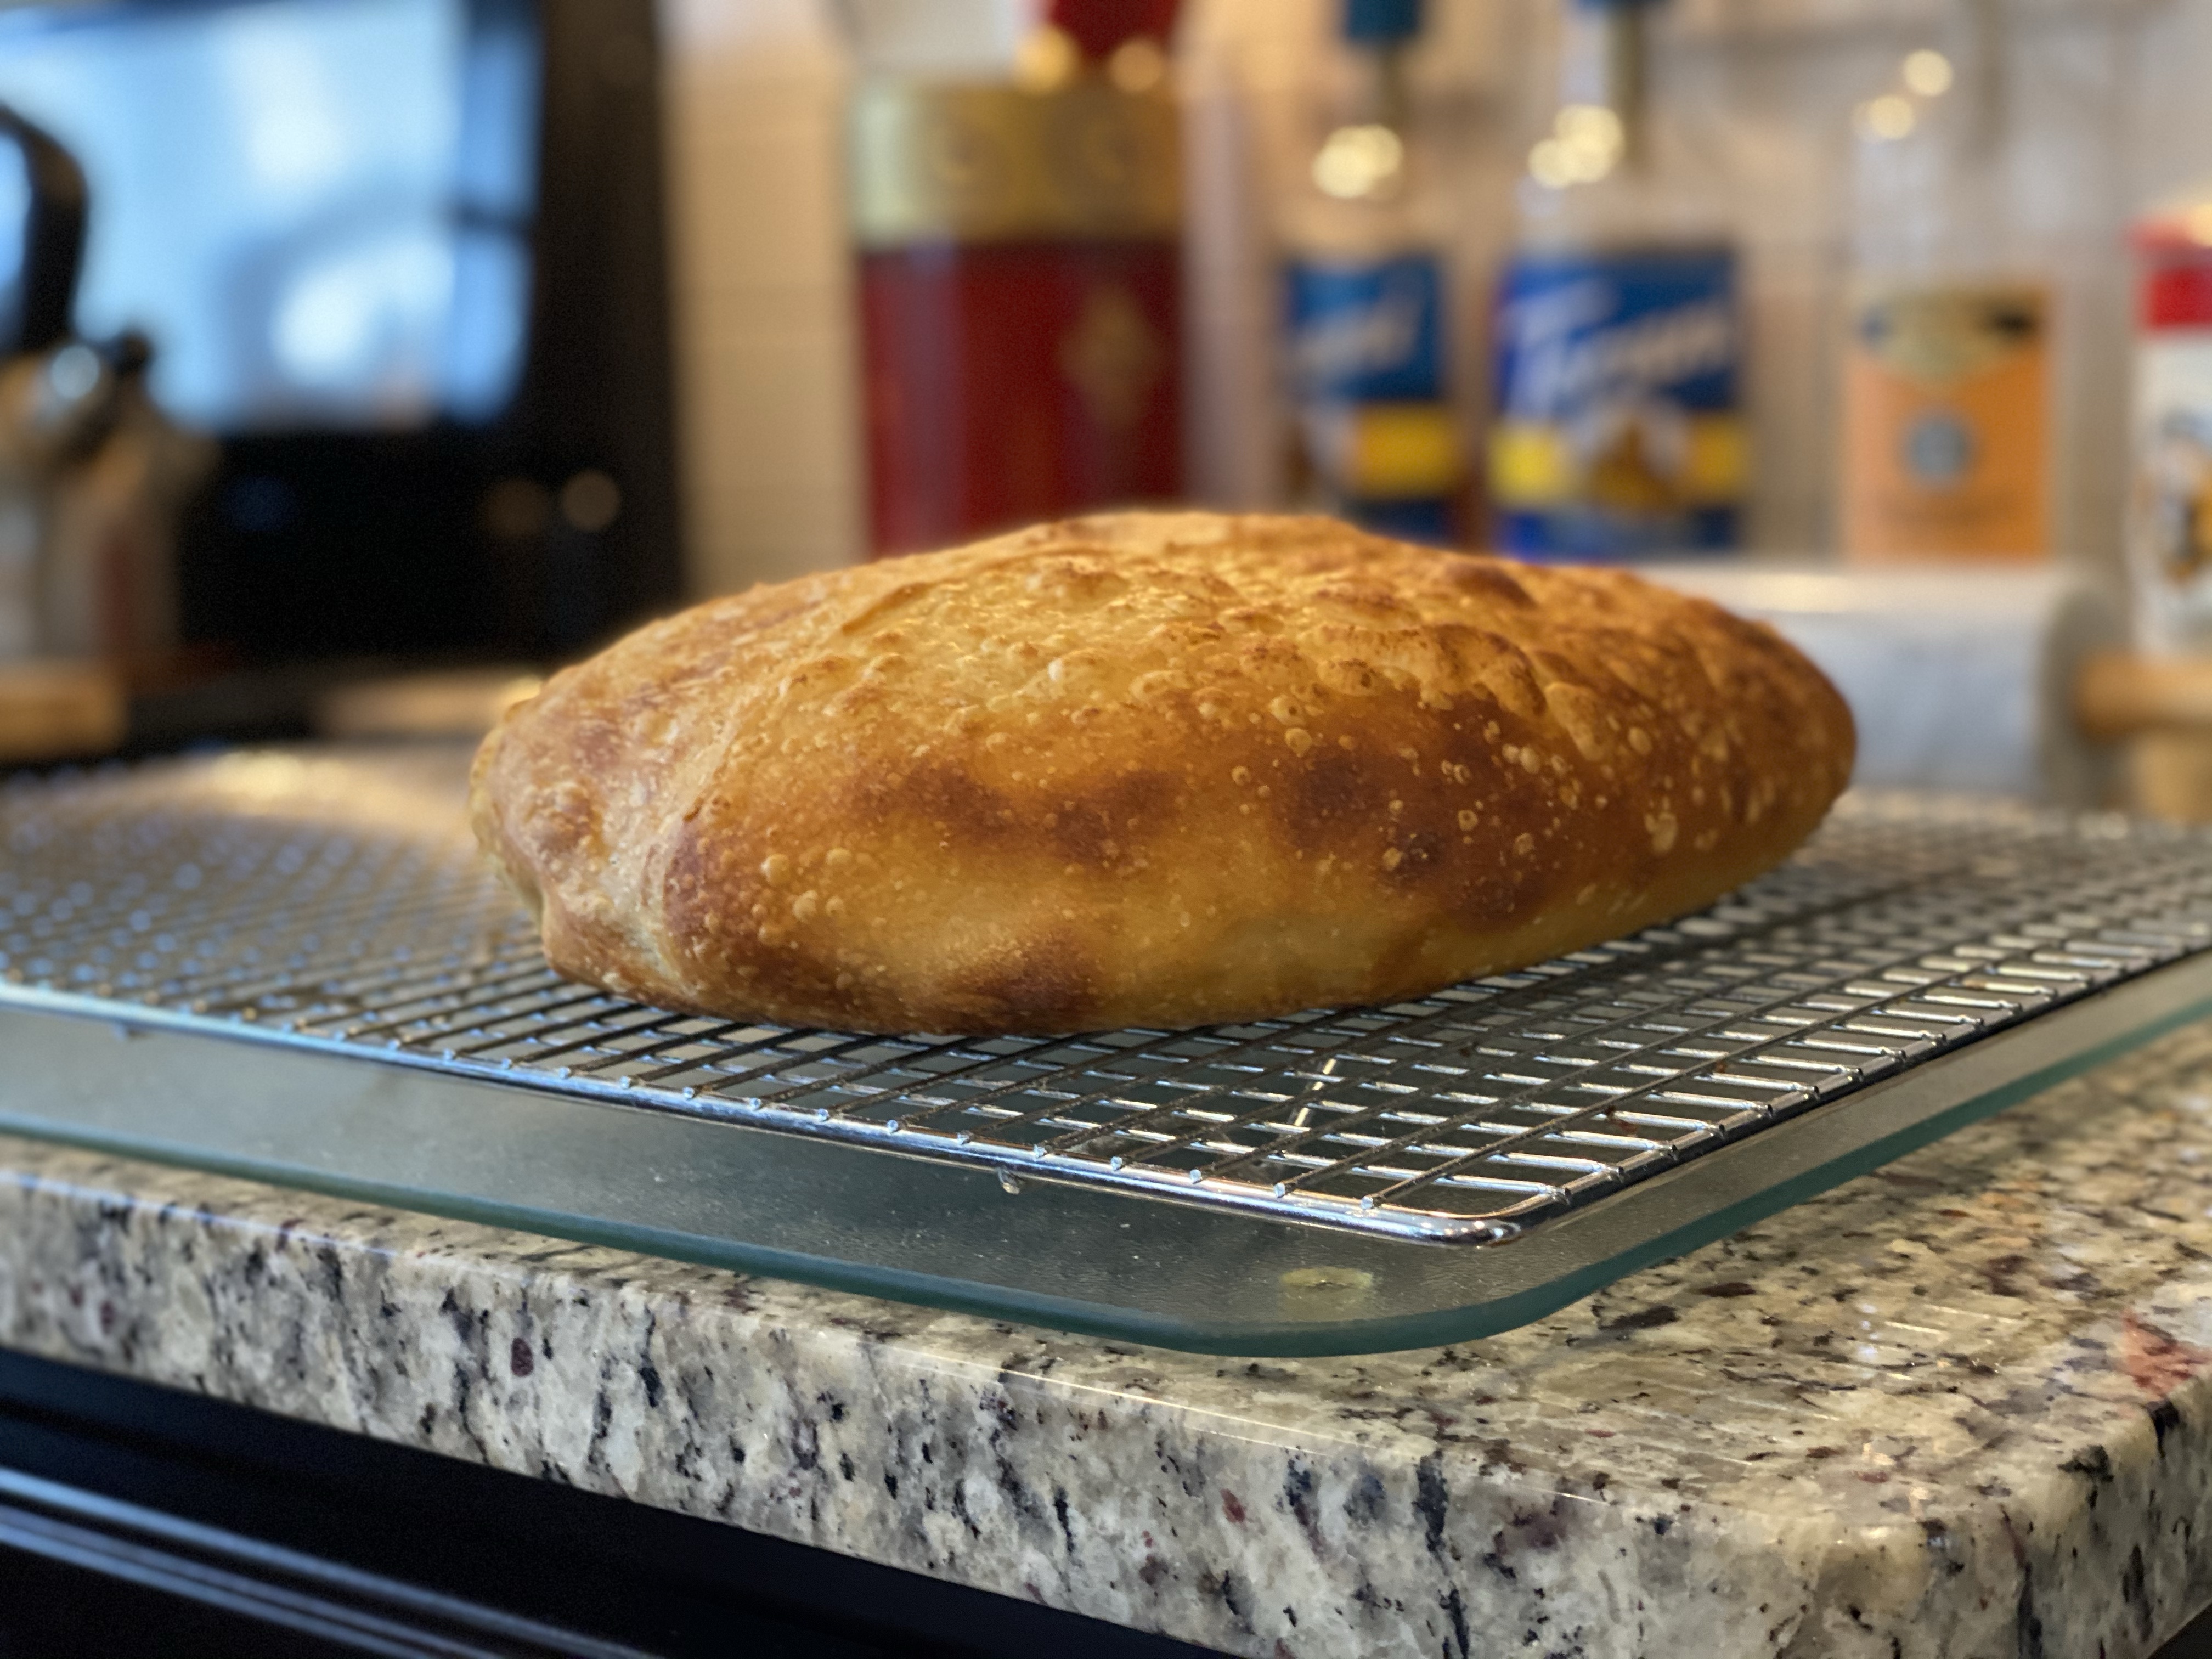
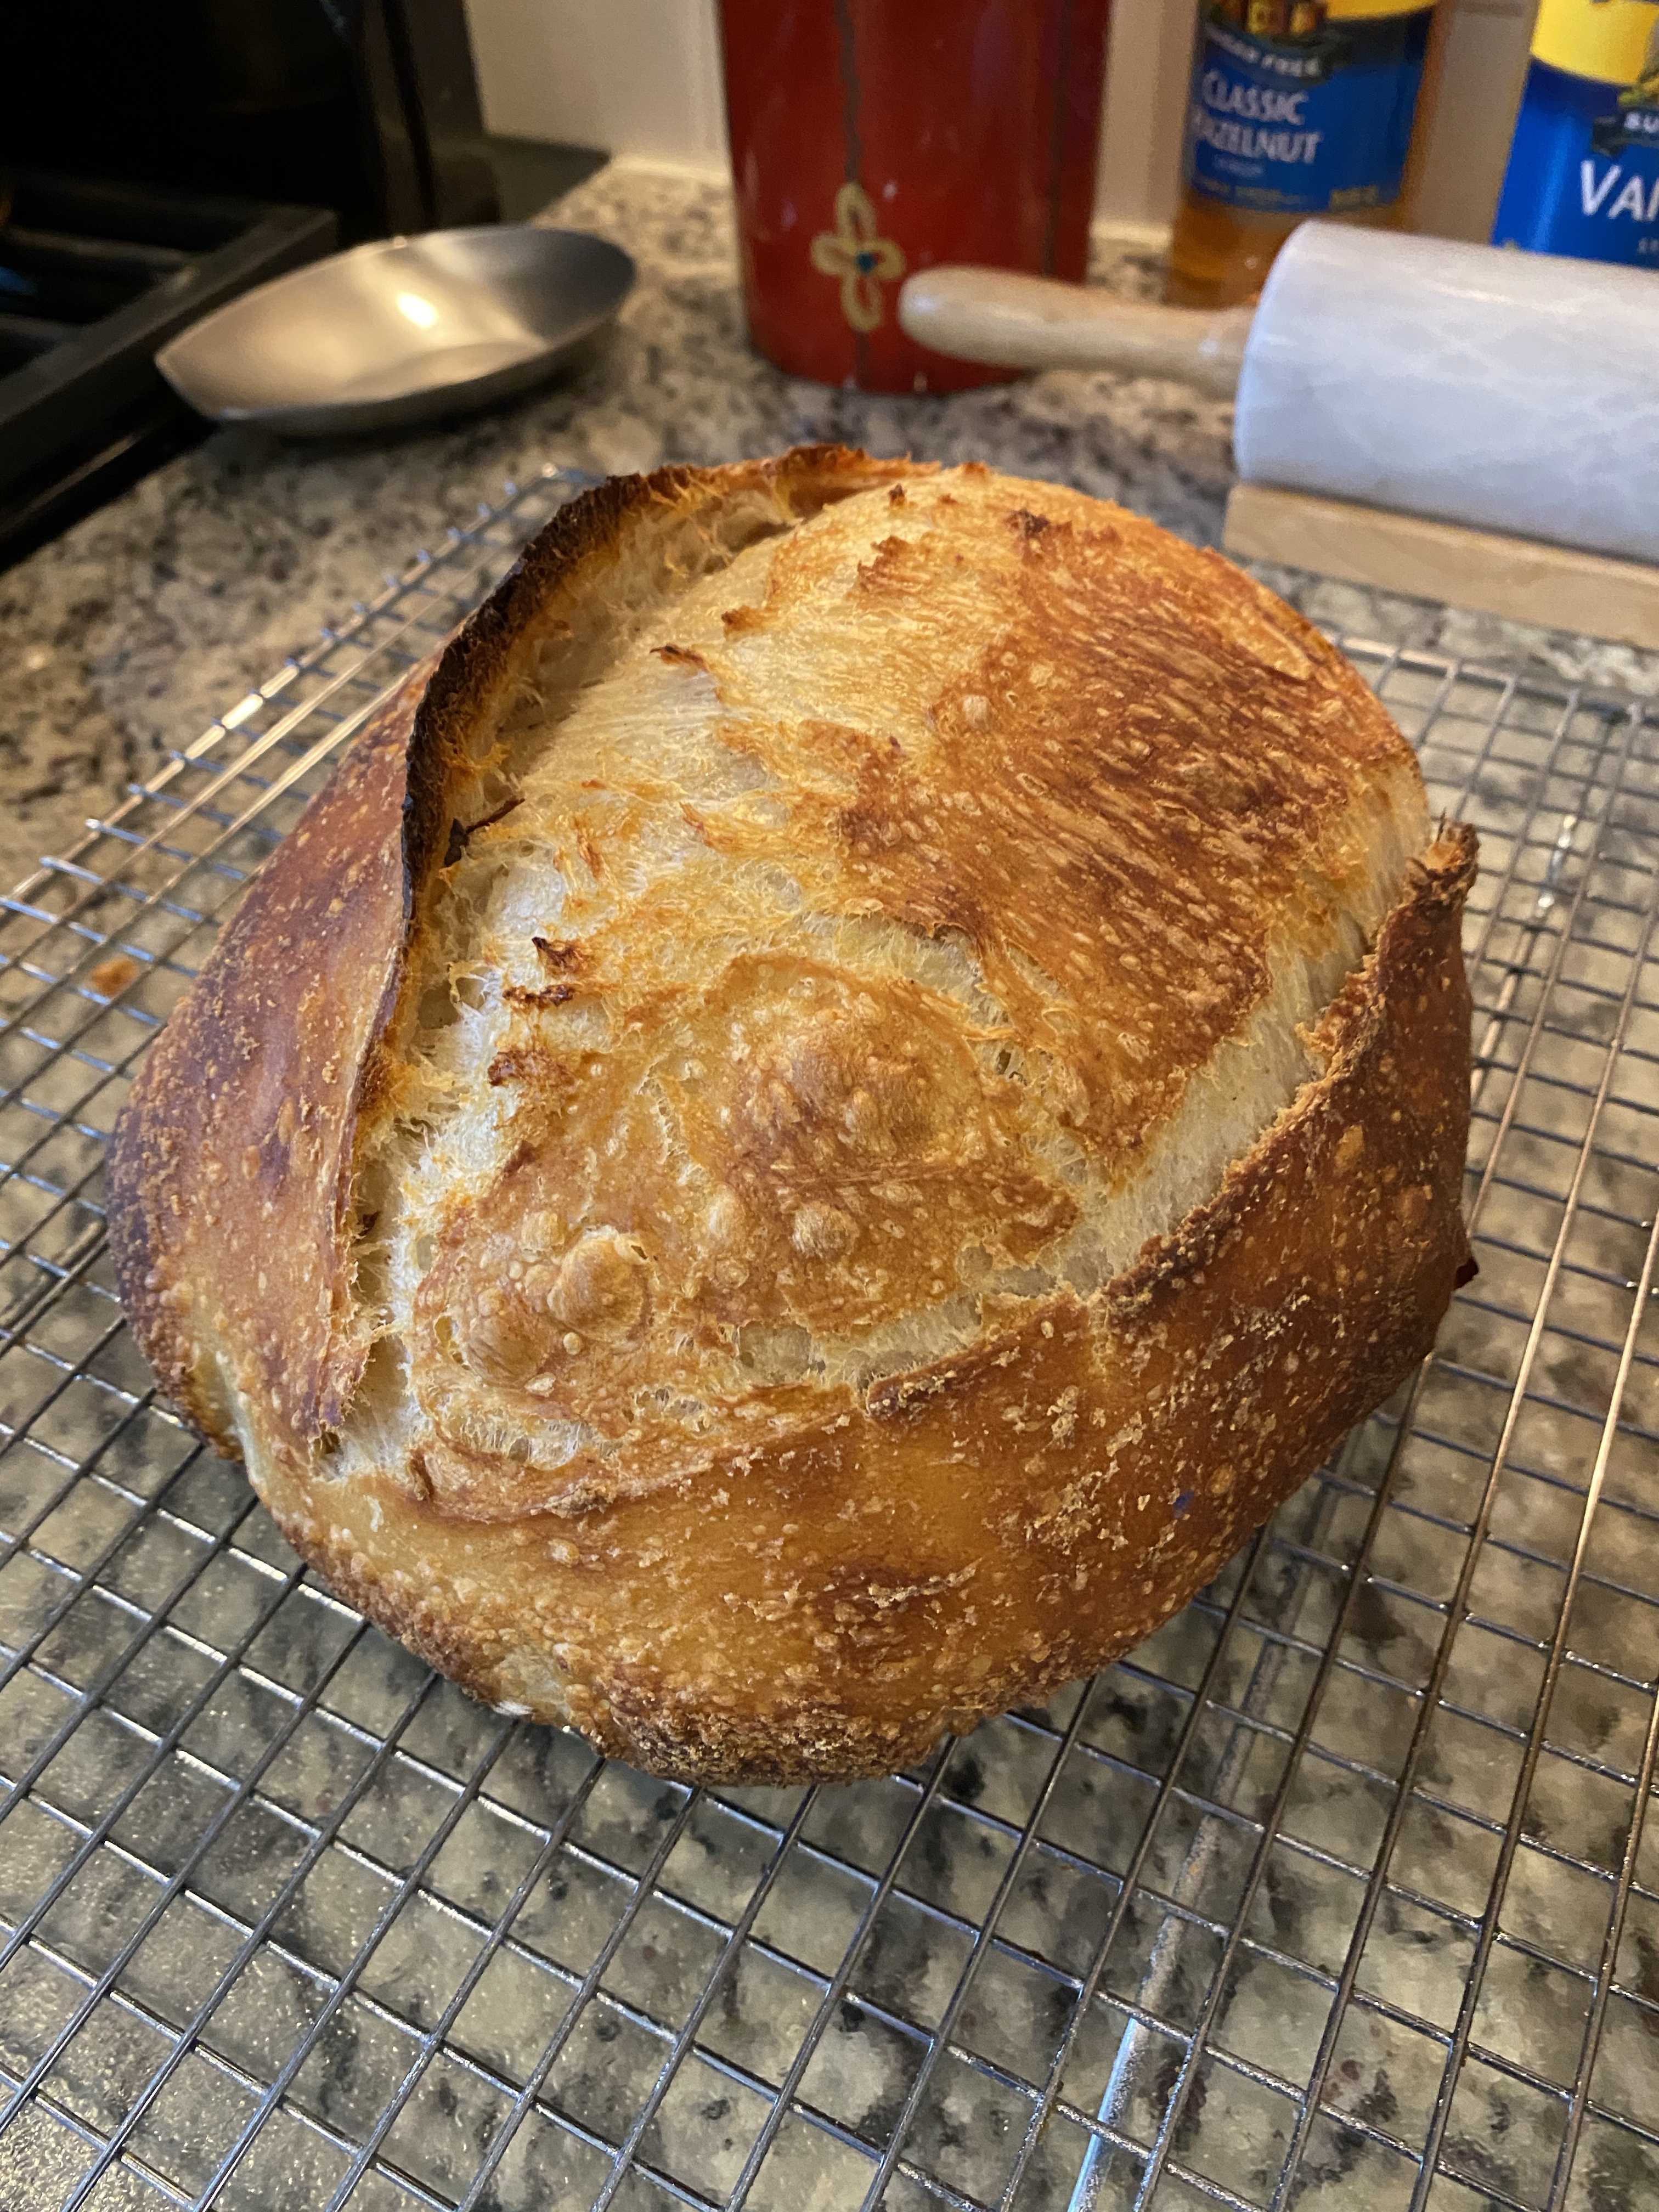
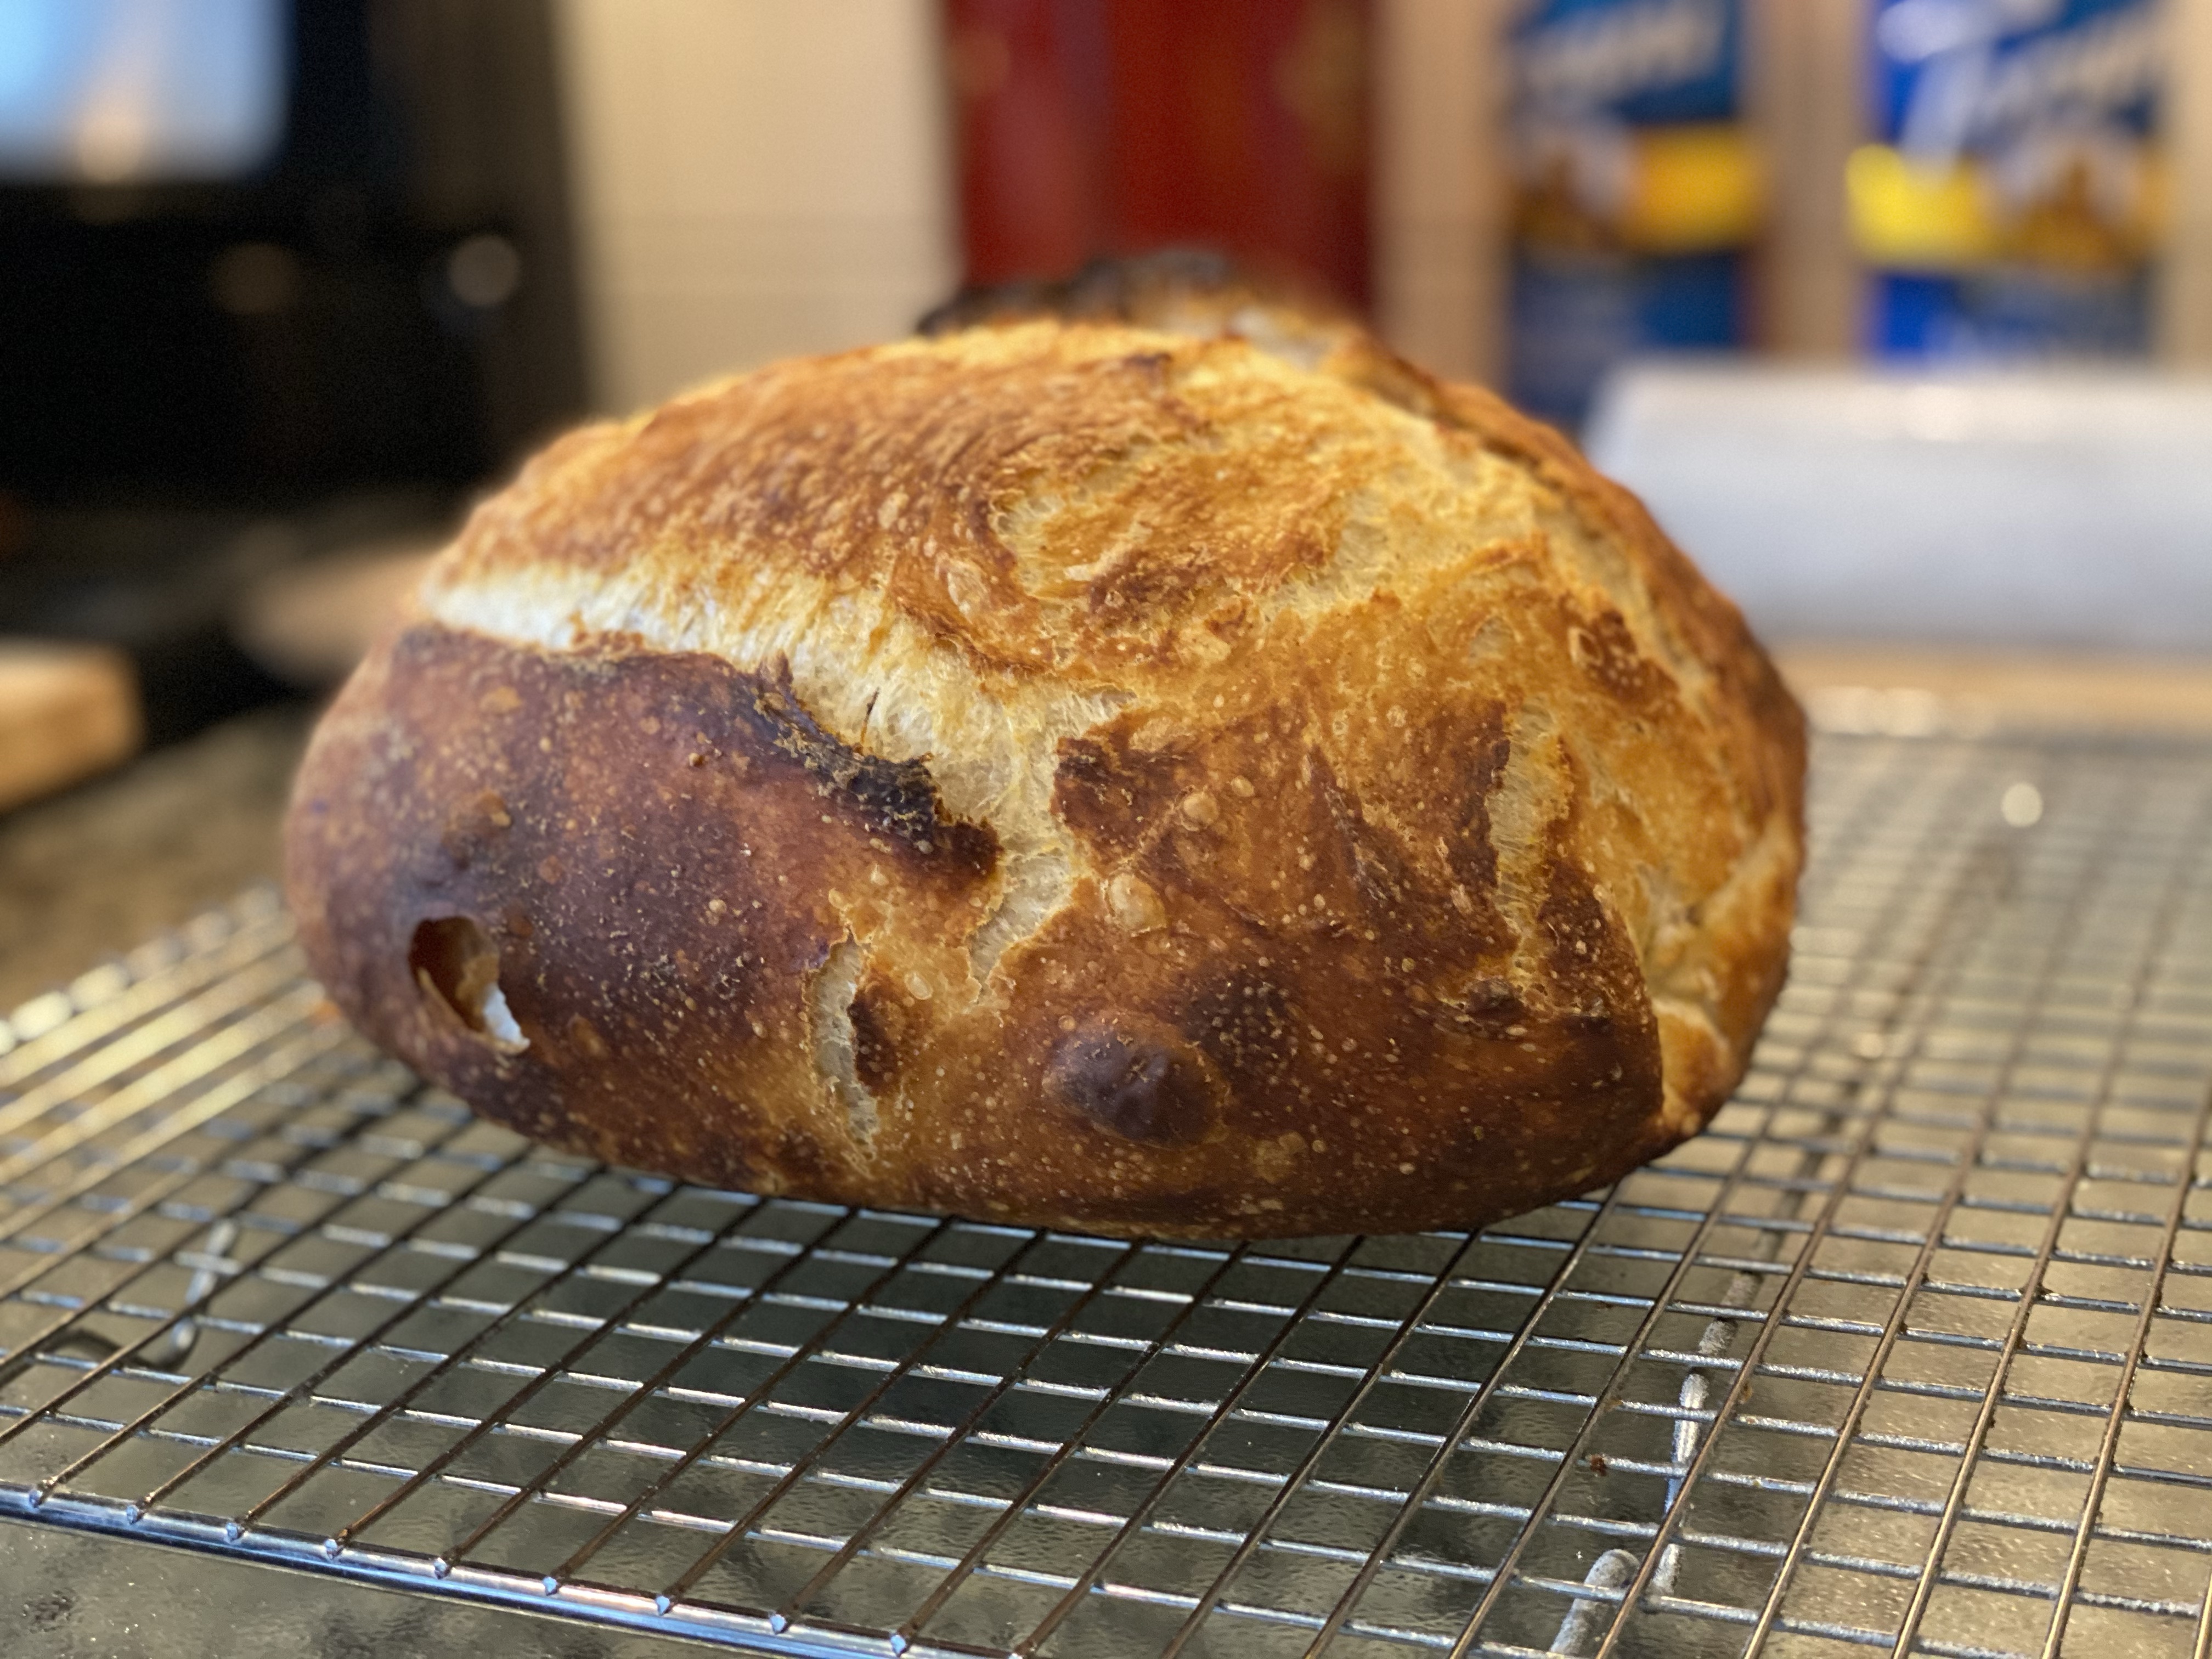
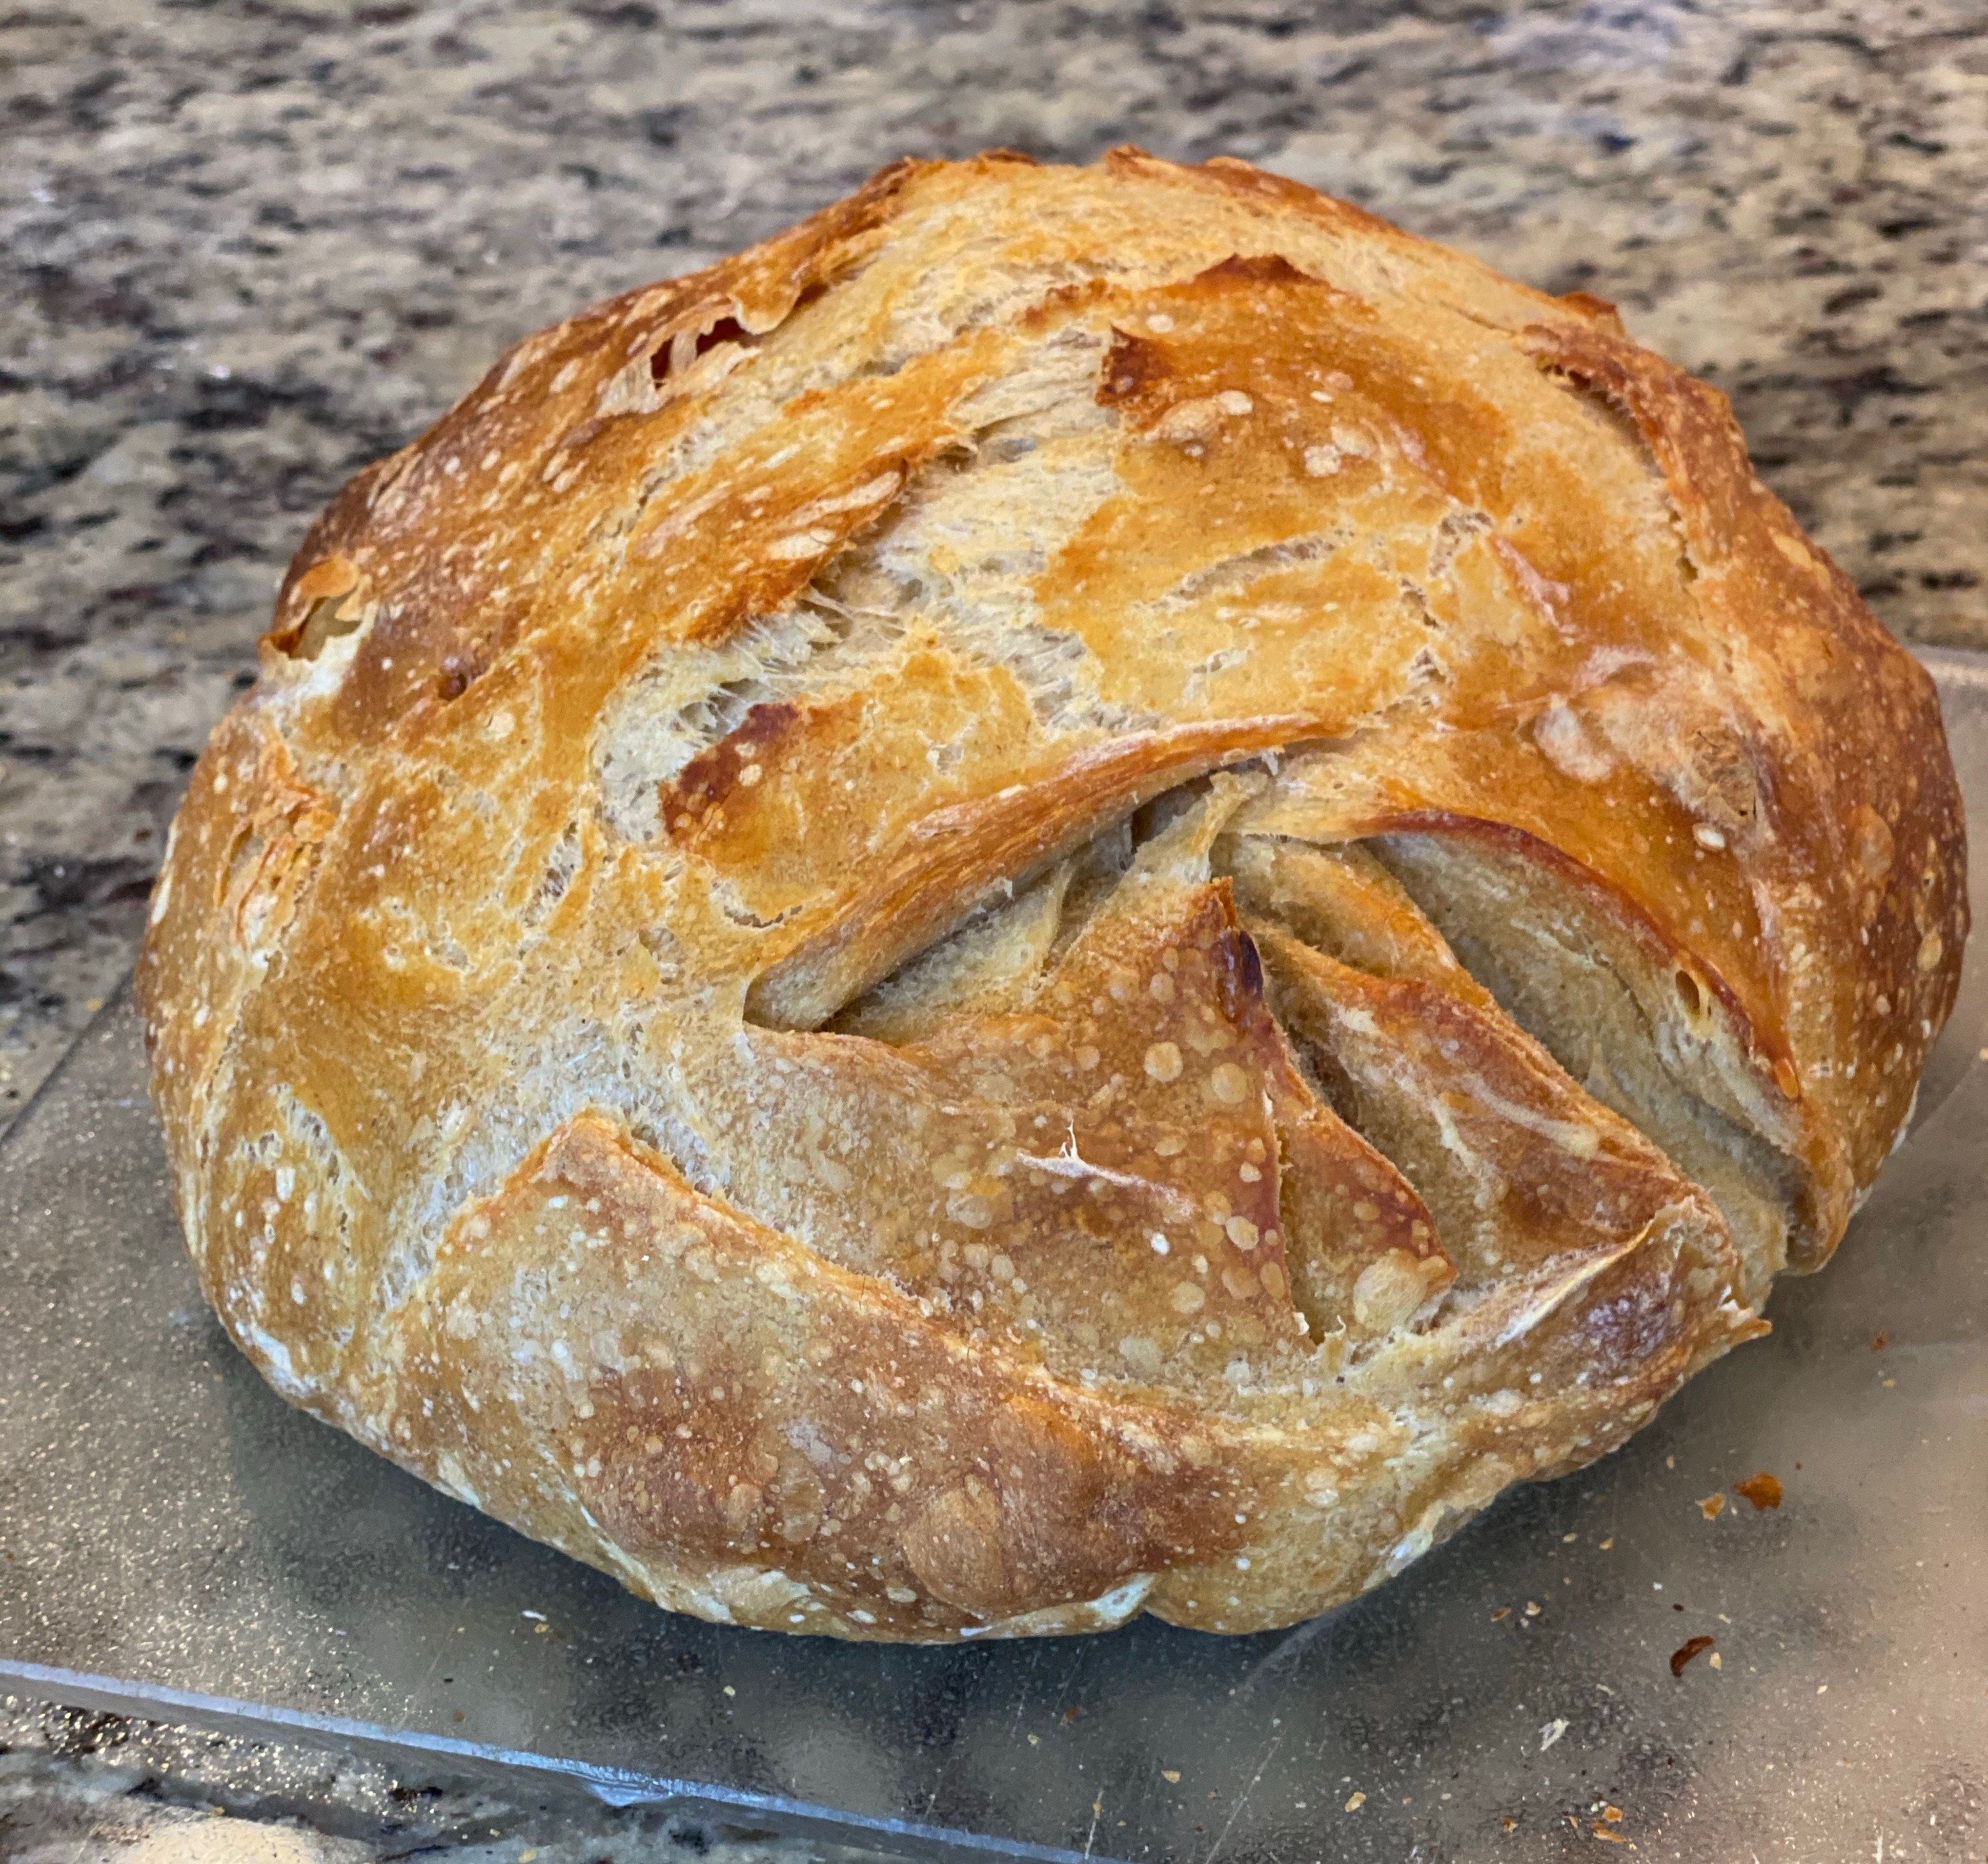
Here’s how the loaf turned out…
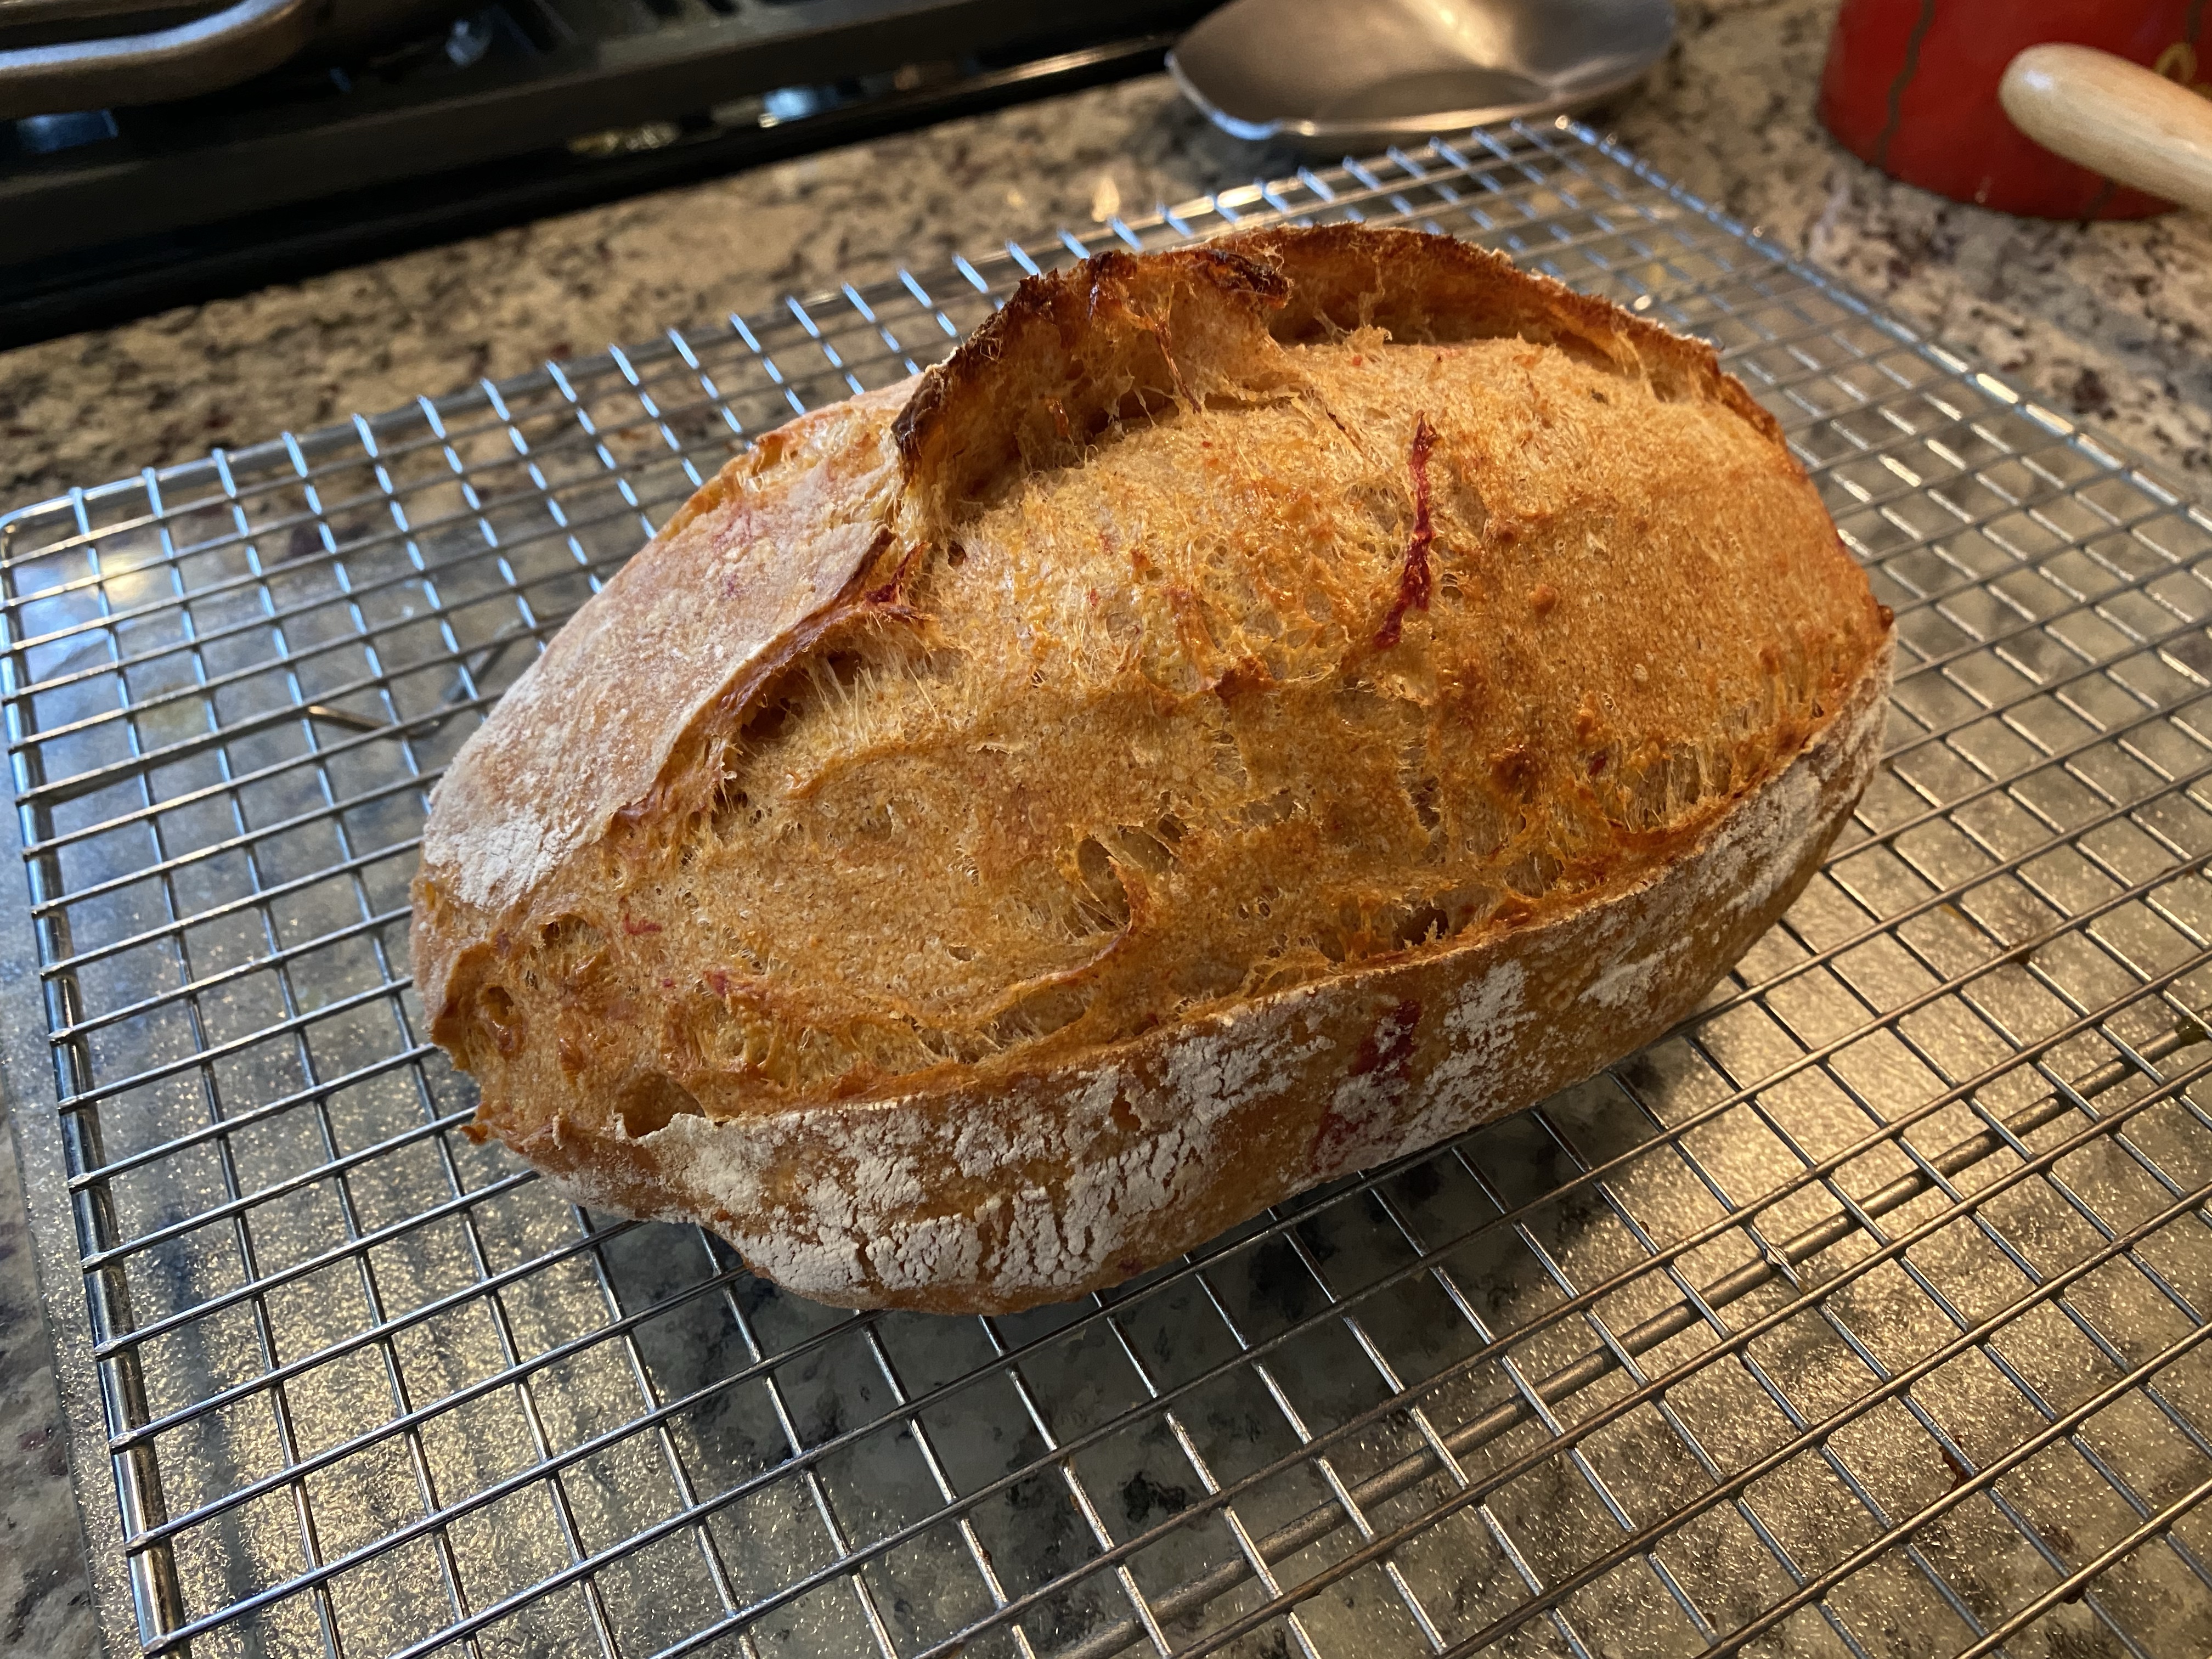
Baked and cooling 
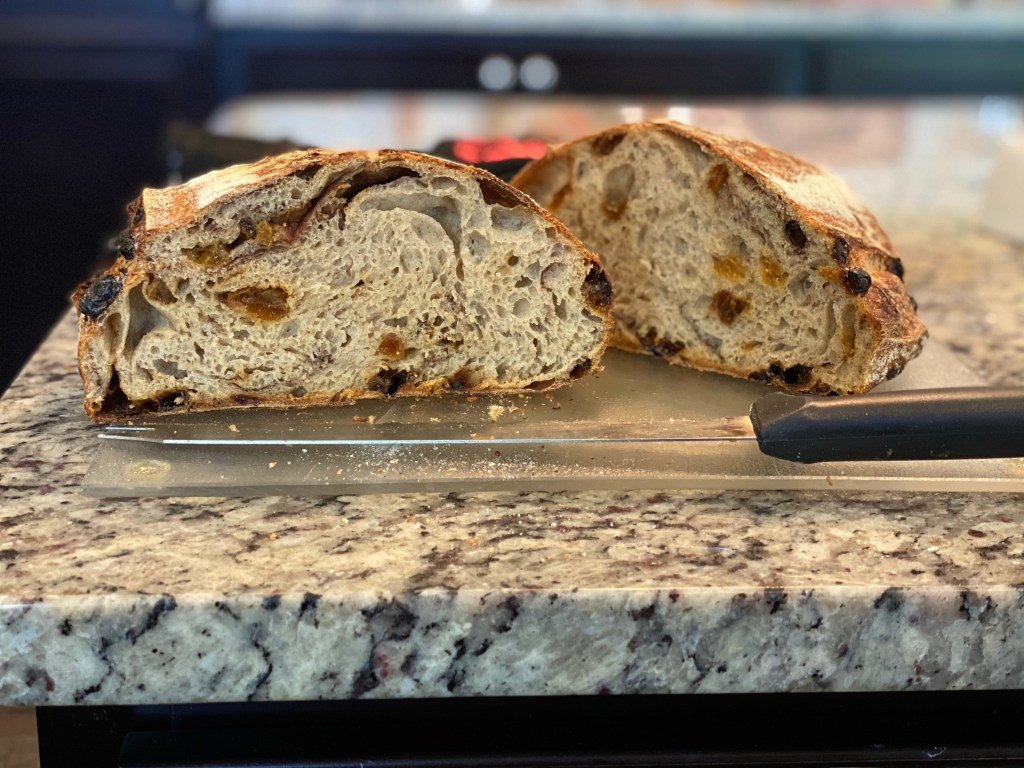
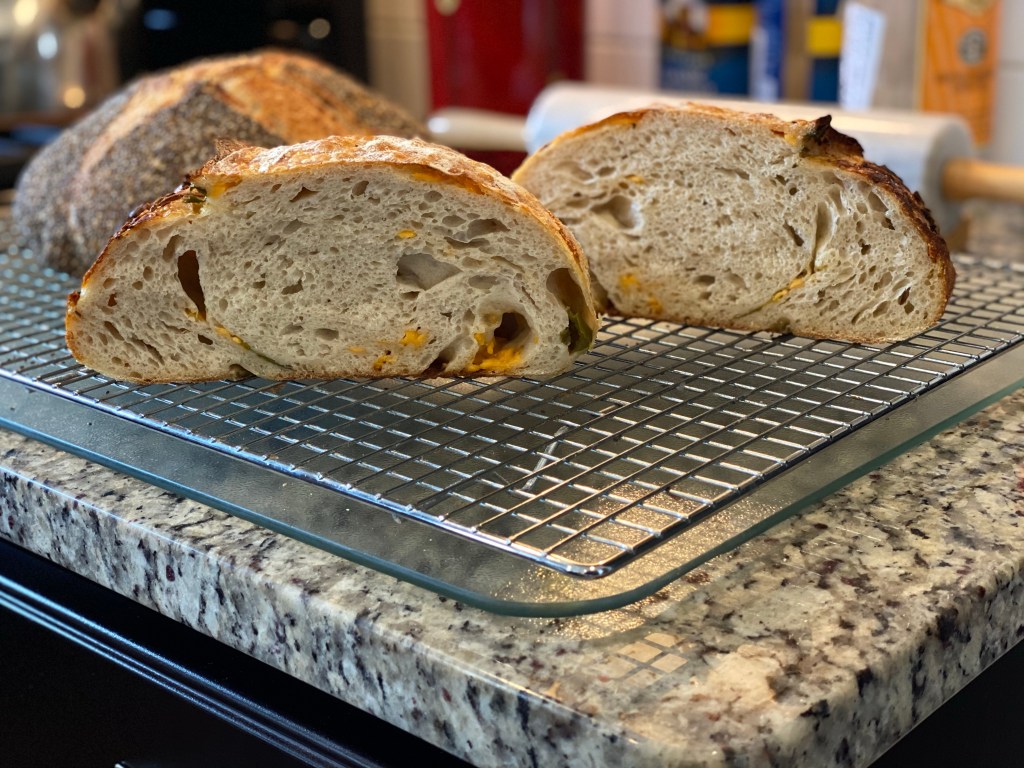
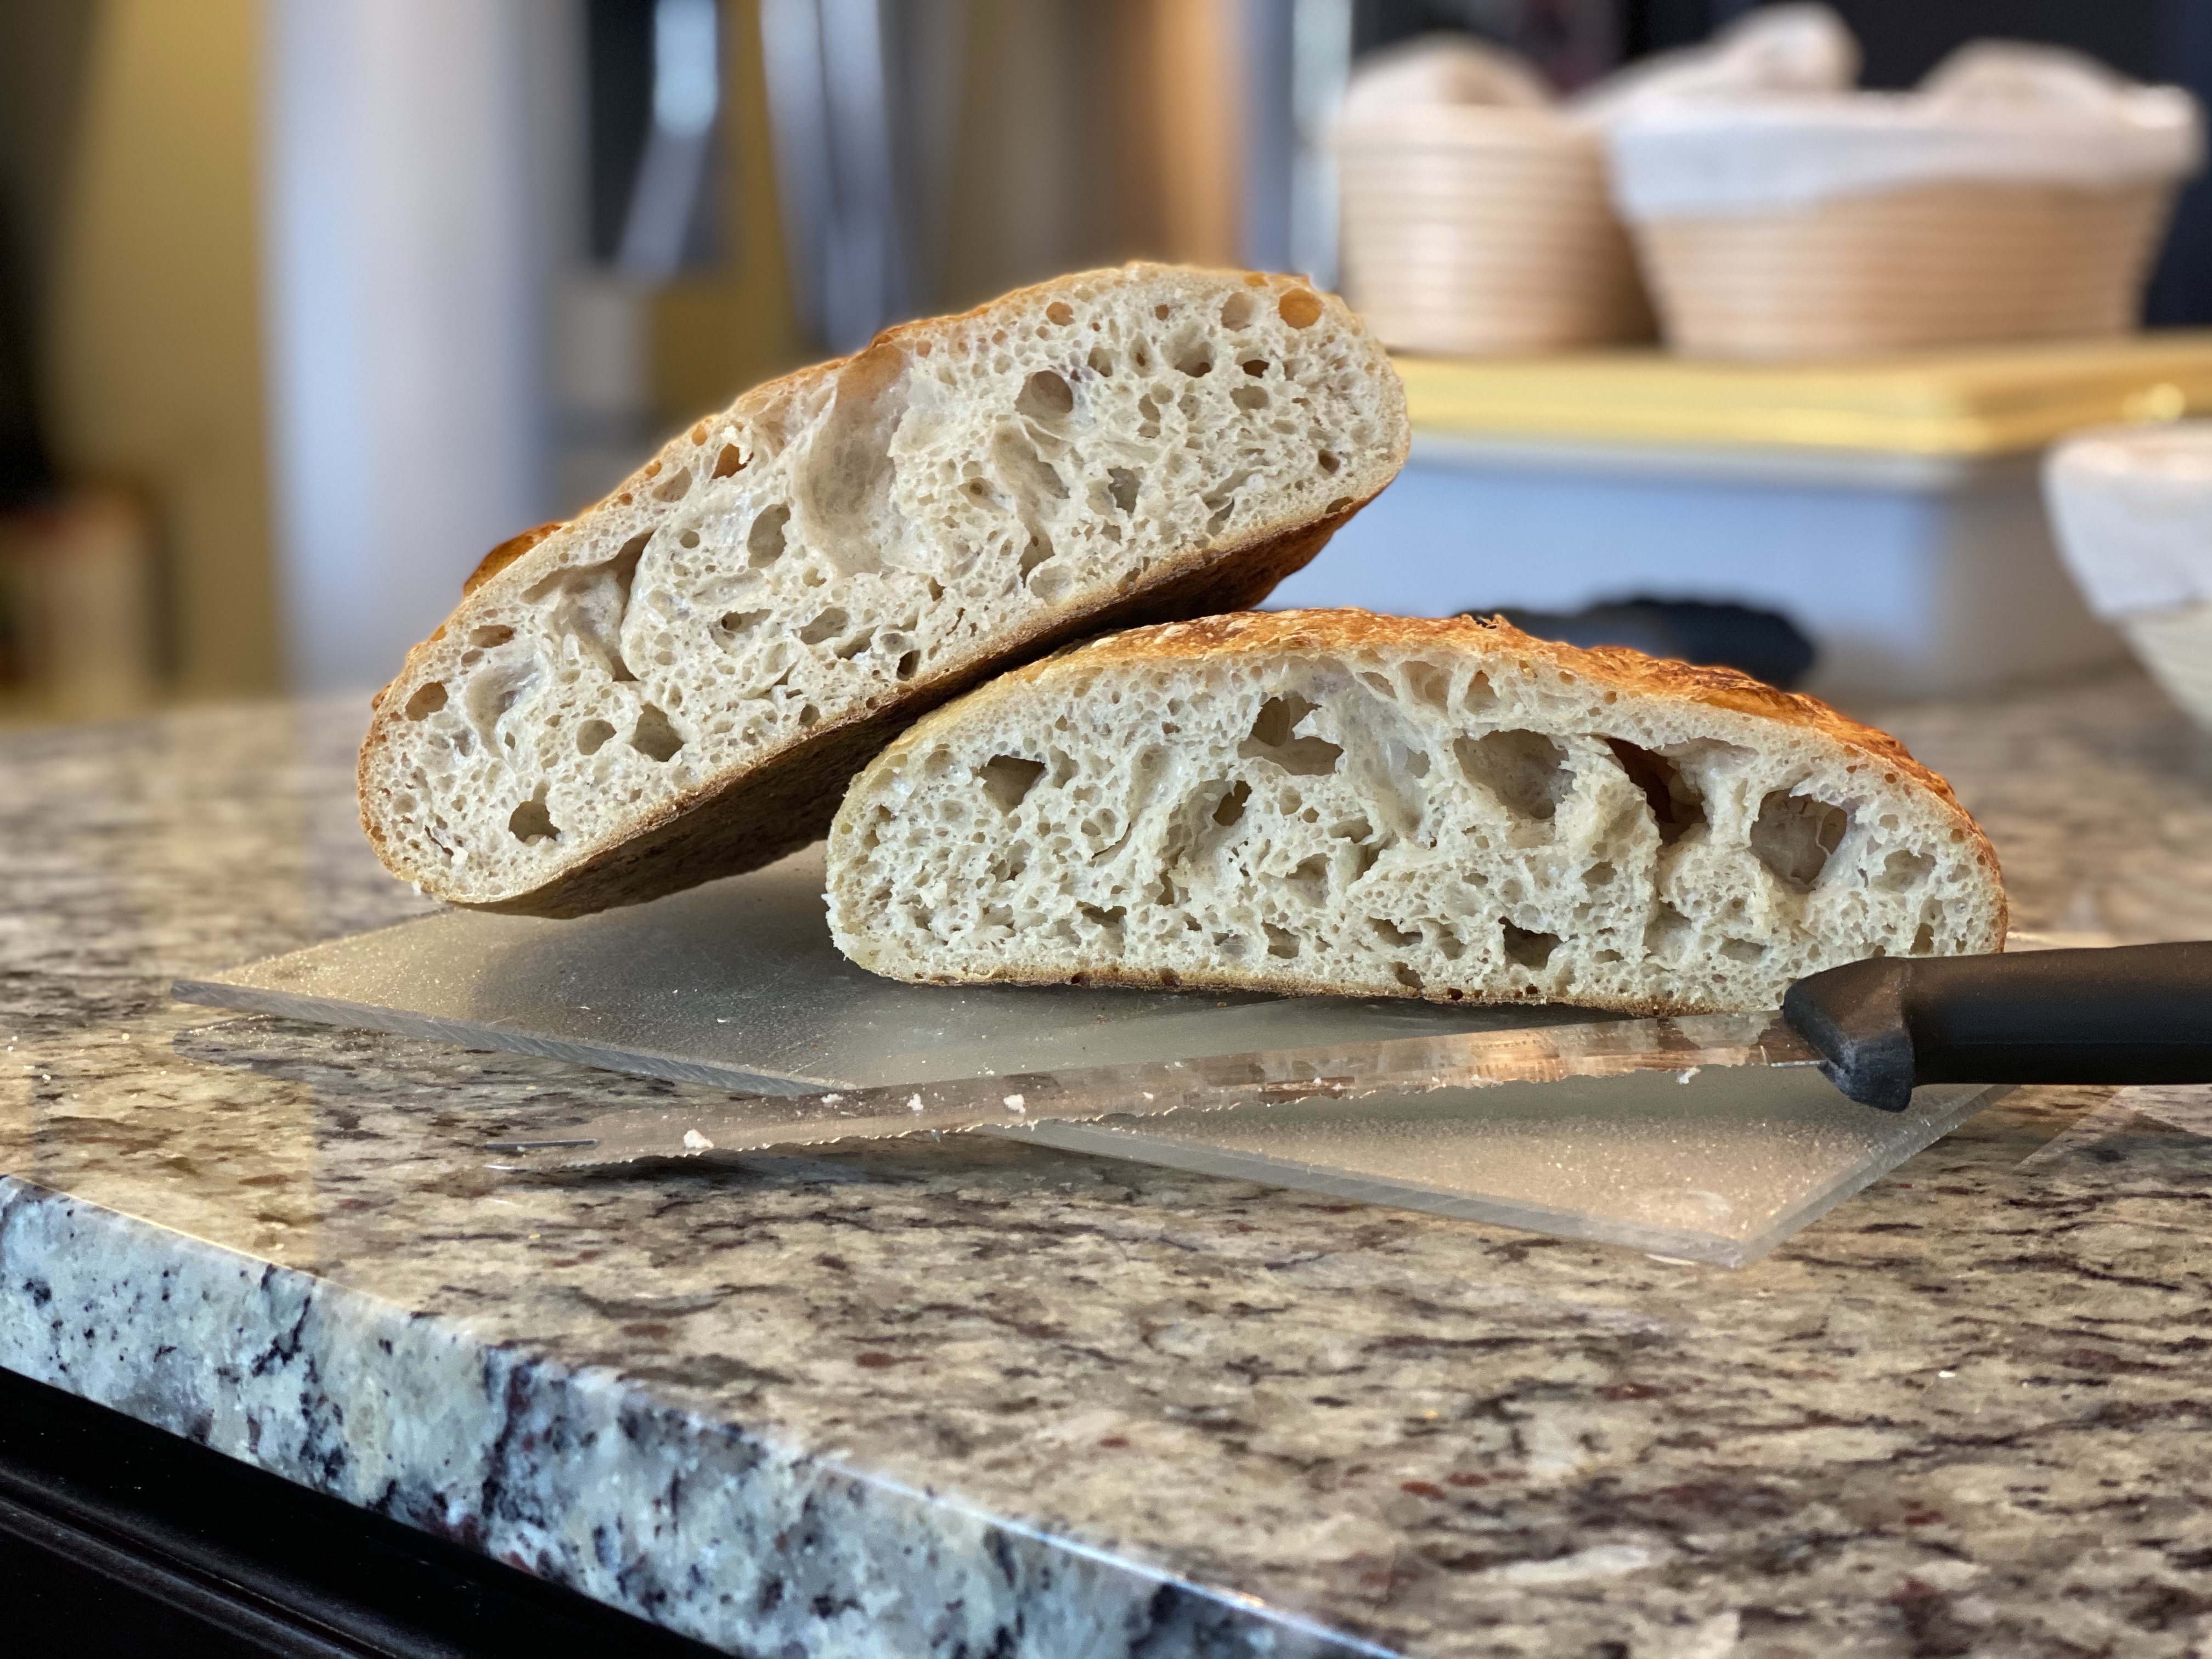
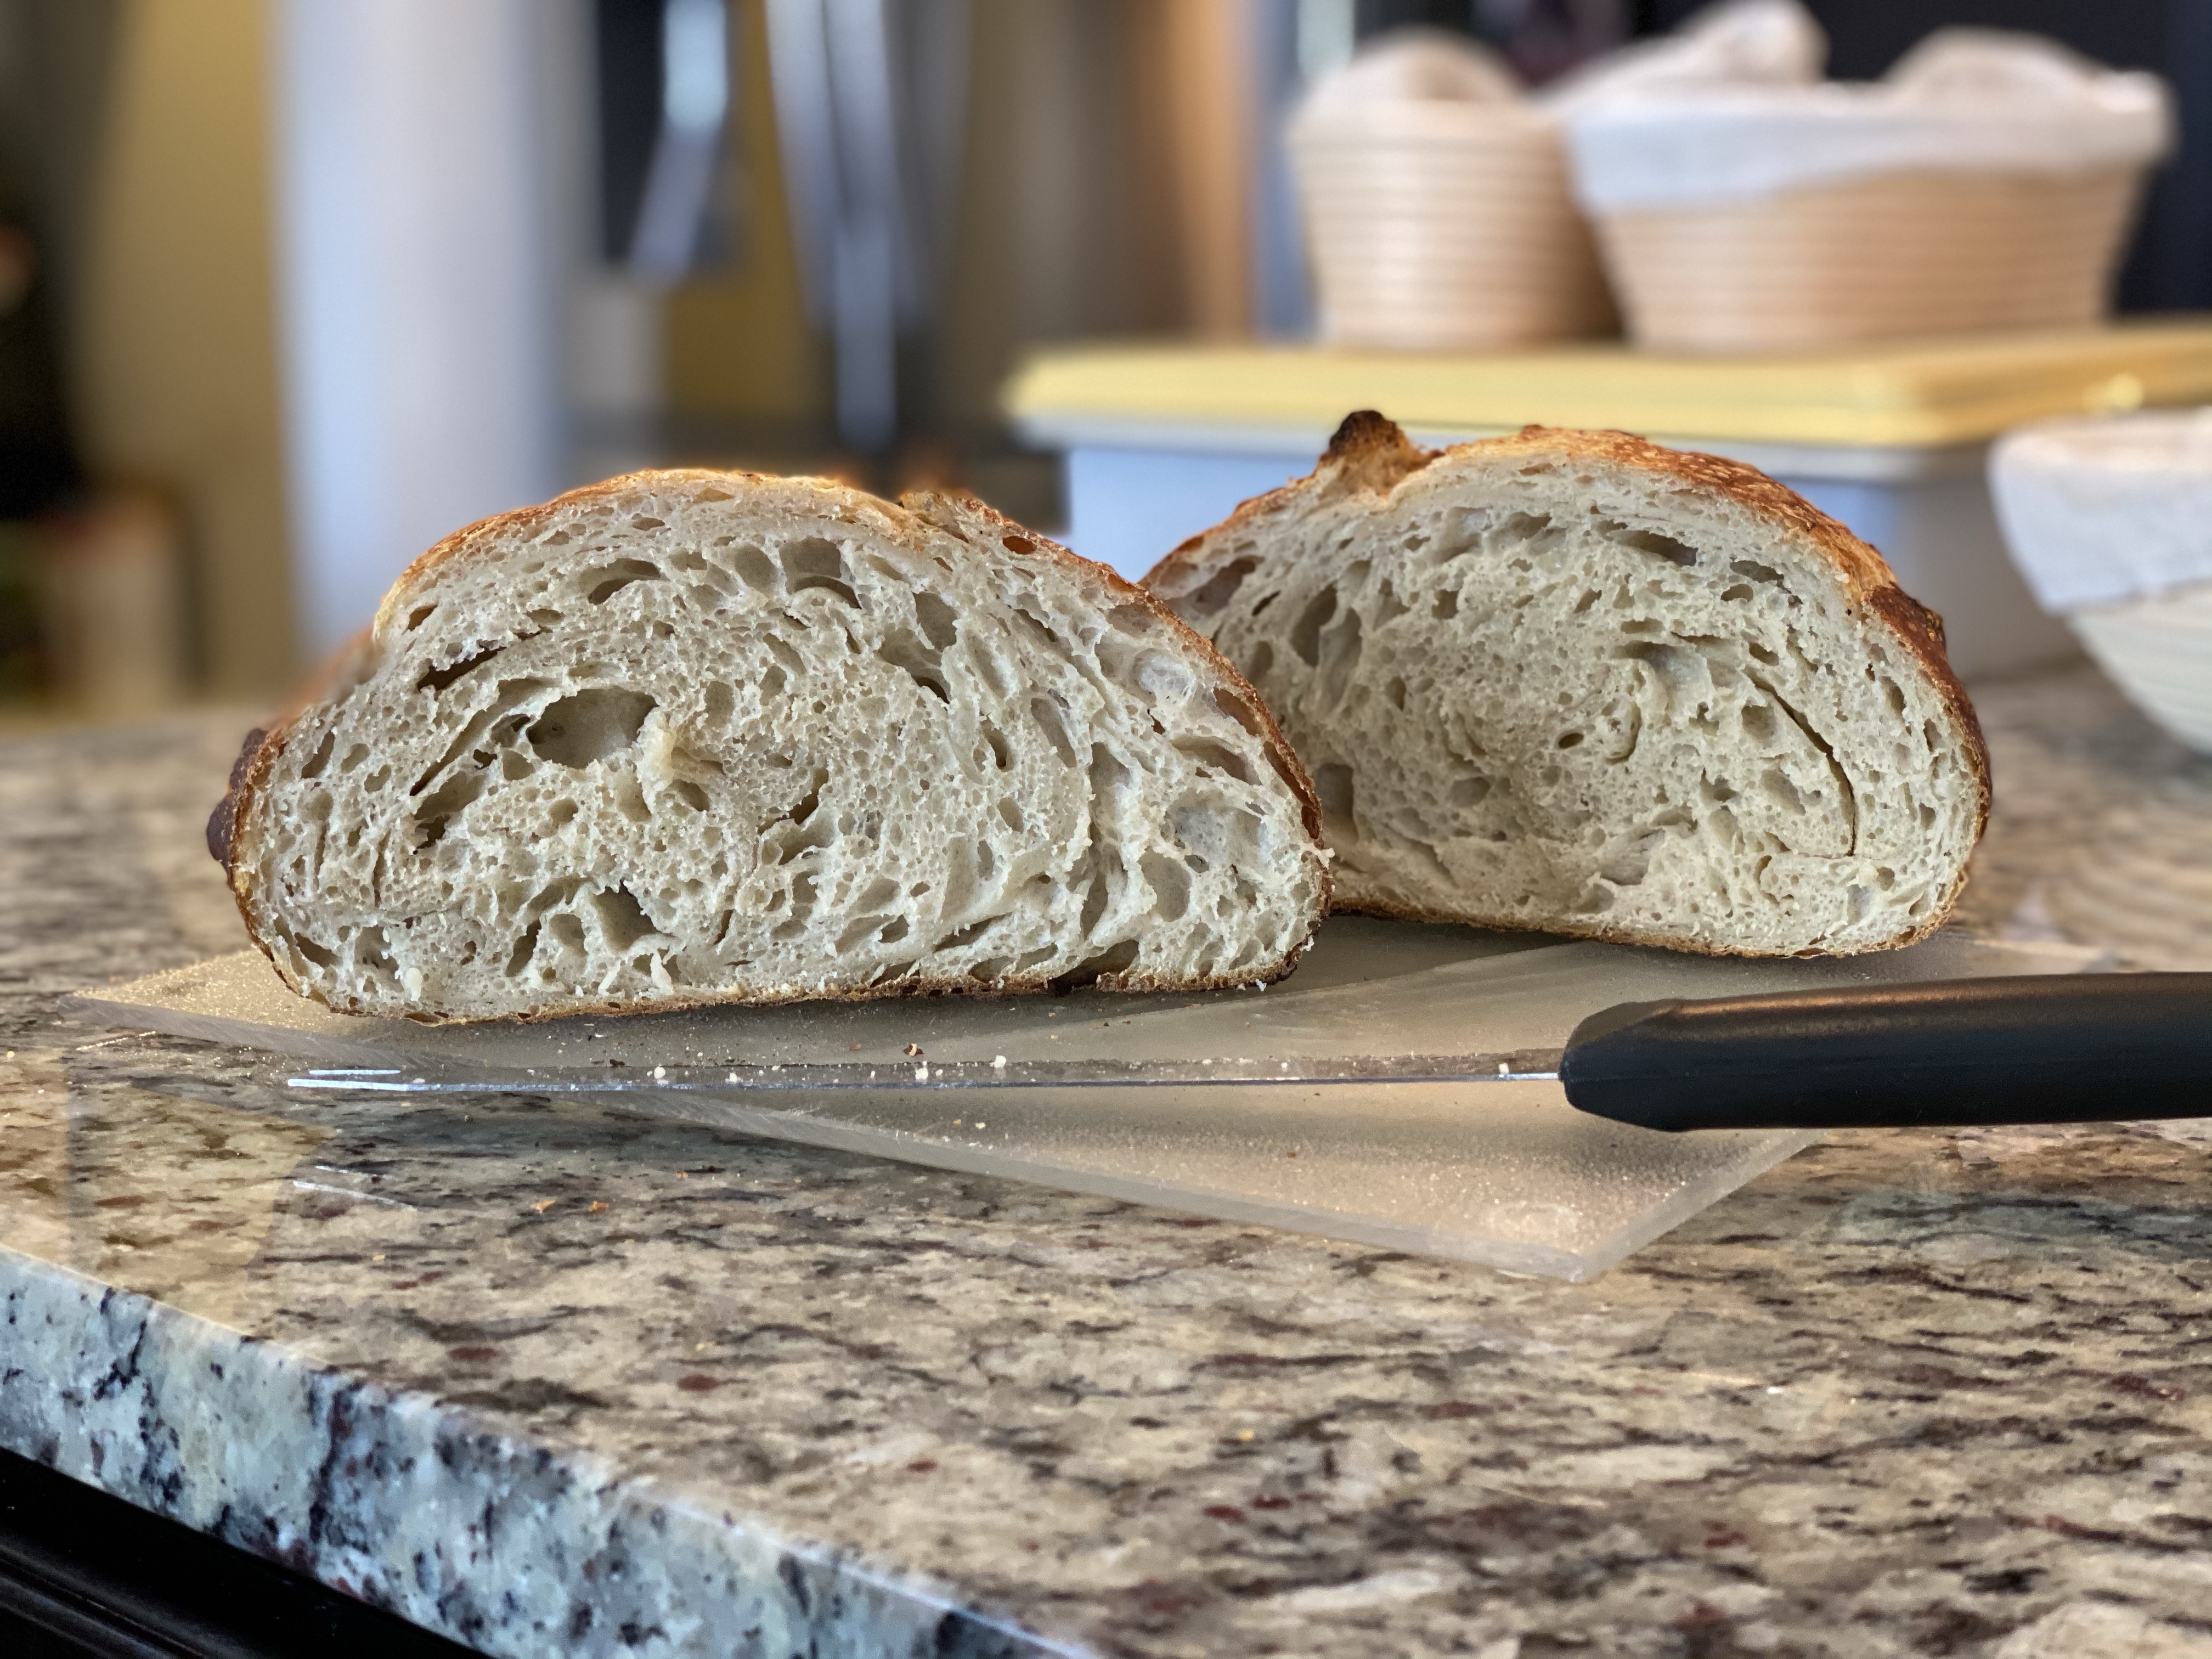
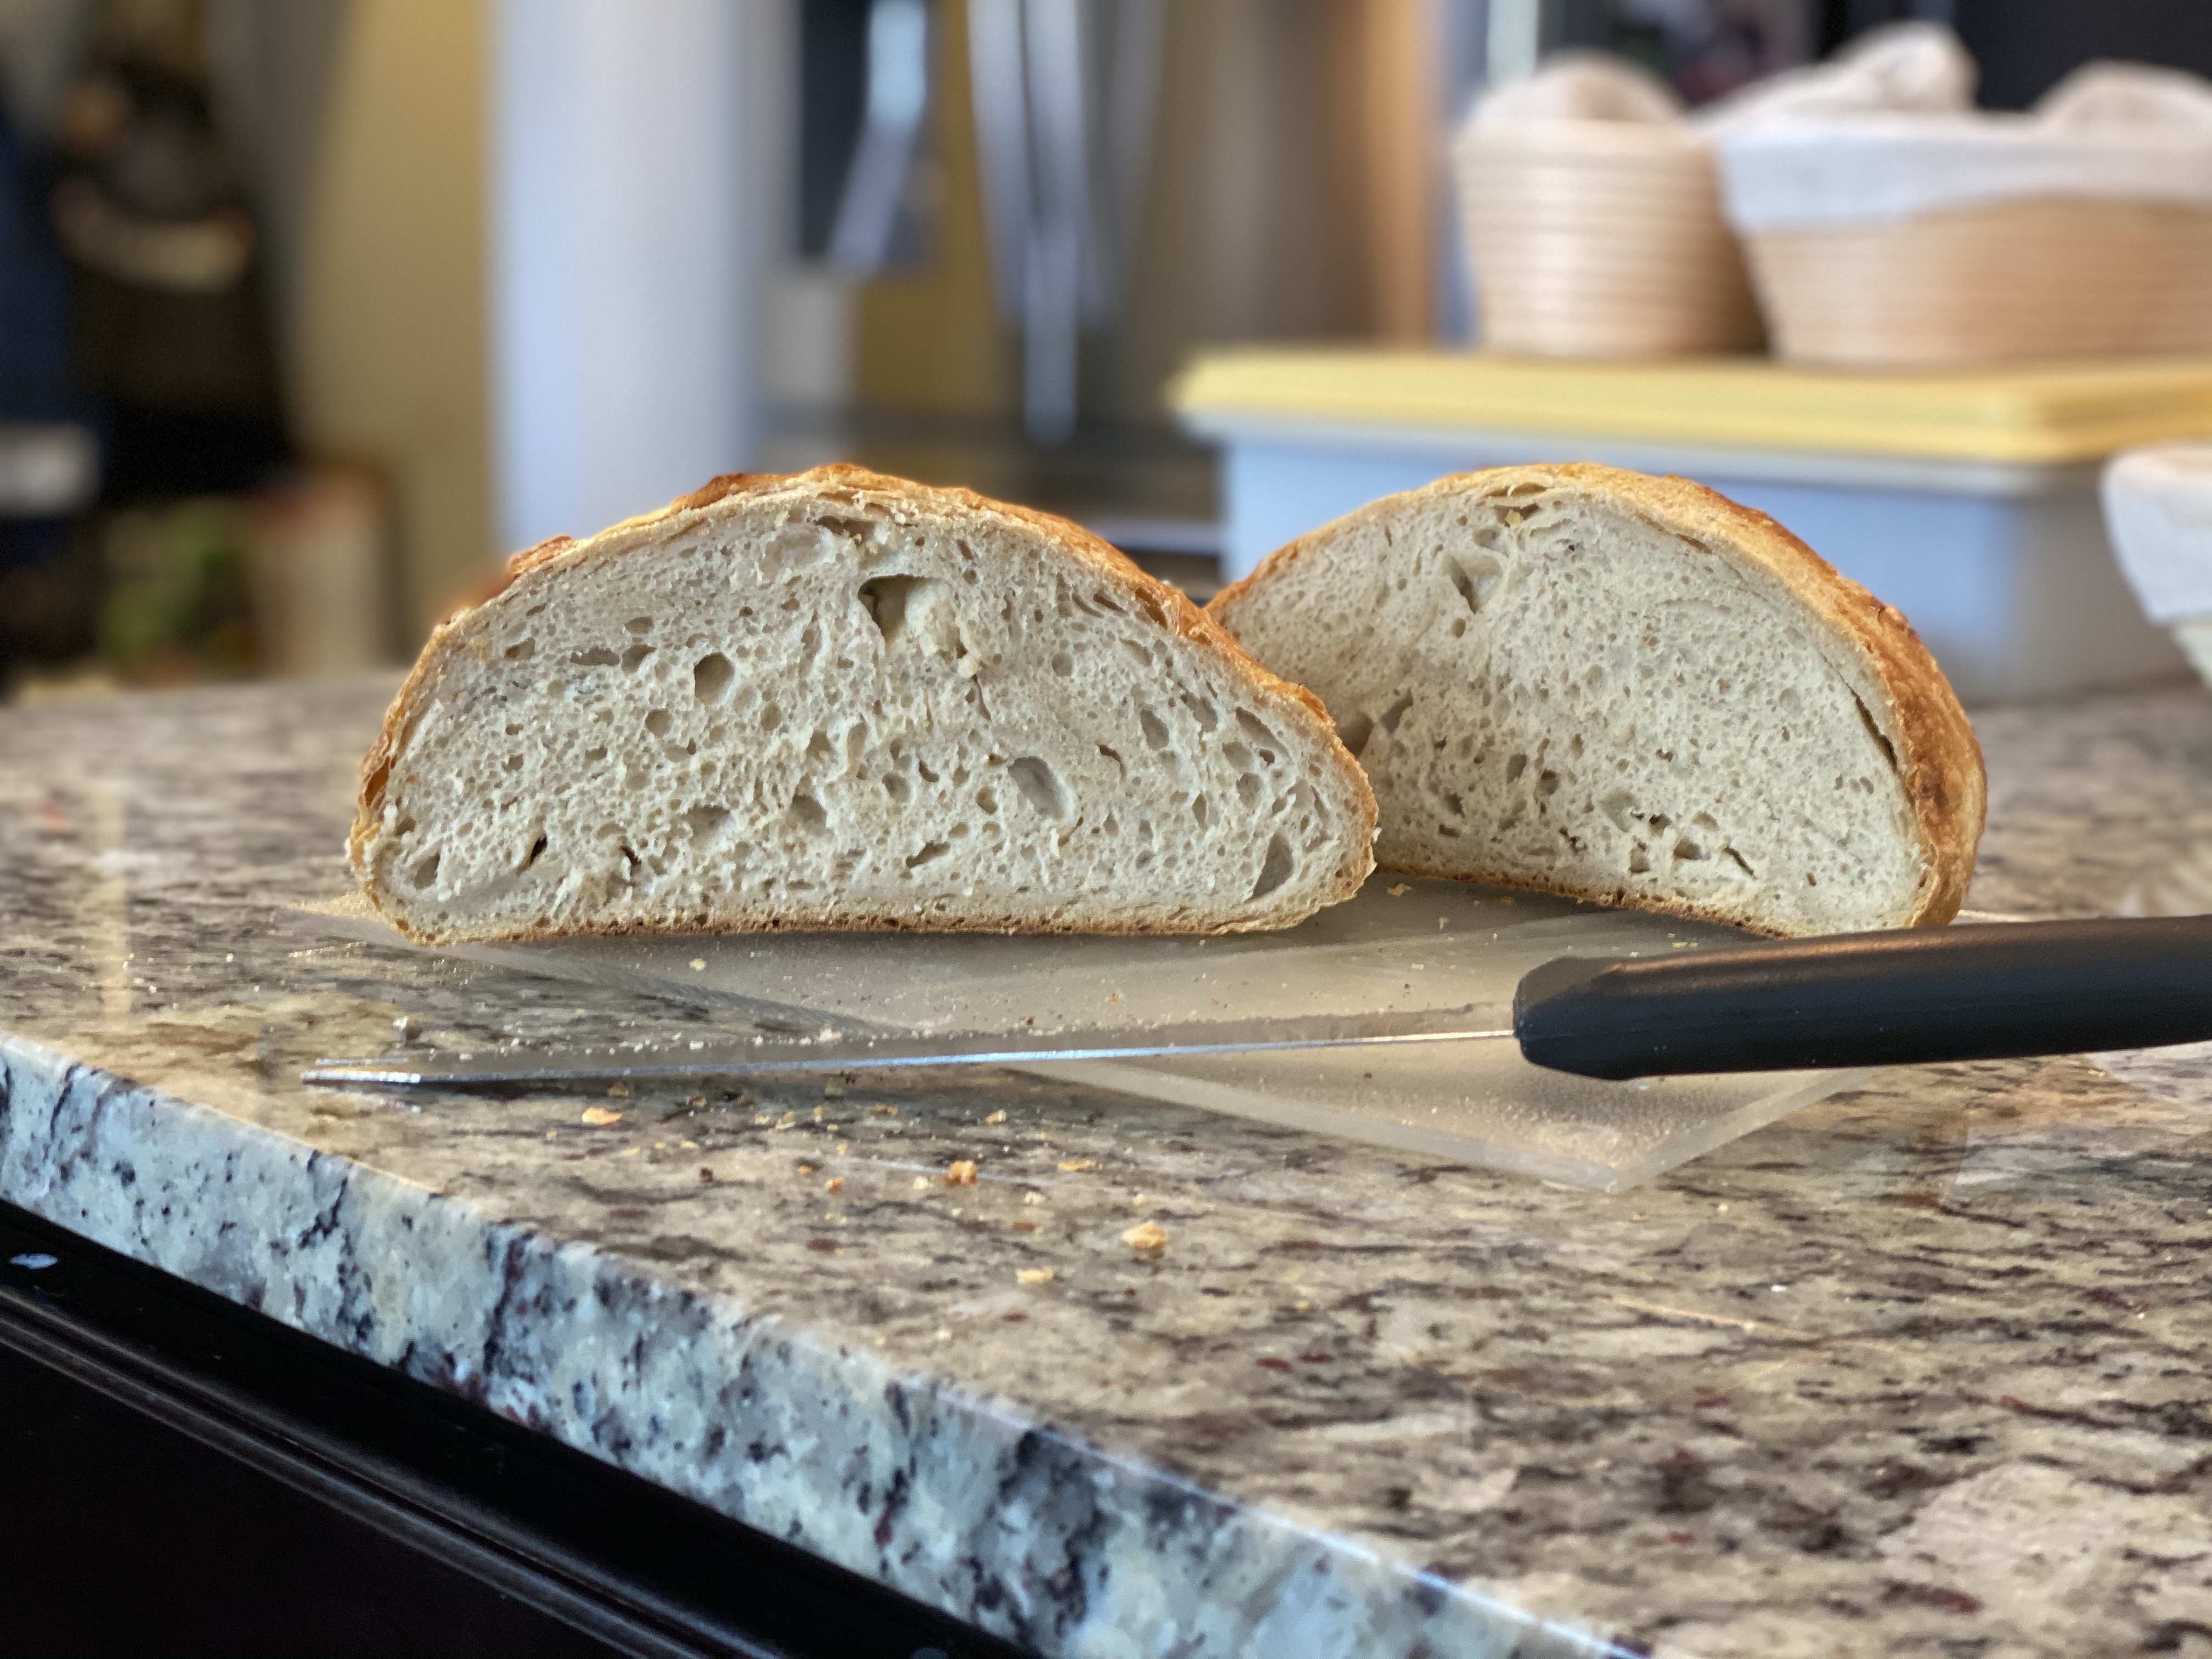
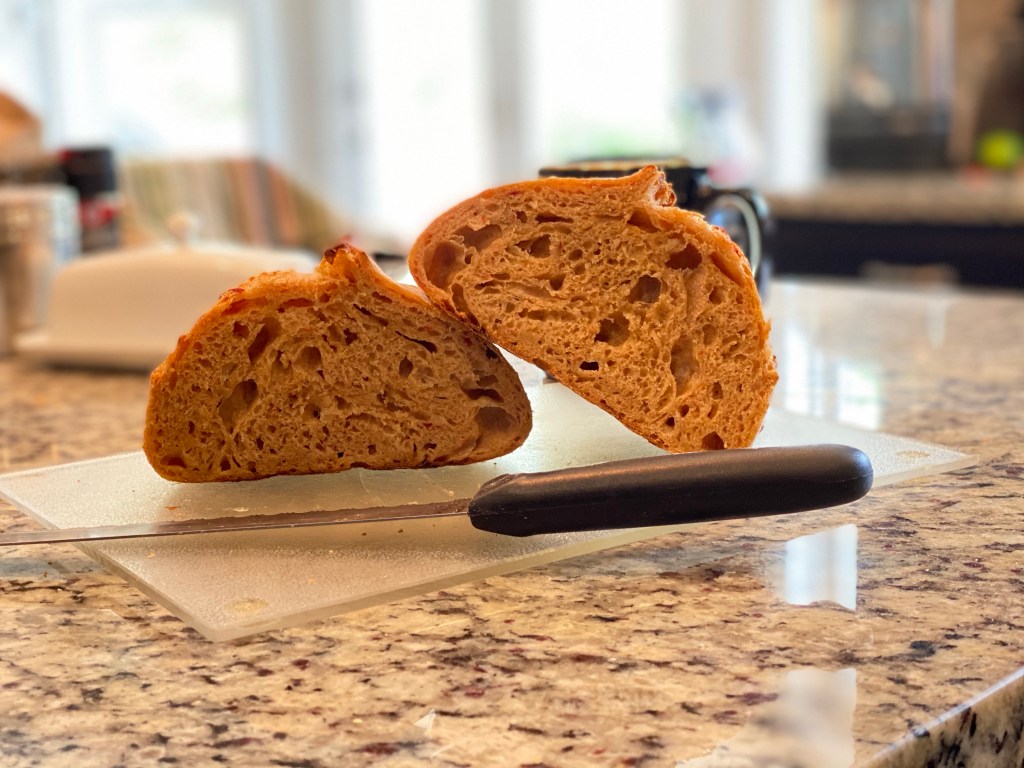
Crumb Cross-section
Overall the bread is tasty. Thinking I might replace the Jarlsberg with smoked Gouda. It isn’t too salty. Crust, bloom and crumb are OK for a first attempt but not quite what I want ultimately.
I’m pleased with my experiment!