Going to attempt making Panettone Classico one more time. A lot of technique improvements this time.
I’m starting with a REAL Pasta Madre that I started 3 days ago.
I’m using timing and instructions gleaned from watching a video posted by a Milanese bakery that has specialized in Panettone for generations. You can see the video here.
One of the things I noted from the video is that they used very fine (e.g. Castor) sugar. It is absorbed more readily AND it’s crystal structure doesn’t damage the gluten net! Who knew?!
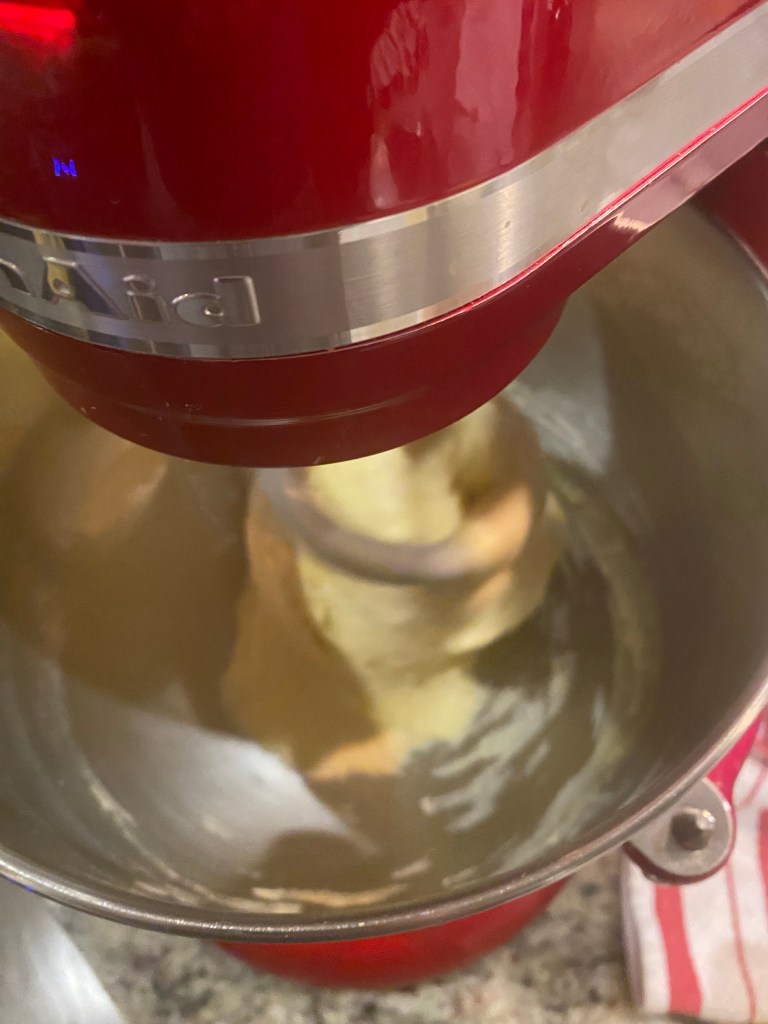
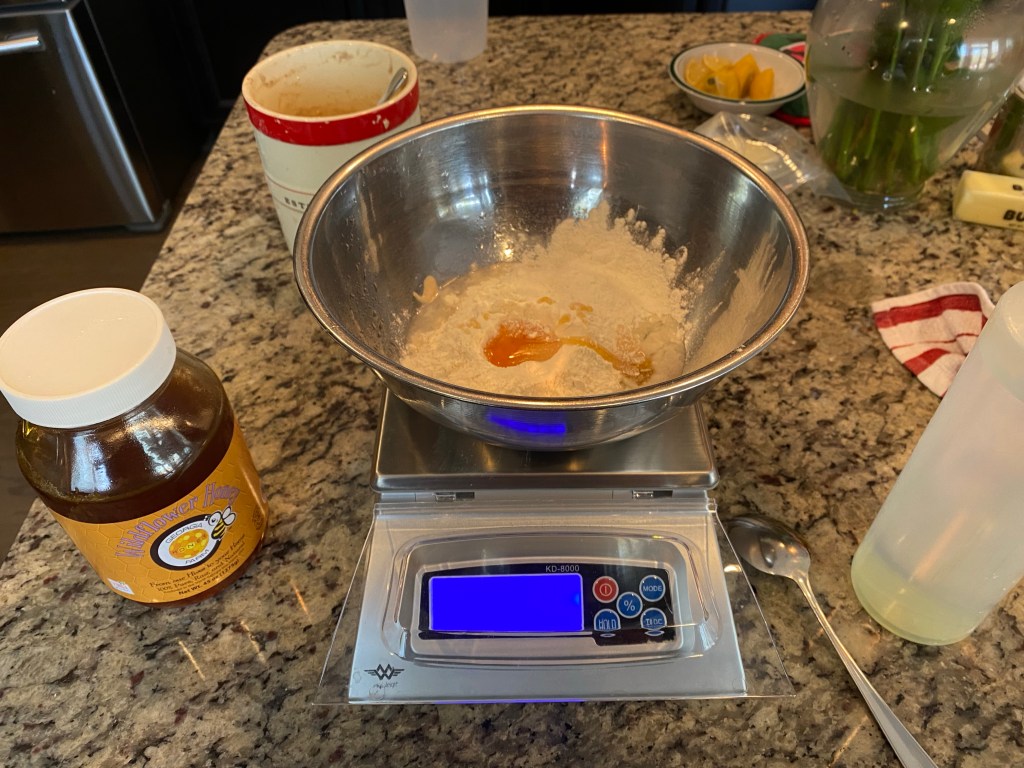
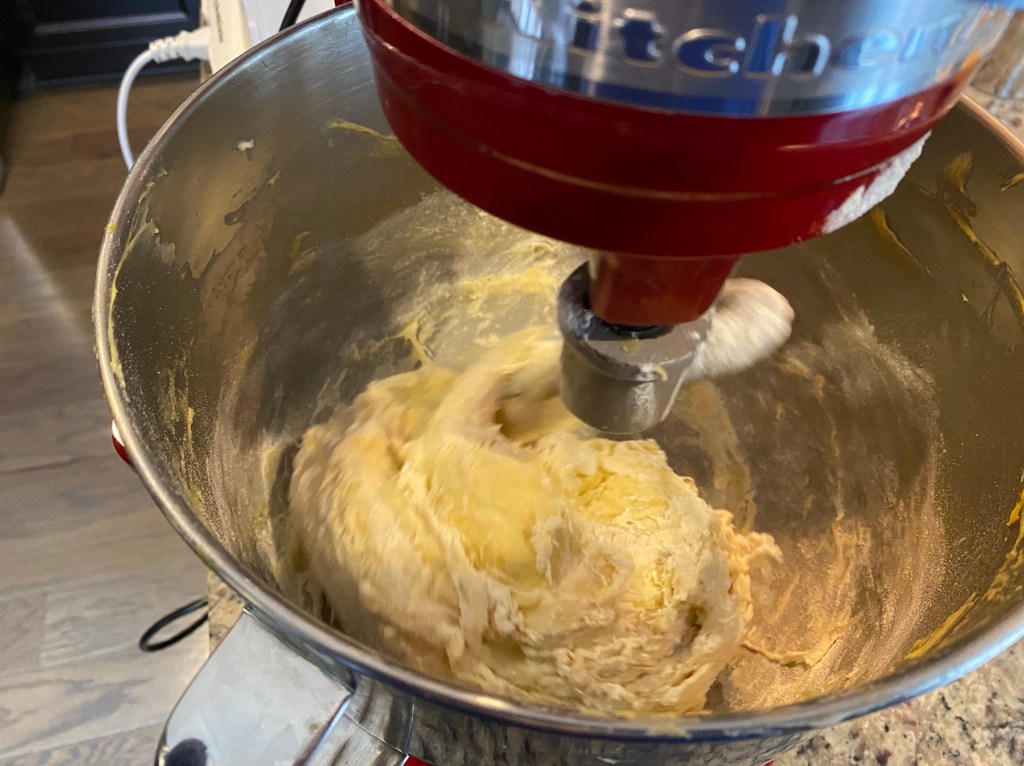
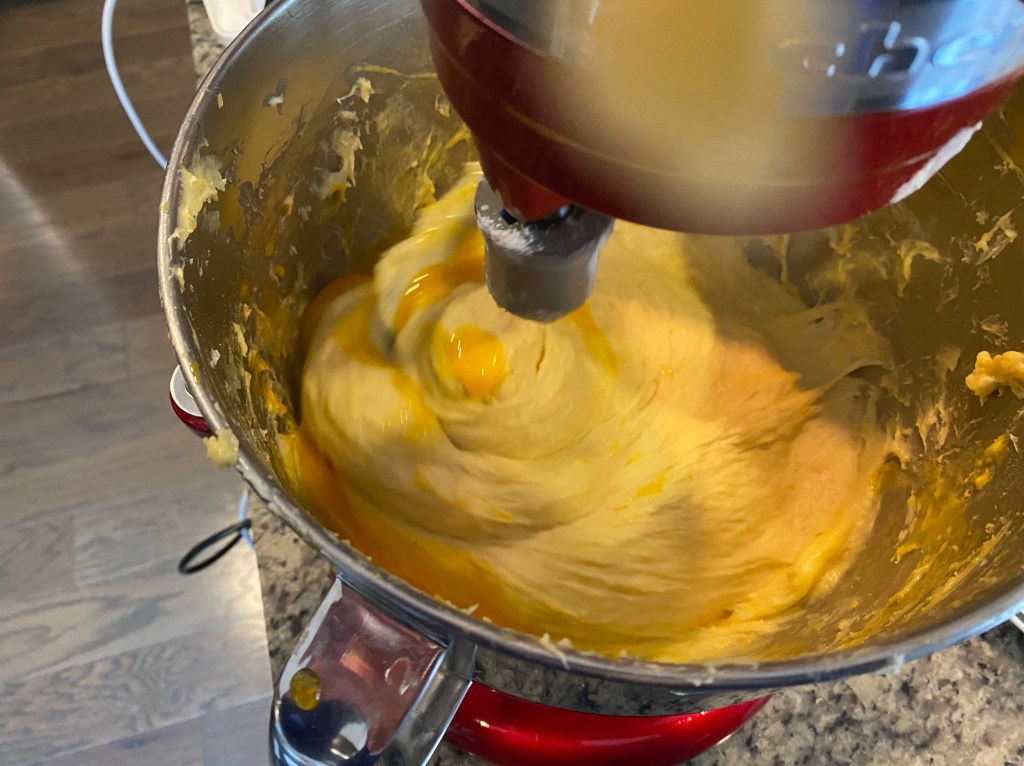
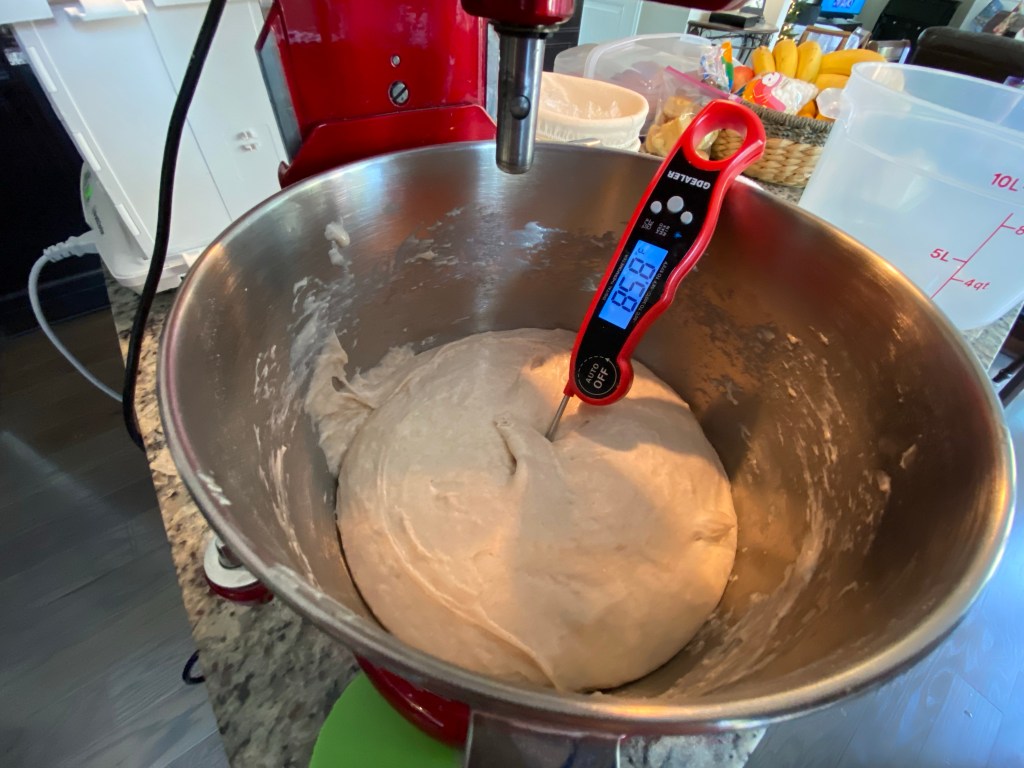
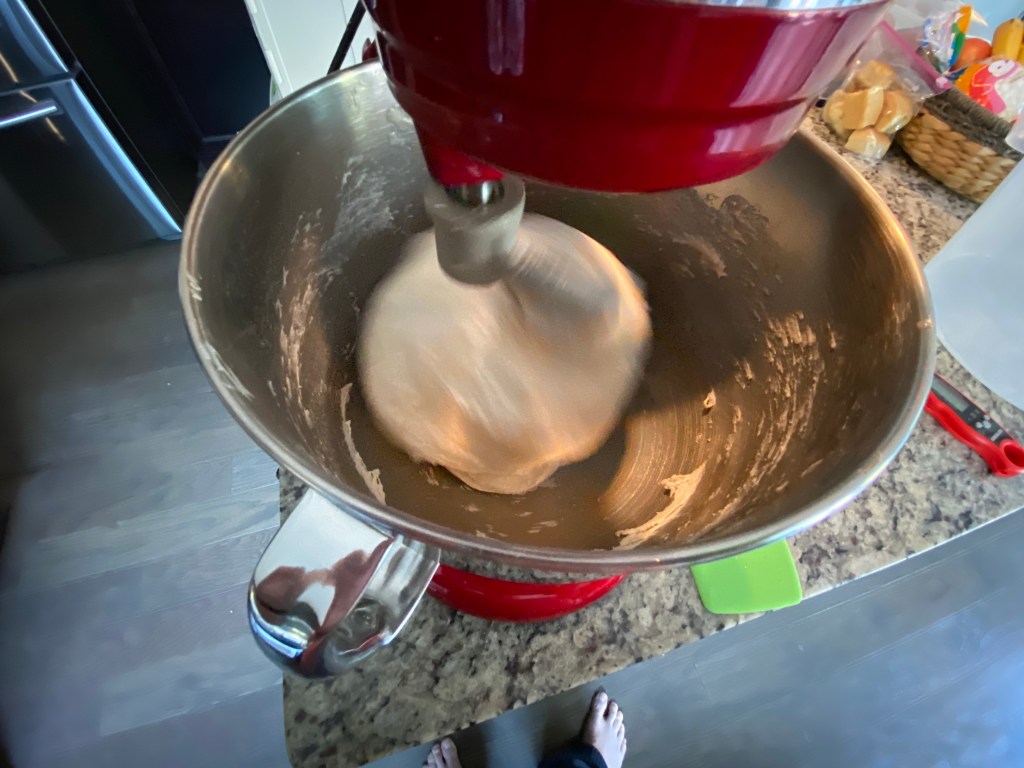
I’m also being more deliberate in my kneading. I’m going low speed with my dough hook for roughly 15 minutes. The first 8 mins or so will be with the flour, water, sugar, Pasta Madre in chunks and half of the egg yolks. The last half will incorporate the rest of the eggs and the butter.
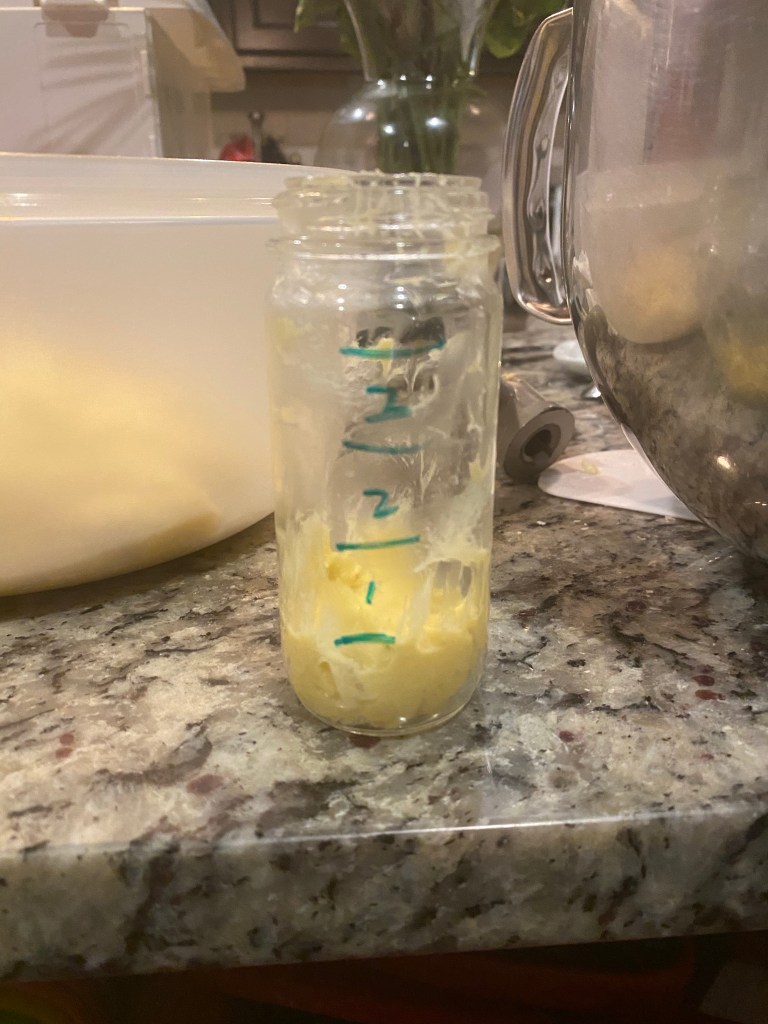
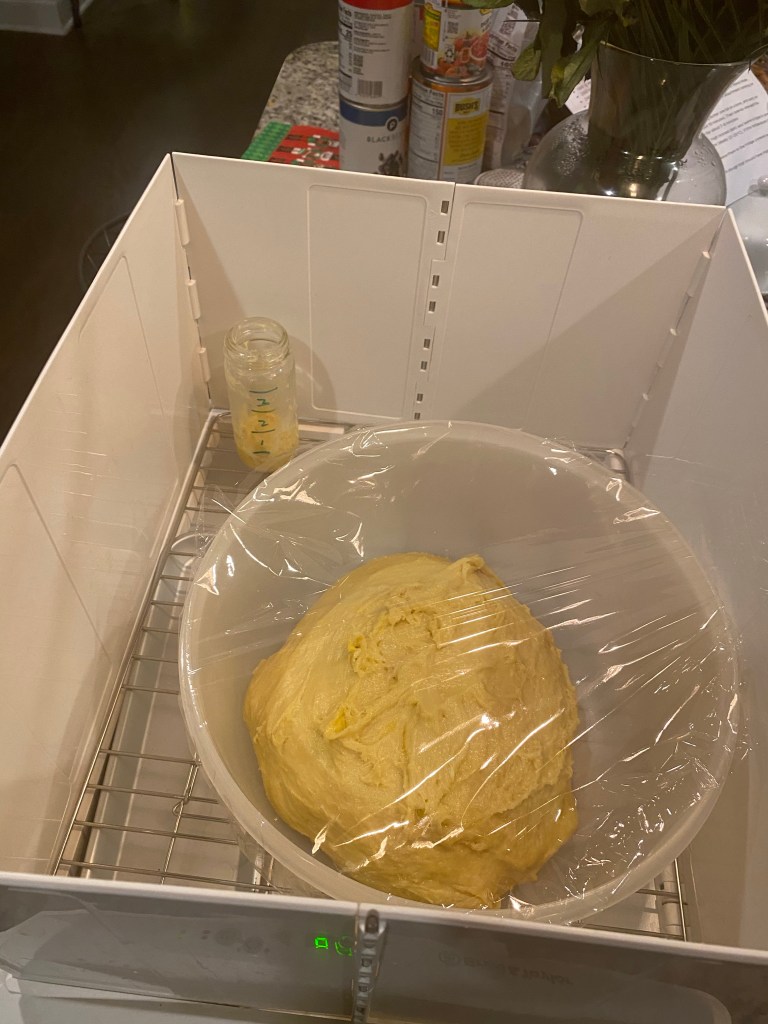
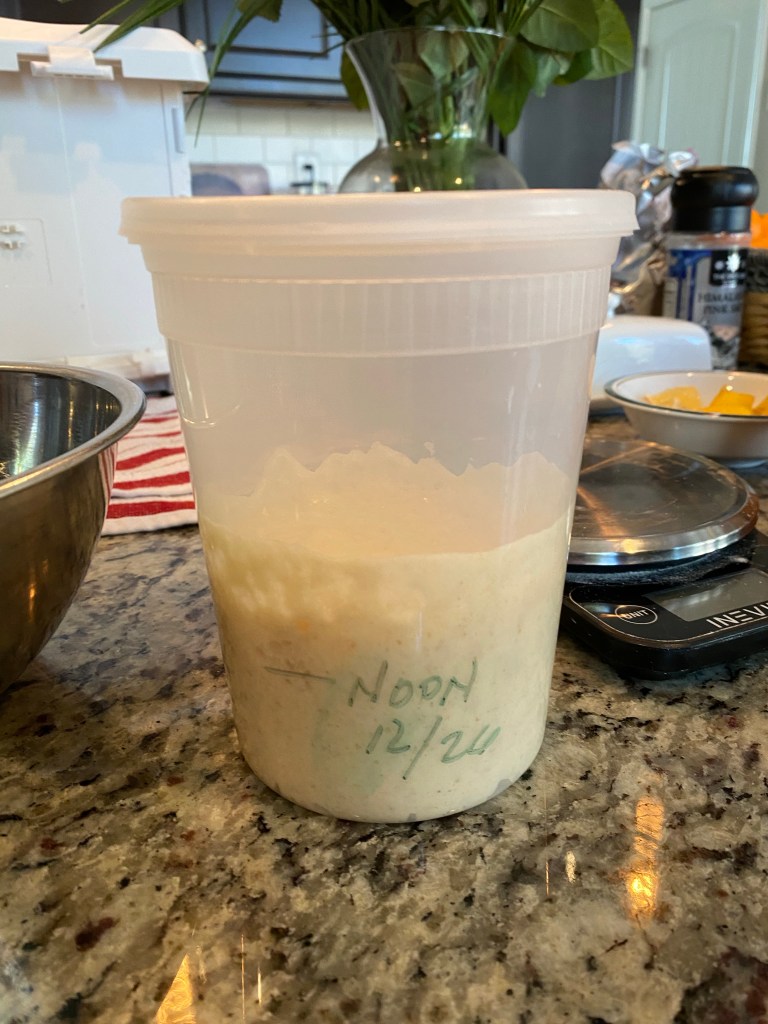
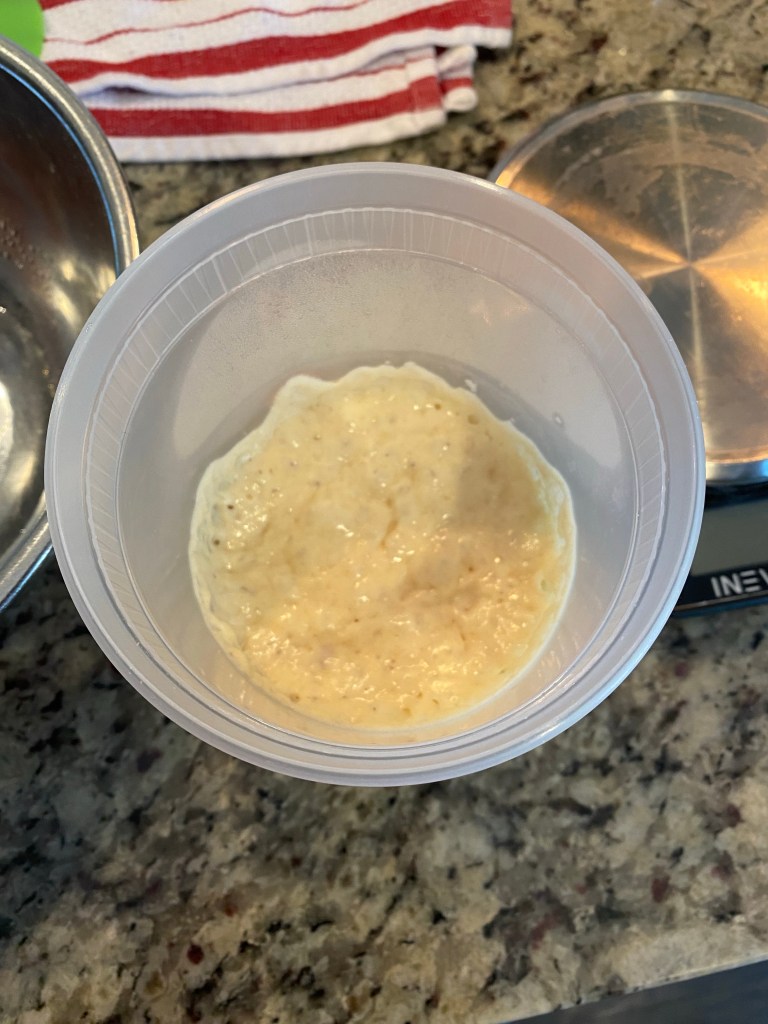
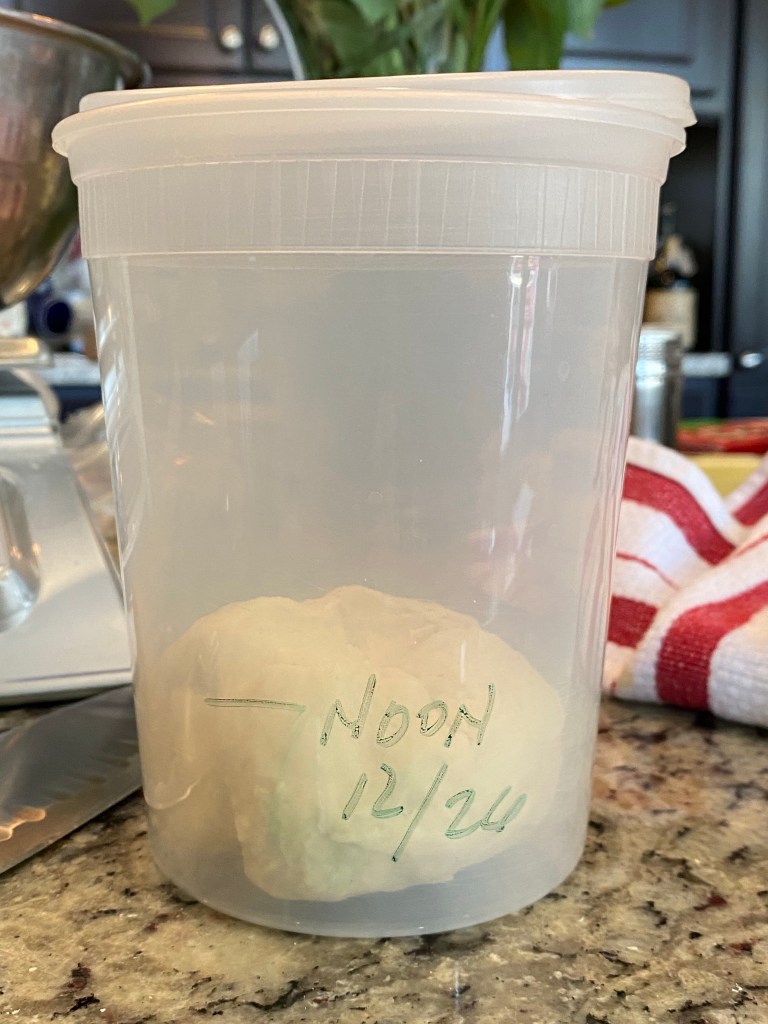
Pasta MadreAdding chunksKneadingAliquot JarInto Proving BoxMaking 1st Dough
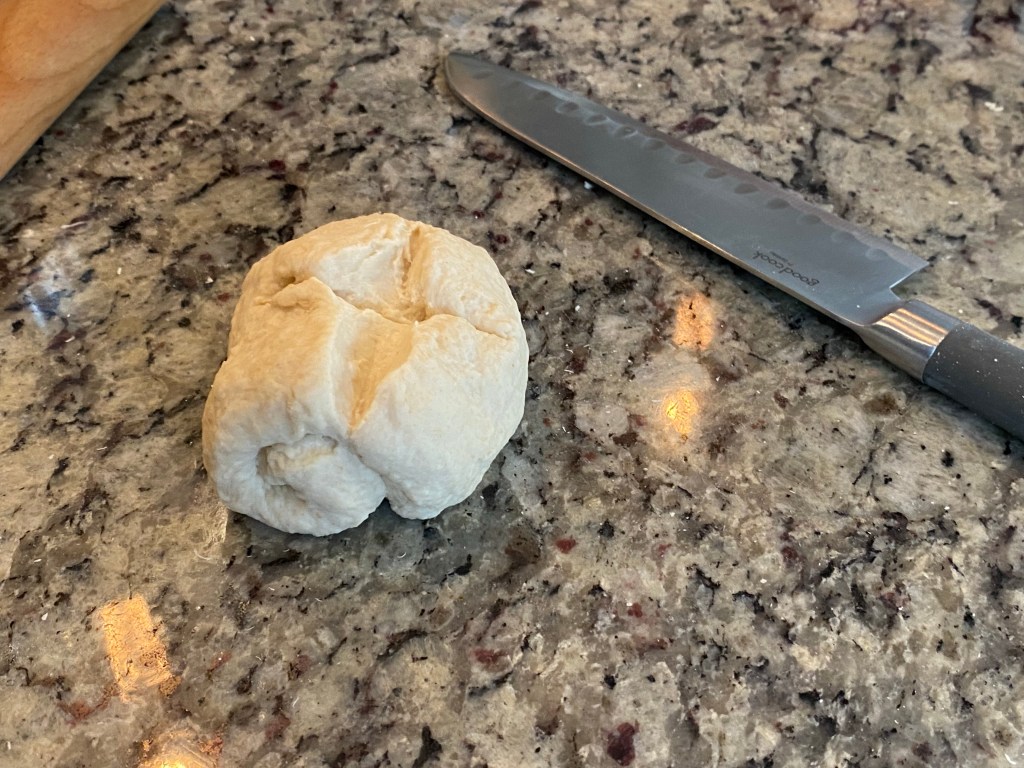
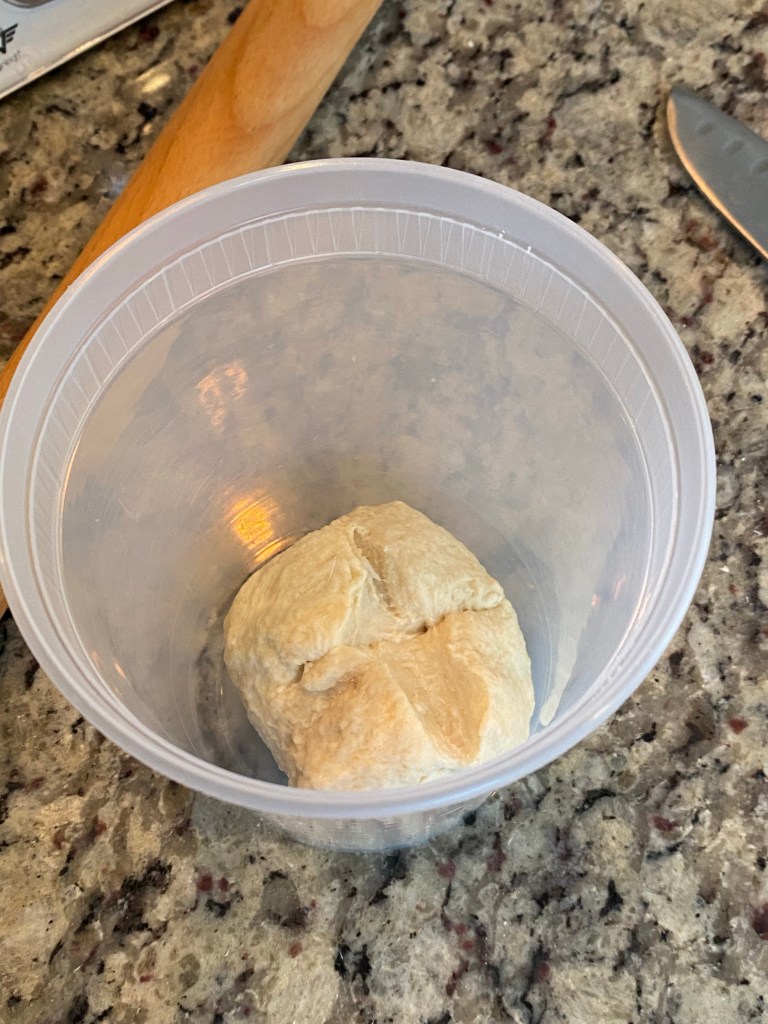
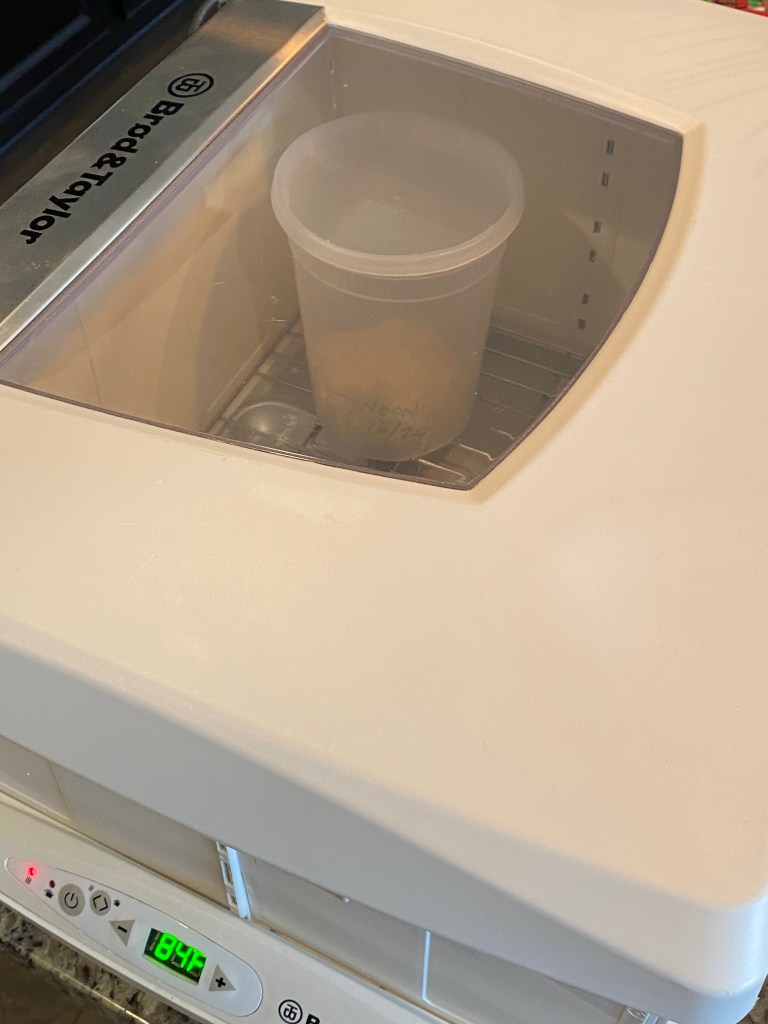
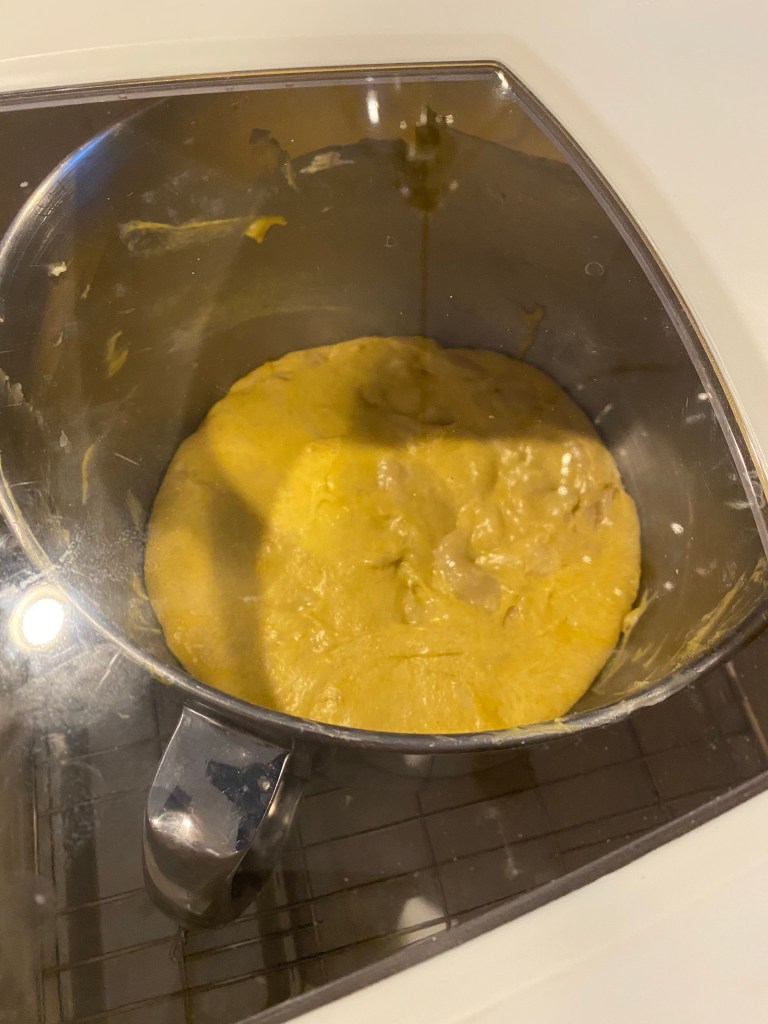
Mixed, kneaded and into Proving Box … Will see what it looks like tomorrow morning!
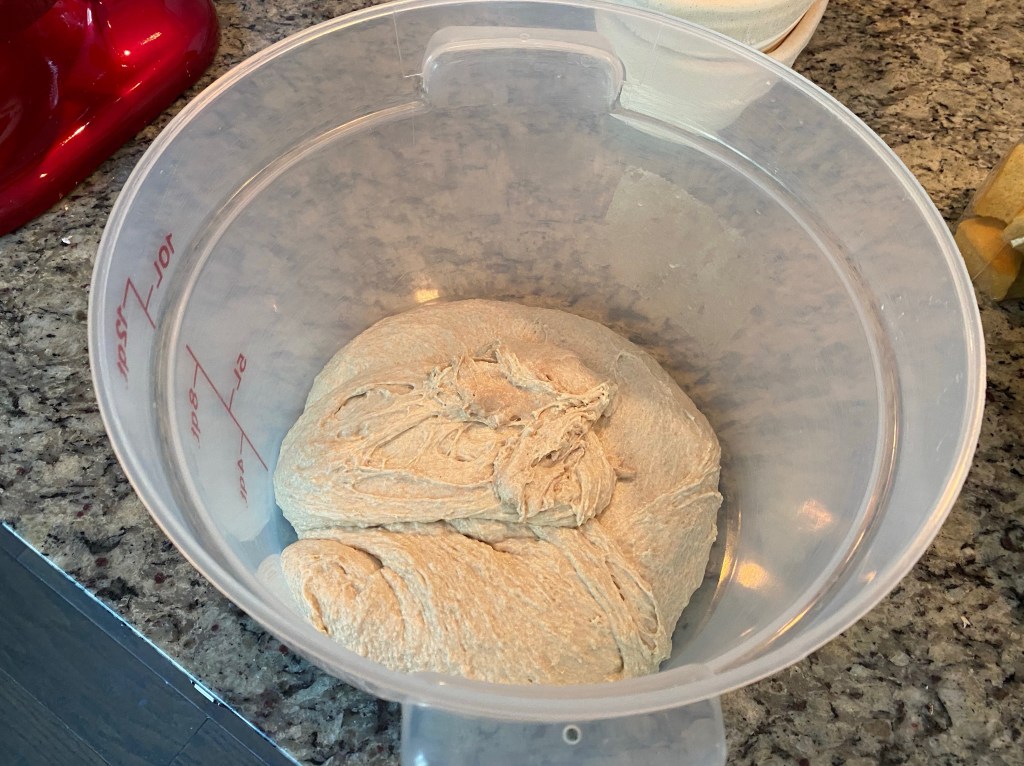
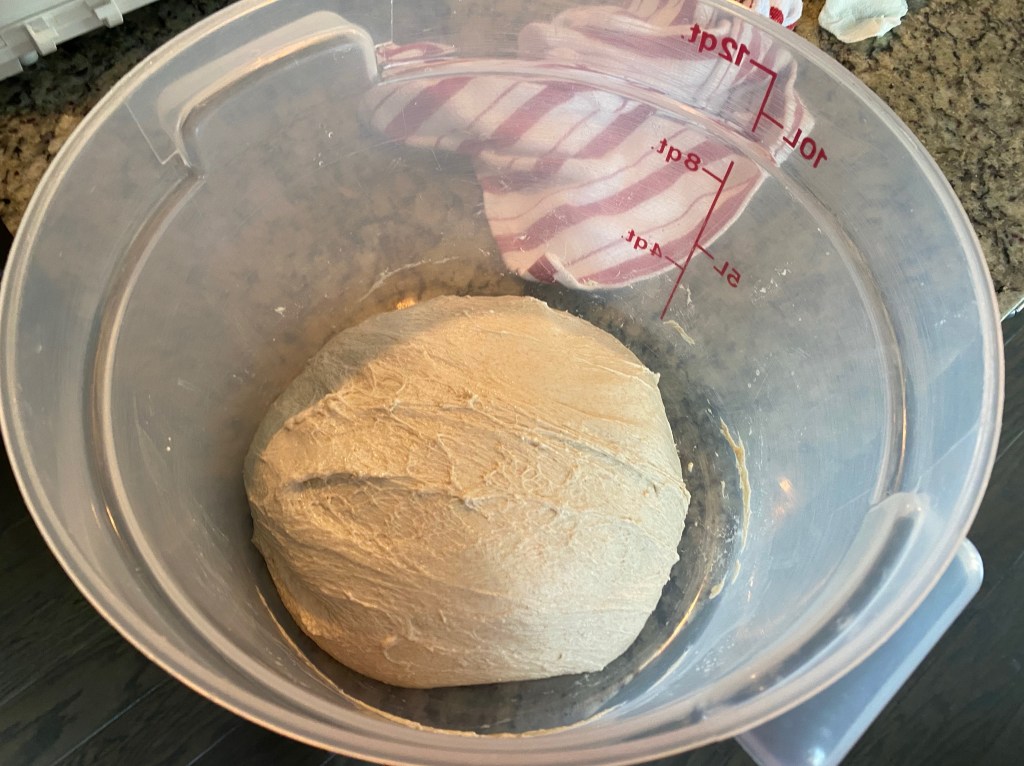
UPDATE
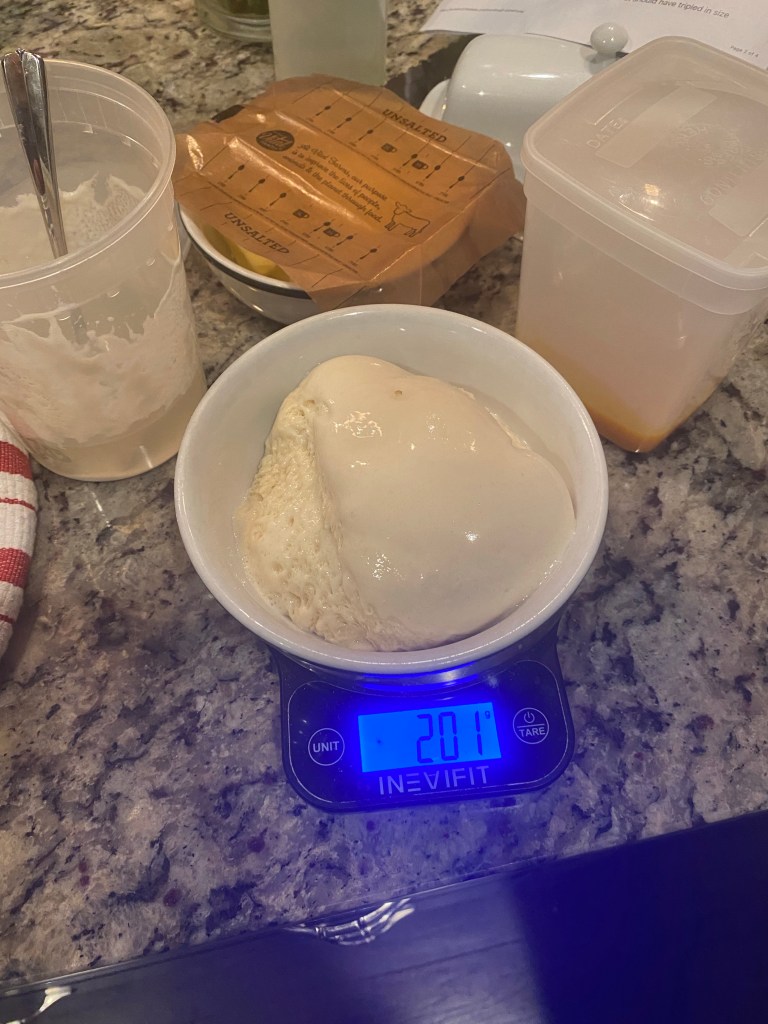
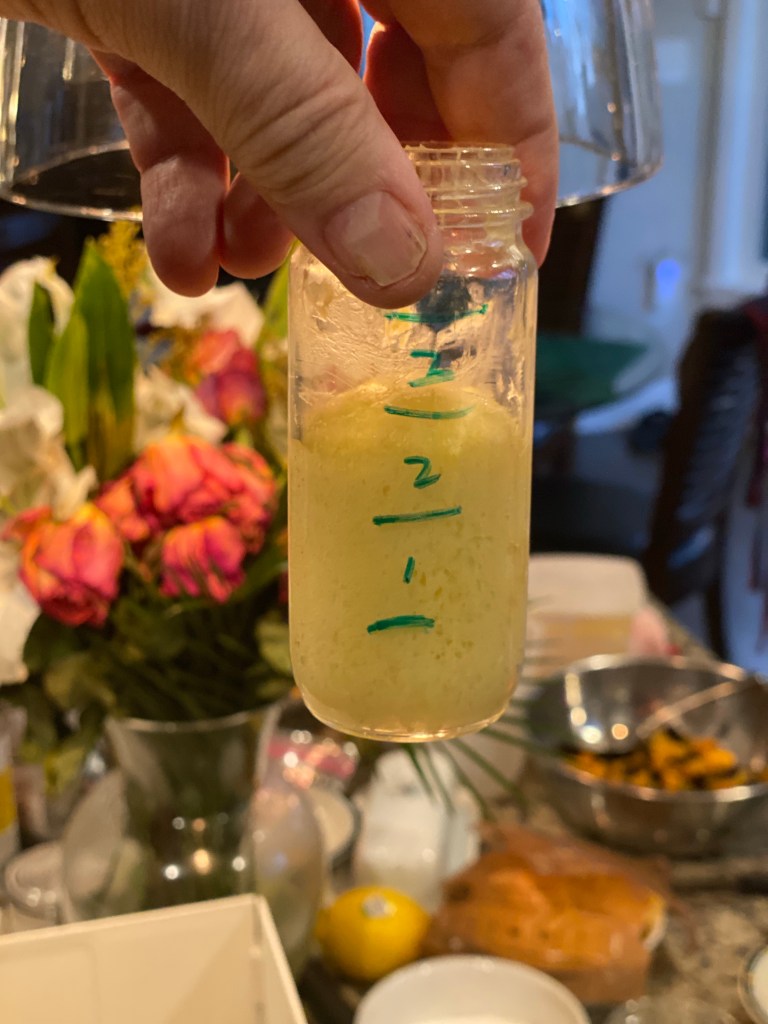
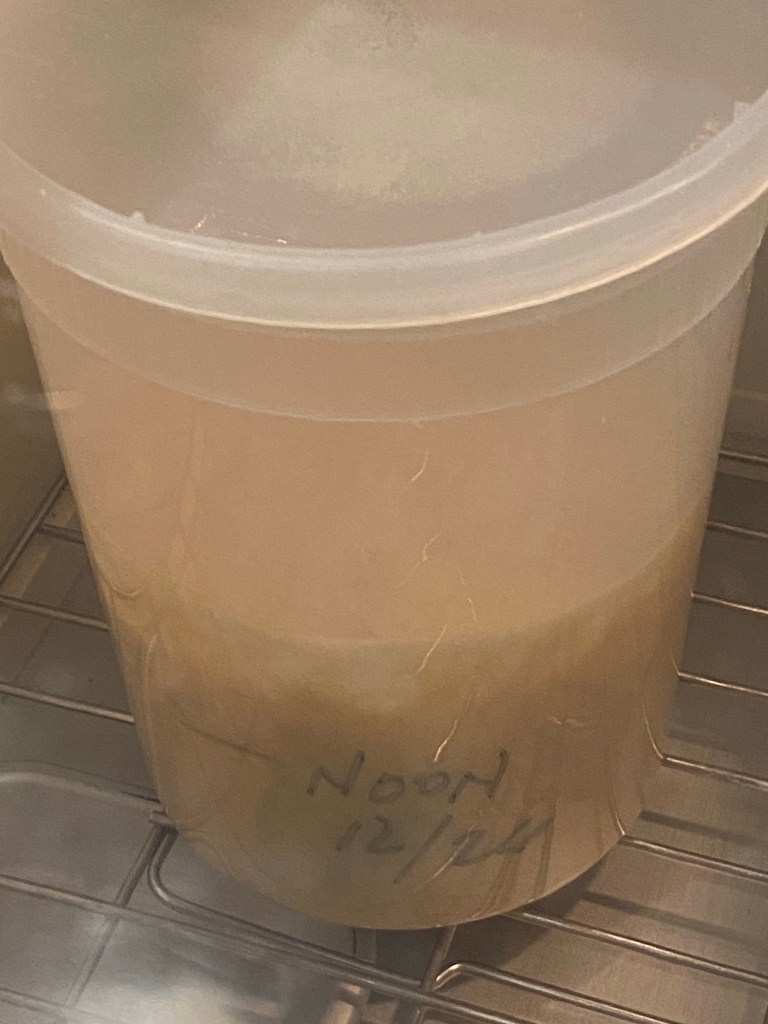
Here is what the 1st dough looked like 11 hours into its prove:
Aliquot to 3XTripling in Volume1st Dough 12-hour Prove
Today is the day! One last feeding today to be ready for mixing Dough #1 for my next attempt at Panettone.
Pasta Madre bursting at seams
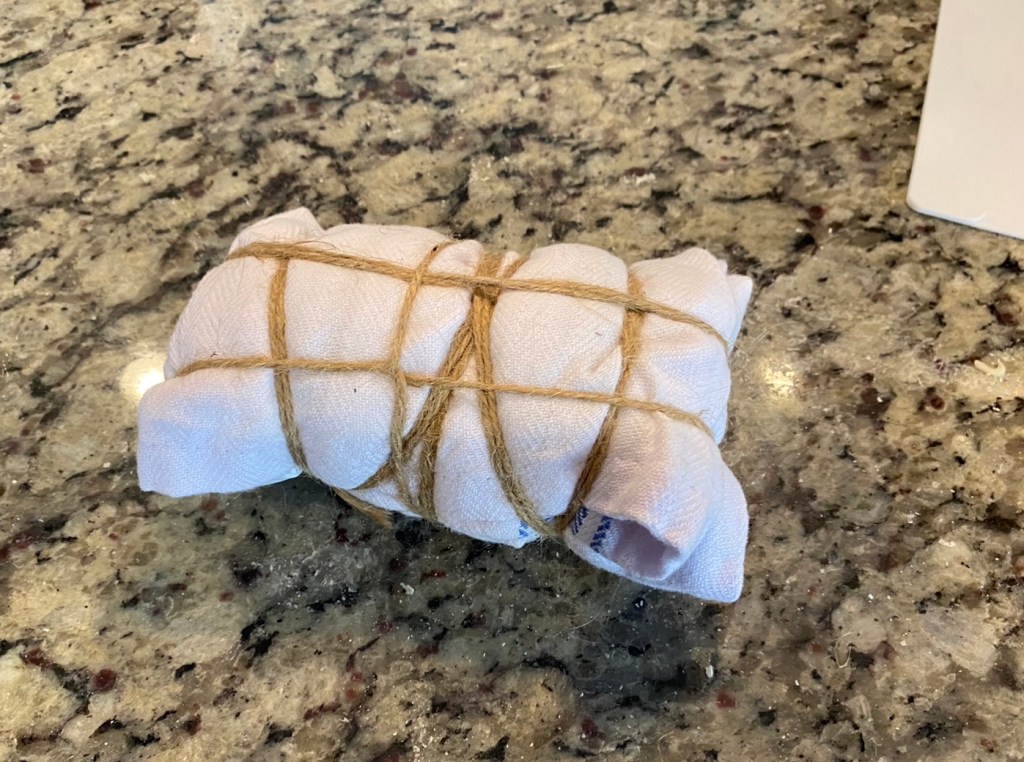
Tying this bundle up was interesting. It got REALLY hard until the bag popped and some of the pressure was relieved. I’m not sure if the softer feel was due to the pressure release of it backing off the height of Bacteria activity. Probably both.
My panettone recipe calls for making the first dough and letting it prove overnight. The Italian bakery in Milan (the traditional home of Panettone Classico) says they prove for 12 hours at 27°C (80.6°F)
I’m going to mix my dough starting after 7pm tonight so it will be ready for me at 8am tomorrow morning.
Might as well do one more feeding to get my Pasta Madre all revved up.
I fed and followed my same routine as yesterday’s feeding. The only difference being it was MUCH harder to extract from the baggie.
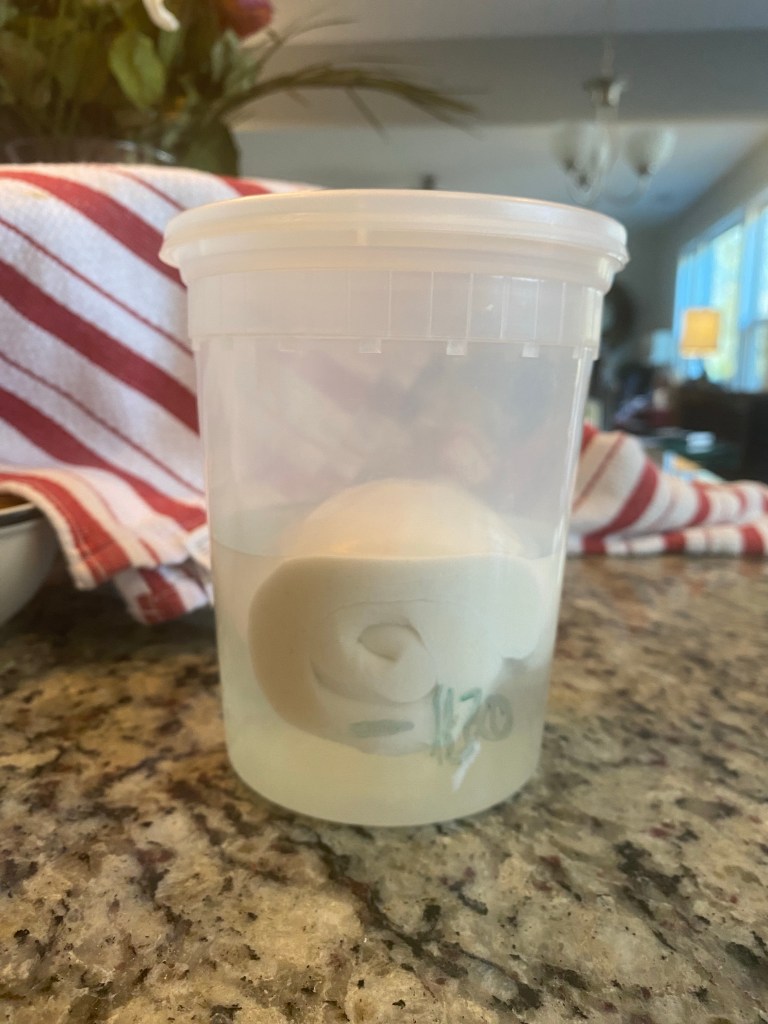
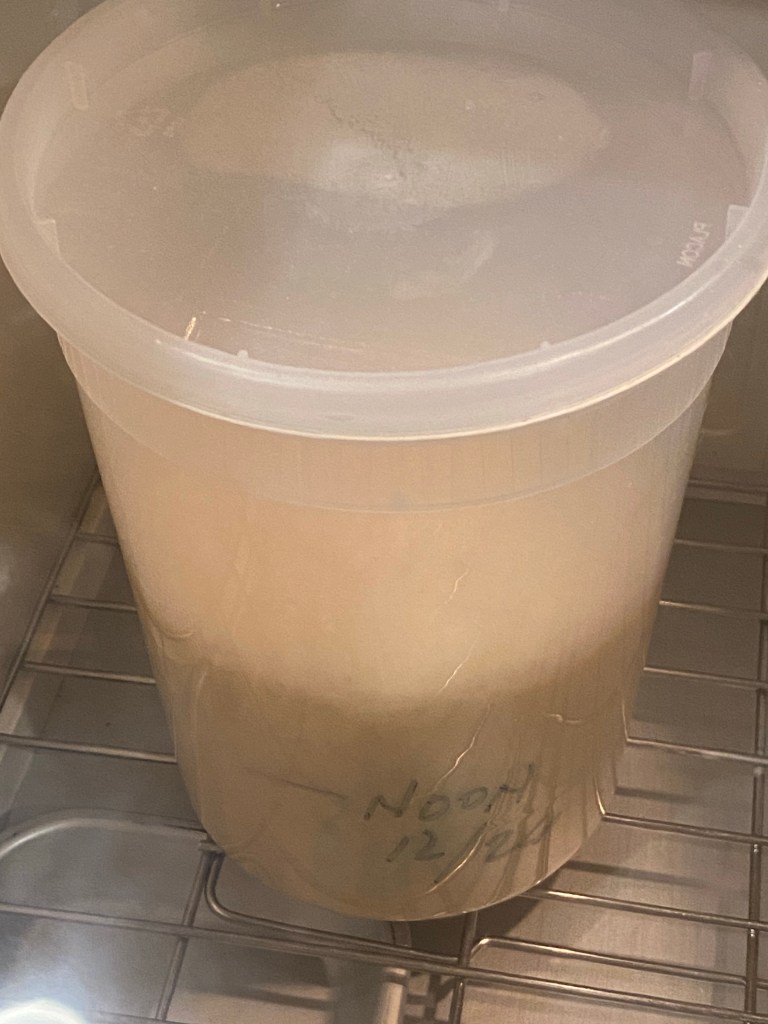
This time I thought I’d store in water. I’d seen this done in some YouTube videos. At the beginning it sinks to the bottom and rises as it proves.
In water at 1130
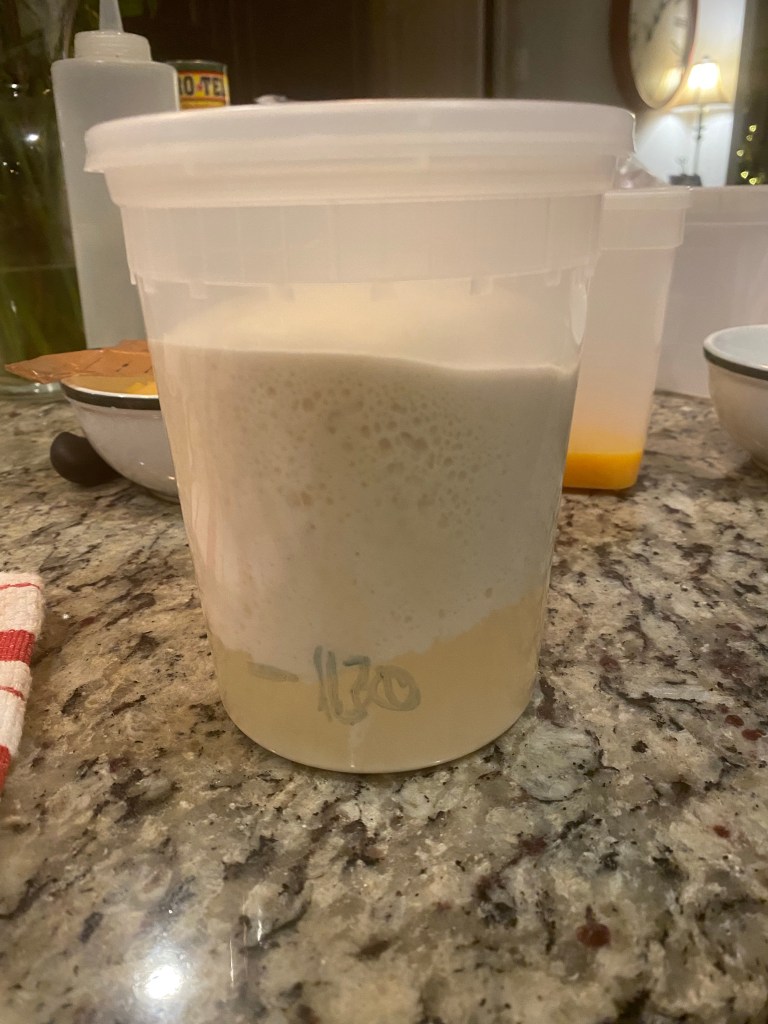
Here is what it looks like at 4pm
Pasta Madre at 4pm
I’m excited about how this is turning out. My Pasta Madre should be MUCH better than my initial attempt (which is arguably NOT Pasta Madre).
I’ve loads of other technique improvements I’m going to be adjusting for in this next attempt at Panettone.
Day 3 of making my Pasta Madre for my next attempt at Panettone.
Bound to prove
I fed my Pasta Madre for a 3rd time today. I seeded the same feeding regime I’ve been using of 50g each of Starter and water, a teaspoon of honey and 100g of bread flour.
I kneaded it for 5+ minutes to get it nice and smooth feeling.
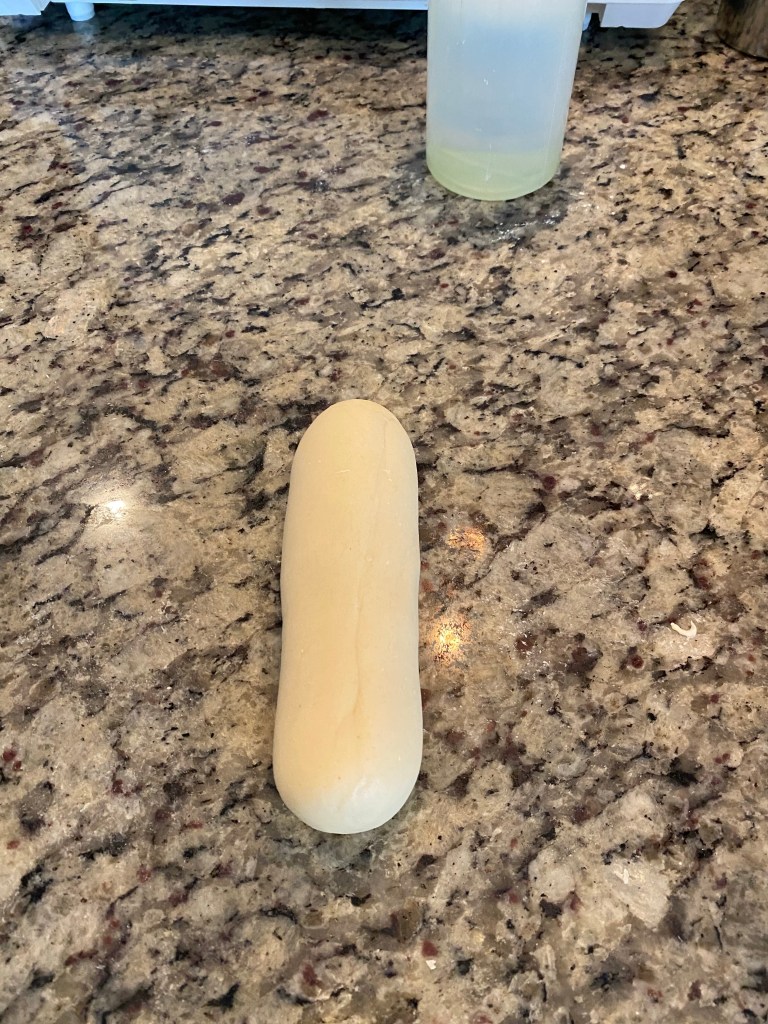
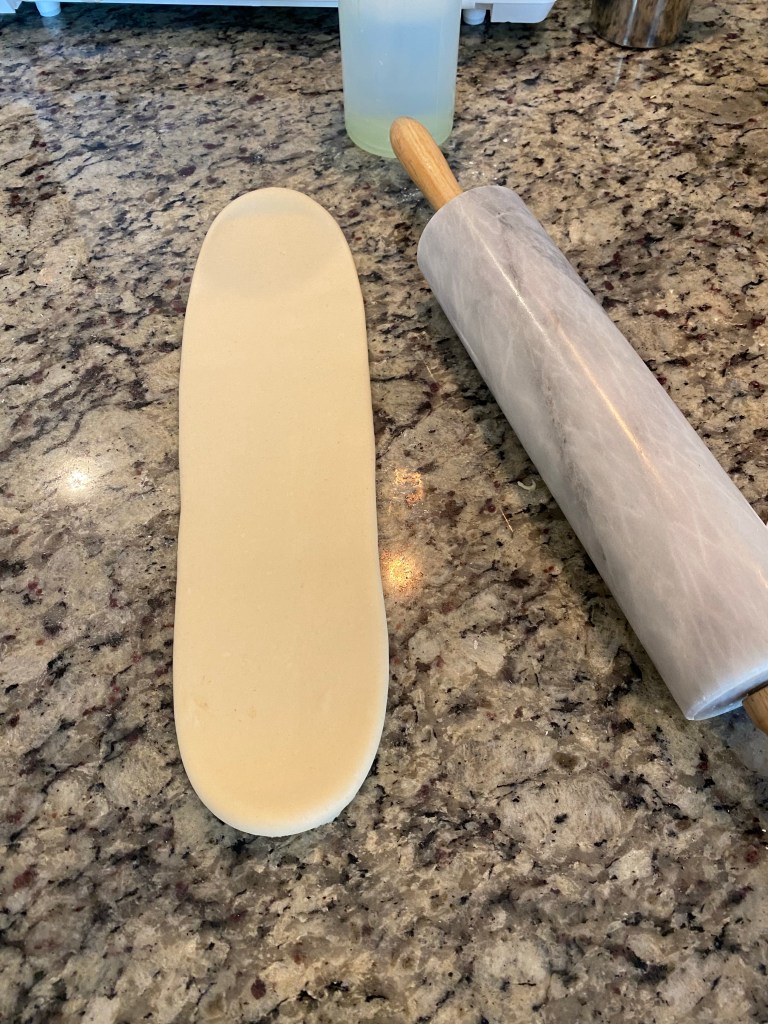
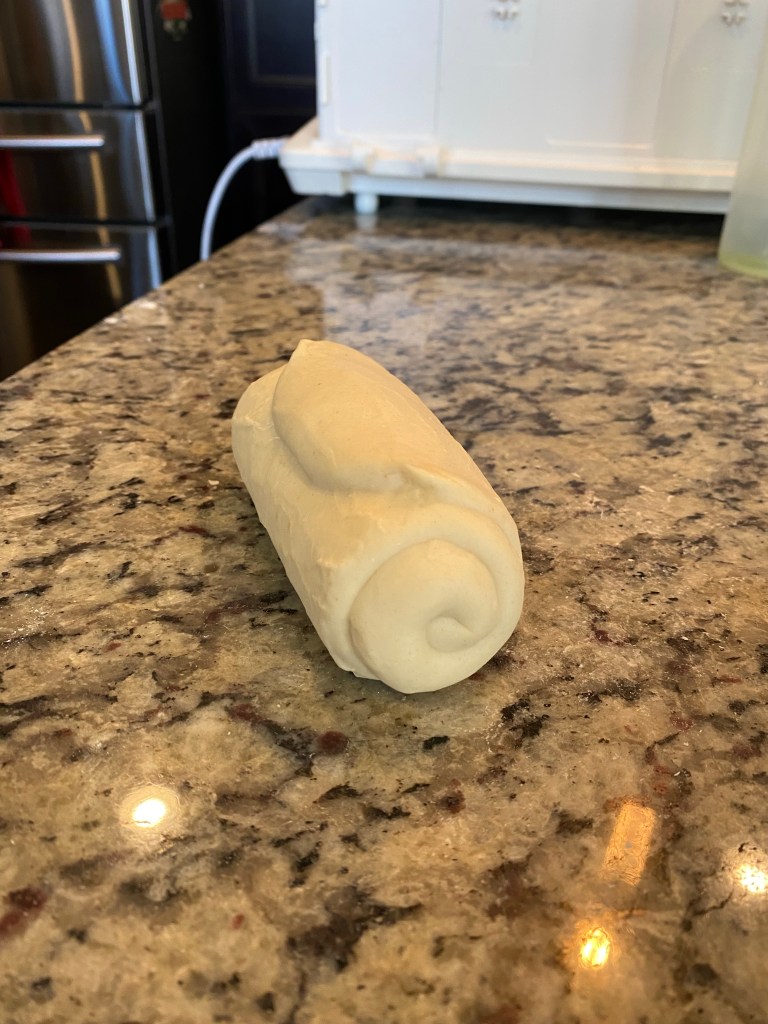
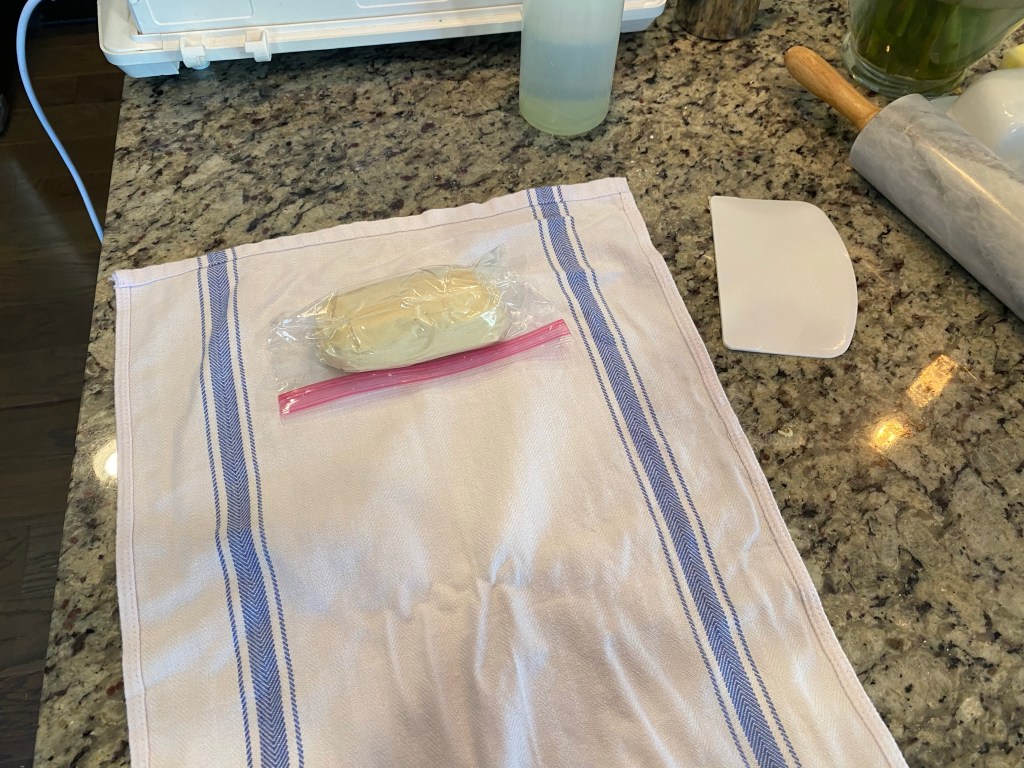
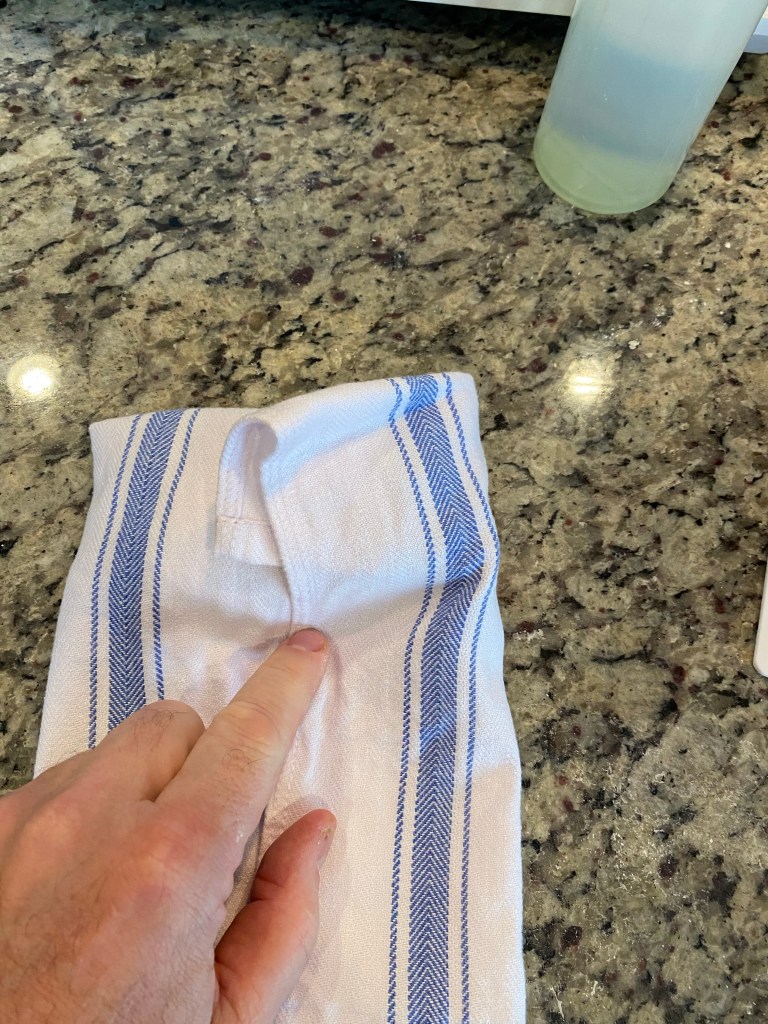
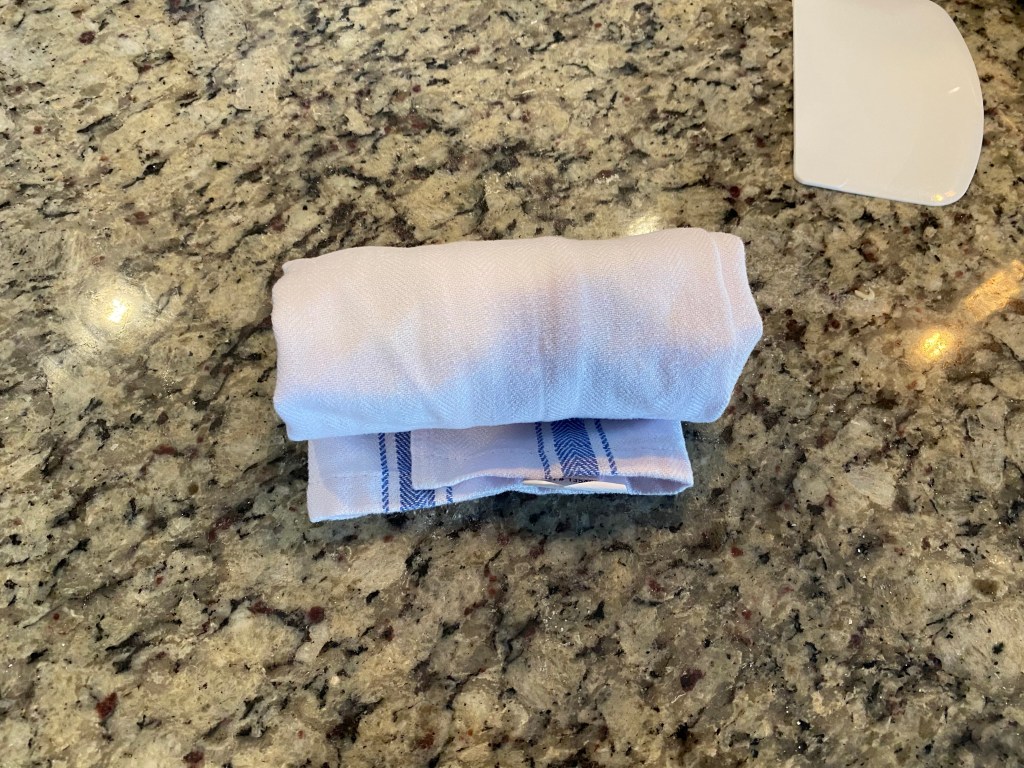
This time I decided I’d wrap my Pasta Madre prior to using it tomorrow to make my 1st dough for the Panettone. I’ve seen all sorts of YouTube videos over the last couple of days and this seems like this is THE traditional way to store.
I rolled a log, flattened with my rolling pin, rolled a log, put it into a plastic bag, rolled in a dishcloth and then bound with twine. The pics below show the process.
Shaped into a logFlattenedRolled upInto bagPlacing in clothBeginning rollRolled in towelBound with twineBinding 3rd Feeding
Evidently, keeping it in the plastic and binding like this forces it to favor the bacteria that’s sweet not sour. We’ll see…
One person said that it would control the fermentation. I’d know it was ready when it moved from being REALLY taut to having a bit of give/softness.
If you read my last post about attempting Panettone for the first time you’d have seen the quote about if your Pasta Madre wasn’t on point than it didn’t matter what recipe you used…your results would just be less than desired.
Pasta Madre Day 1
My panettone first attempt, while delicious, was anything but pretty. Actually, it wasn’t bad. Just not what I want.
Learning opportunity.
My wife just shakes her head as I scour over YouTube videos and take notes.
I’m found this Japanese baker who had a pretty straightforward (I thought) process to make Pasta Madre so I thought I’d try it out. You can find that video here: How To Make Pasta Madre
Recipe
20g Sourdough Starter
50g Water
100g Bread flour
1T Honey
Adding Ingredients
I mixed this all together and then kneaded it for a bit. Afterwards I rolled it up and cut a “+” in the top.
Kneaded and cut
I then put it into a cup, placed a lid loosely on top and the into my proving box it went at 84°F. It will be here for the next 24 hours.
Whenever you try something new there is, by definition, a “first time”.
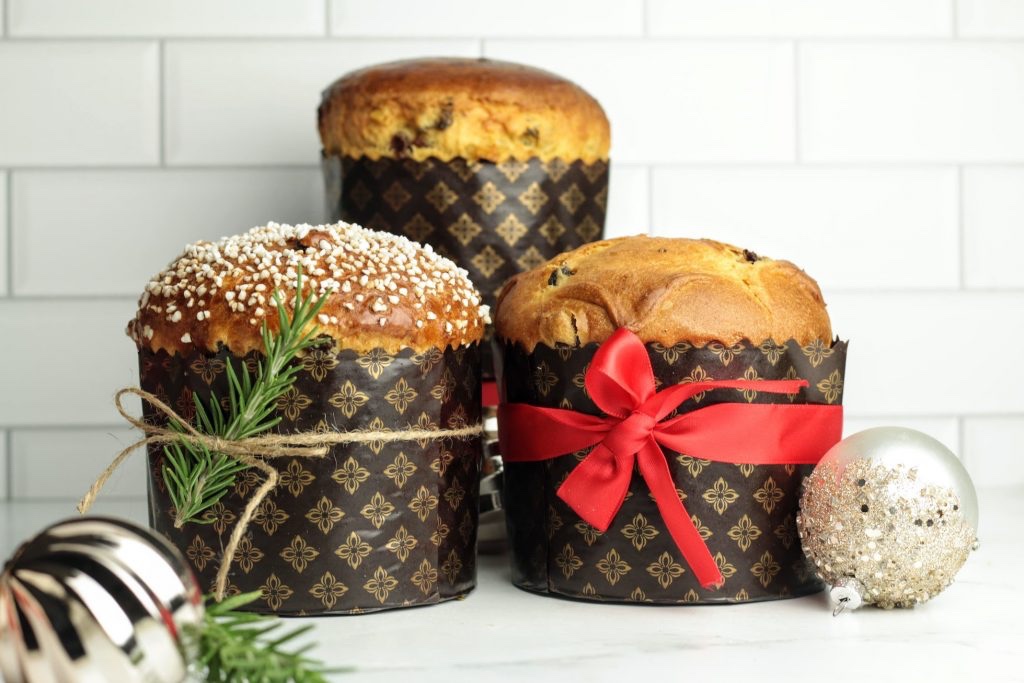
Desired Pannetone Results (NOT mine…yet)
For a long time I’ve wanted to make sourdough panettone but have never really had the courage to attempt. Now I have.
My very first sourdough Panettone
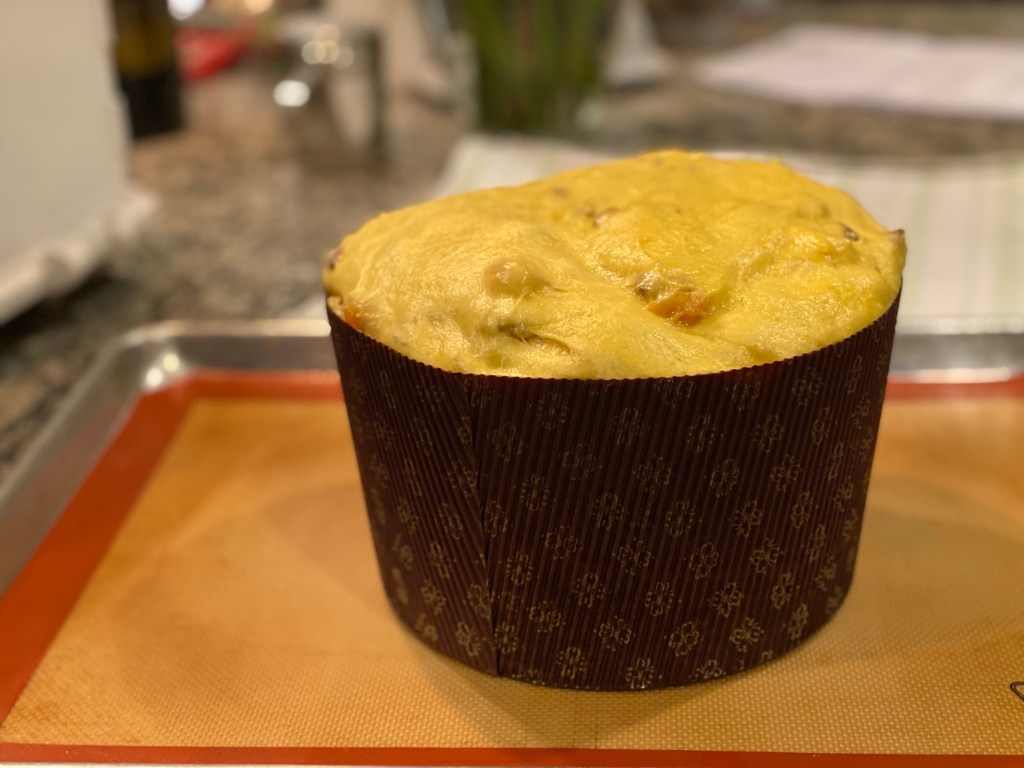
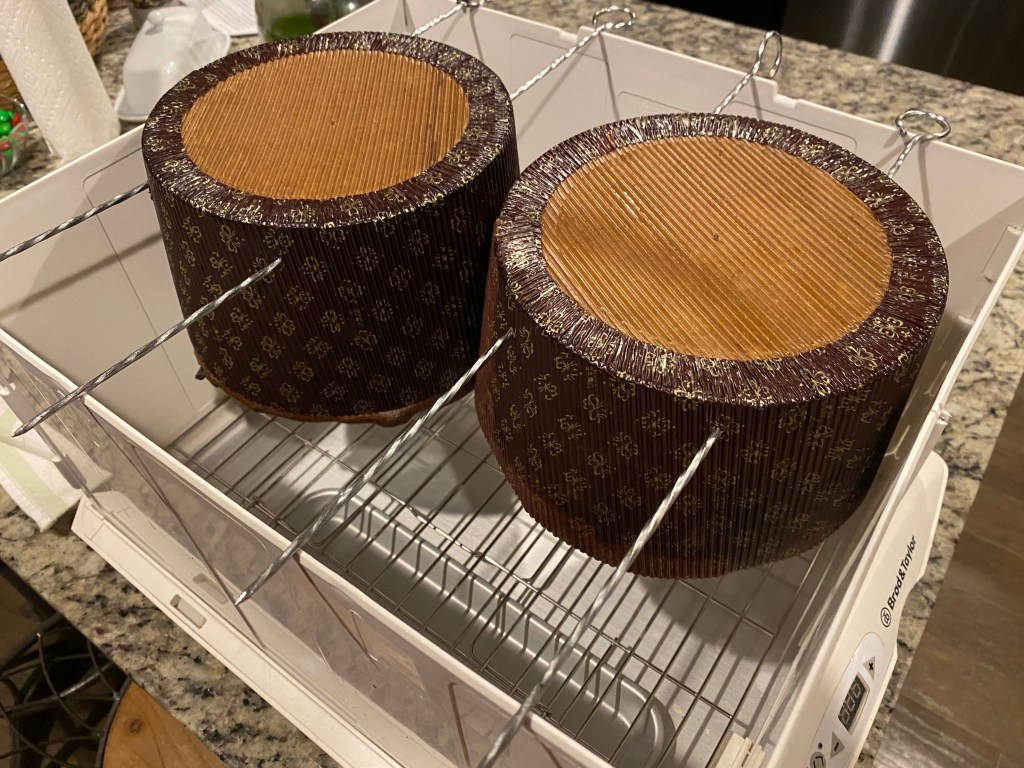
In my last post I’d left them in my proving box to rise for (supposedly) 18-24 hours. That didn’t happen. I made it to only 10 hours monitoring the rise
11am6pm9pmFinal Proving
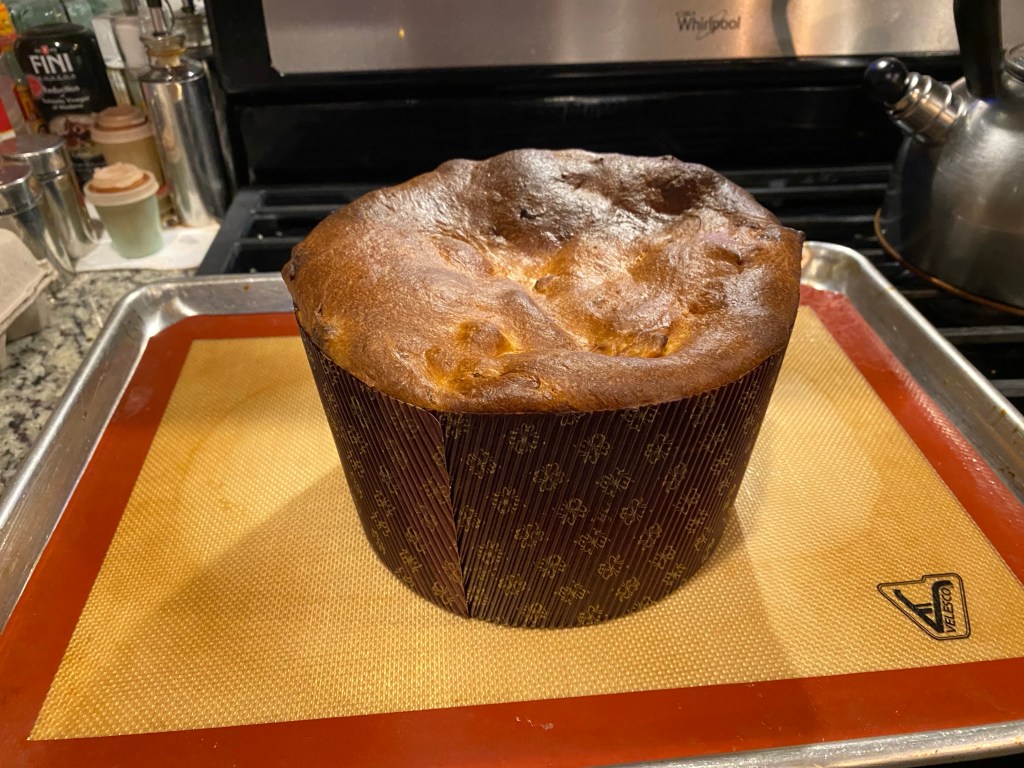
I baked them one at a time because one looked a bit higher in it’s mold. This also gave me a fallback option if the first bake didn’t go as planned (temp / time).
My baking was at 355°F for 50 minutes (regular, NOT convection).
The second picture above was my result. Frankly I was a bit disappointed that I didn’t get ANY oven spring. The guess I should have expected this because:
If your pasta madre is not primed for making panettone, ALL the recipes will not work the way you expect them to work. #fact
I skewered the baked panettone and hung it upside down in my proving drawer. I was tempted to wait to bake my other loaf but then thought better and baked it too.
Hanging Panettone Thinking I’d waitBoth baked and hanging Hanging Panettone
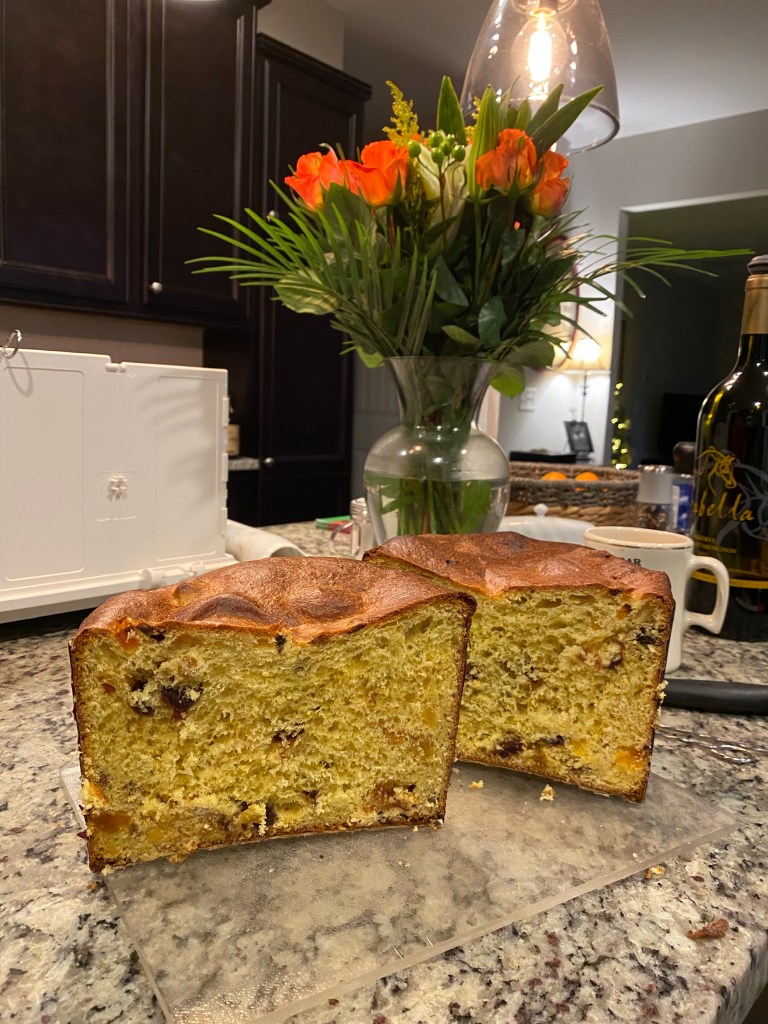
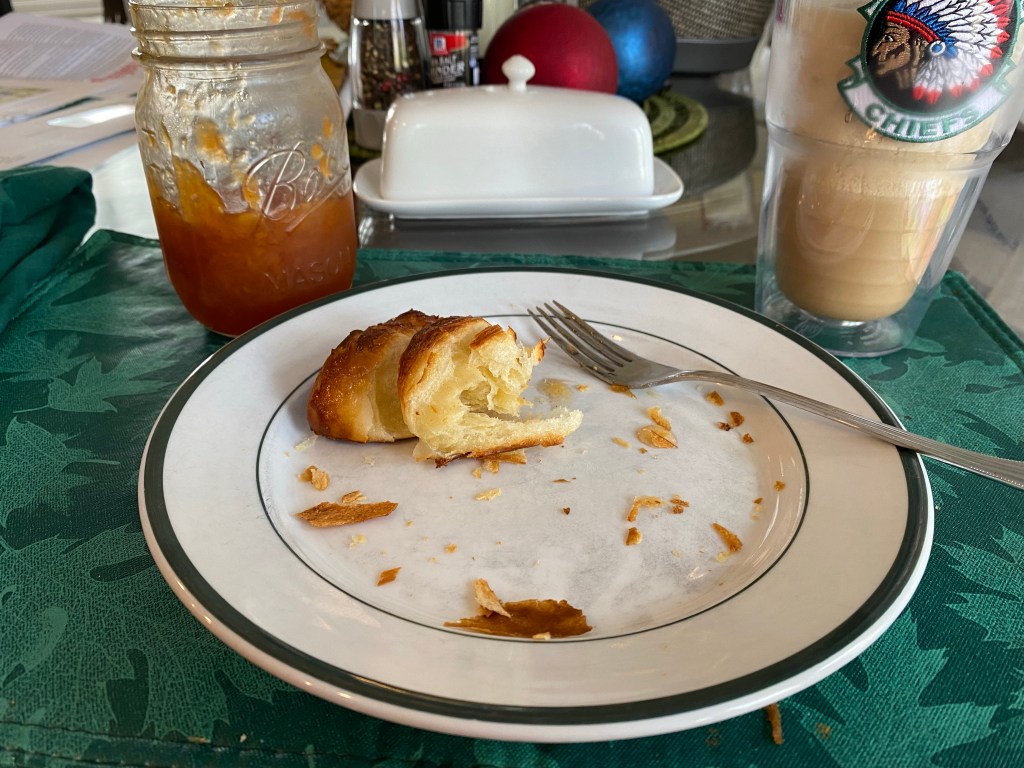
I left them overnight to cool and got up this morning to try some with my coffee.
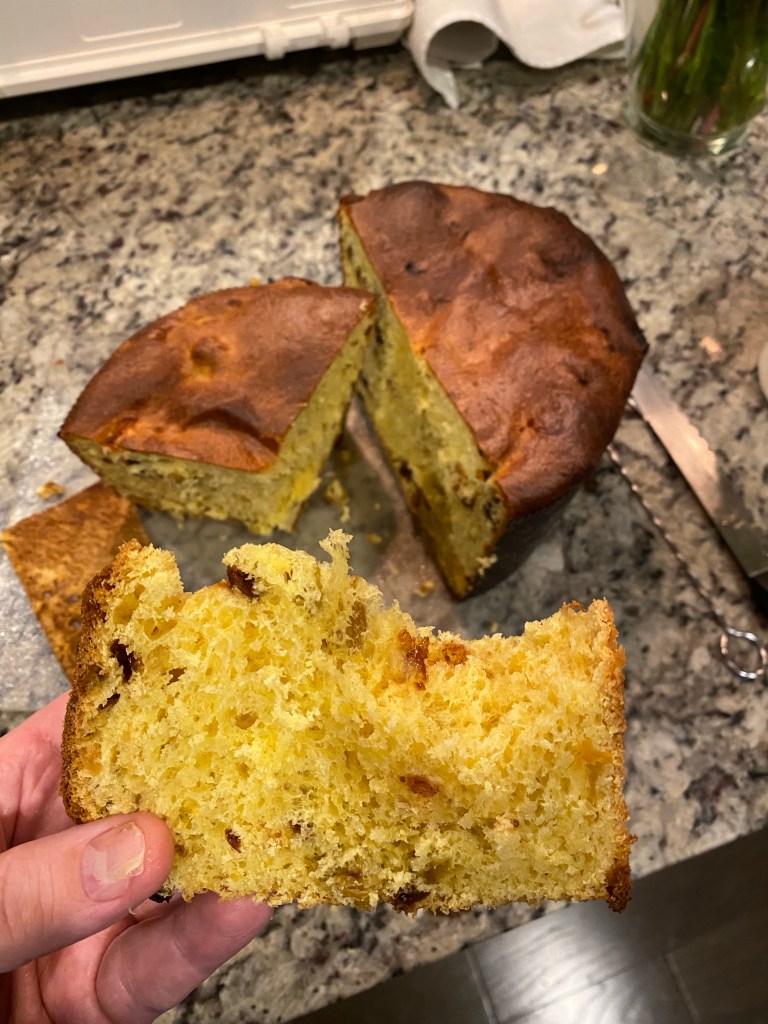
My first Panettone crumb shot
It may look not the prettiest but boy does it taste great. Moist, flavorful… wow!
First Bite!
I’m m definitely going to try again! Got to do a bit of studying and learn what variables I need to address. Thinking my first improvement should be to get better at “priming my pasta madre”.
I am finally attempting to make sourdough panettone . I’ve seen these and have wanted to do them… but I’ve never been confident enough to try.
There’s something about the specialness of this bread, the technique involved and the season that draws me to desiring to make this bread.
My hesitation is the challenge of the technique…
I believe that if anything goes sideways at any point, technique-wise, the bread won’t come out.
That said, there ALWAYS has to be a first attempt and I can choose to focus on being better /learning (or not).
This is my first attempt…
First dough proving
I made my “stiff” starter (40% hydration) and proved it in my box for about 6 hours for it to more than double in size.
I mixed my first dough and it wasn’t what I am comfortable making. It’s basically a brioche where bread and egg yolks have to be incorporated. I’ve just not been confident with my technique here.
I didn’t feel like this step went as well as I wanted. The stiff starter, flour and water was stiffer than the dough I usually make (lower hydration). I probably rushed trying to do the steps of incorporating the butter … probably should have waited to allow the gluten to relax. it was all lumpy and not as well mixed as I desired.
In any case, I got it “close” and put it into my proving box at 75°F and let it sit overnight. The picture above is the dough as it looked when I got up for coffee.
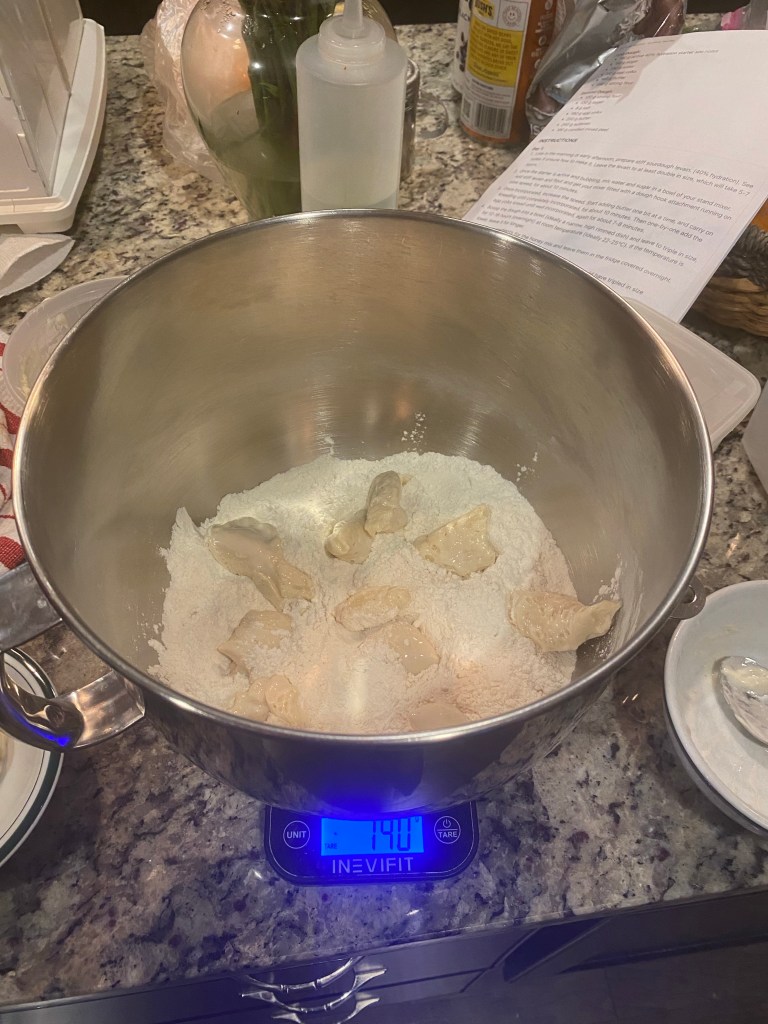
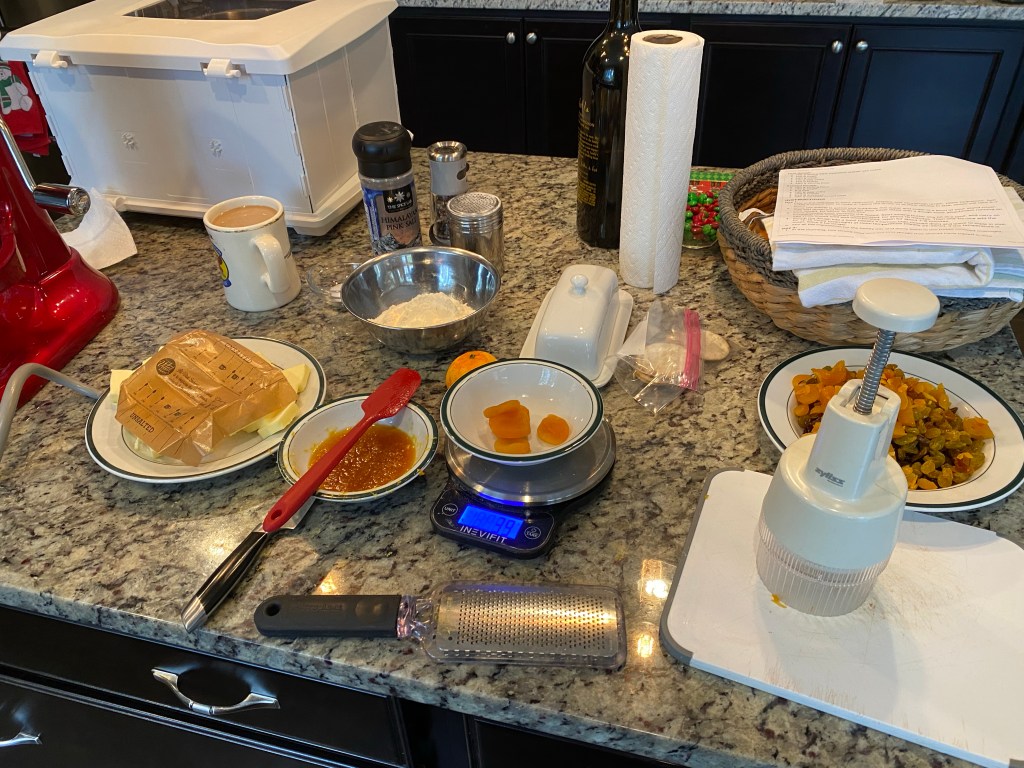
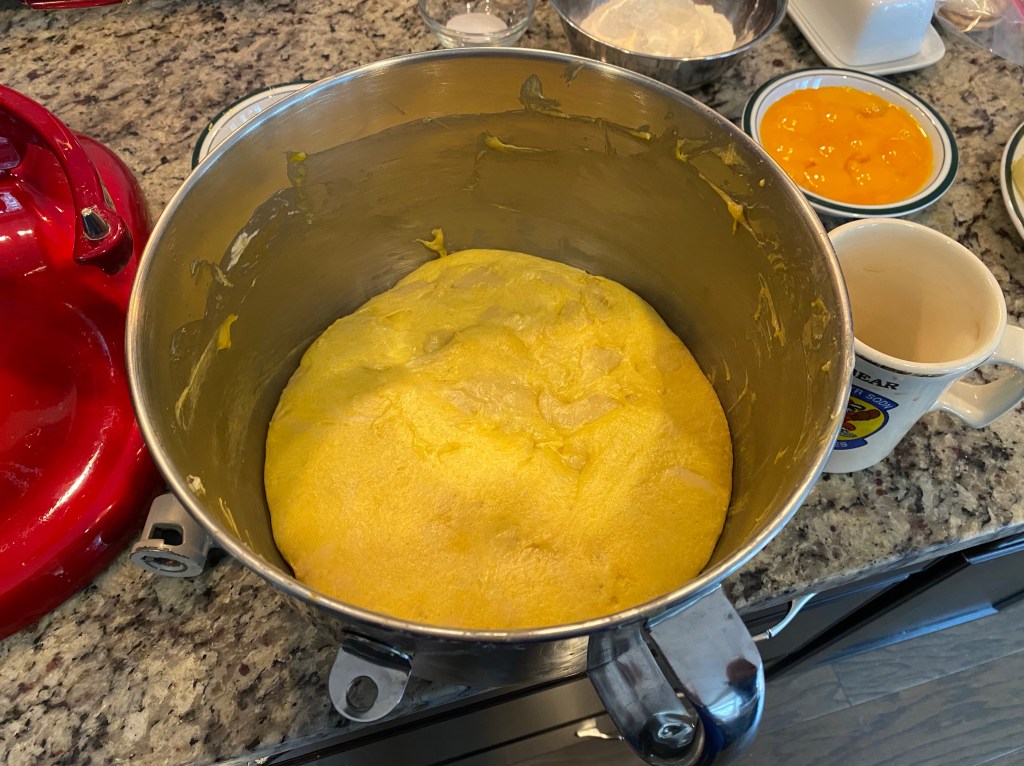
Prepping 2nd Dough Ingredients Doubled+ after 12 hour proveGetting ready for 2nd Dough
I prepped my ingredients and then mixed in strong bread flour (high protein content). Afterwards I added the other ingredients slowly. Getting the butter incorporated is the hardest thing for me… my technique certainly requires an upgrade.
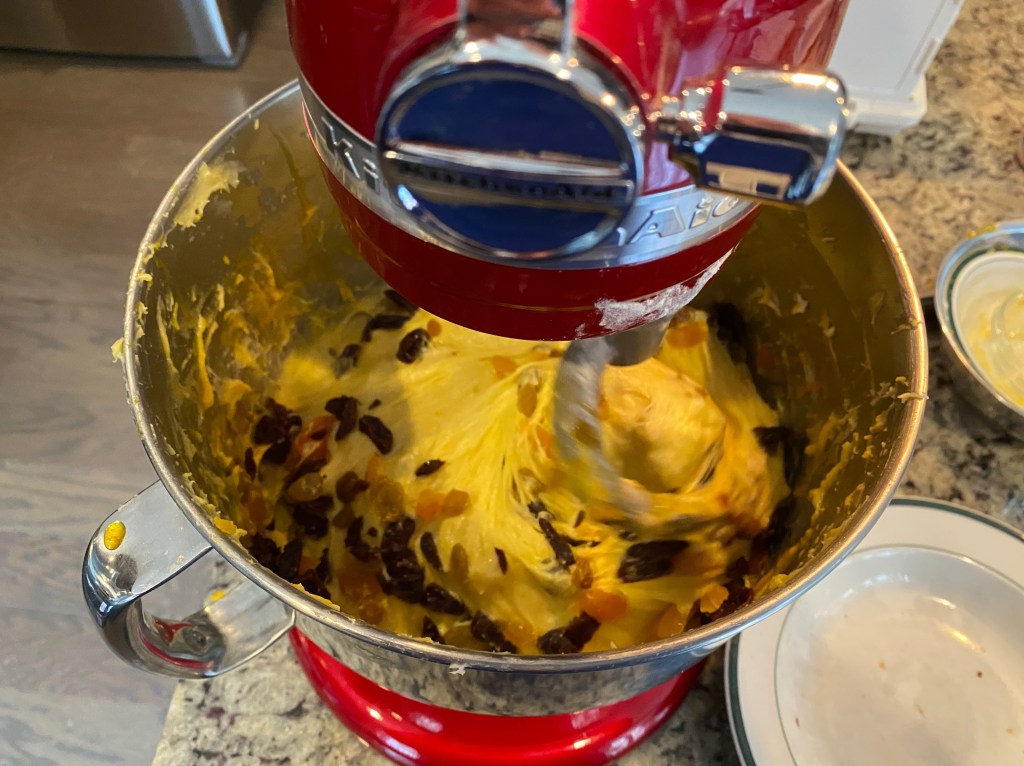
Adding FlourAdding Honey & Citrus ZestIncorporating Butter then EggsAdding dried fruit Mixing in additional ingredients
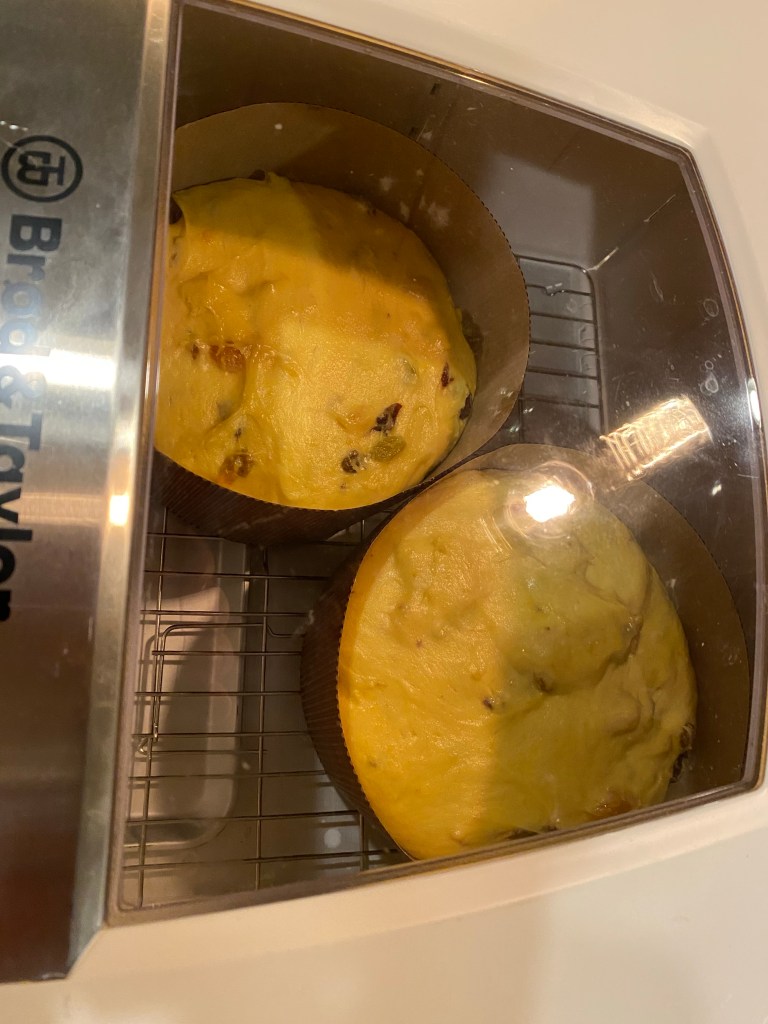
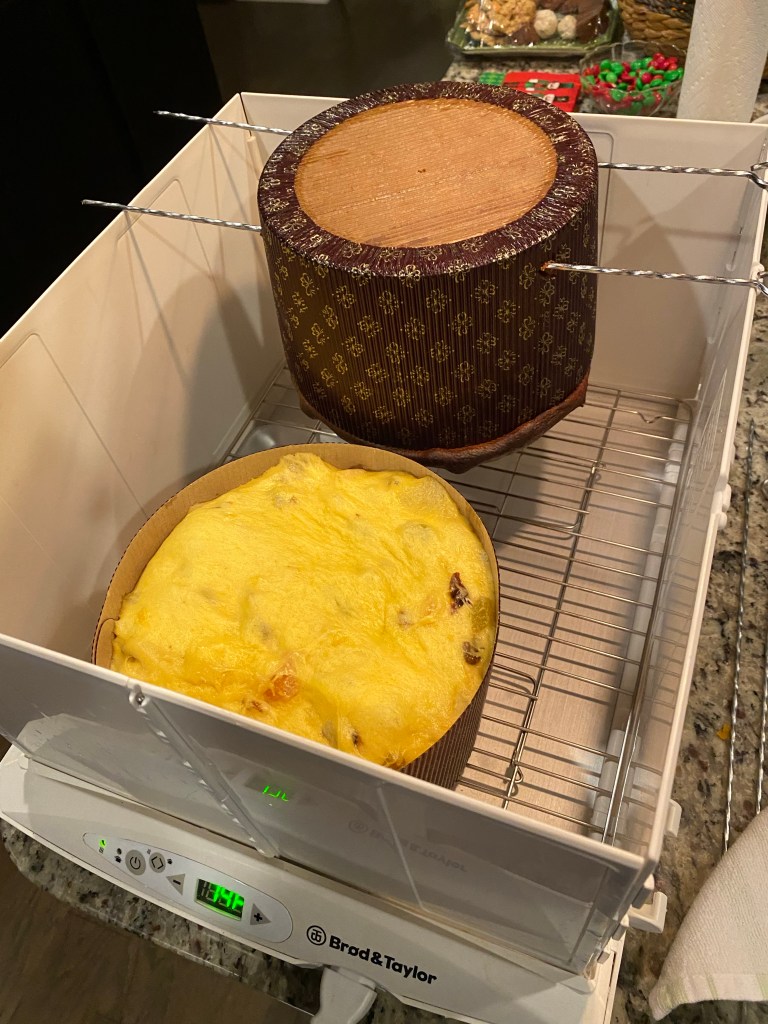
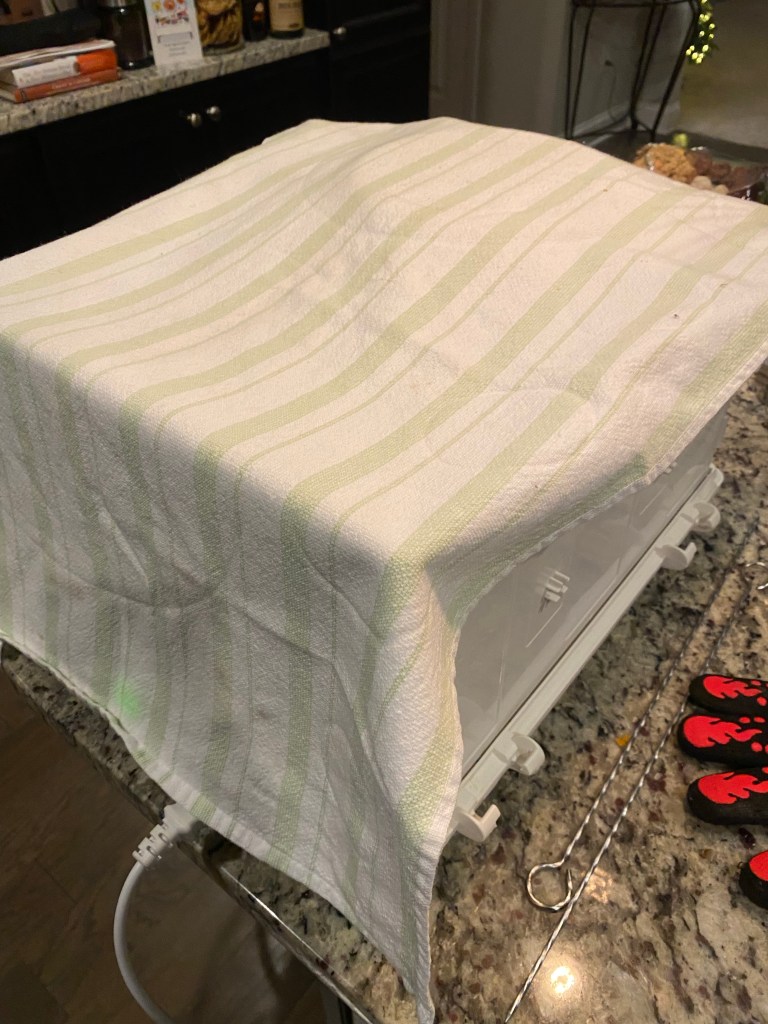
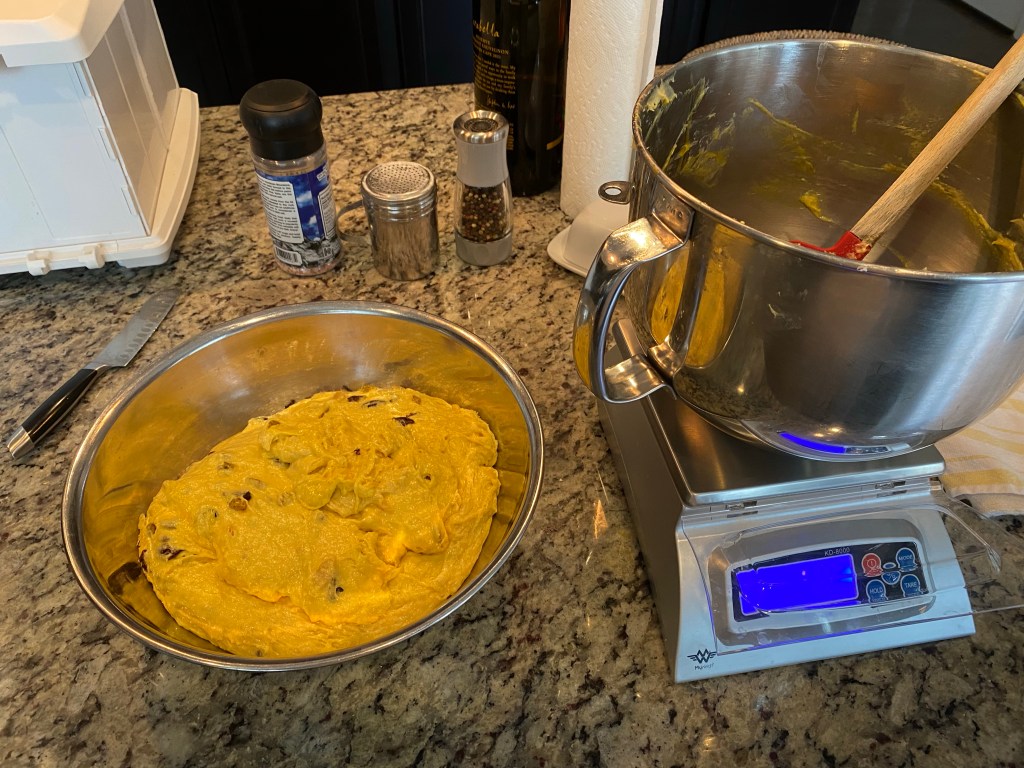
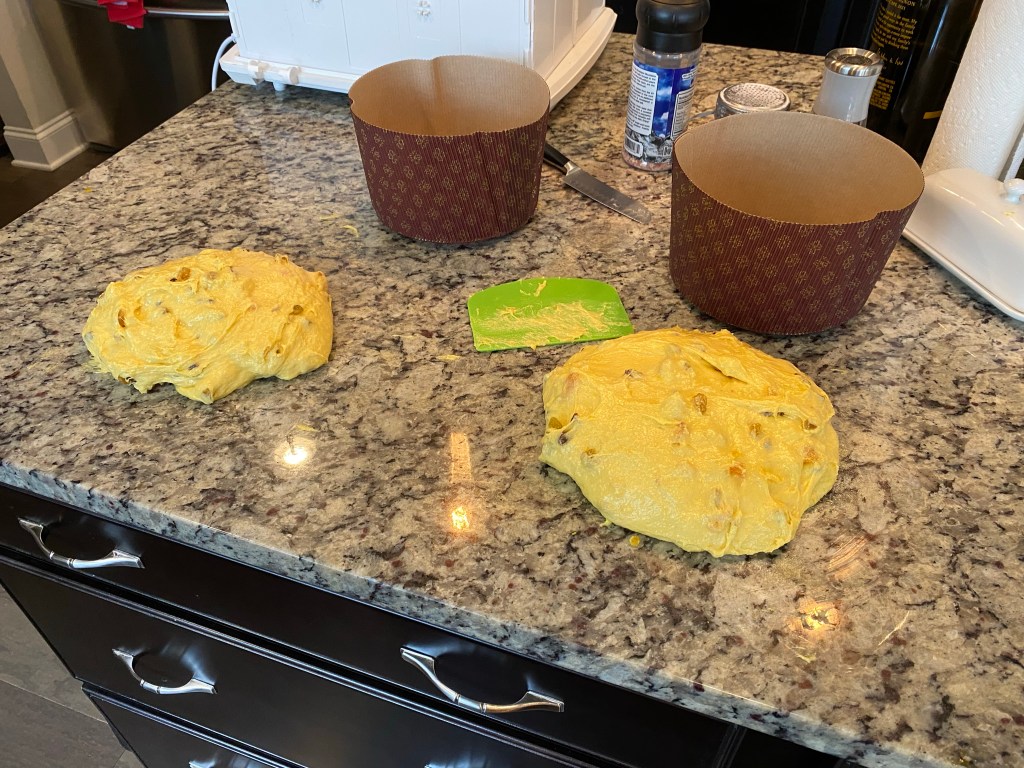
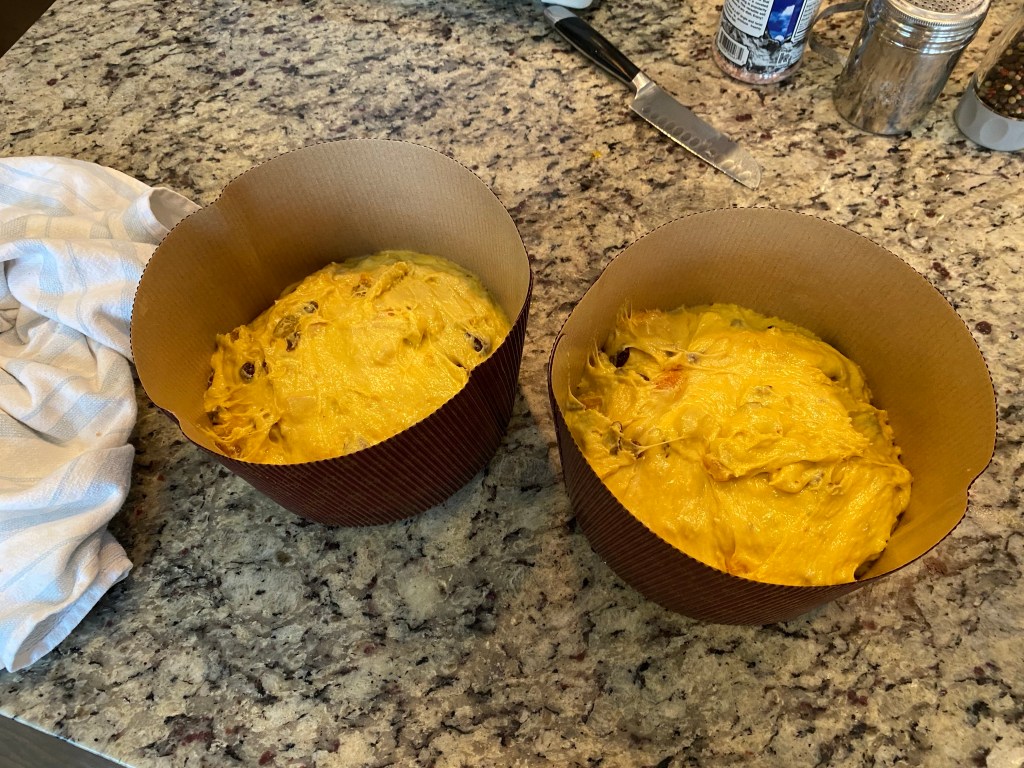
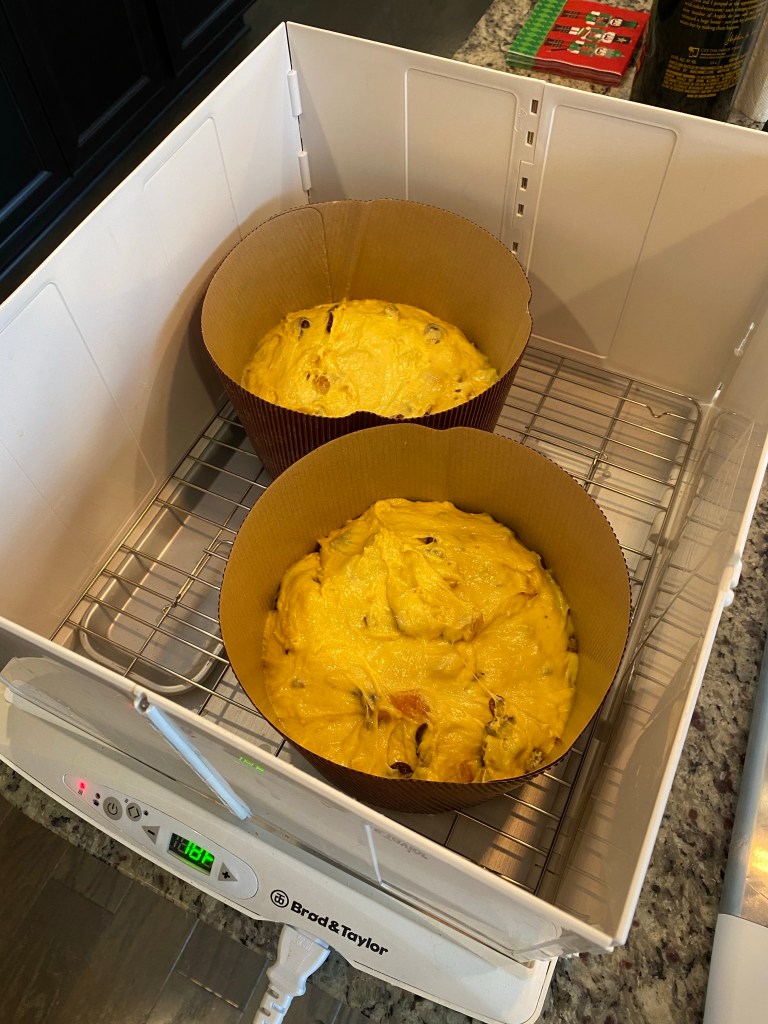
Once mixed I divided the dough (more like a stiff batter) into two 1100g parts, placed into 1kg Panettone molds (think really large cupcakes) and placed into my proving box at 78°F for 18-24 hours of final proving before baking. Will just need to watch and bake when “the time is right”.
Dividing DoughPrepping for moldsAdded to moldsStarting final proofGetting into Panettone Molds
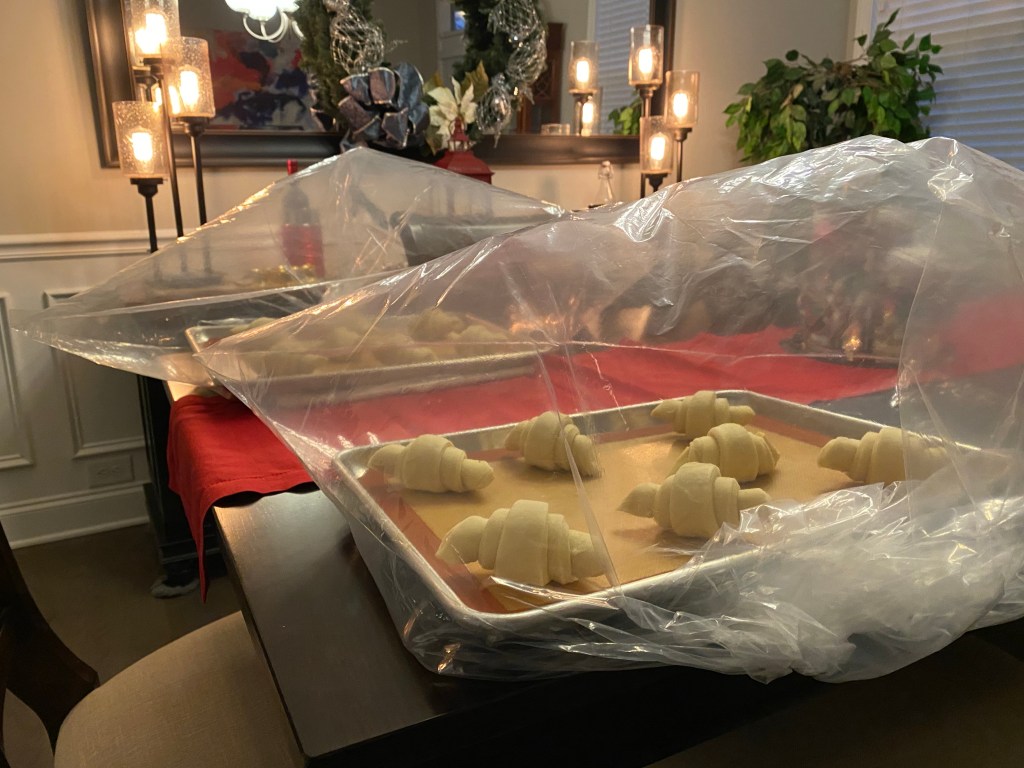
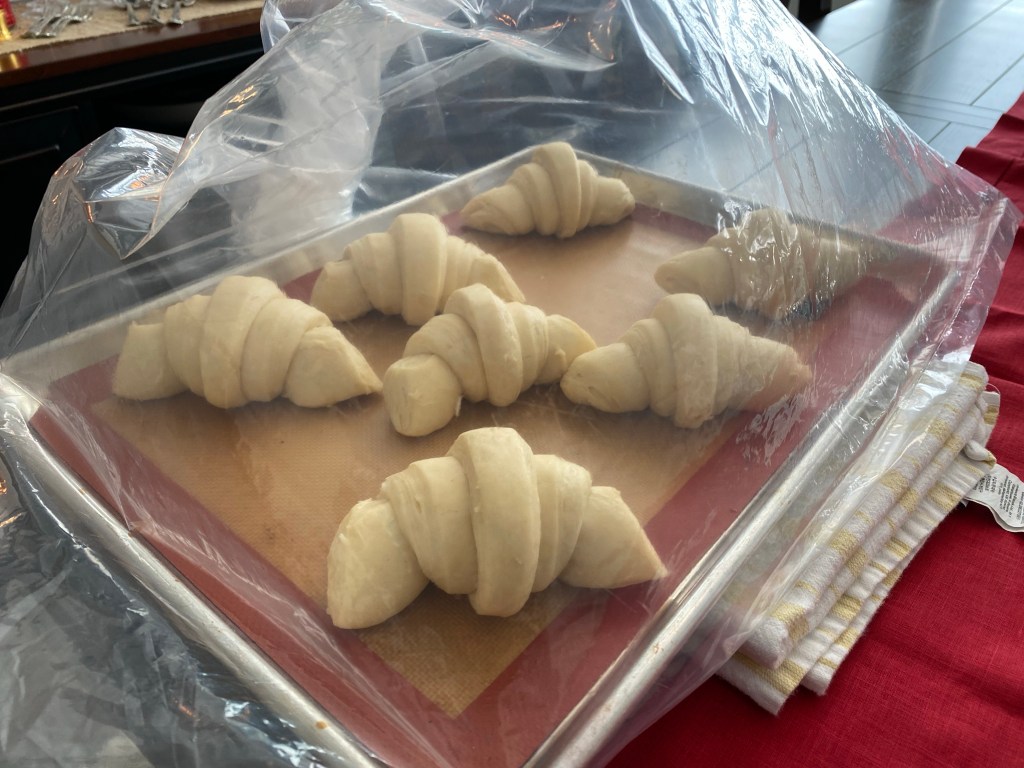
I’m running an experiment with my proving my sourdough croissants prior to baking.
Out to prove
My experiment is to prove them about 40% longer than my habit. Basically going from 5 to 7 hours.
Typically I put them into the oven 5 hours after pulling them from my fridge and placing them in proving bags to rise.
This time I’m going to add two more hours. And it’s killing me… ha!
Croissants after 5 hours rising
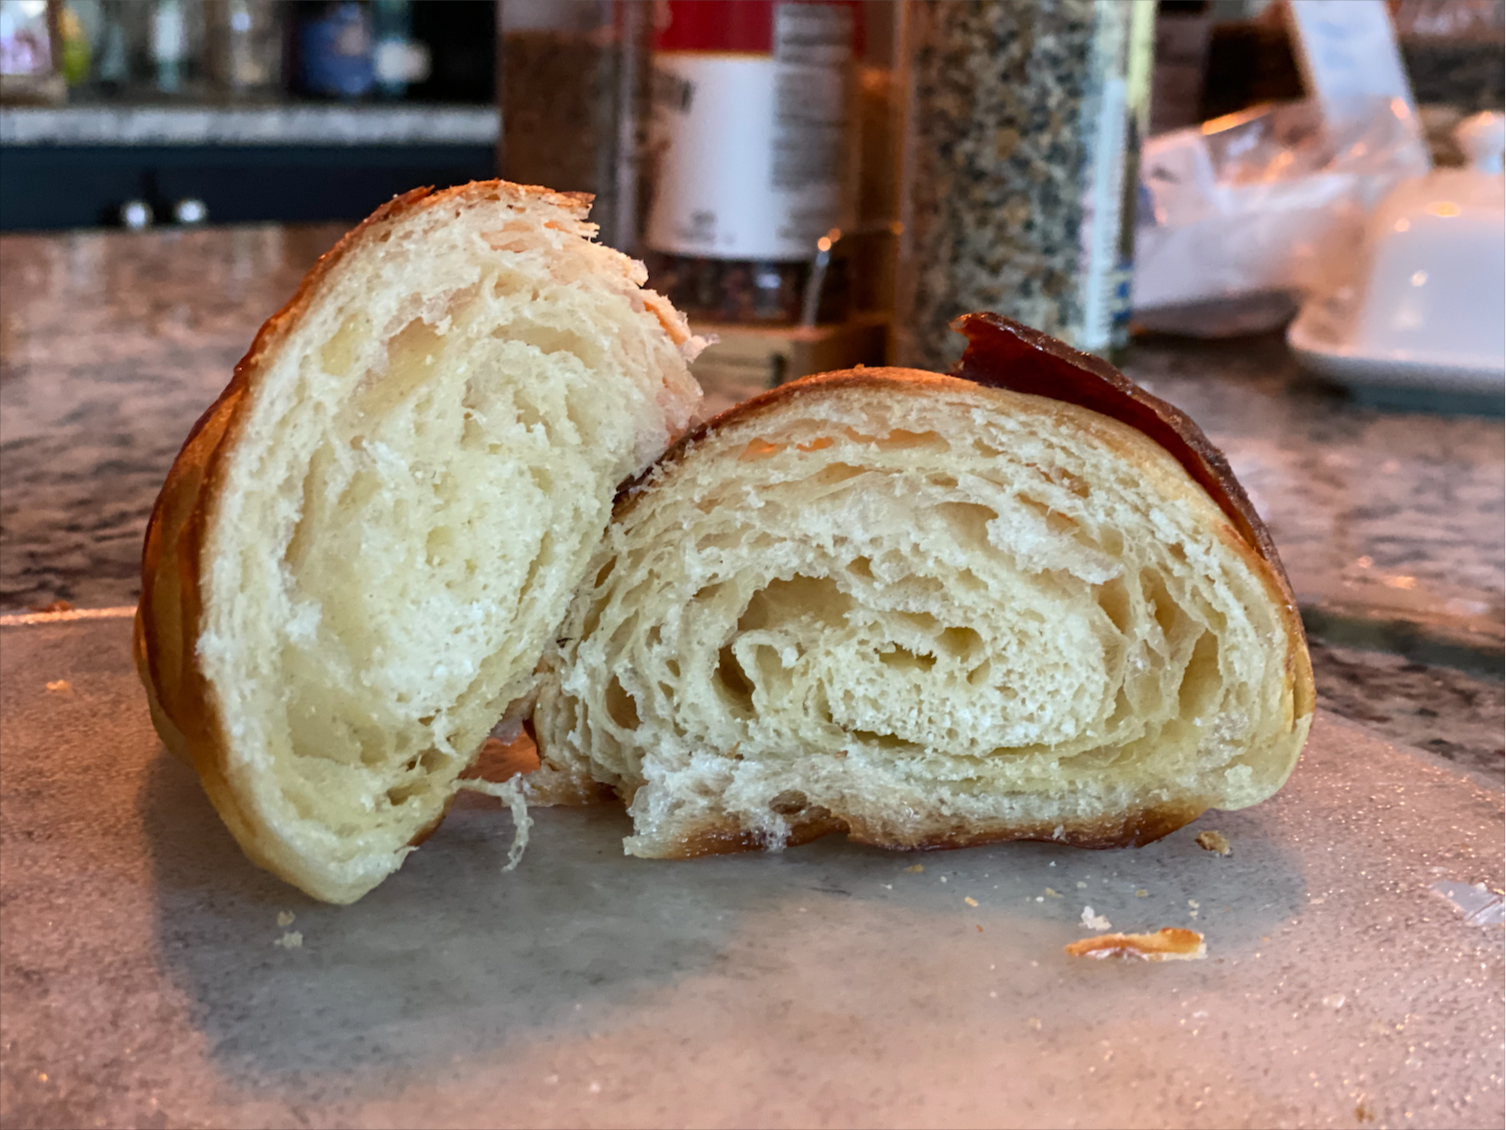
My intent is to see what impact I have on the crumb structure. Croissants are notoriously bad heat conductors and it takes time for the interior to prove. The impact is that the outside looked ready but the interior remains tight.
I’d like to see if there is a difference if I wait another couple of hours.
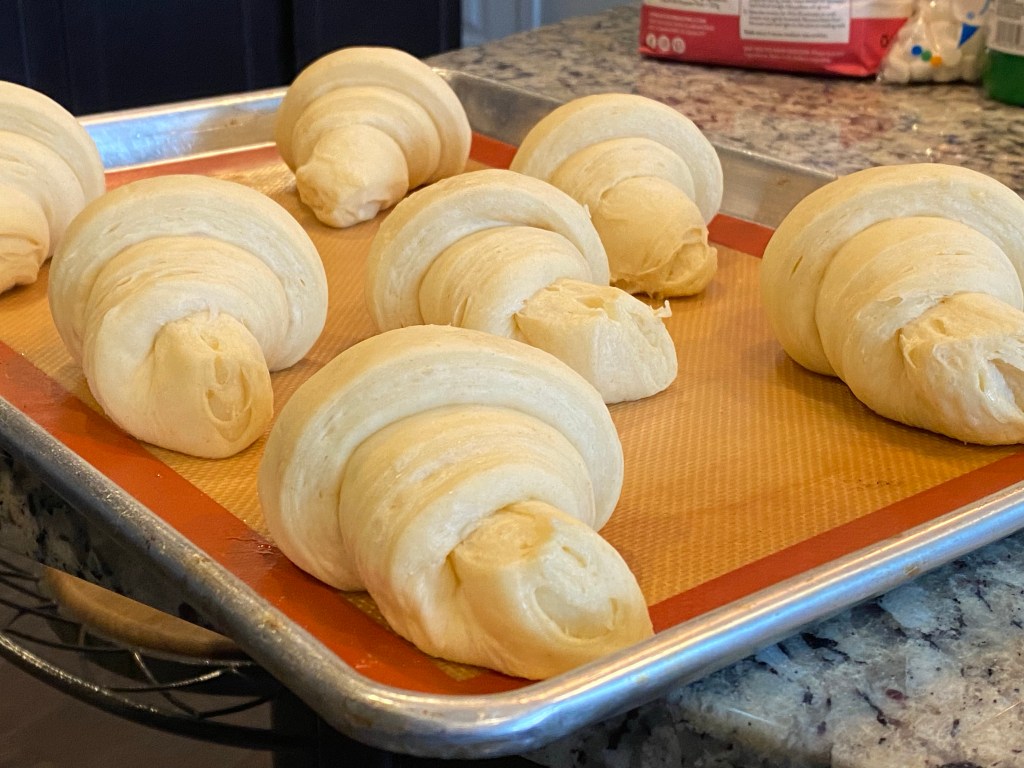
After proving 7 hours
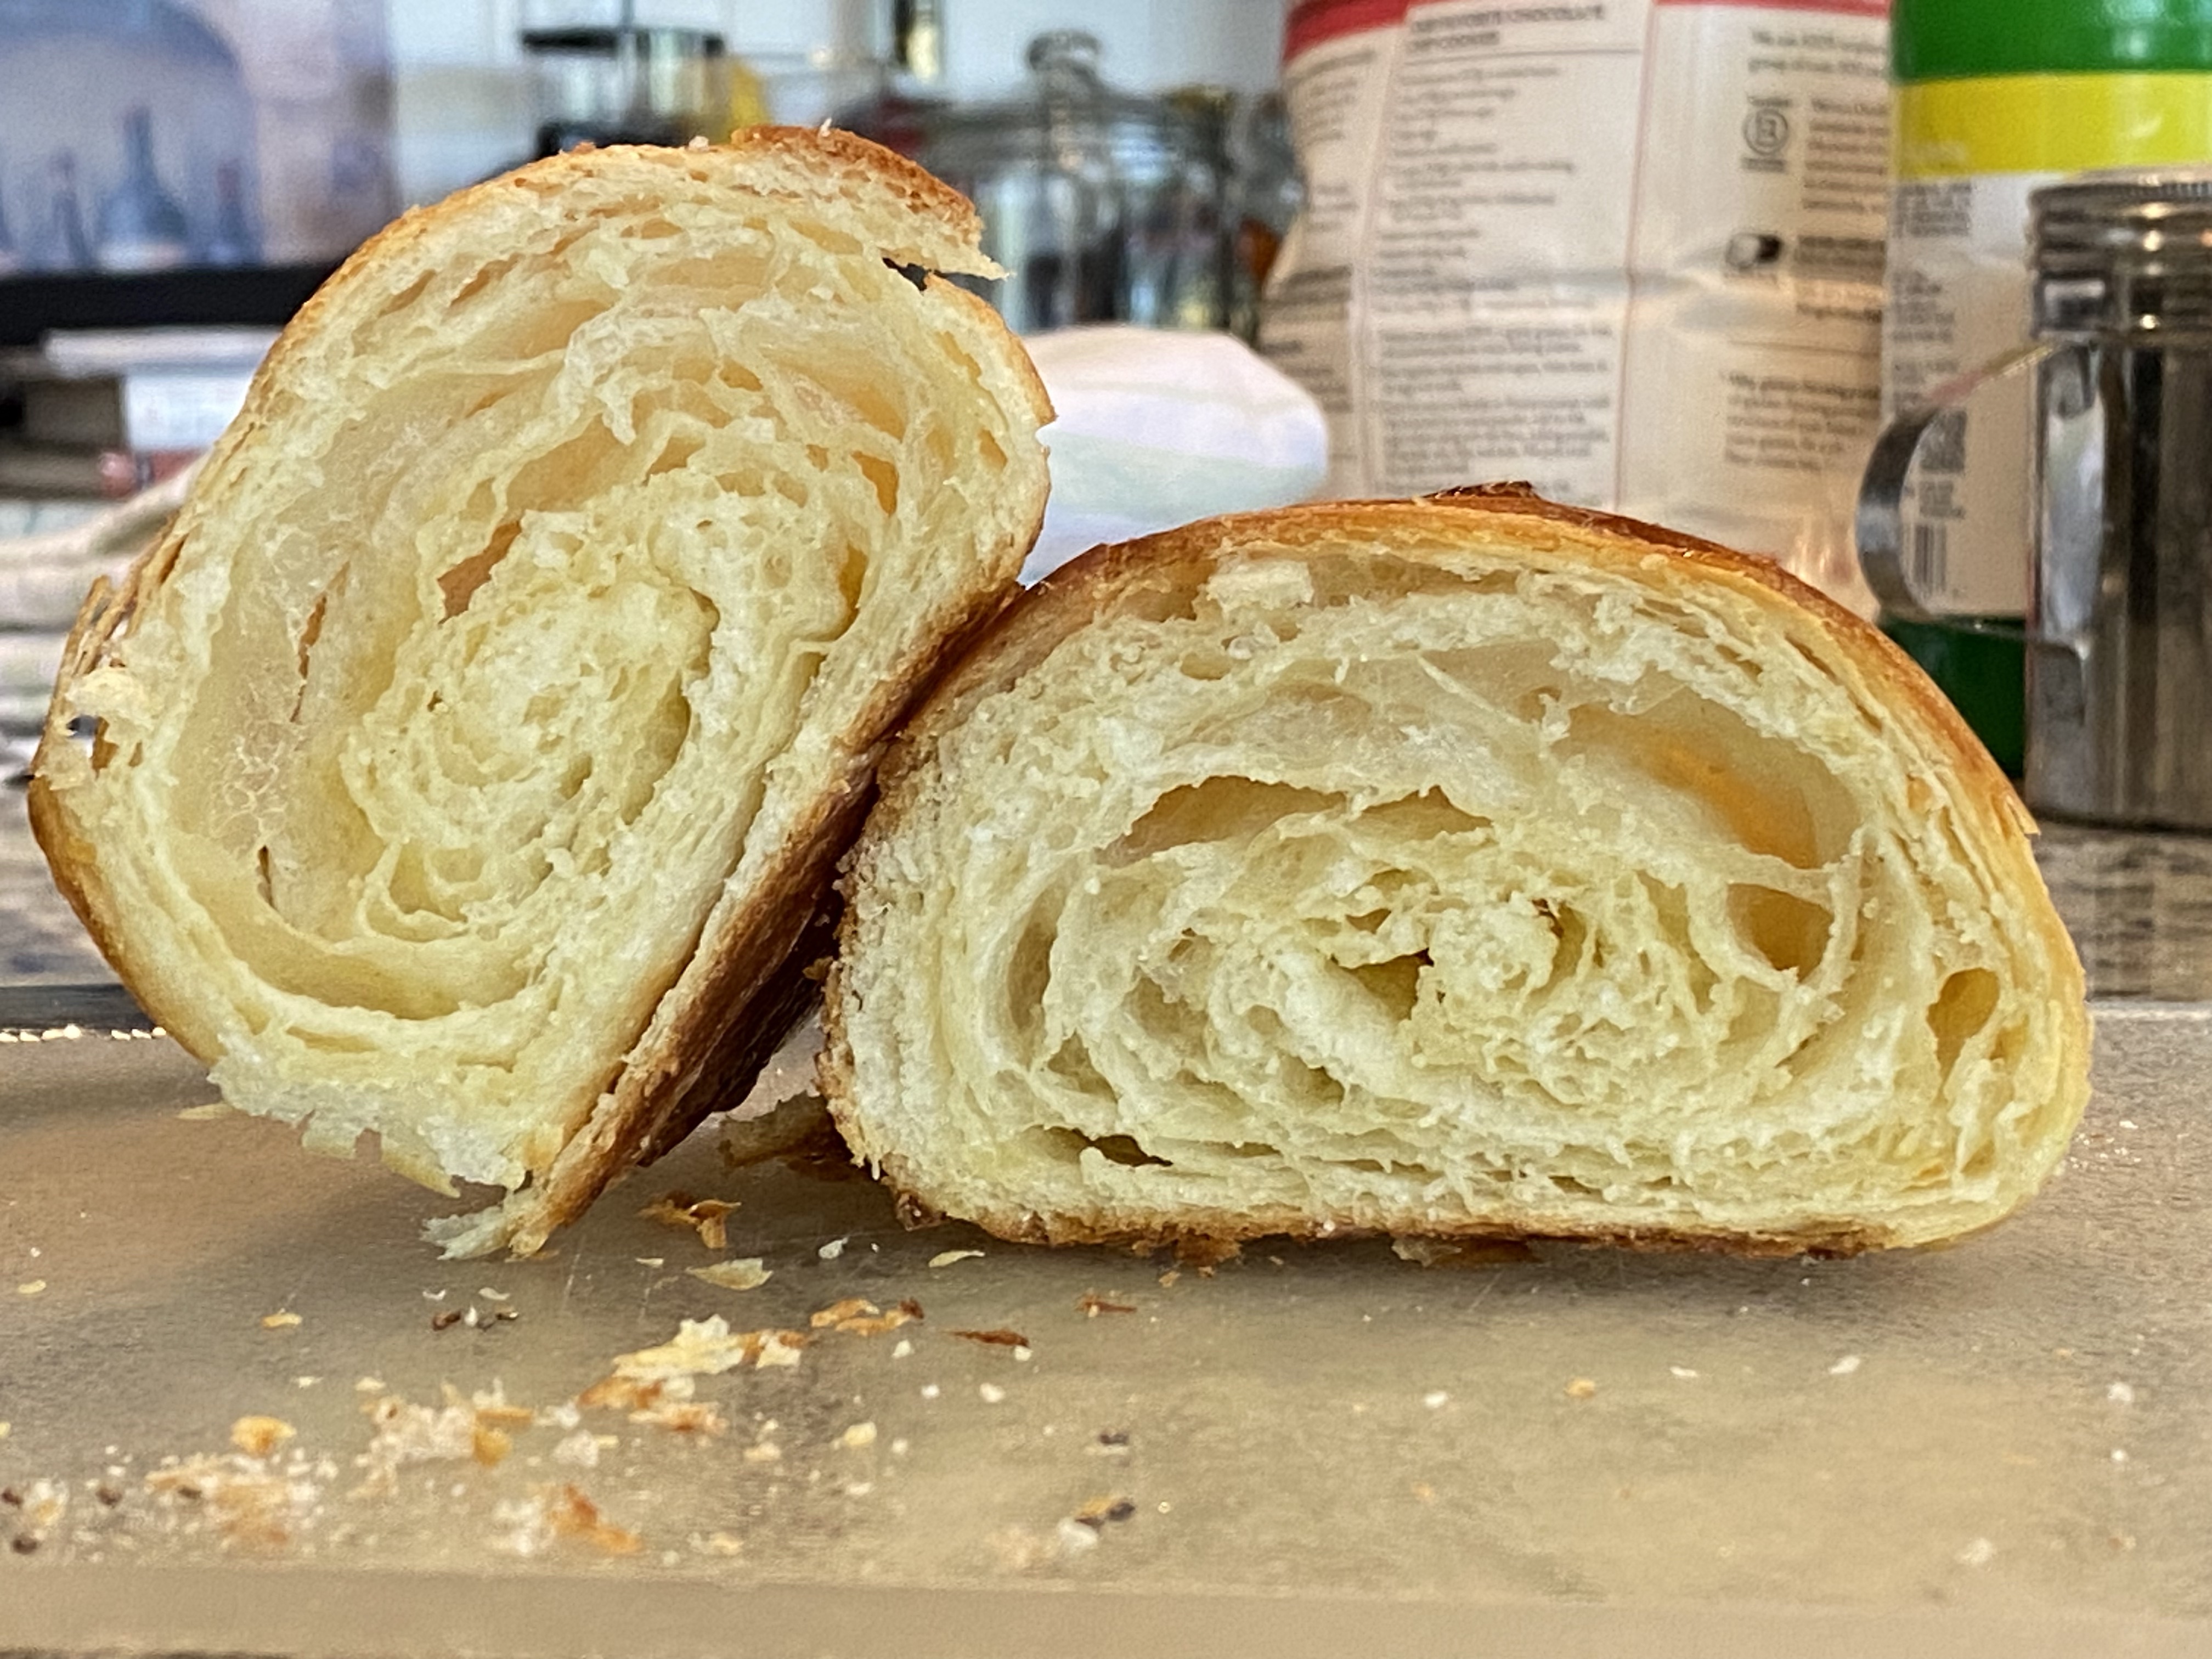
I proved the sourdough croissants for seven hours. This is 40% more time than I typically prove before baking. I did this at room temp in my house 72°F today.
I’m baked them for 14.5 minutes at 385°F (convection).
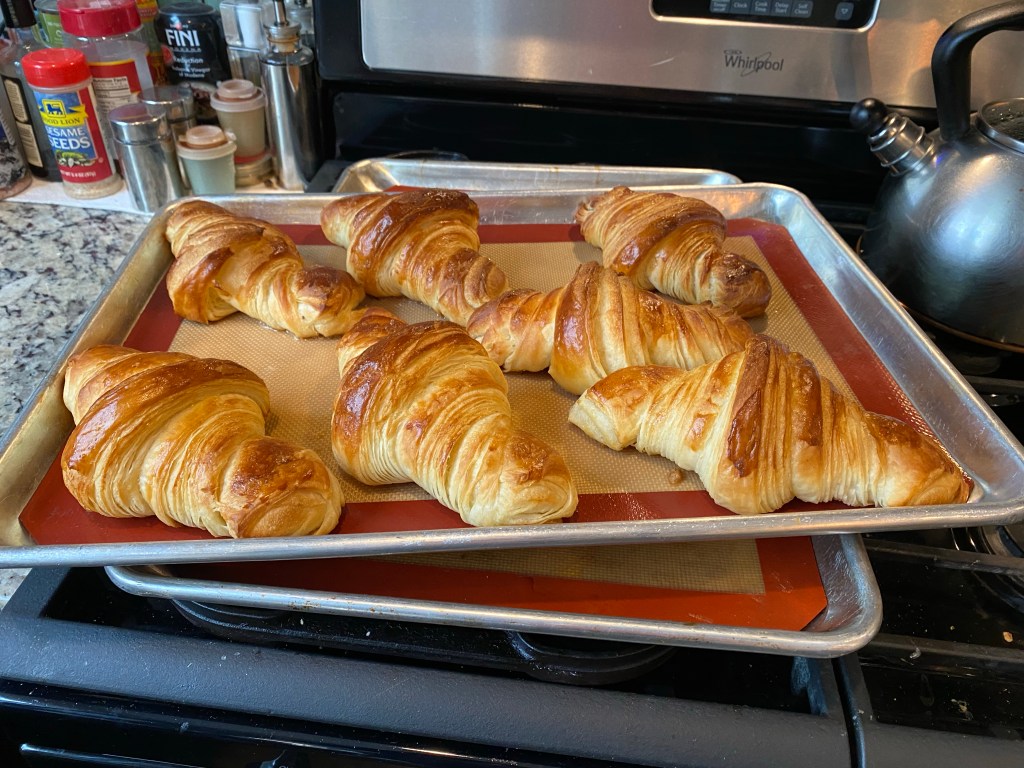
Here are the results:
Freshly baked Sourdough Croissants
5 Hour vs 7 Hour Proving
Overall I’m pleased with the results. It looks like I have a better prove in the center of the croissant at the very closest part of the spiral. The butter didn’t seem to melt any different and the coloring of the overall croissant I’m pleased with from the bake.
I thought I’d try some different loaves using a mix of flours…
Why? You ask…
Well… I redid my pantry right before Thanksgiving and there was total chaos downstairs as I ripped out the contractor-grade wire shelving. During that process I found some 00 flour I had forgot I had. Then I saw an Instagram post where someone had used 00 flour in a loaf they made. I saw their baker’s percentages and thought “Why not?!”
Bakers’s Percentages
00 Tipo flour 40%
Strong Bread flour 42.5%
Whole Wheat flour 15%
AP Flour 2.5%
Total of the above for this bake was 1000g (400, 425, 150 and 25)
I add 66% sourdough starter (100% hydration), 24g of salt and 585g of water.
Technically, if you include the starter amounts my total flour is 1330g and water is 915g so my hydration is 69% salt is 1.8%.
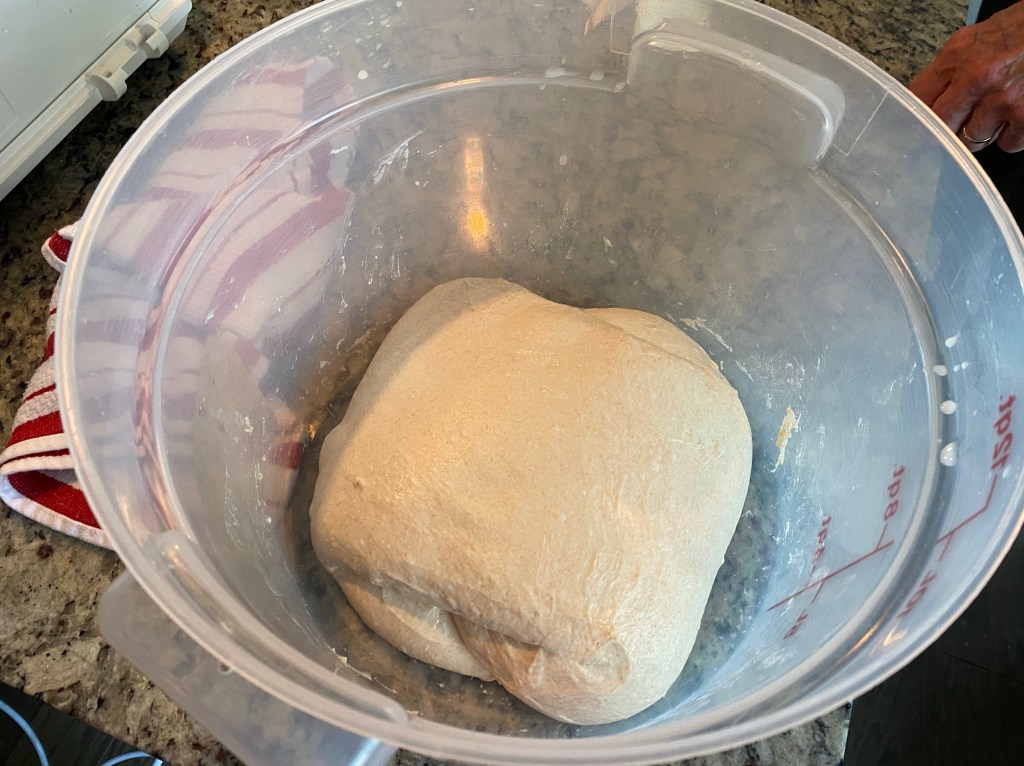
Method
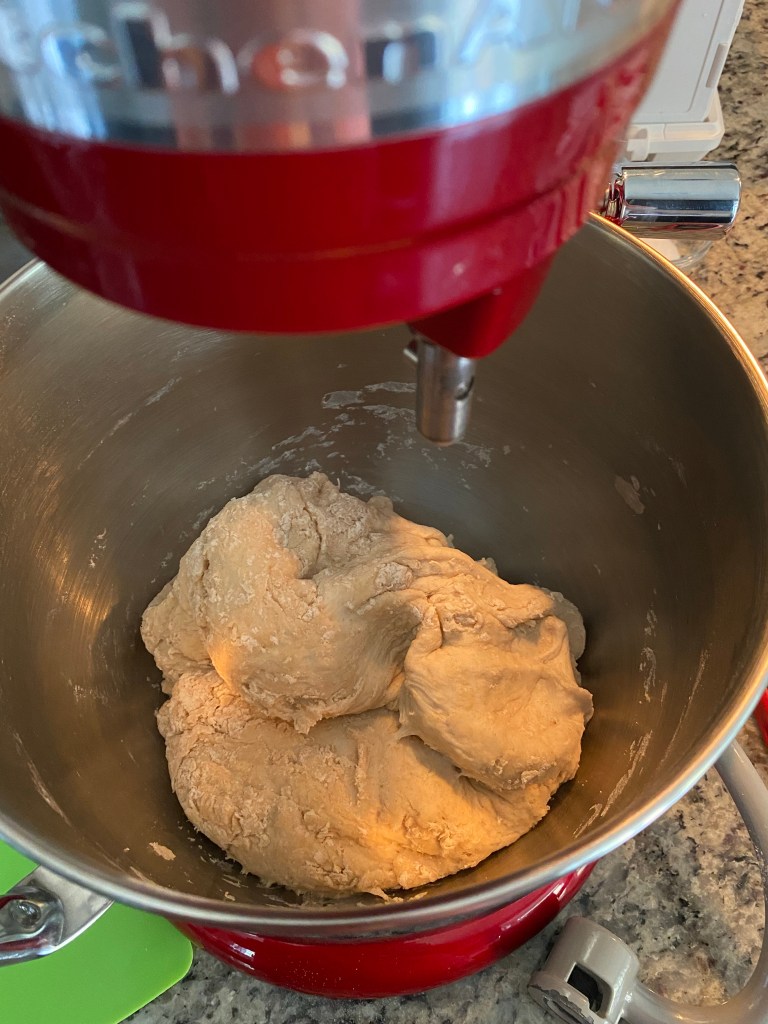
I fed my starter this morning 1:1:1 starter/water/flour and put in my proving box at 84°F. It will sit there around 4 hours and double + in volume.
About an hour before I anticipate mixing in my active starter I’ll begin my autolyse adding 104°F to my room temperature flour and get it just over my desired dough temperature of 84°F. Typically it will be around 94°F and cool off over the hour.
Dough autolyse
I’ll mix in my starter then mix in my salt about 25 mins later. Then the dough is going to go into my tub / proving box to begin a series of coil and stretch folds every 30 mins over the first 90 mins.
Sourdough Starter Mixed InChecking IDTMixing in saltMixed / Going in Proving BoxCoil Fold #1Stretch’n Fold #2Stretch’n Fold #3Mixing in Starter, Salt and Folding Dough
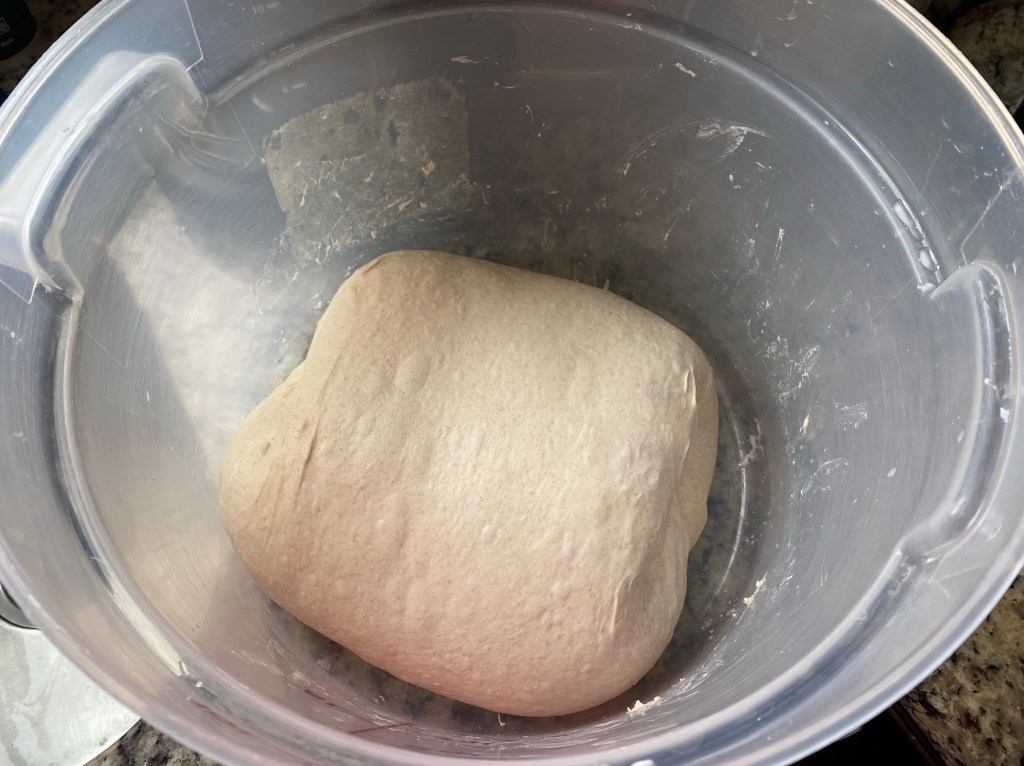
Letting the dough bulk prove until roughly doubled in size. Once there I’ll divide shape and bulk longer at room temperature until this evening (probably until about 9pm and then bake).
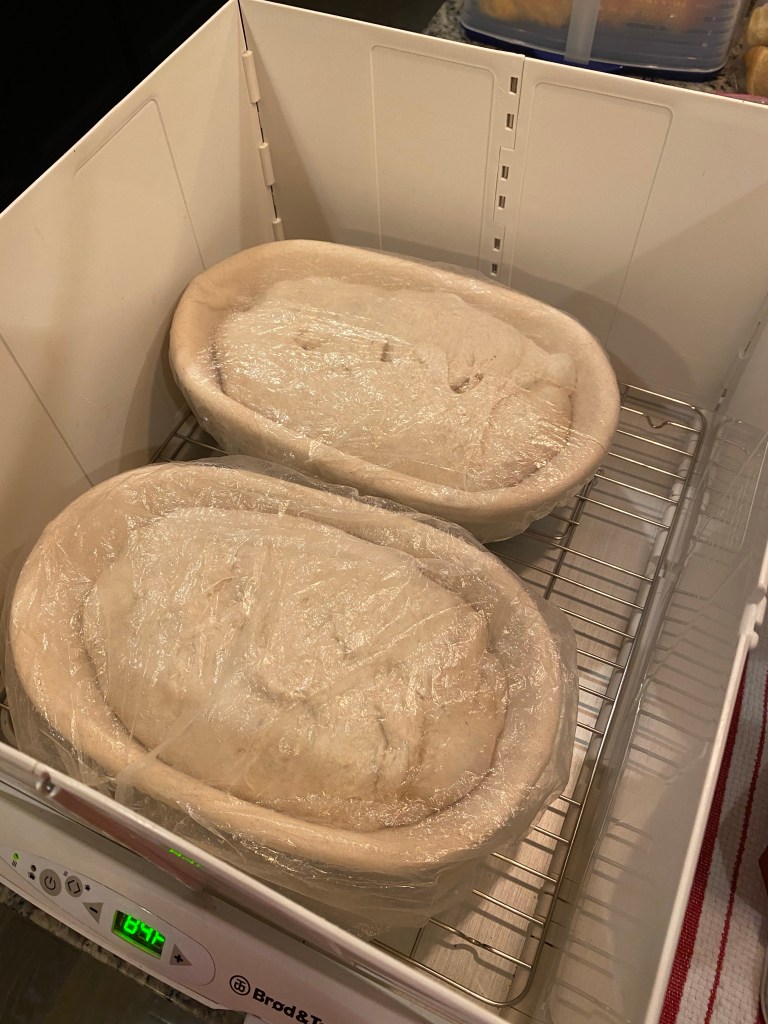
Shaped, in bannetons and in proving box
I divided the loaves into two 1100g loaves, preshaping into rounds, rested for 15 minutes then final shaped into bannetons. I rolled them in rice flower to prevent them from sticking.
I had thought to bulk ferment in bannetons for a bit. Guess I could bulk ferment on my counter but I decided to go into my box instead. I’ll bake them later this evening.
A couple hours of bulk ferment
I don’t normally bake my loaves right after a bulk ferment in my box. Normally I let them ferment a longer time in my fridge. However, my fridge is full with Thanksgiving leftovers.
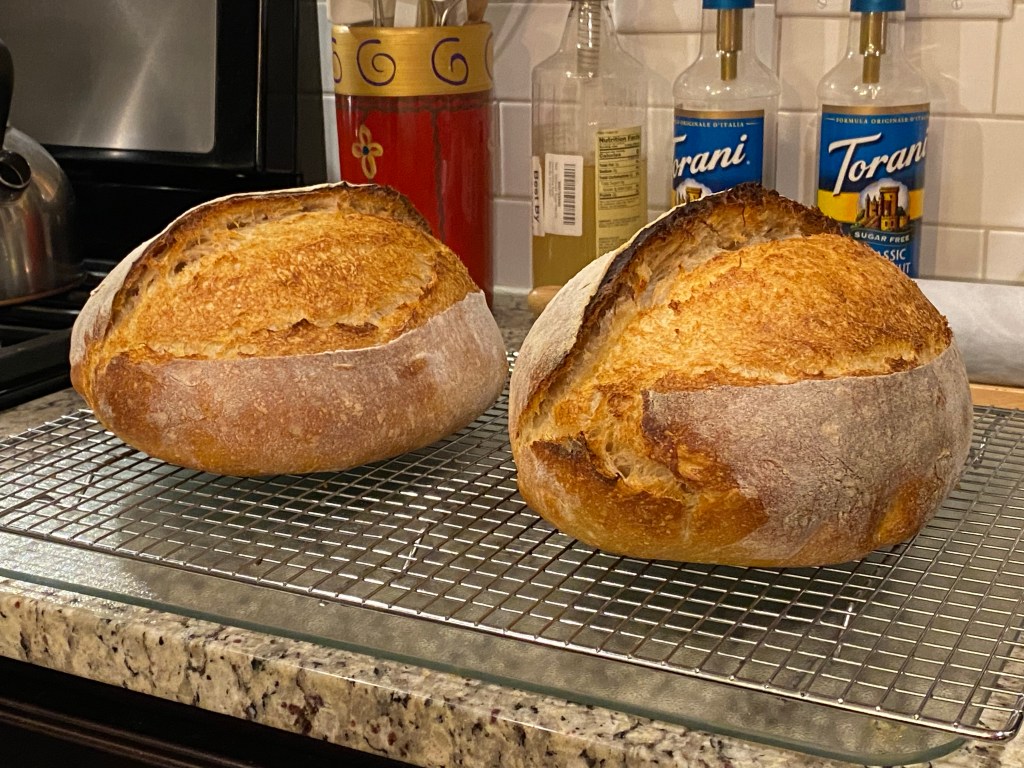
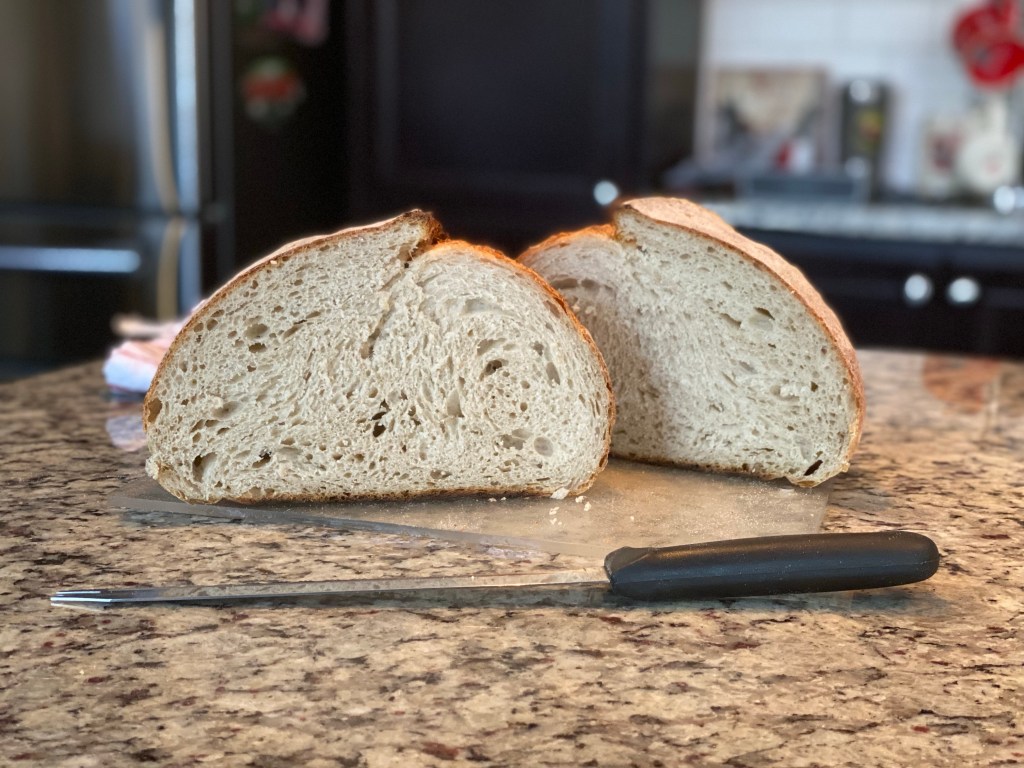
I baked at 450°F covered in my Dutch Ovens for 25 minutes . Pulled the covers and baked for a bit more (roughly 10 minutes). I put them on a cold stone to protect the bottom but allow a richer color overall.
Oven spring was really great! Good color. Not much dimpling since the outer layer wasn’t cold like it is coming out of the fridge.