Trying a new method… (Part 2)

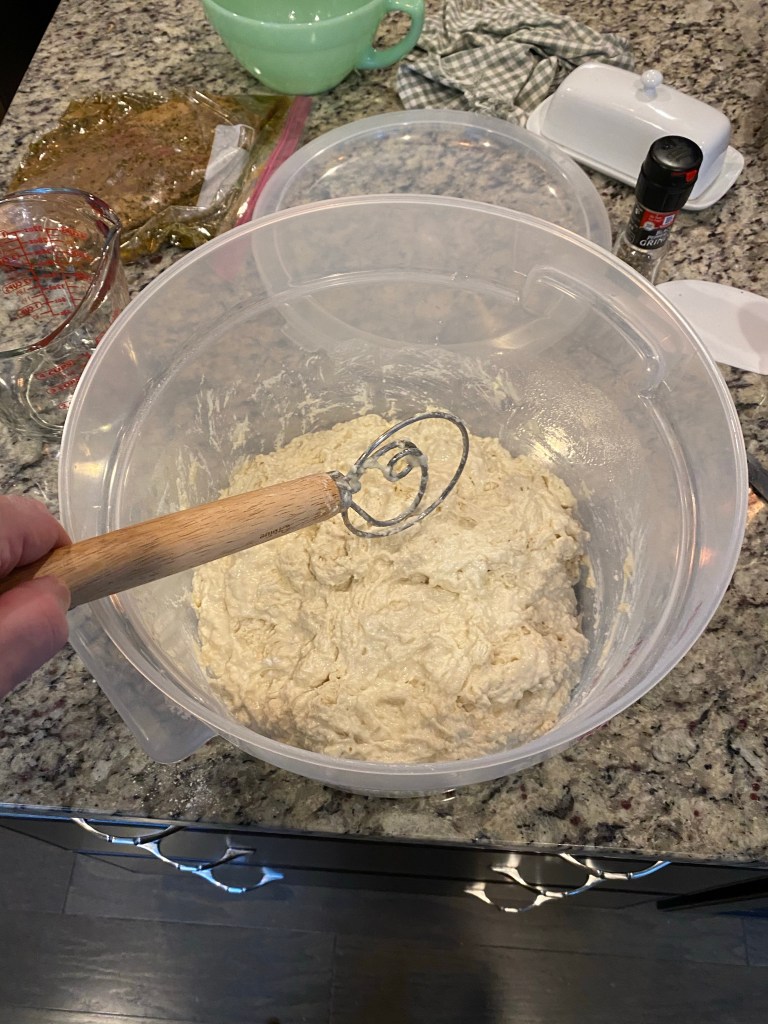
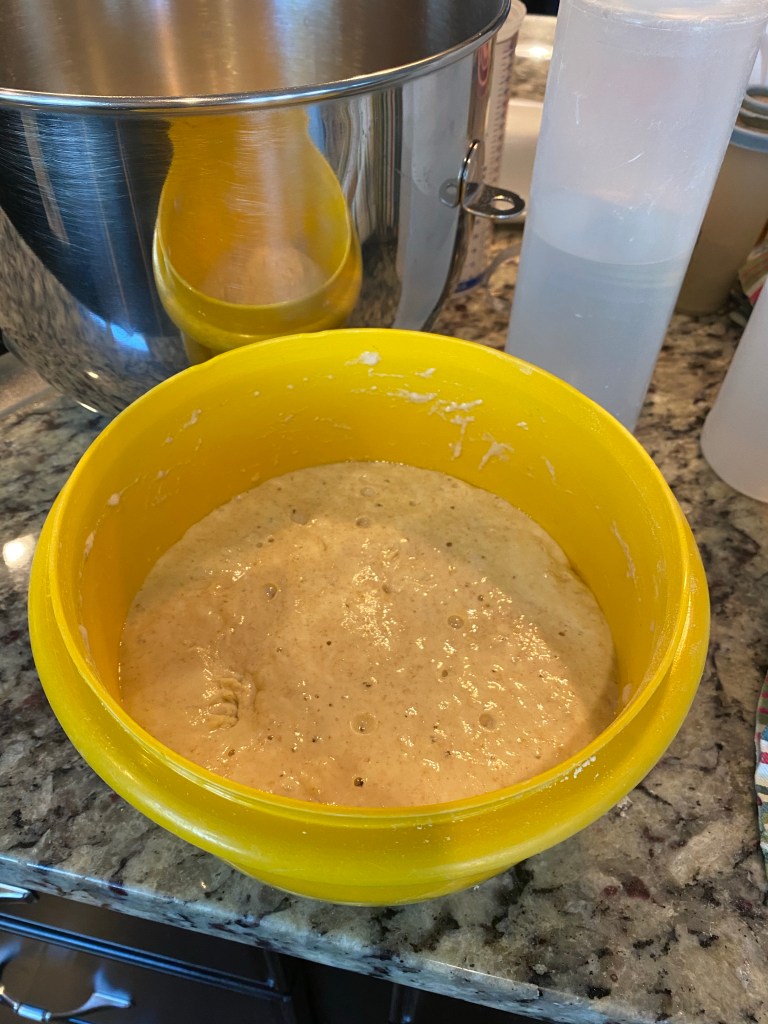
It’s Alive! (In my best Gene Wilder voice imitation from Young Frankenstein)

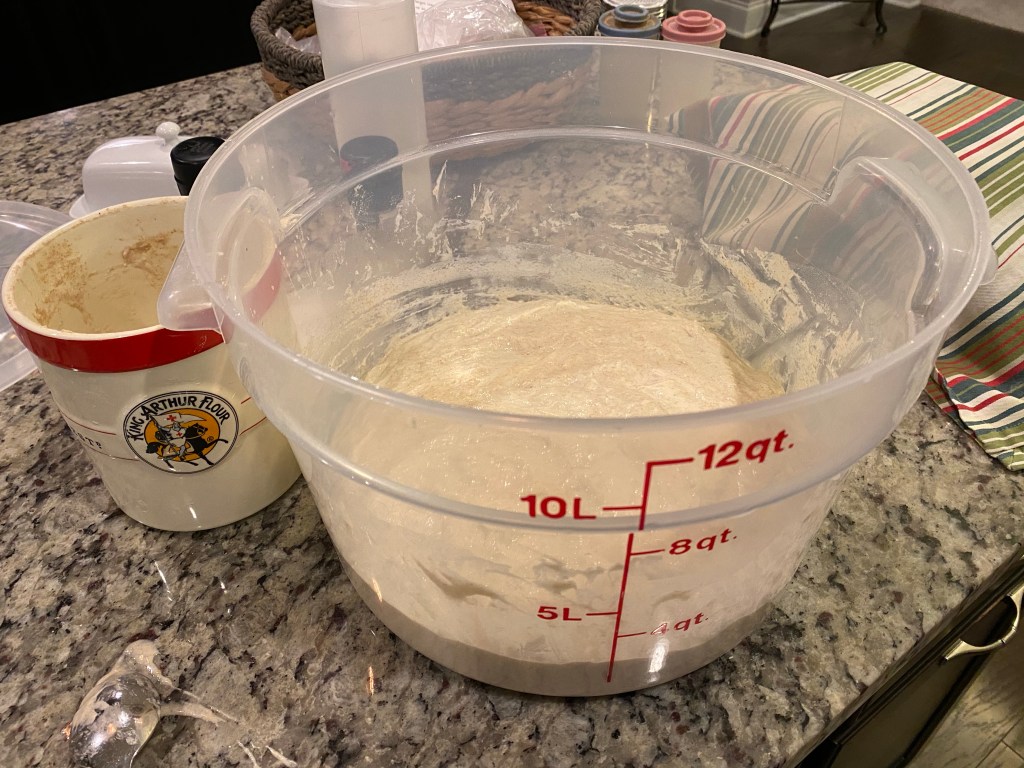
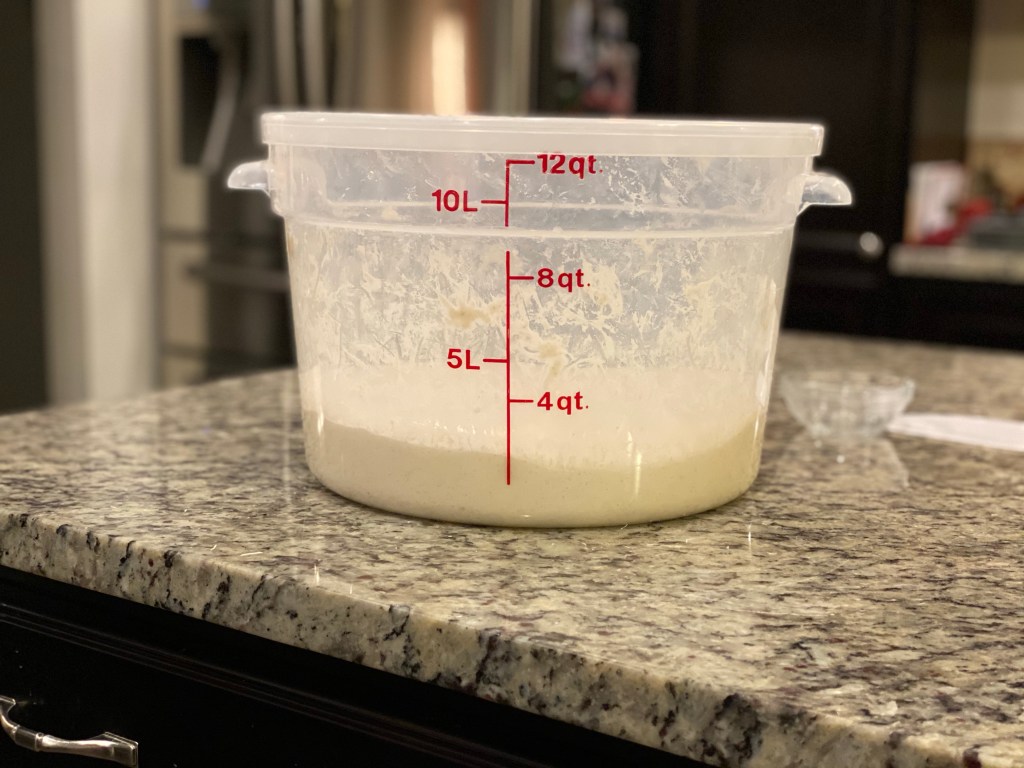
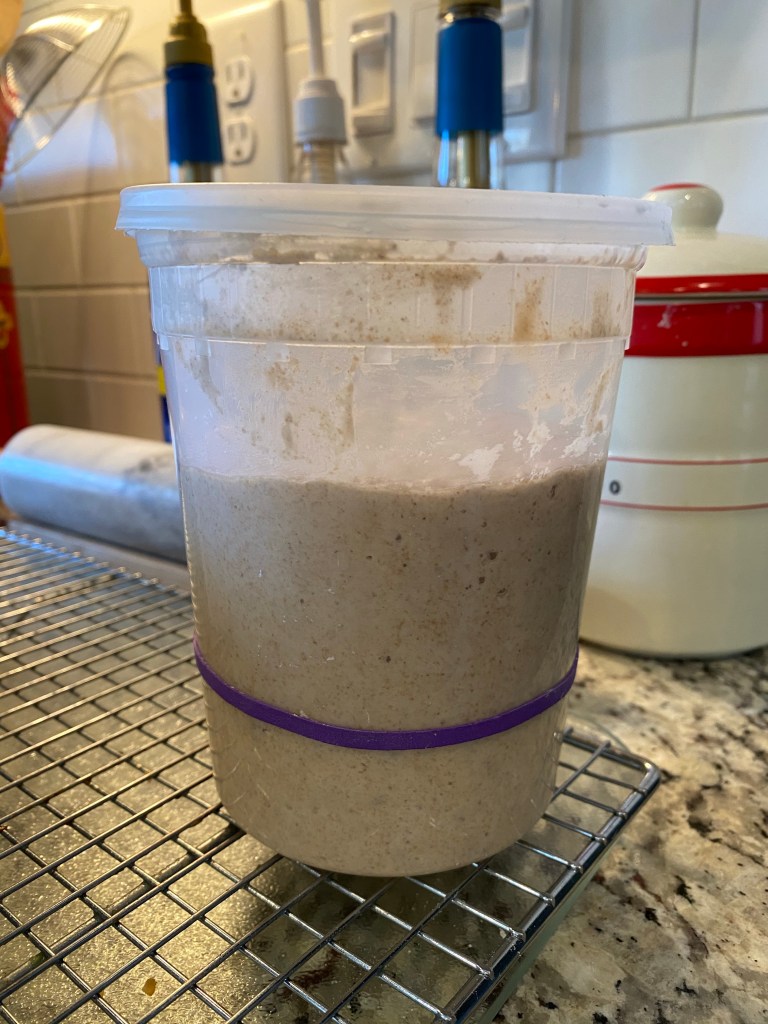
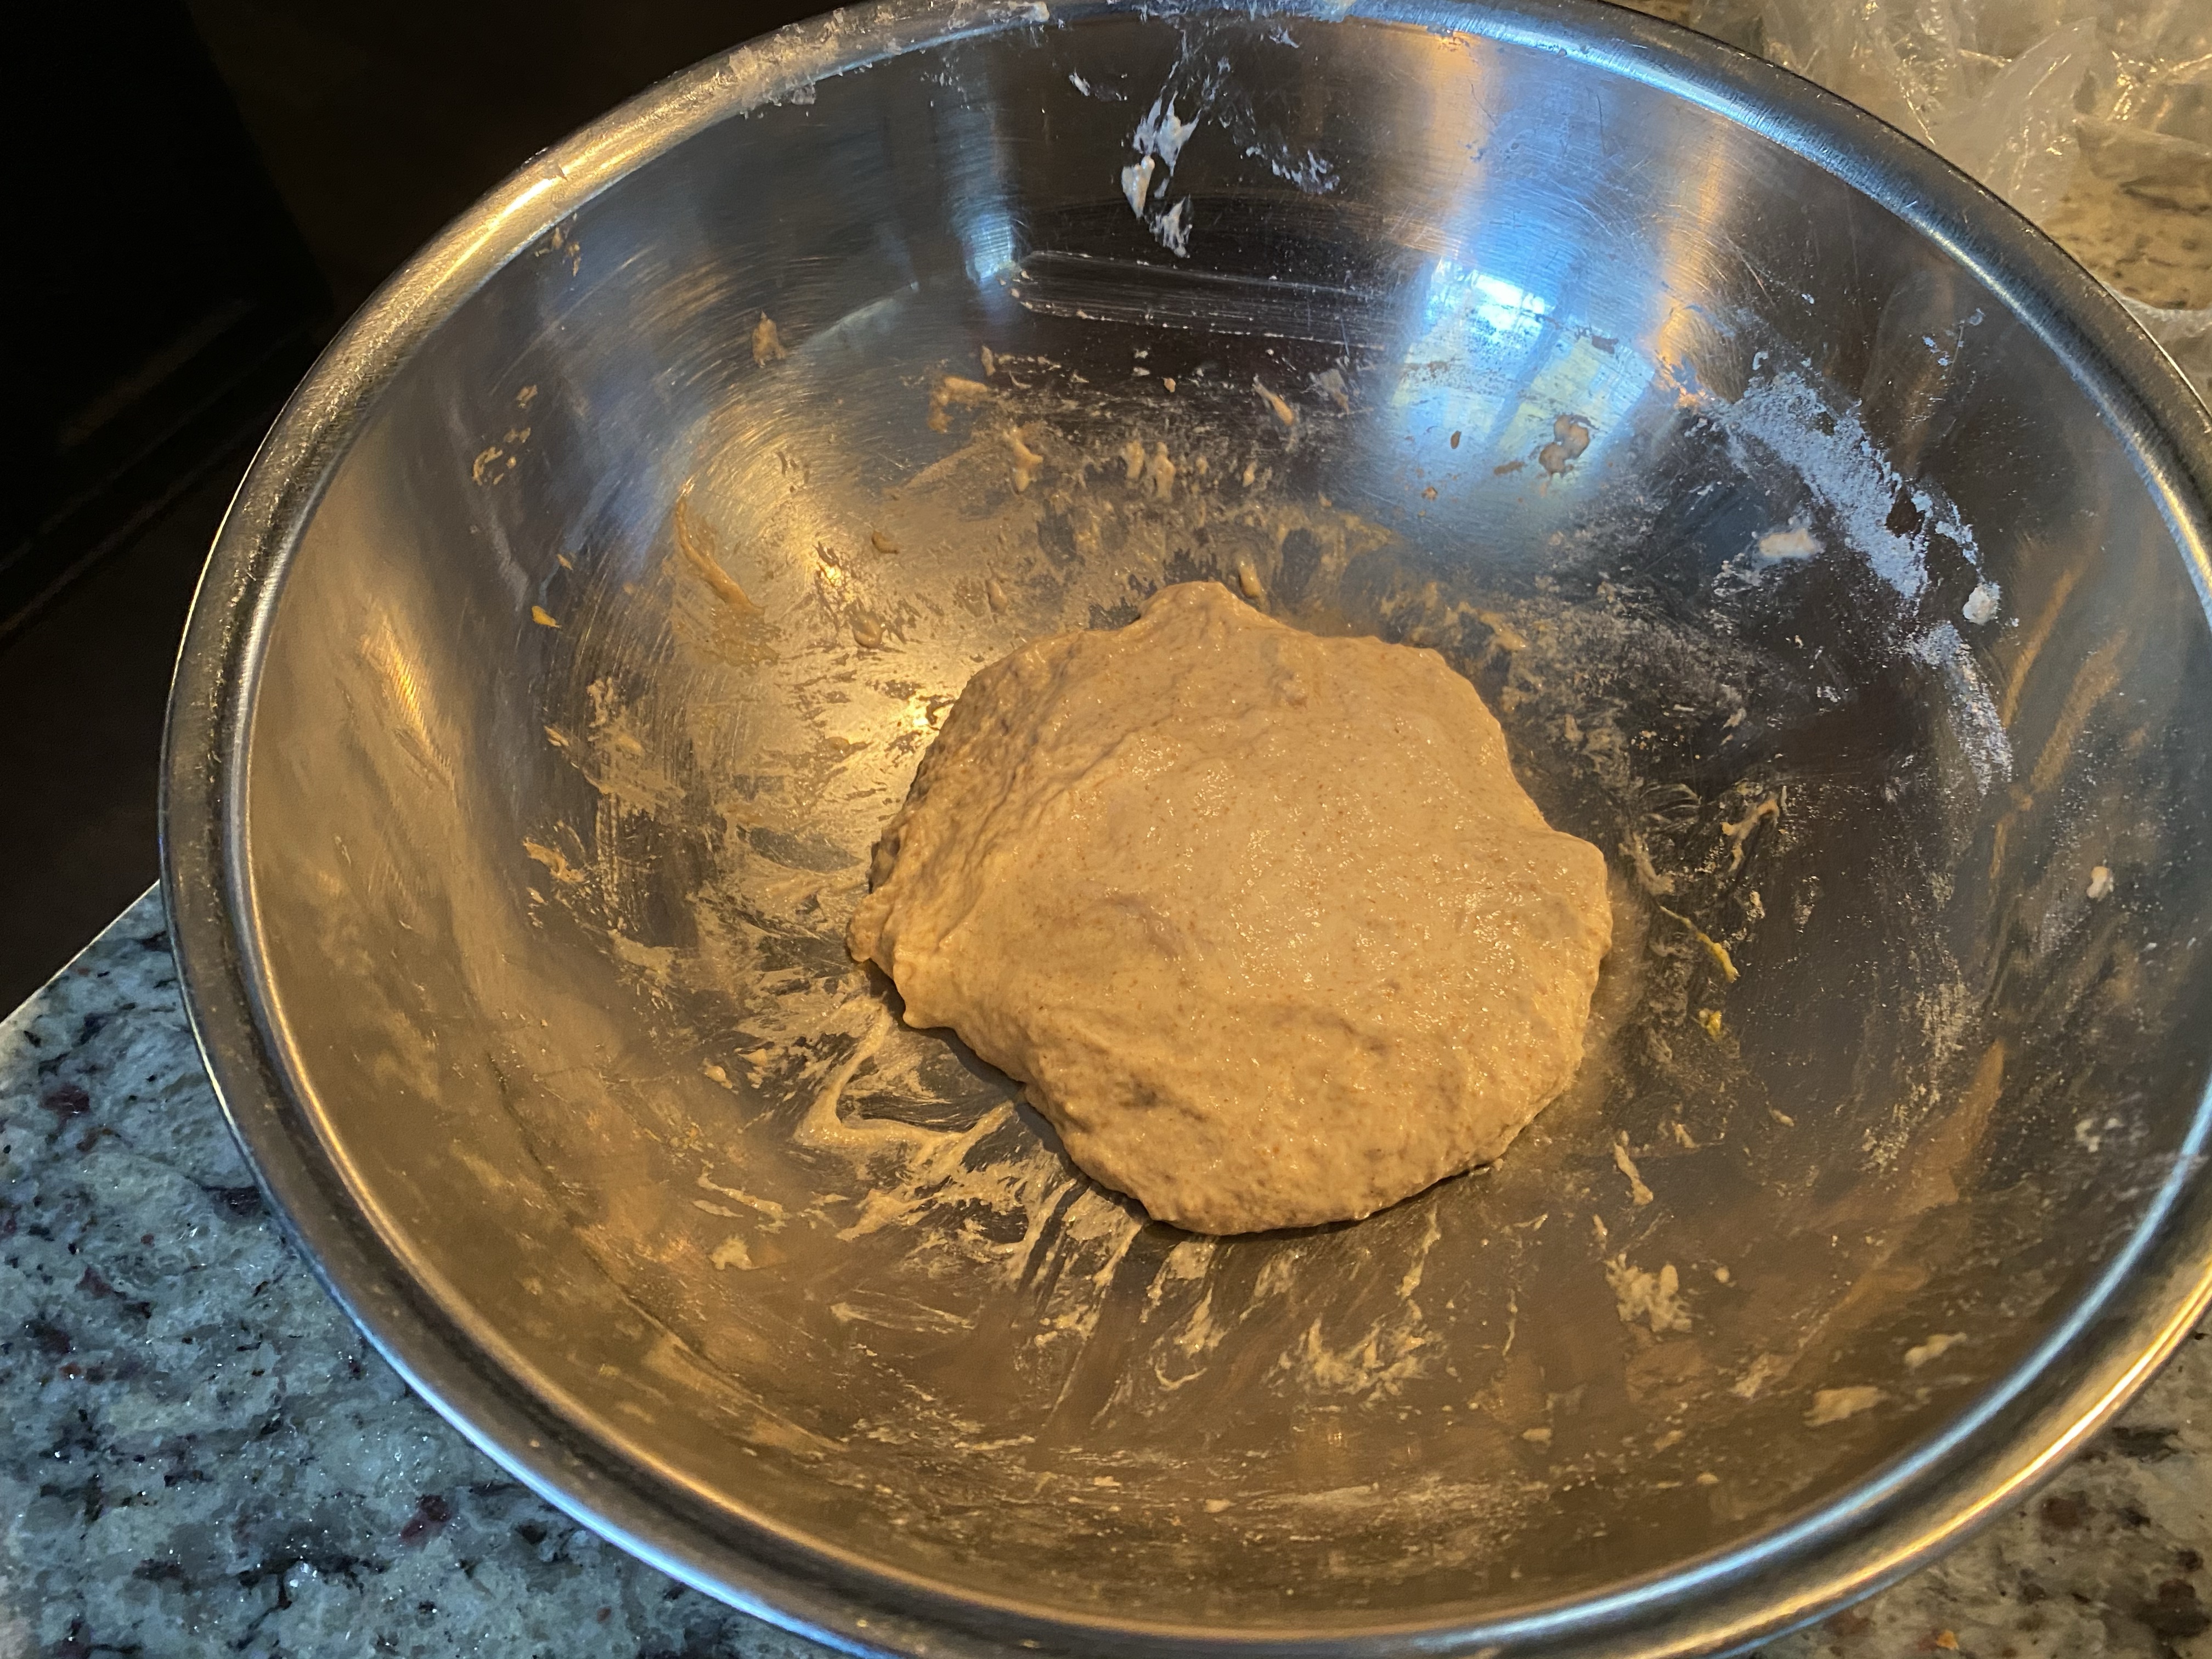
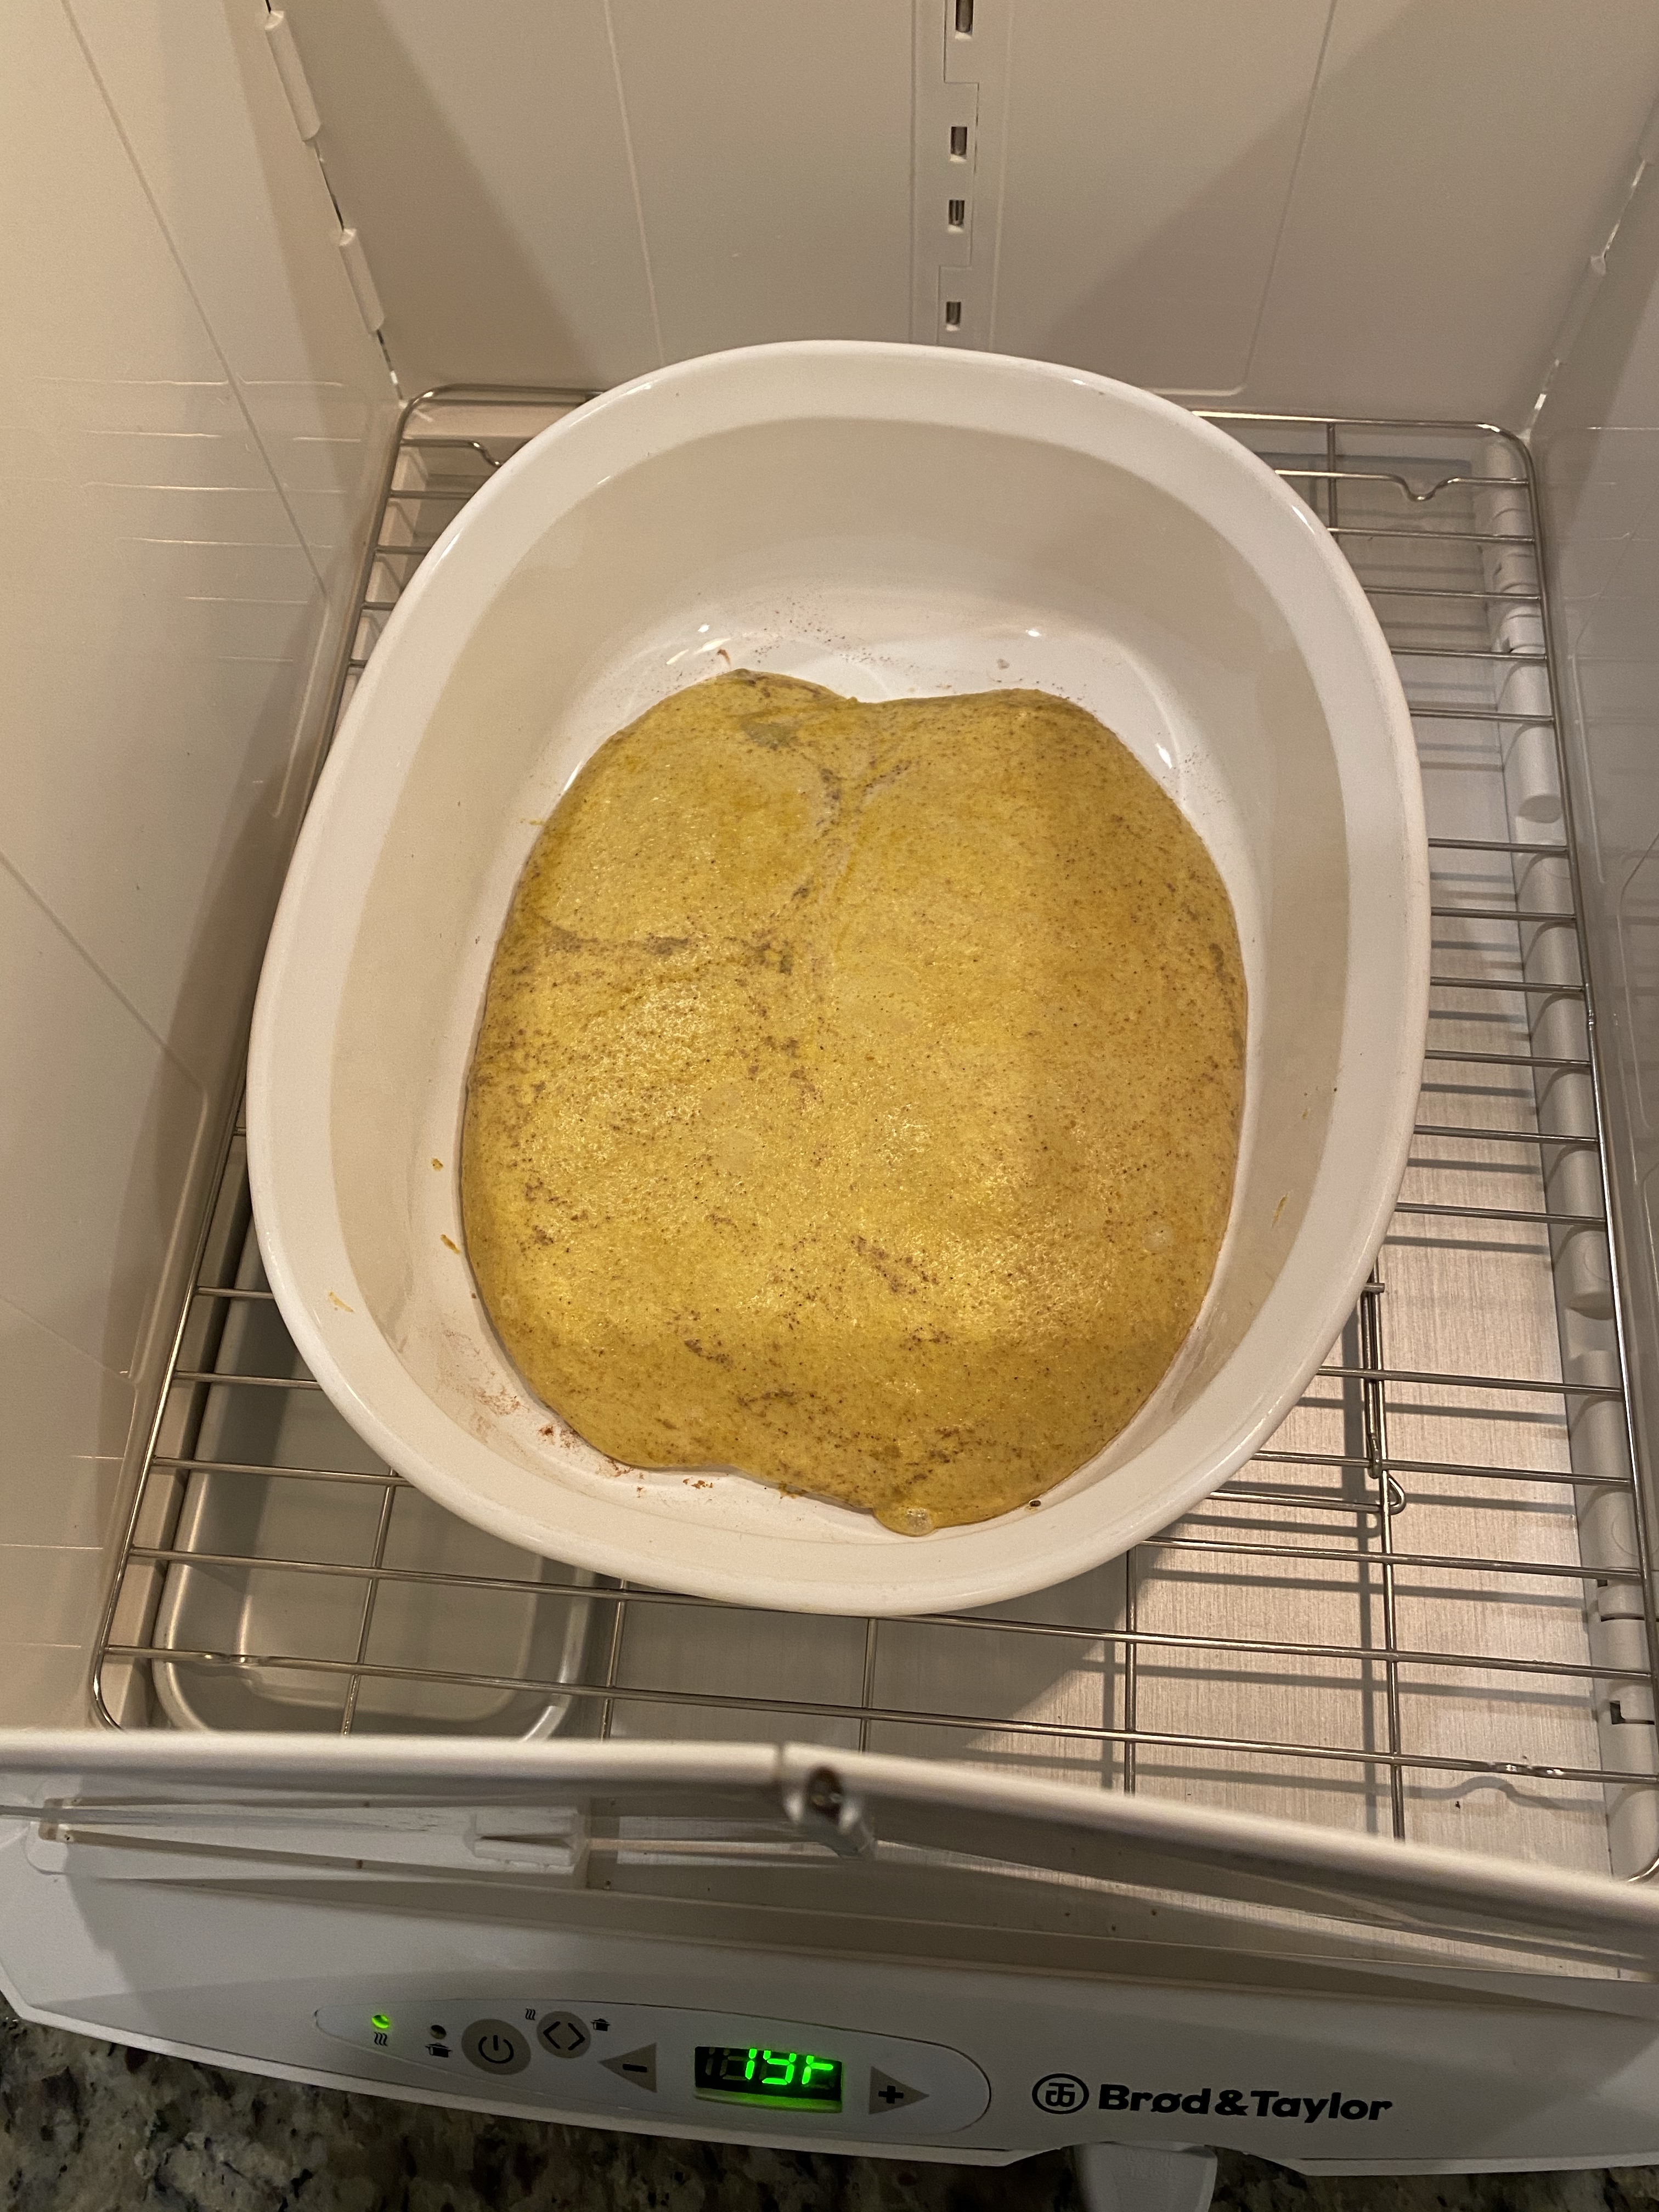
The dough has more than doubled overnight. Last night it was at roughly 2 quarts. Now it is just over the 5 quart mark.

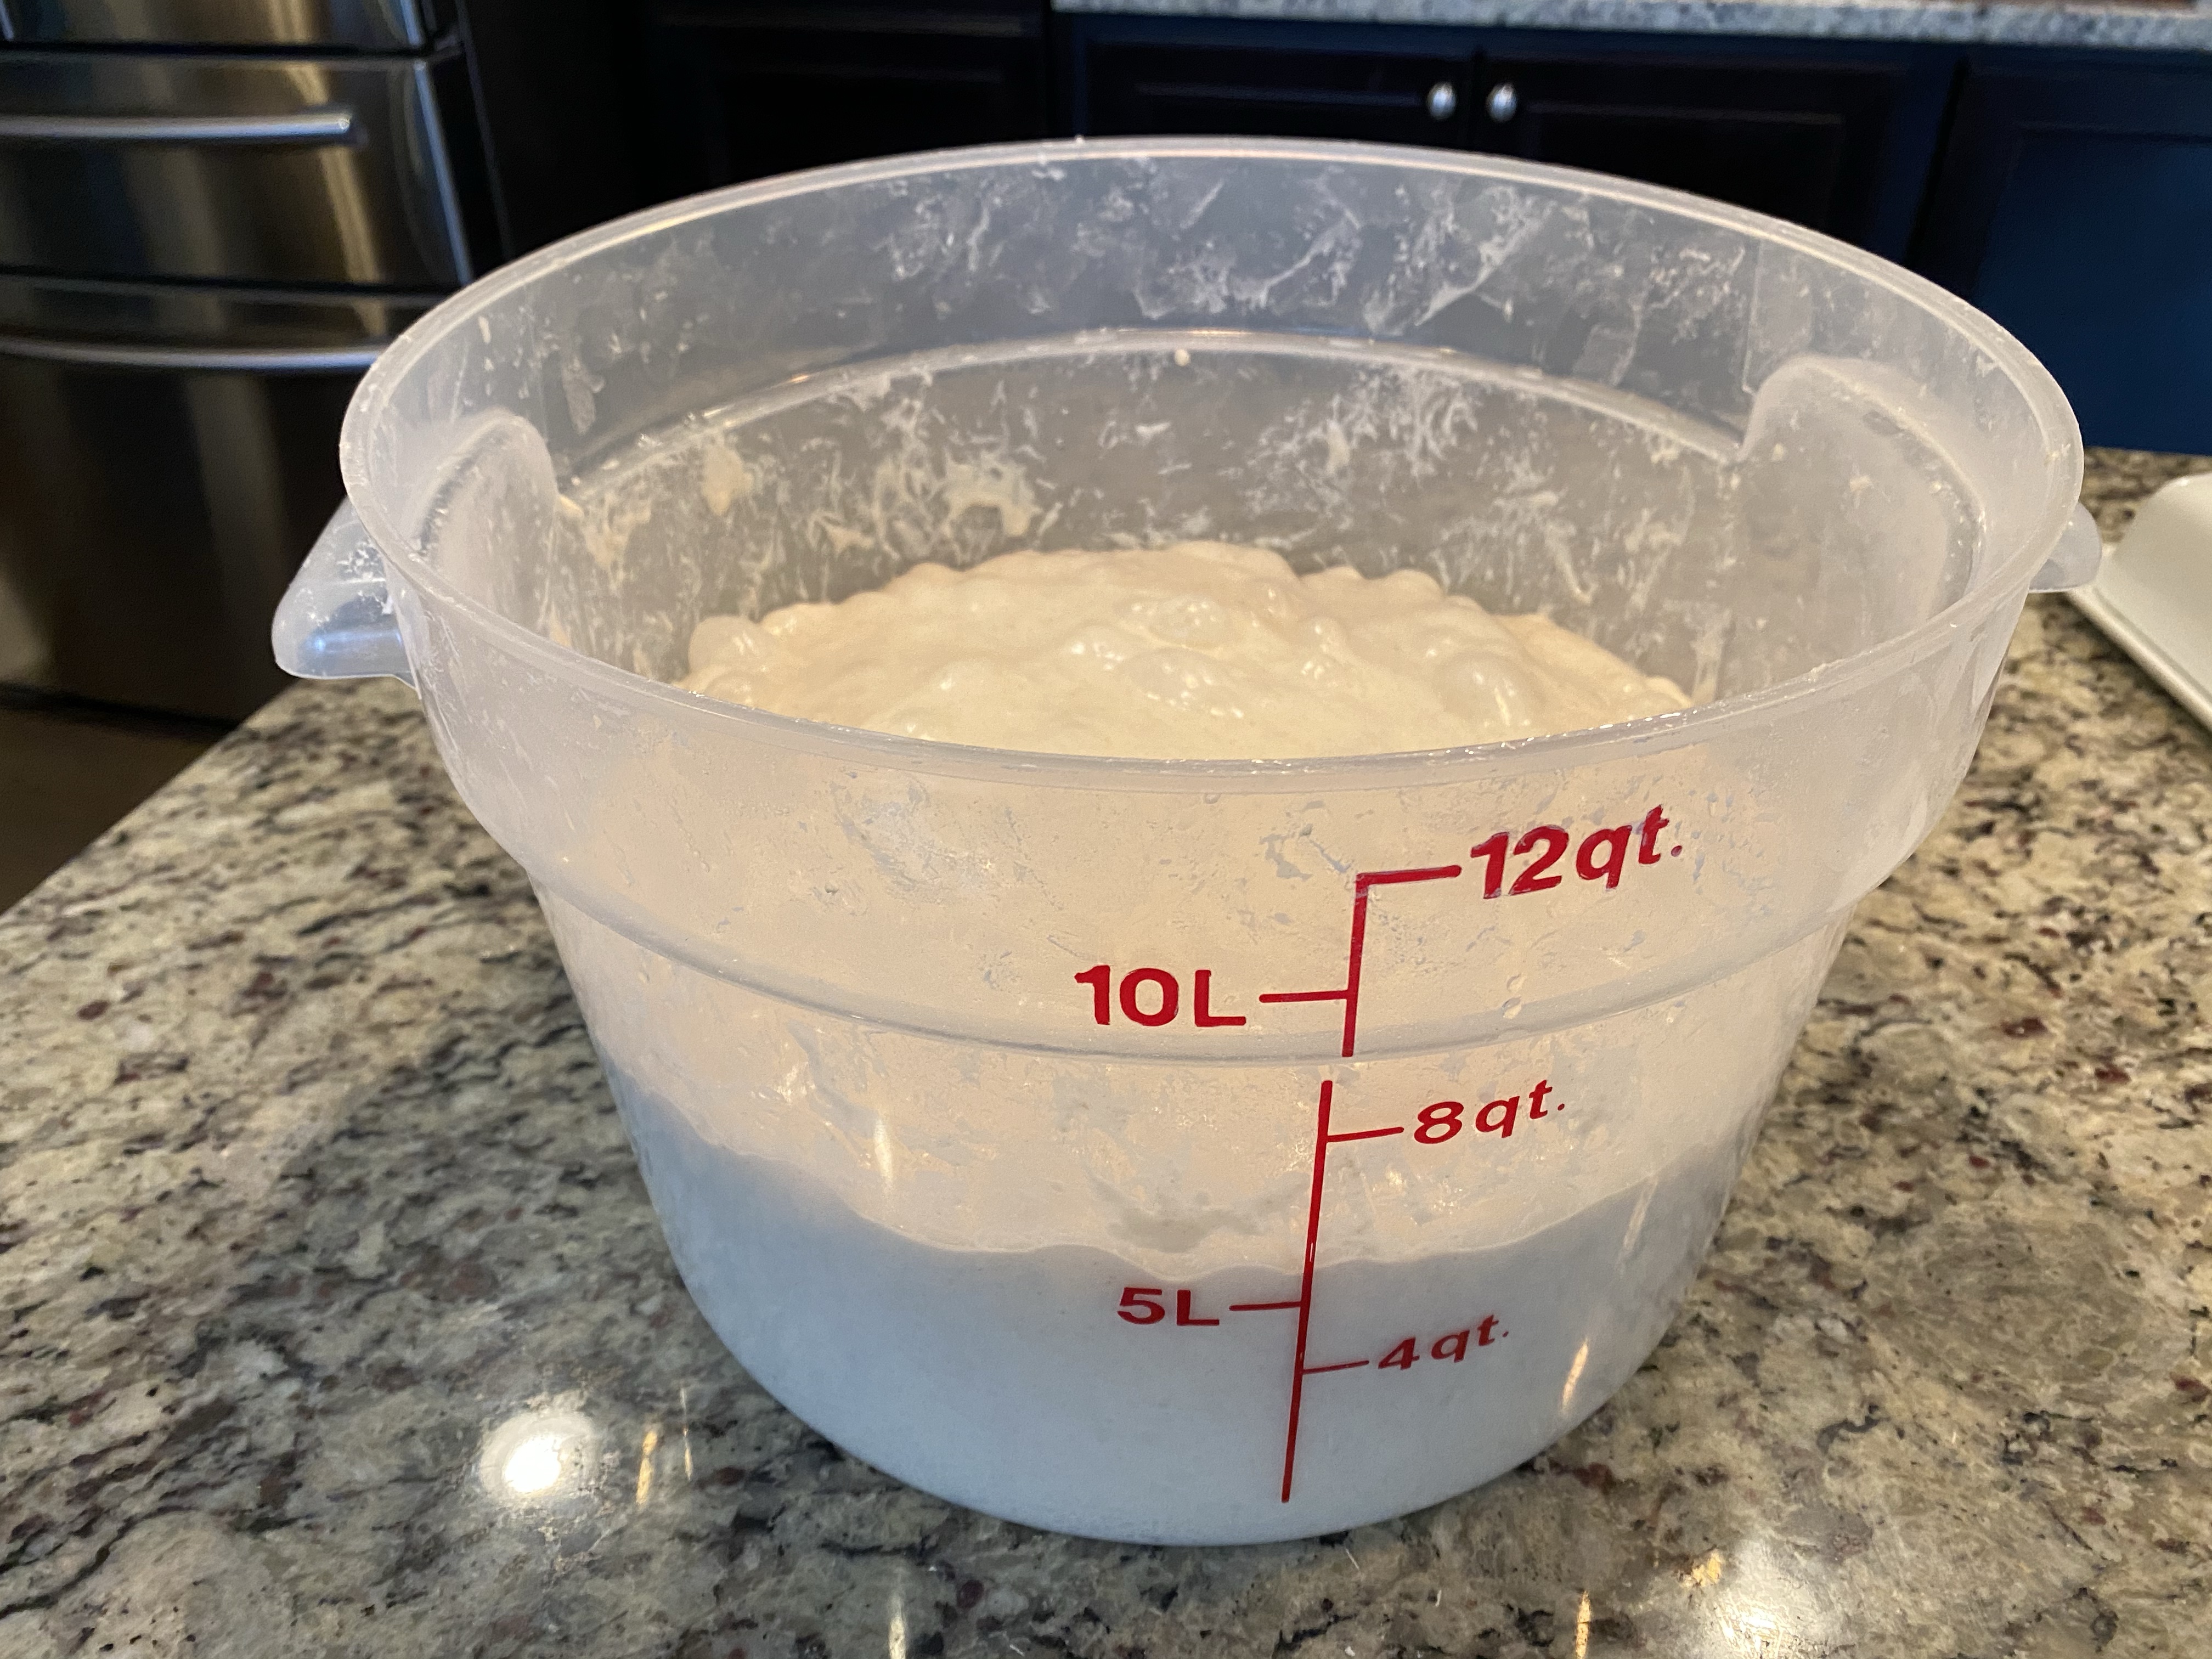
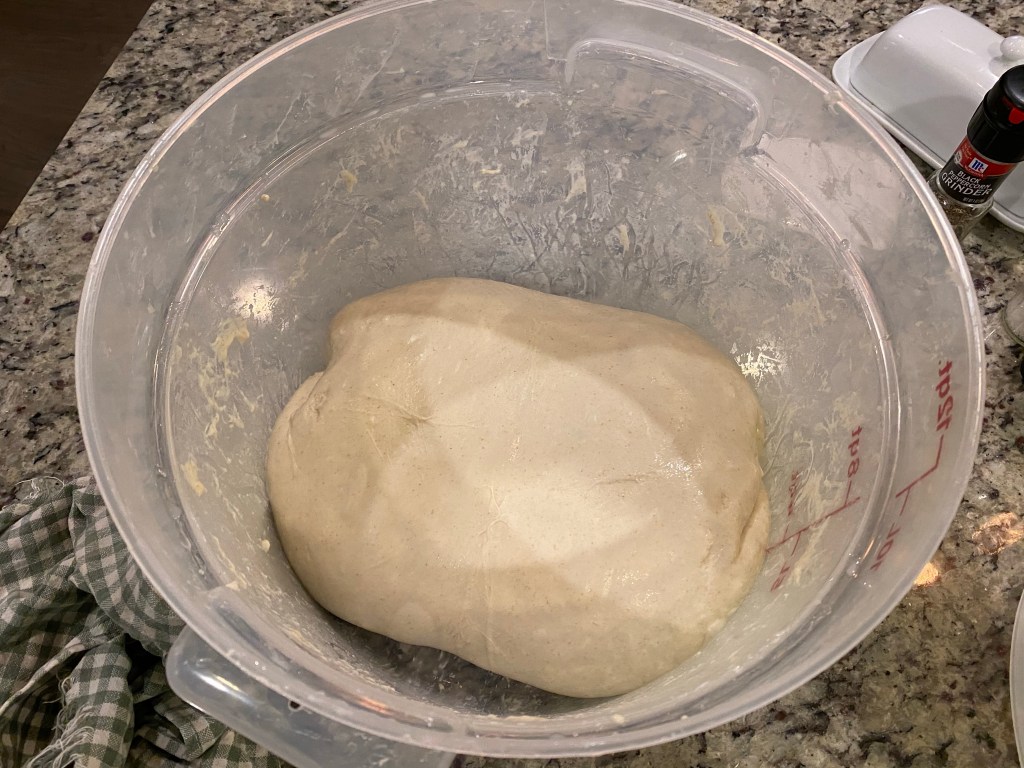
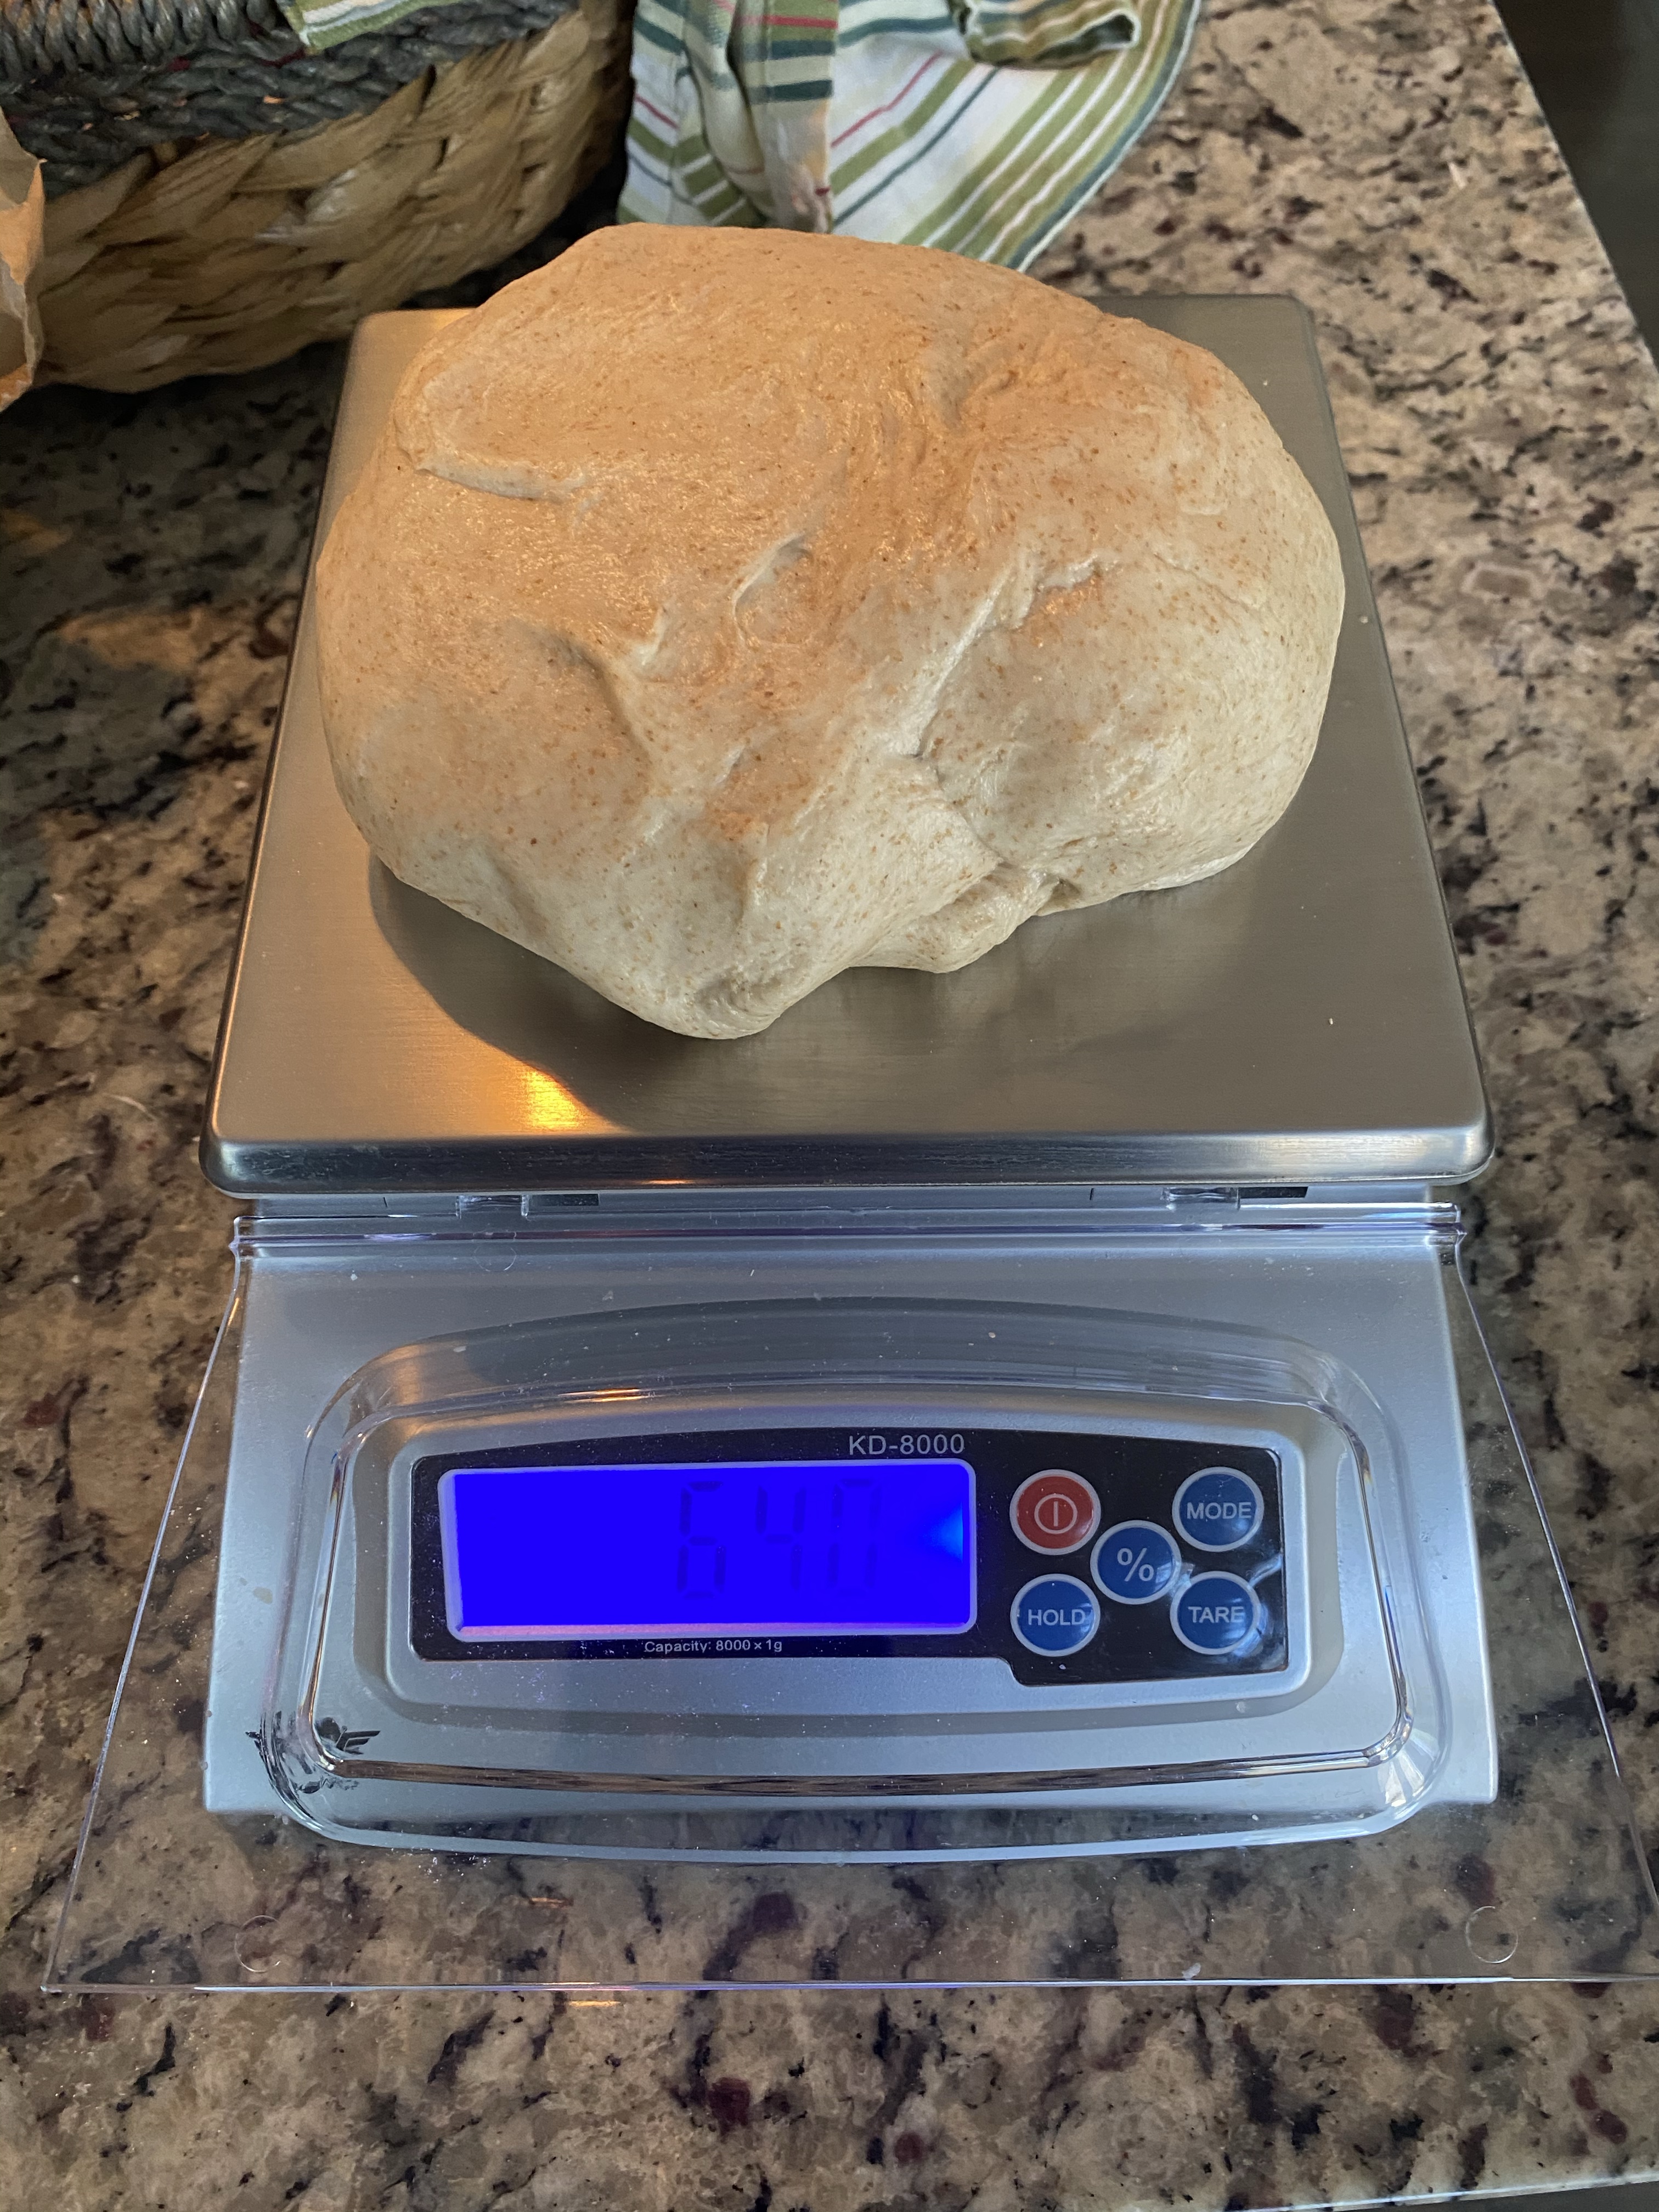
I figure the dough weighed just over 3 kilograms based on my ingredient weight. I can as pretty close when I weighed the bowl with the dough and then subtracted out the weight of the container. (Unfortunately, the pic didn’t capture the weight)

Weighing the dough

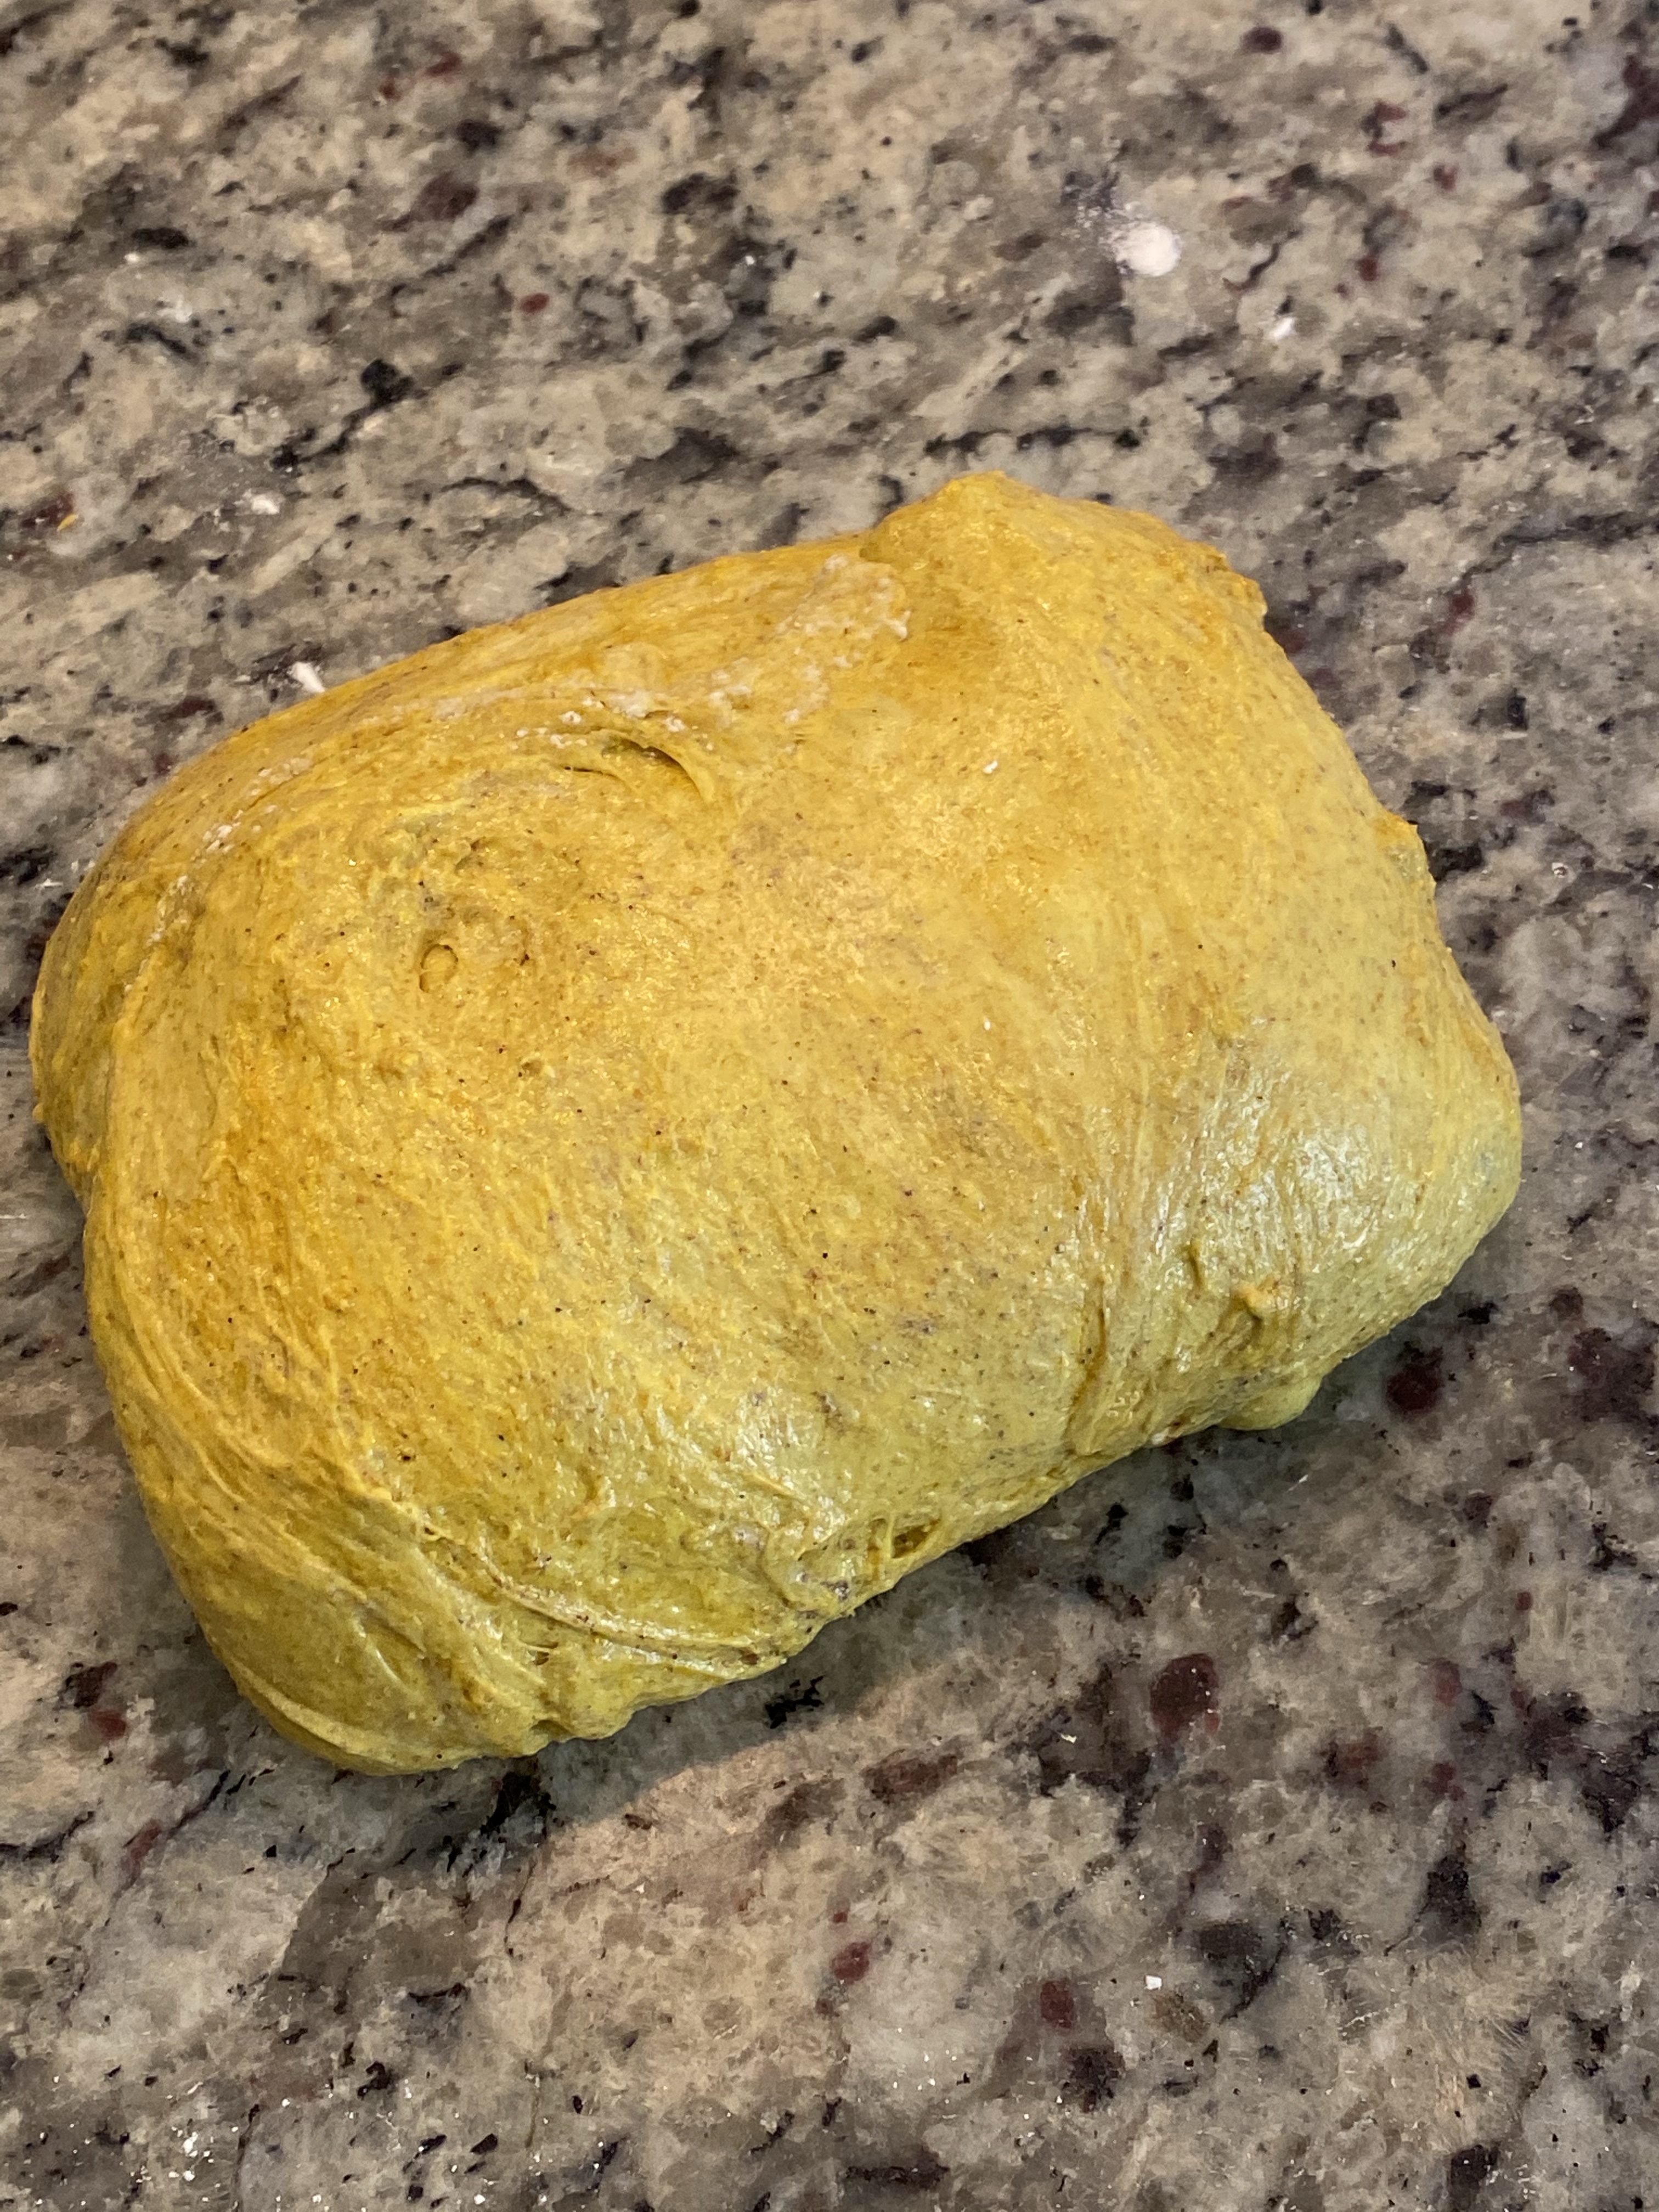
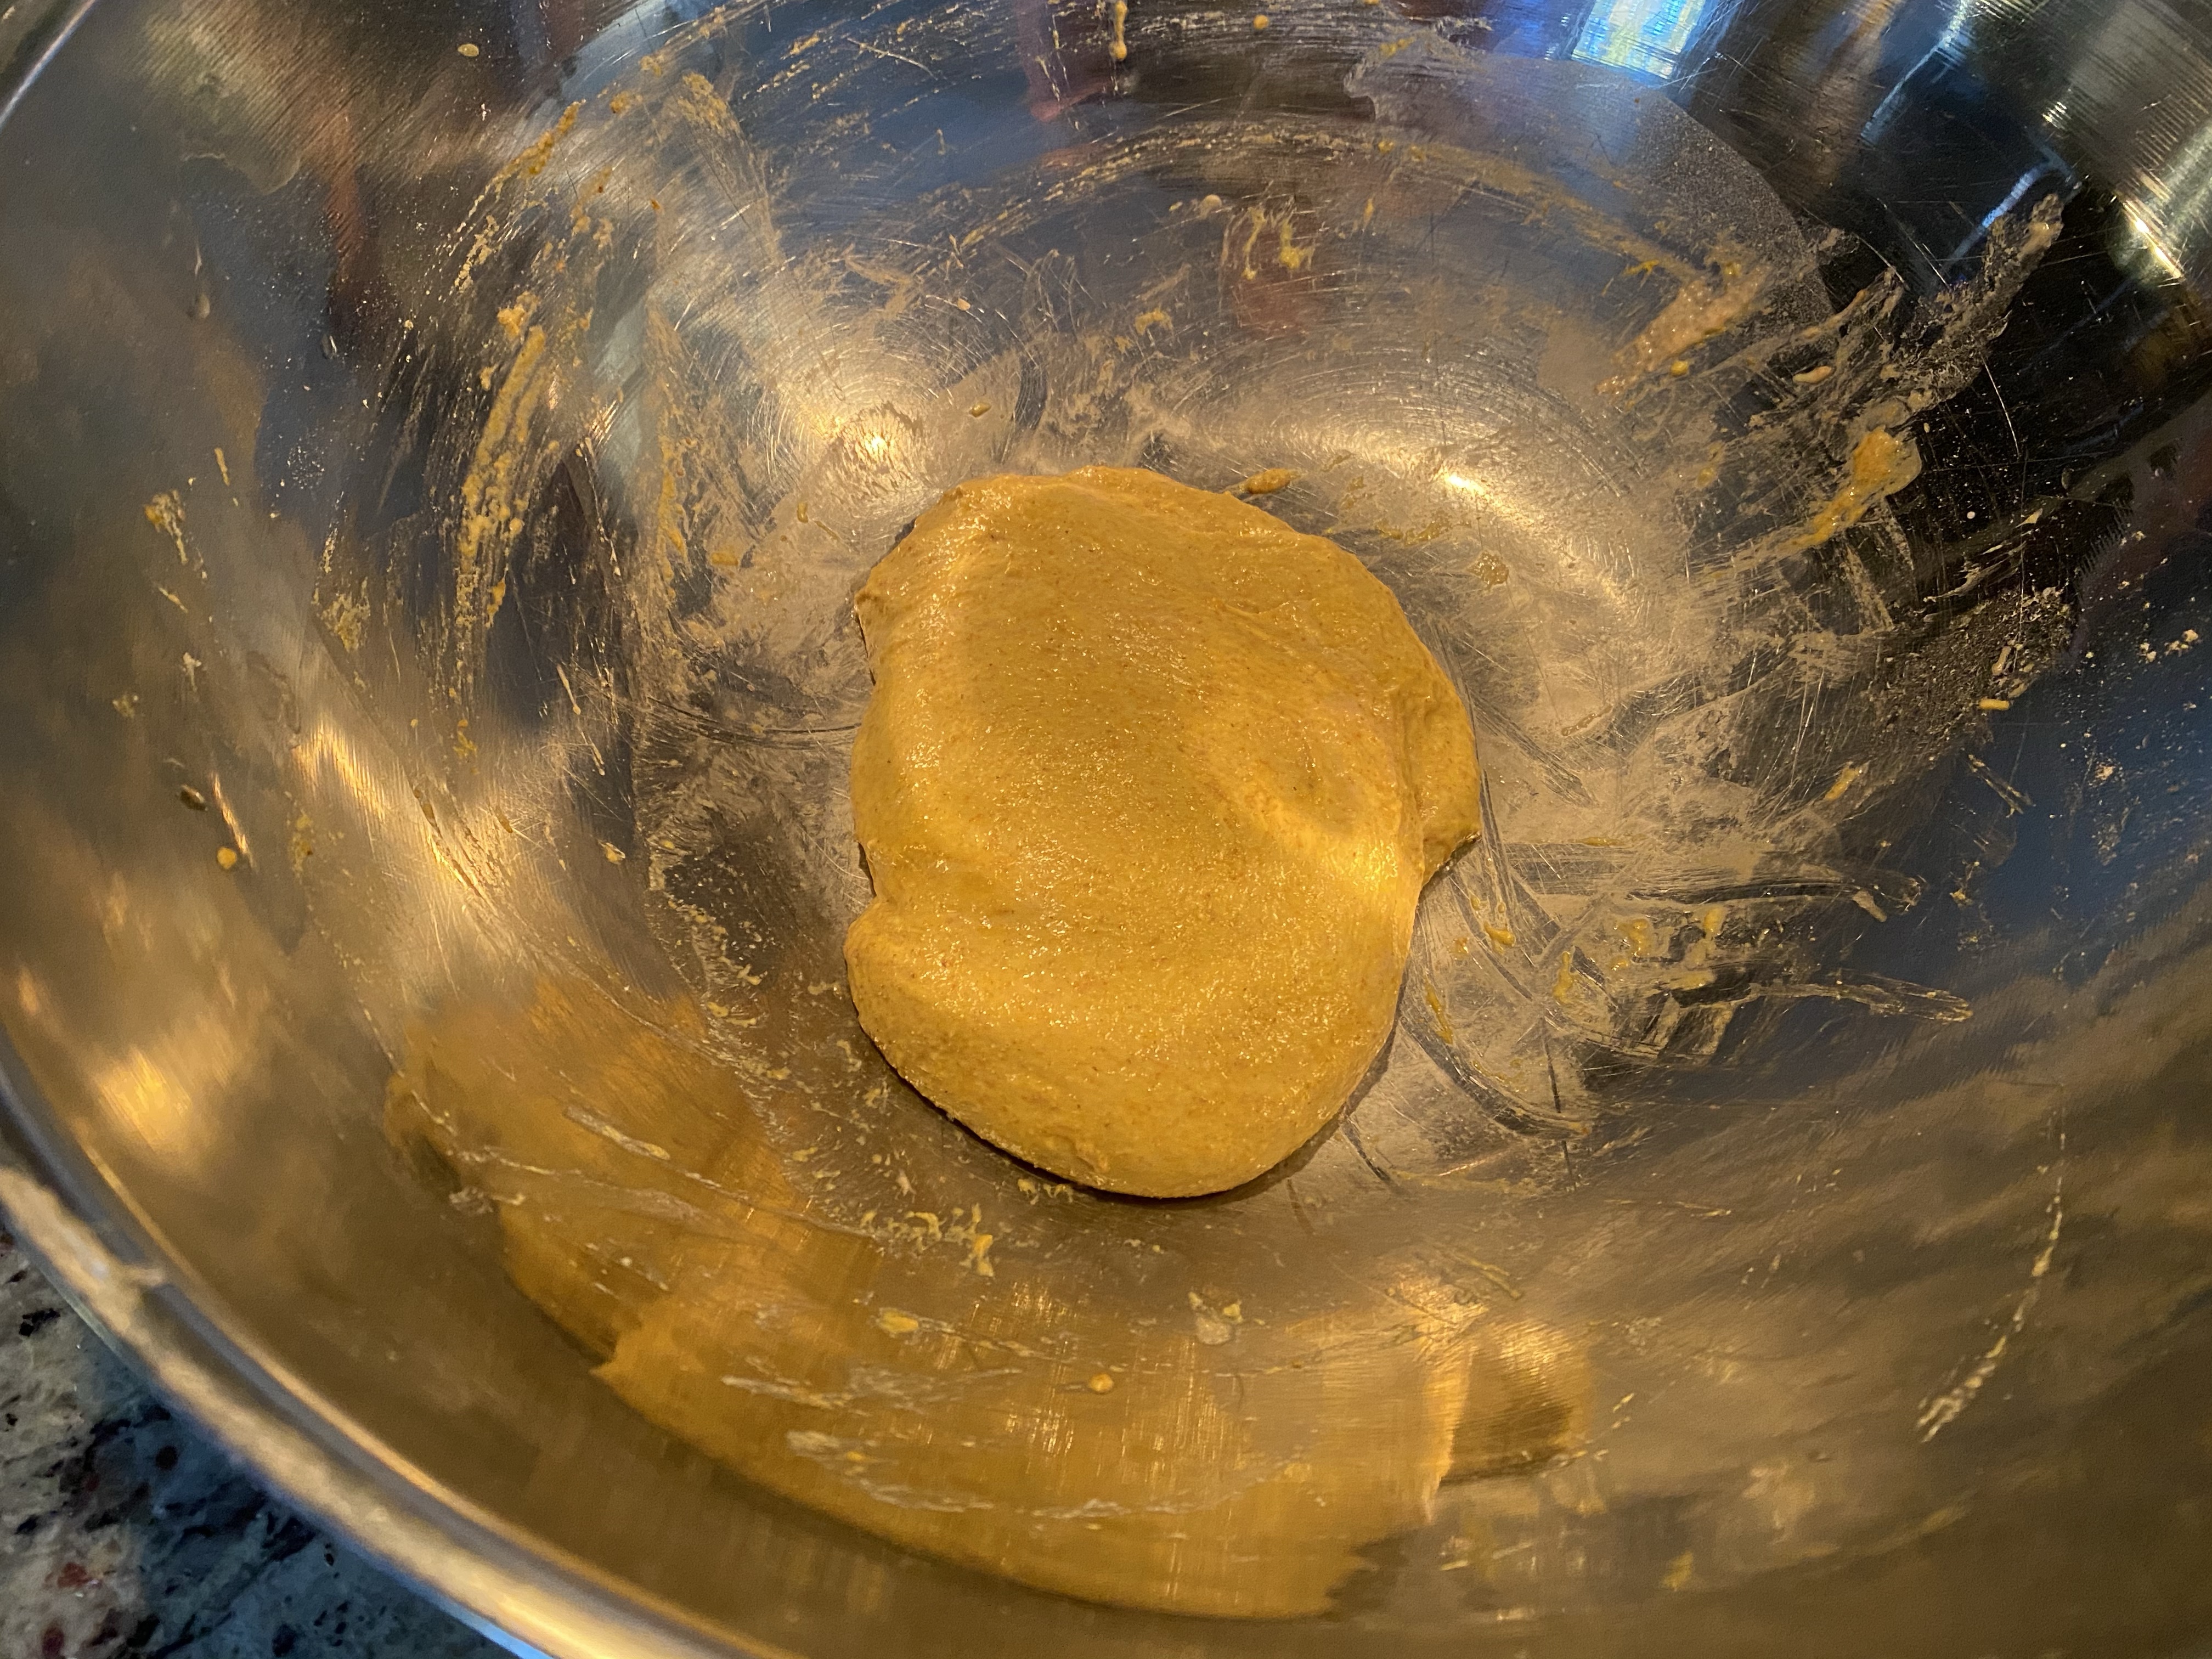
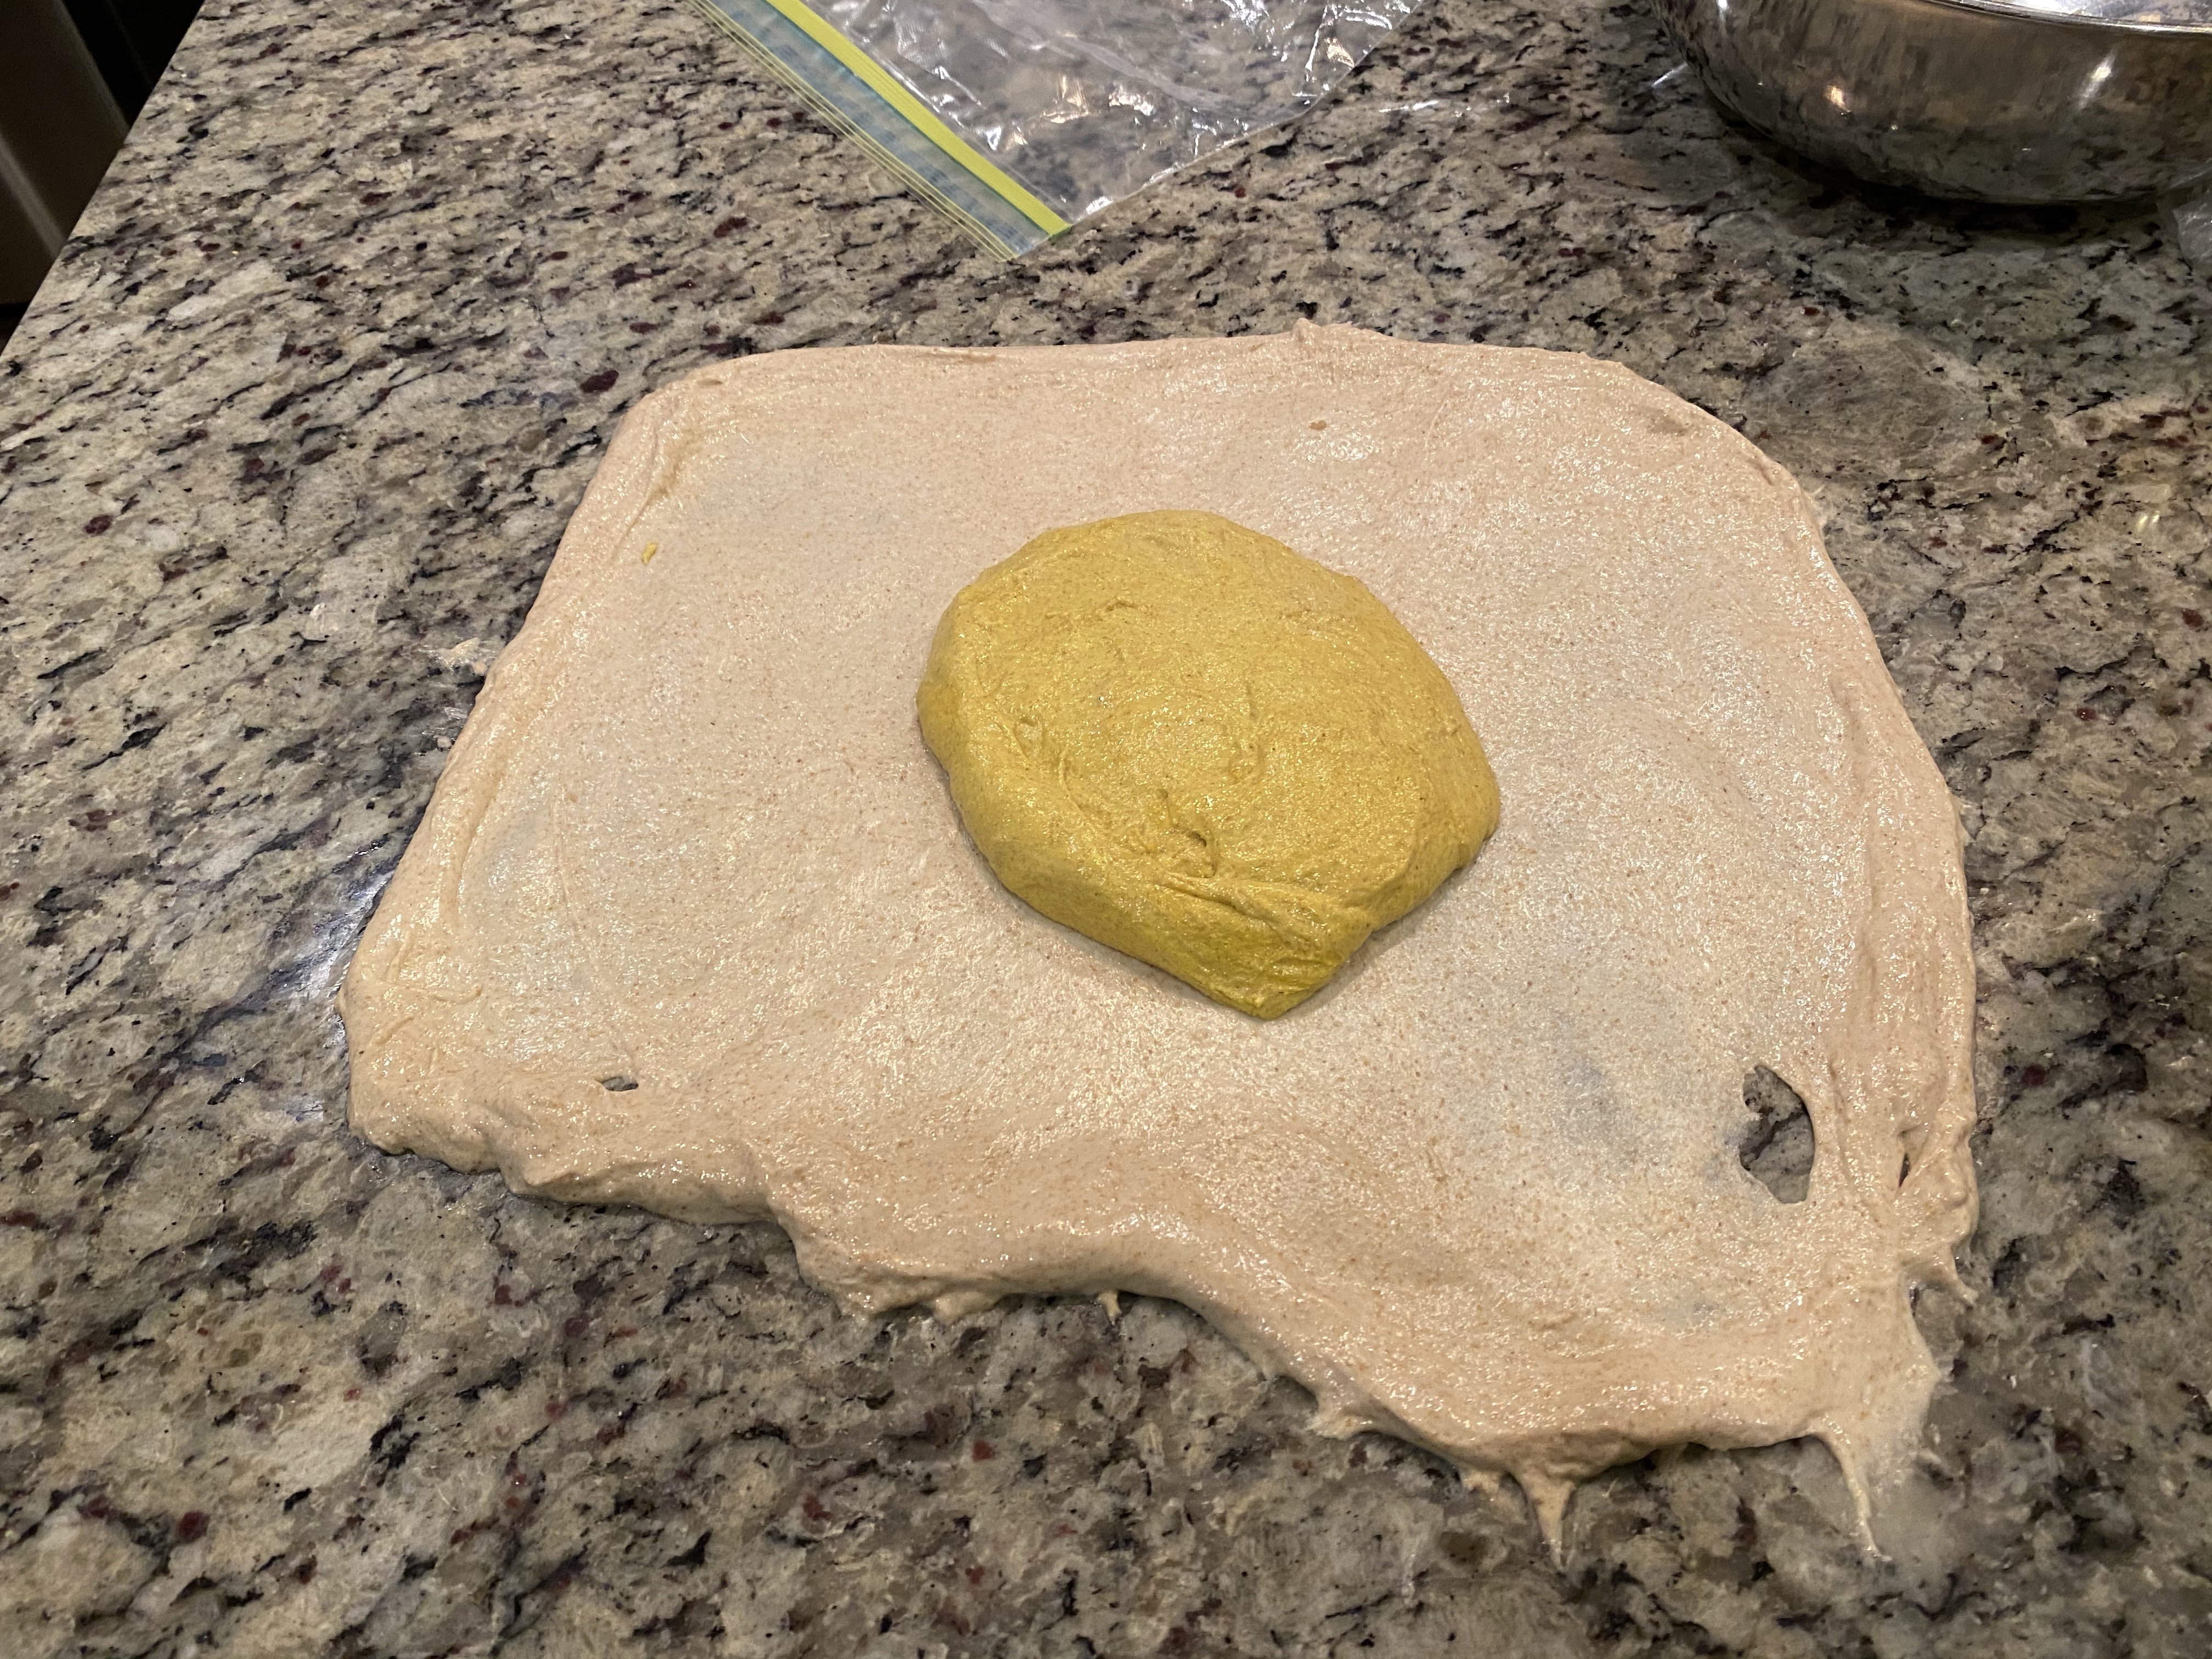
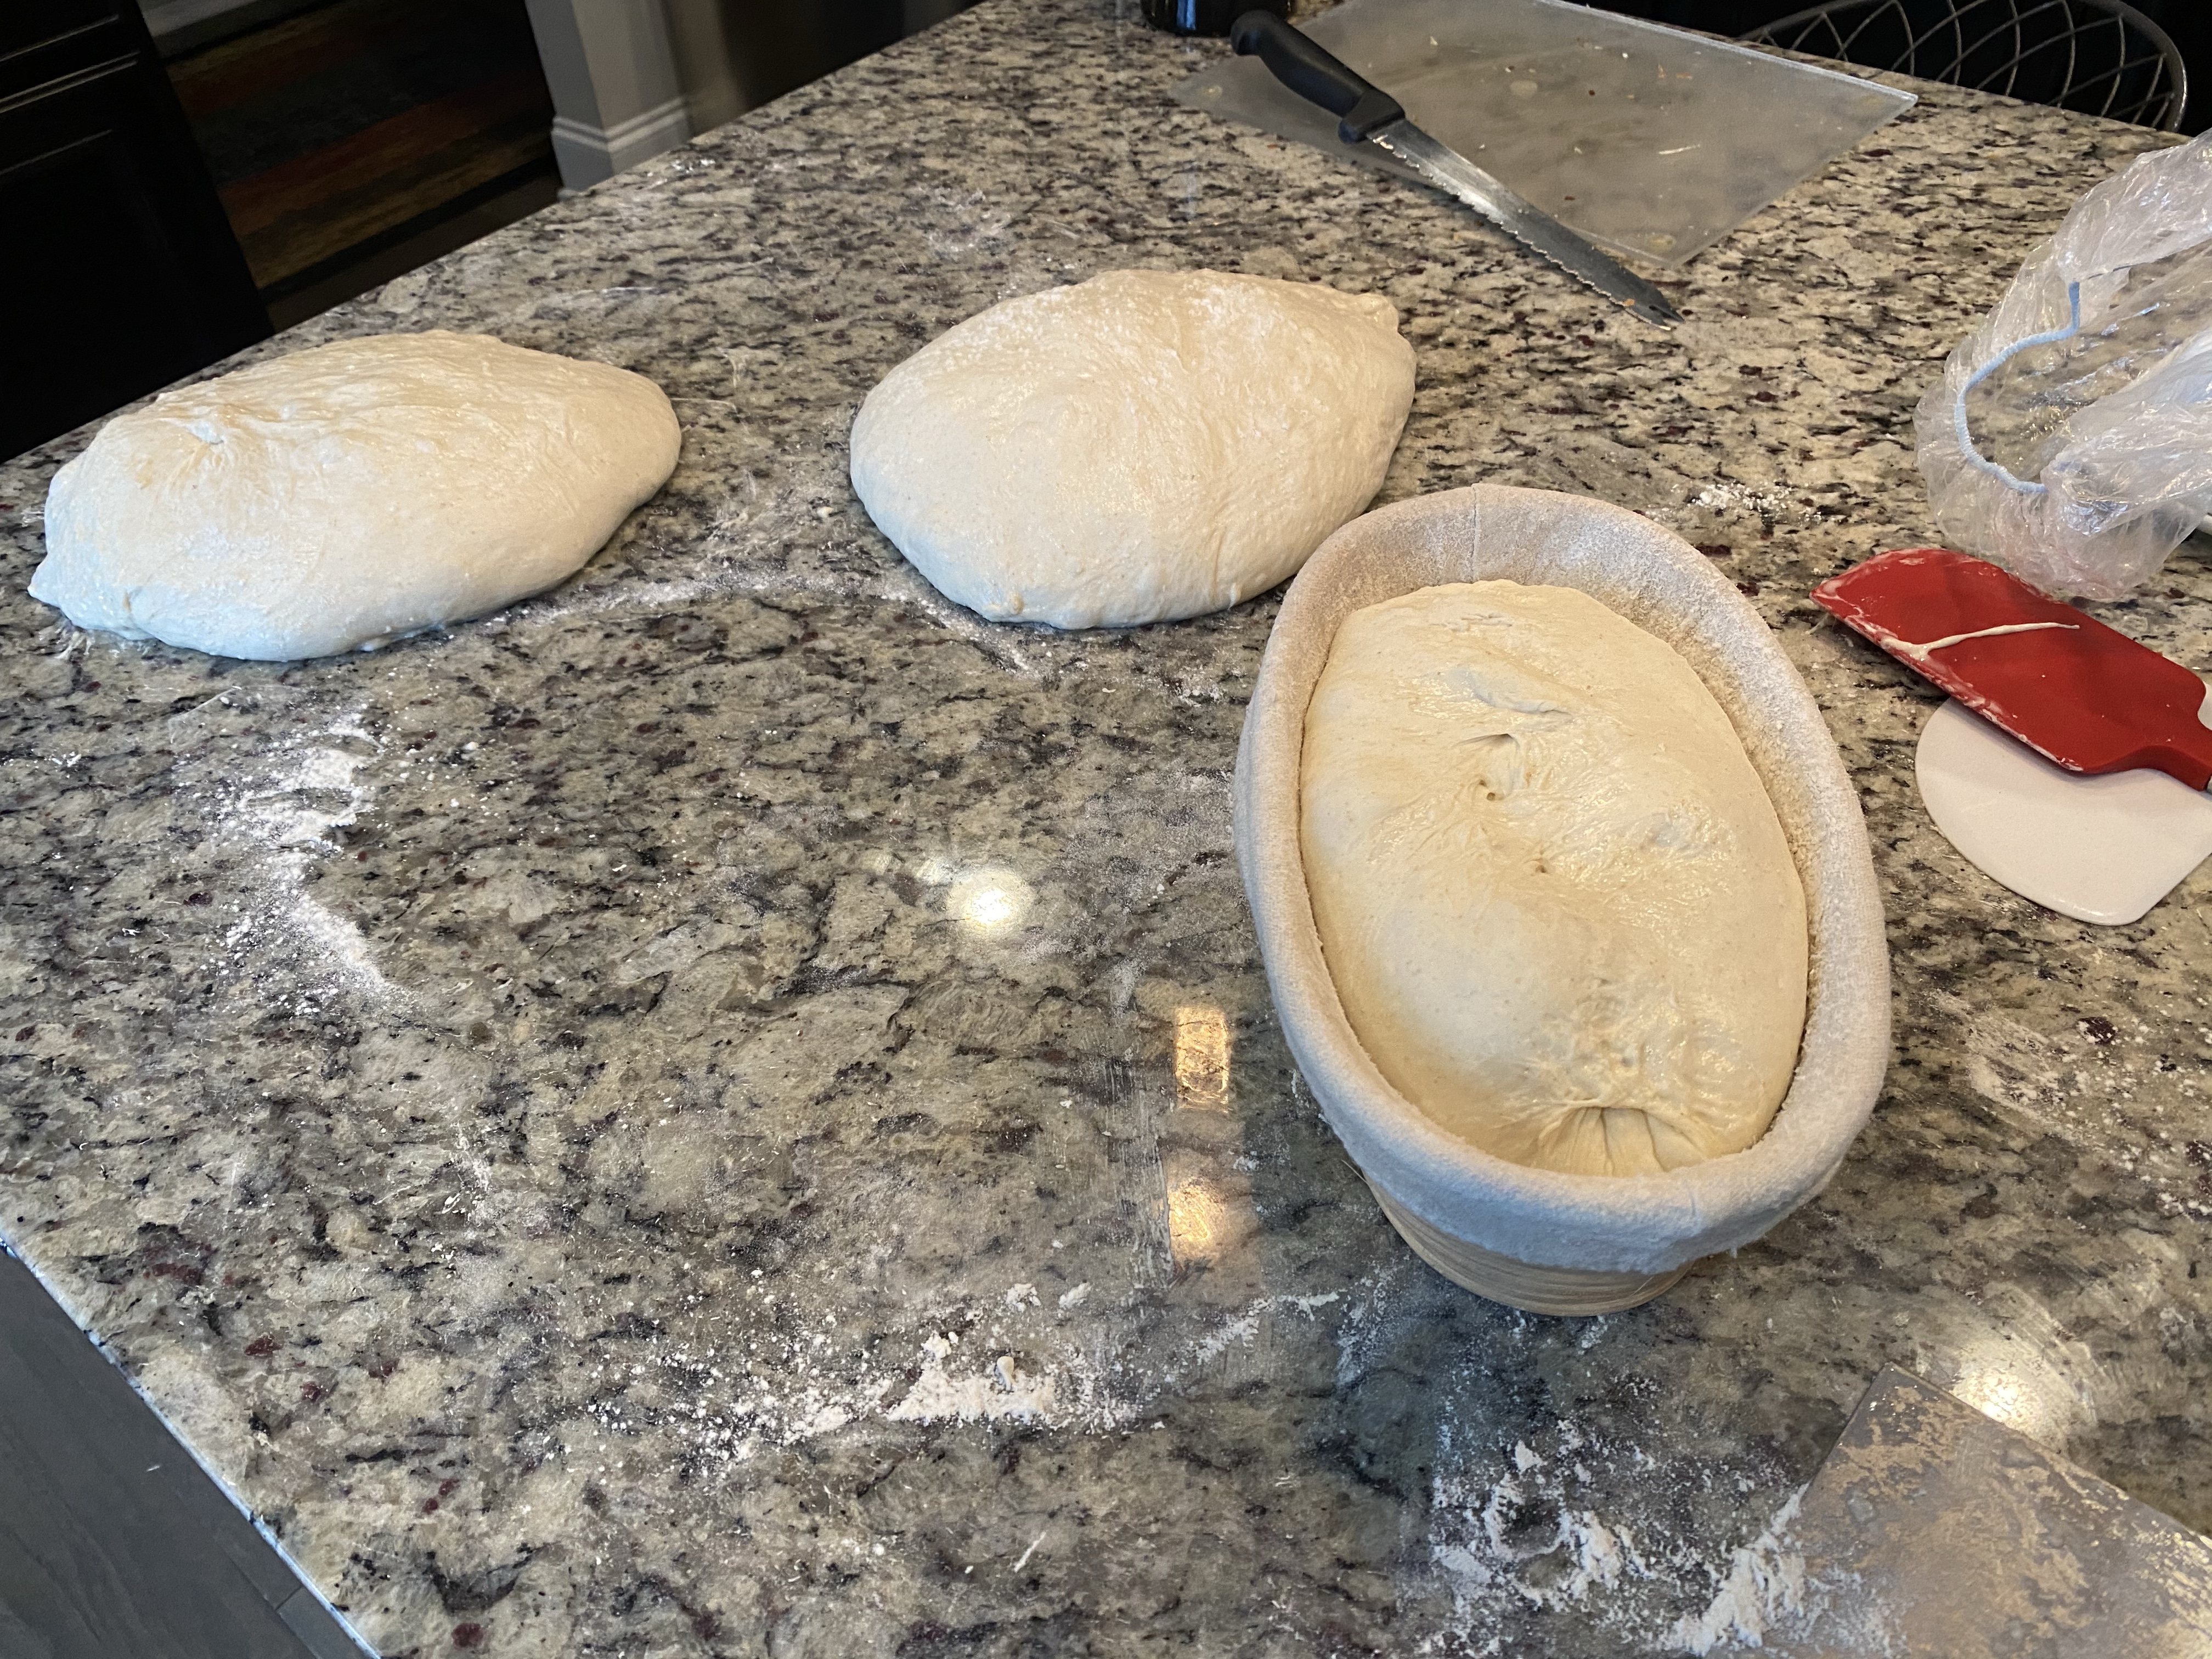
I poured the dough onto my counter and divided it into thirds. I used my container (after taring out the scale) to get them close to the same weight of just over a kilo each.

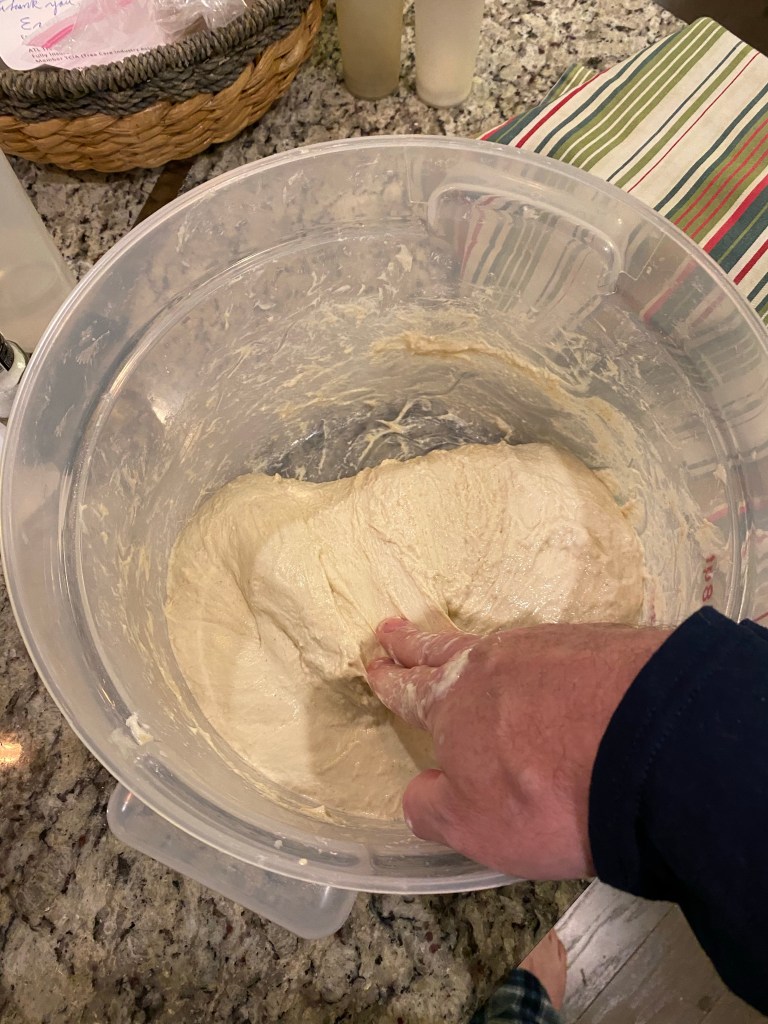
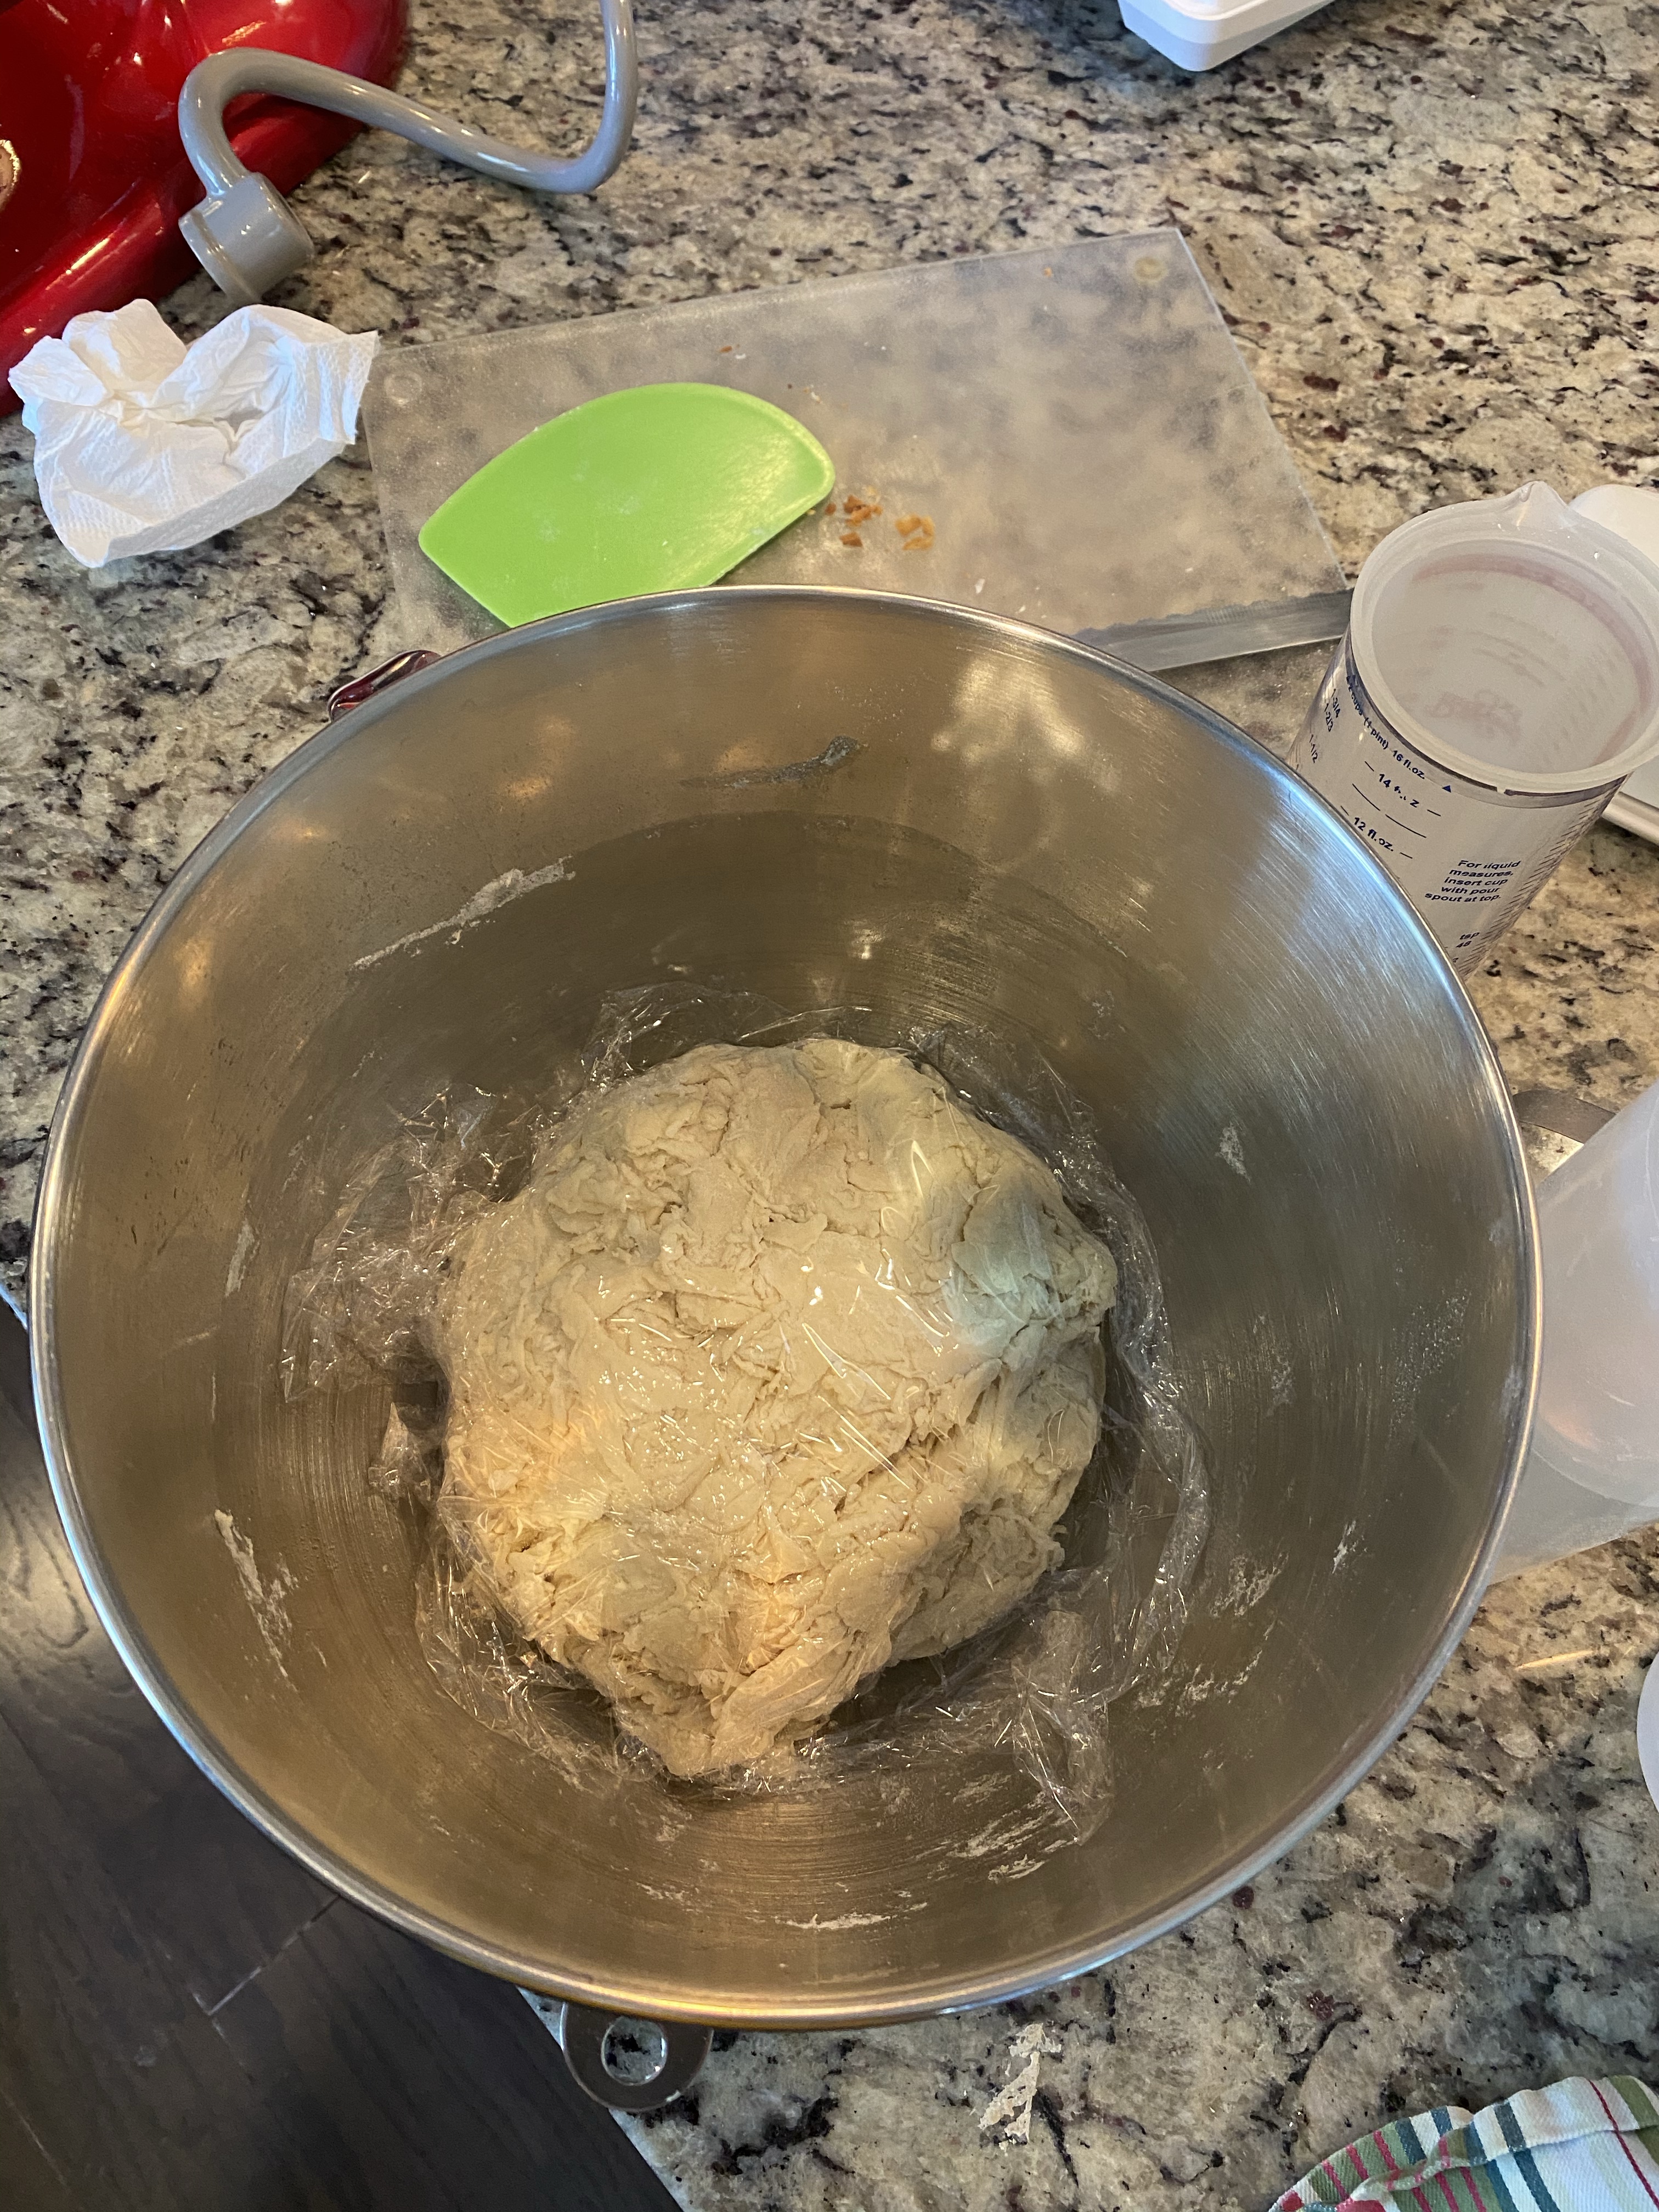
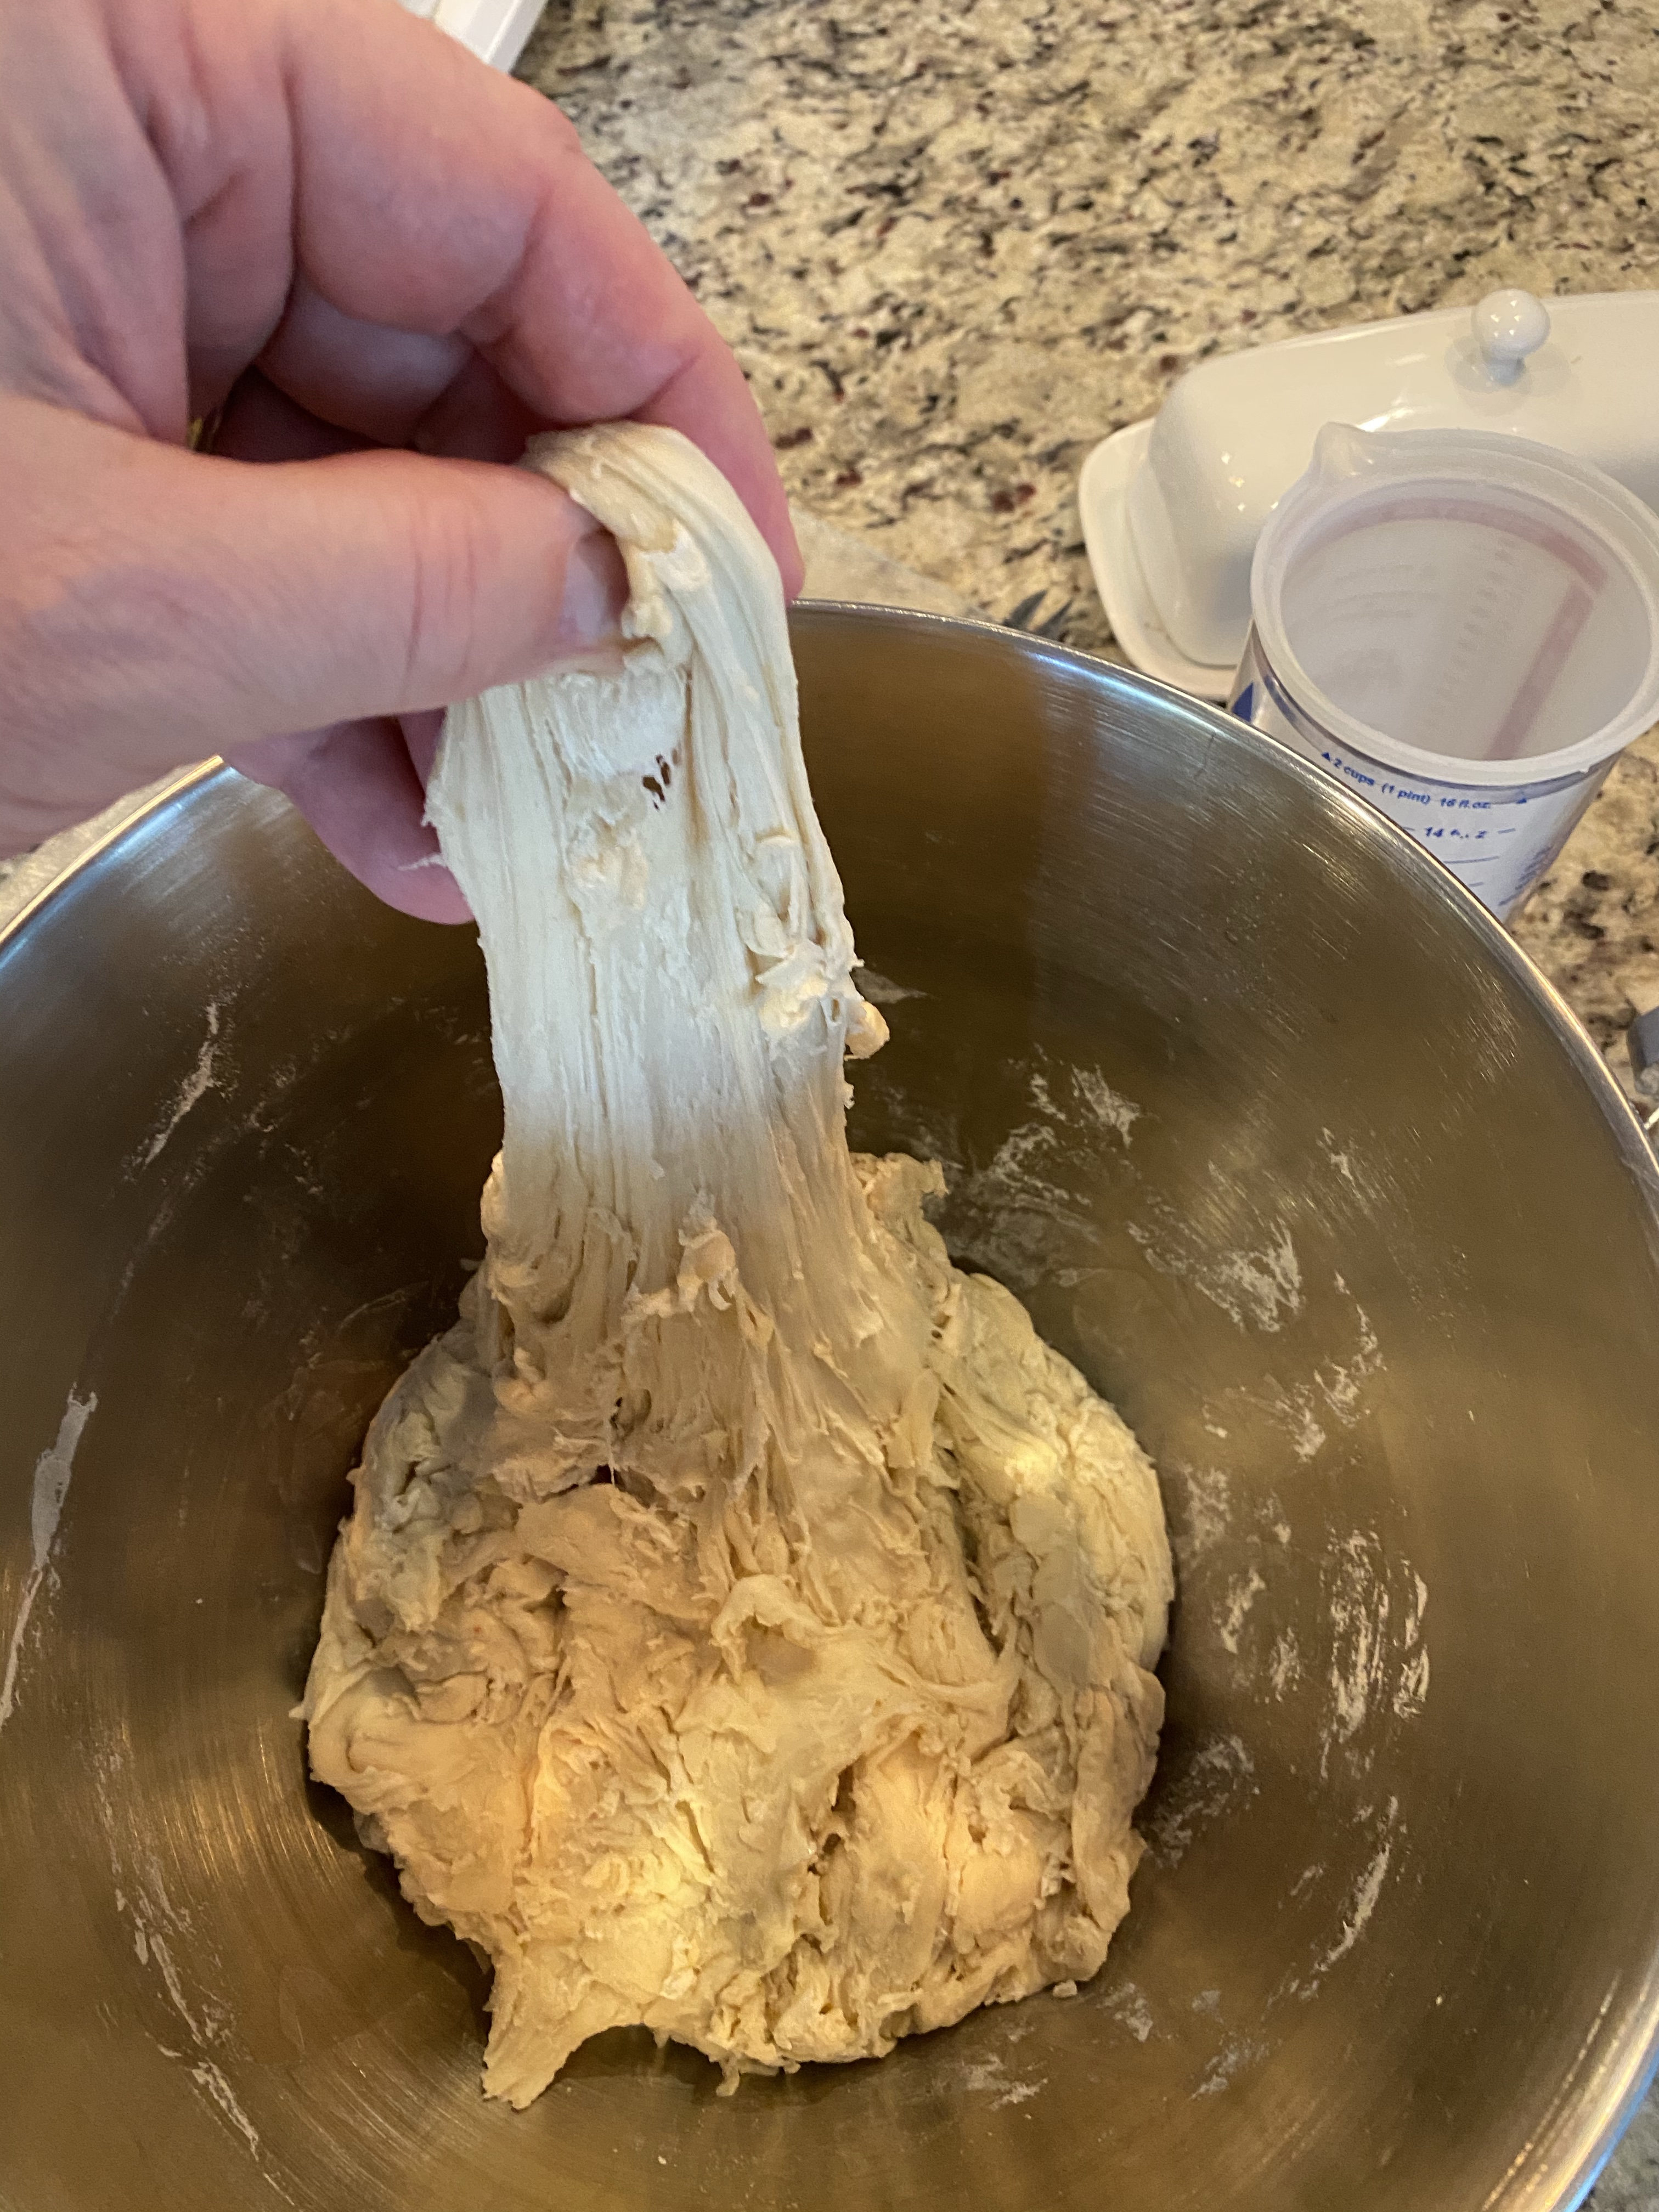
I found this moment to be interesting since the dough was stickier (higher hydration) than I’m used to with my previous loaves.

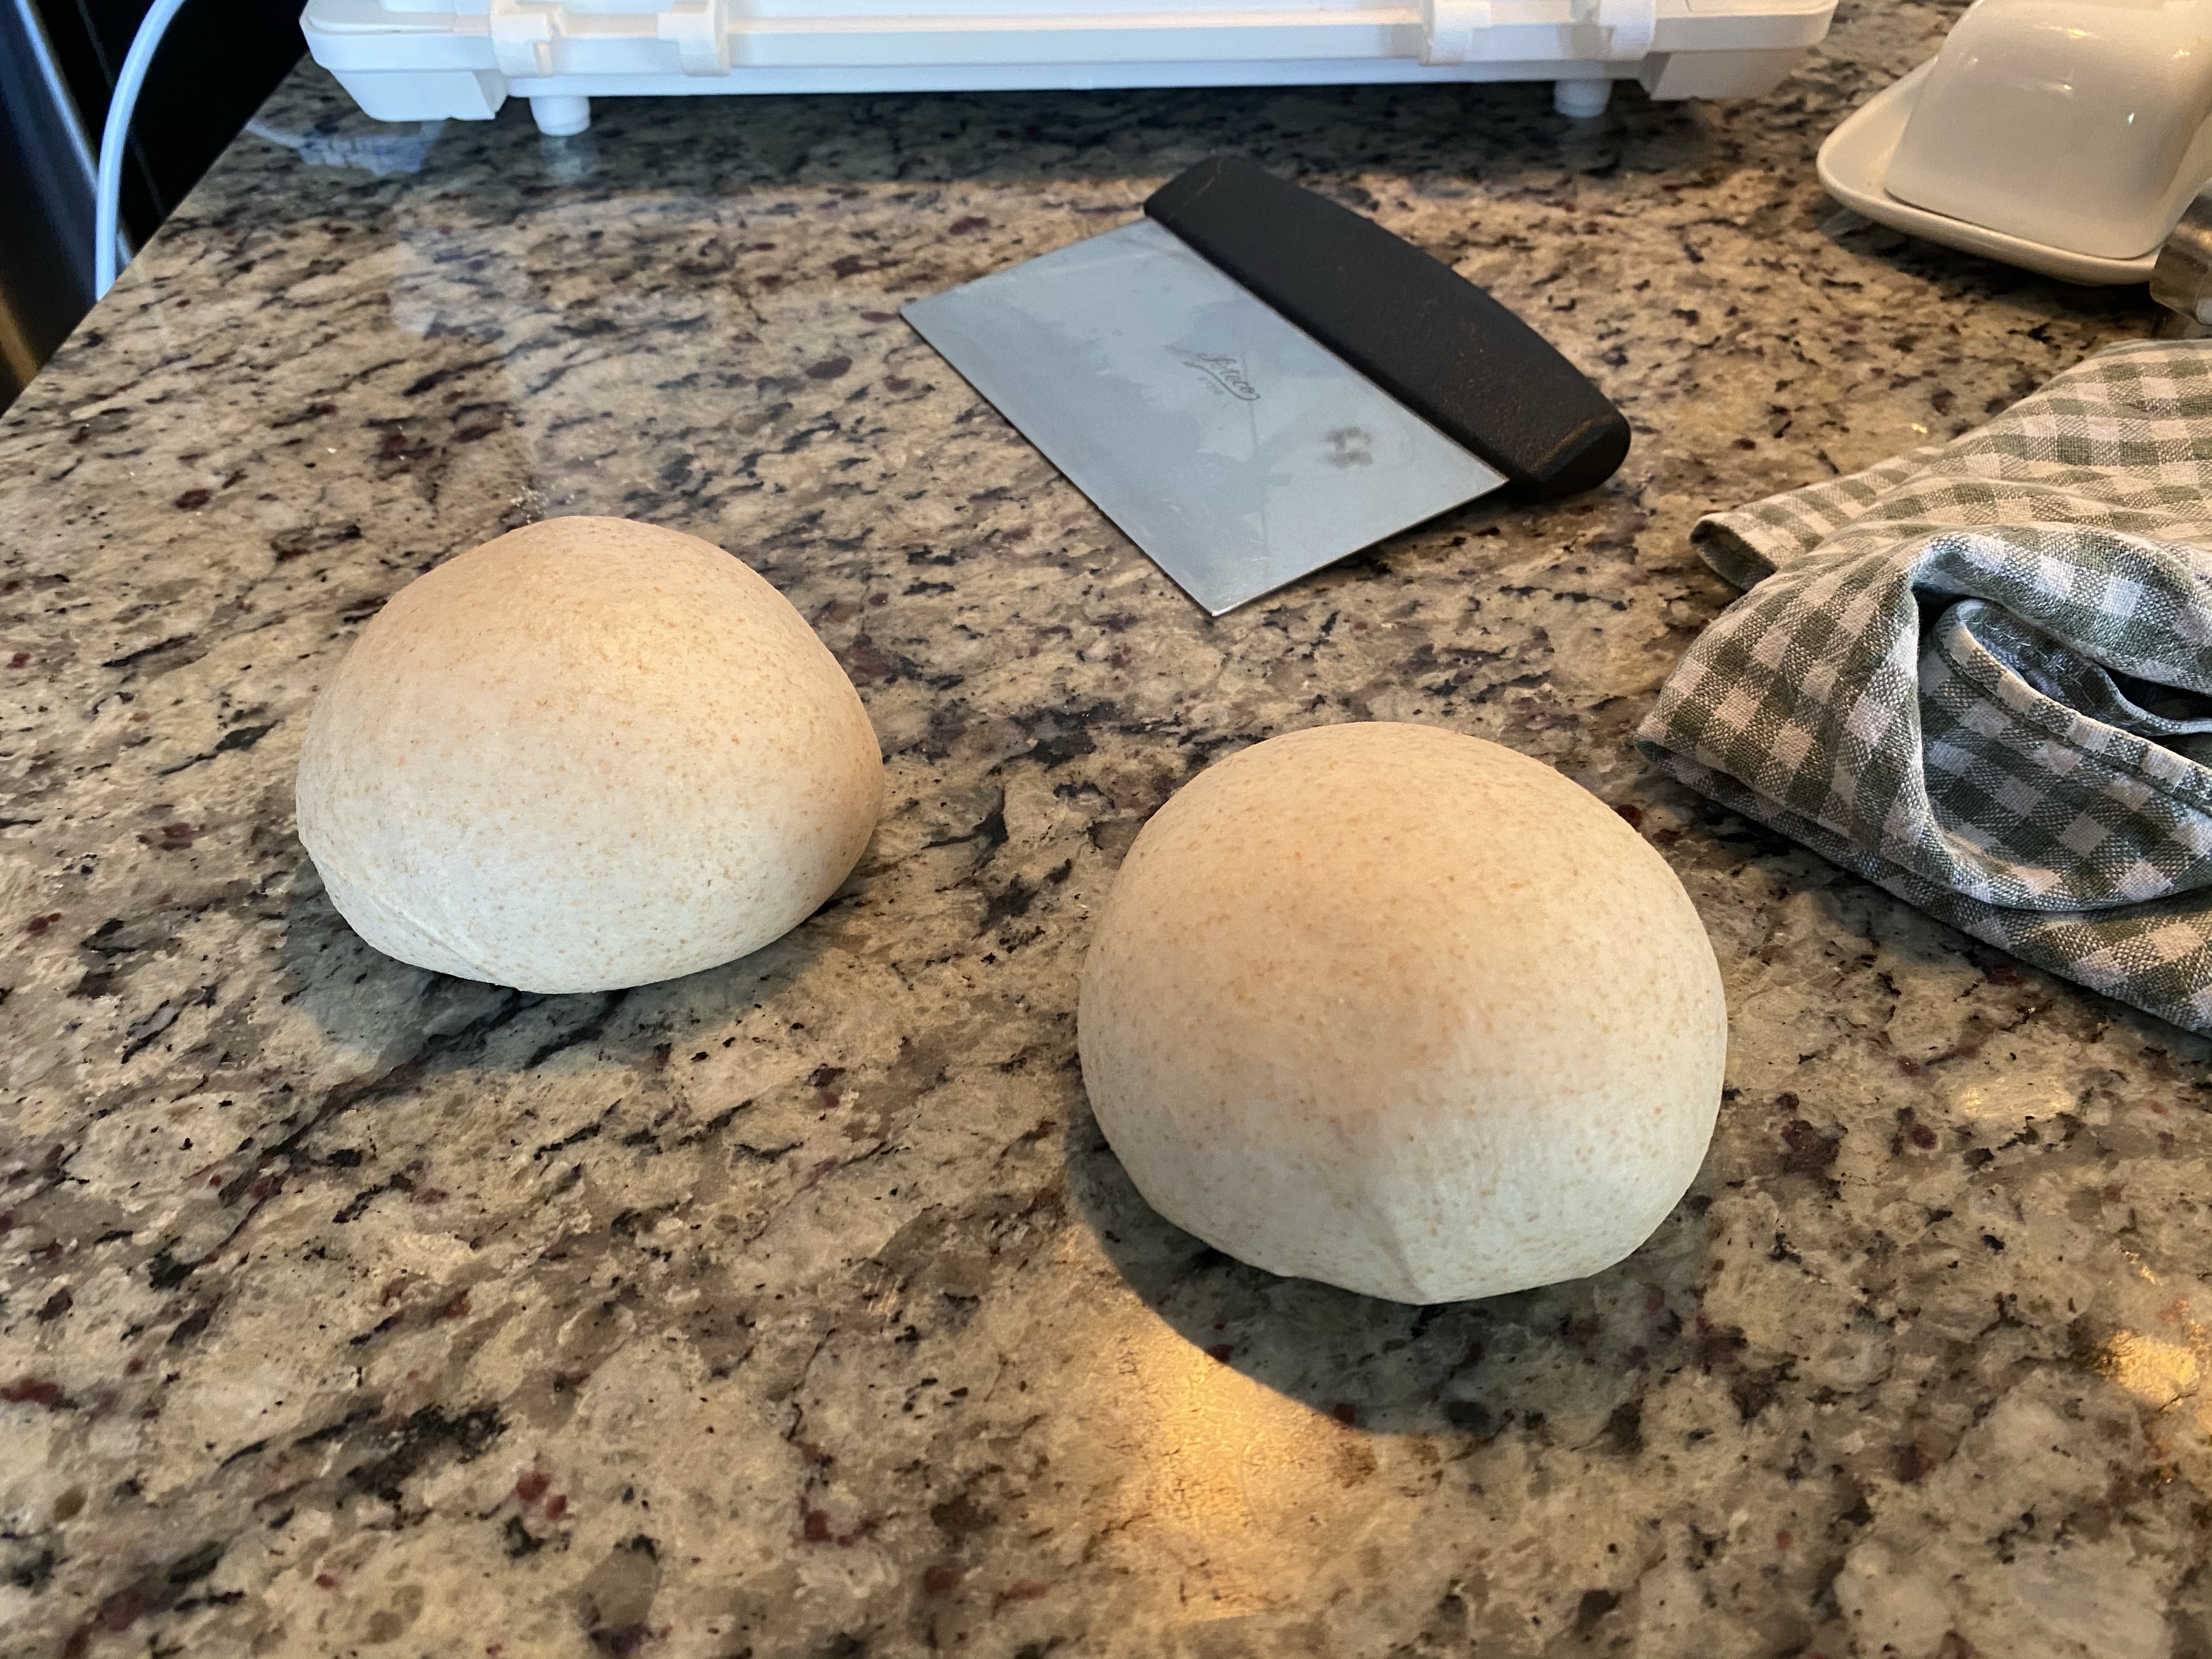
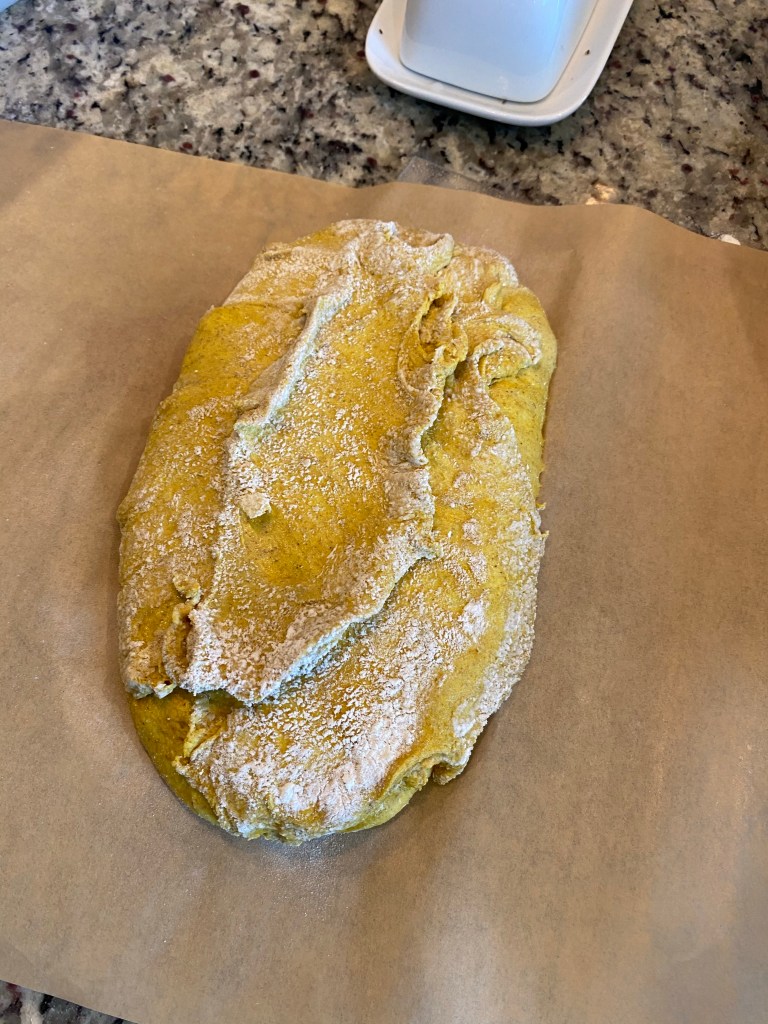
Preshaping was a bit of a challenge. I actually had to clean my hands and go look at one of my bread baking books which talked about high-hydration doughs. I was in the right direction so I moved on.

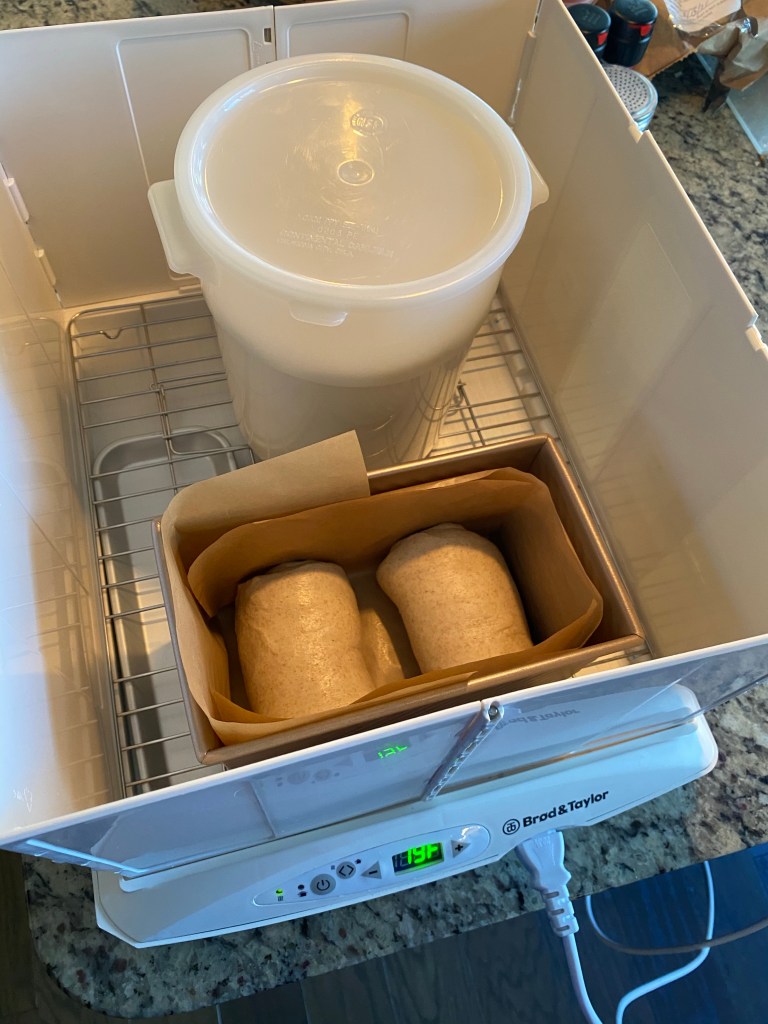
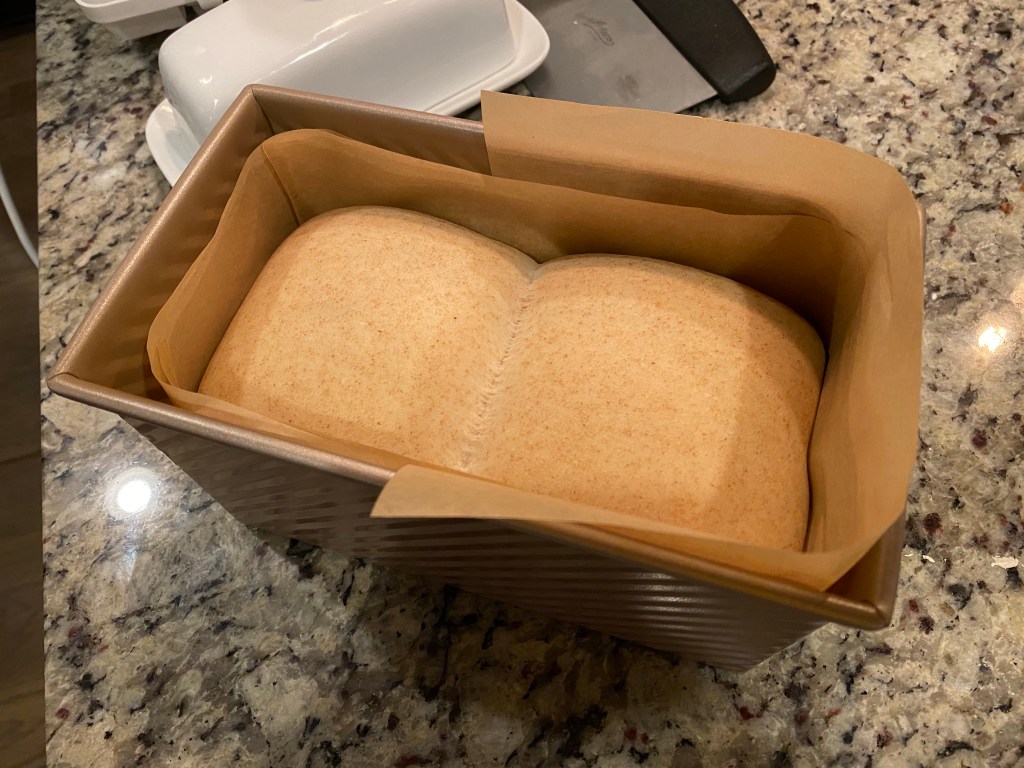
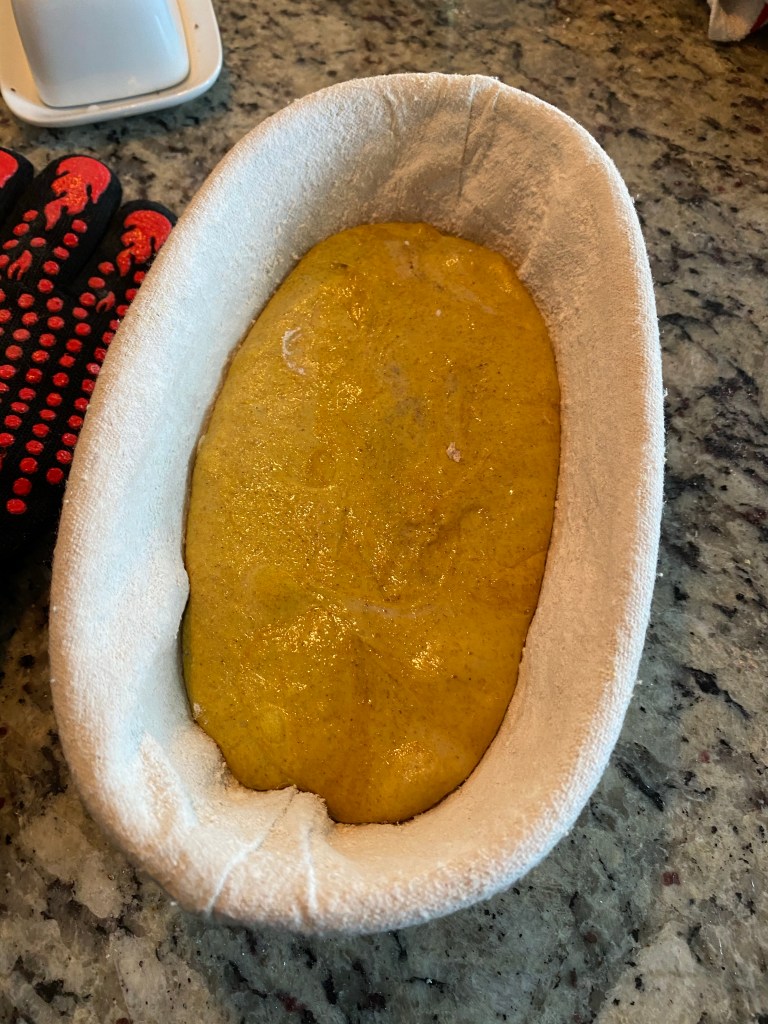
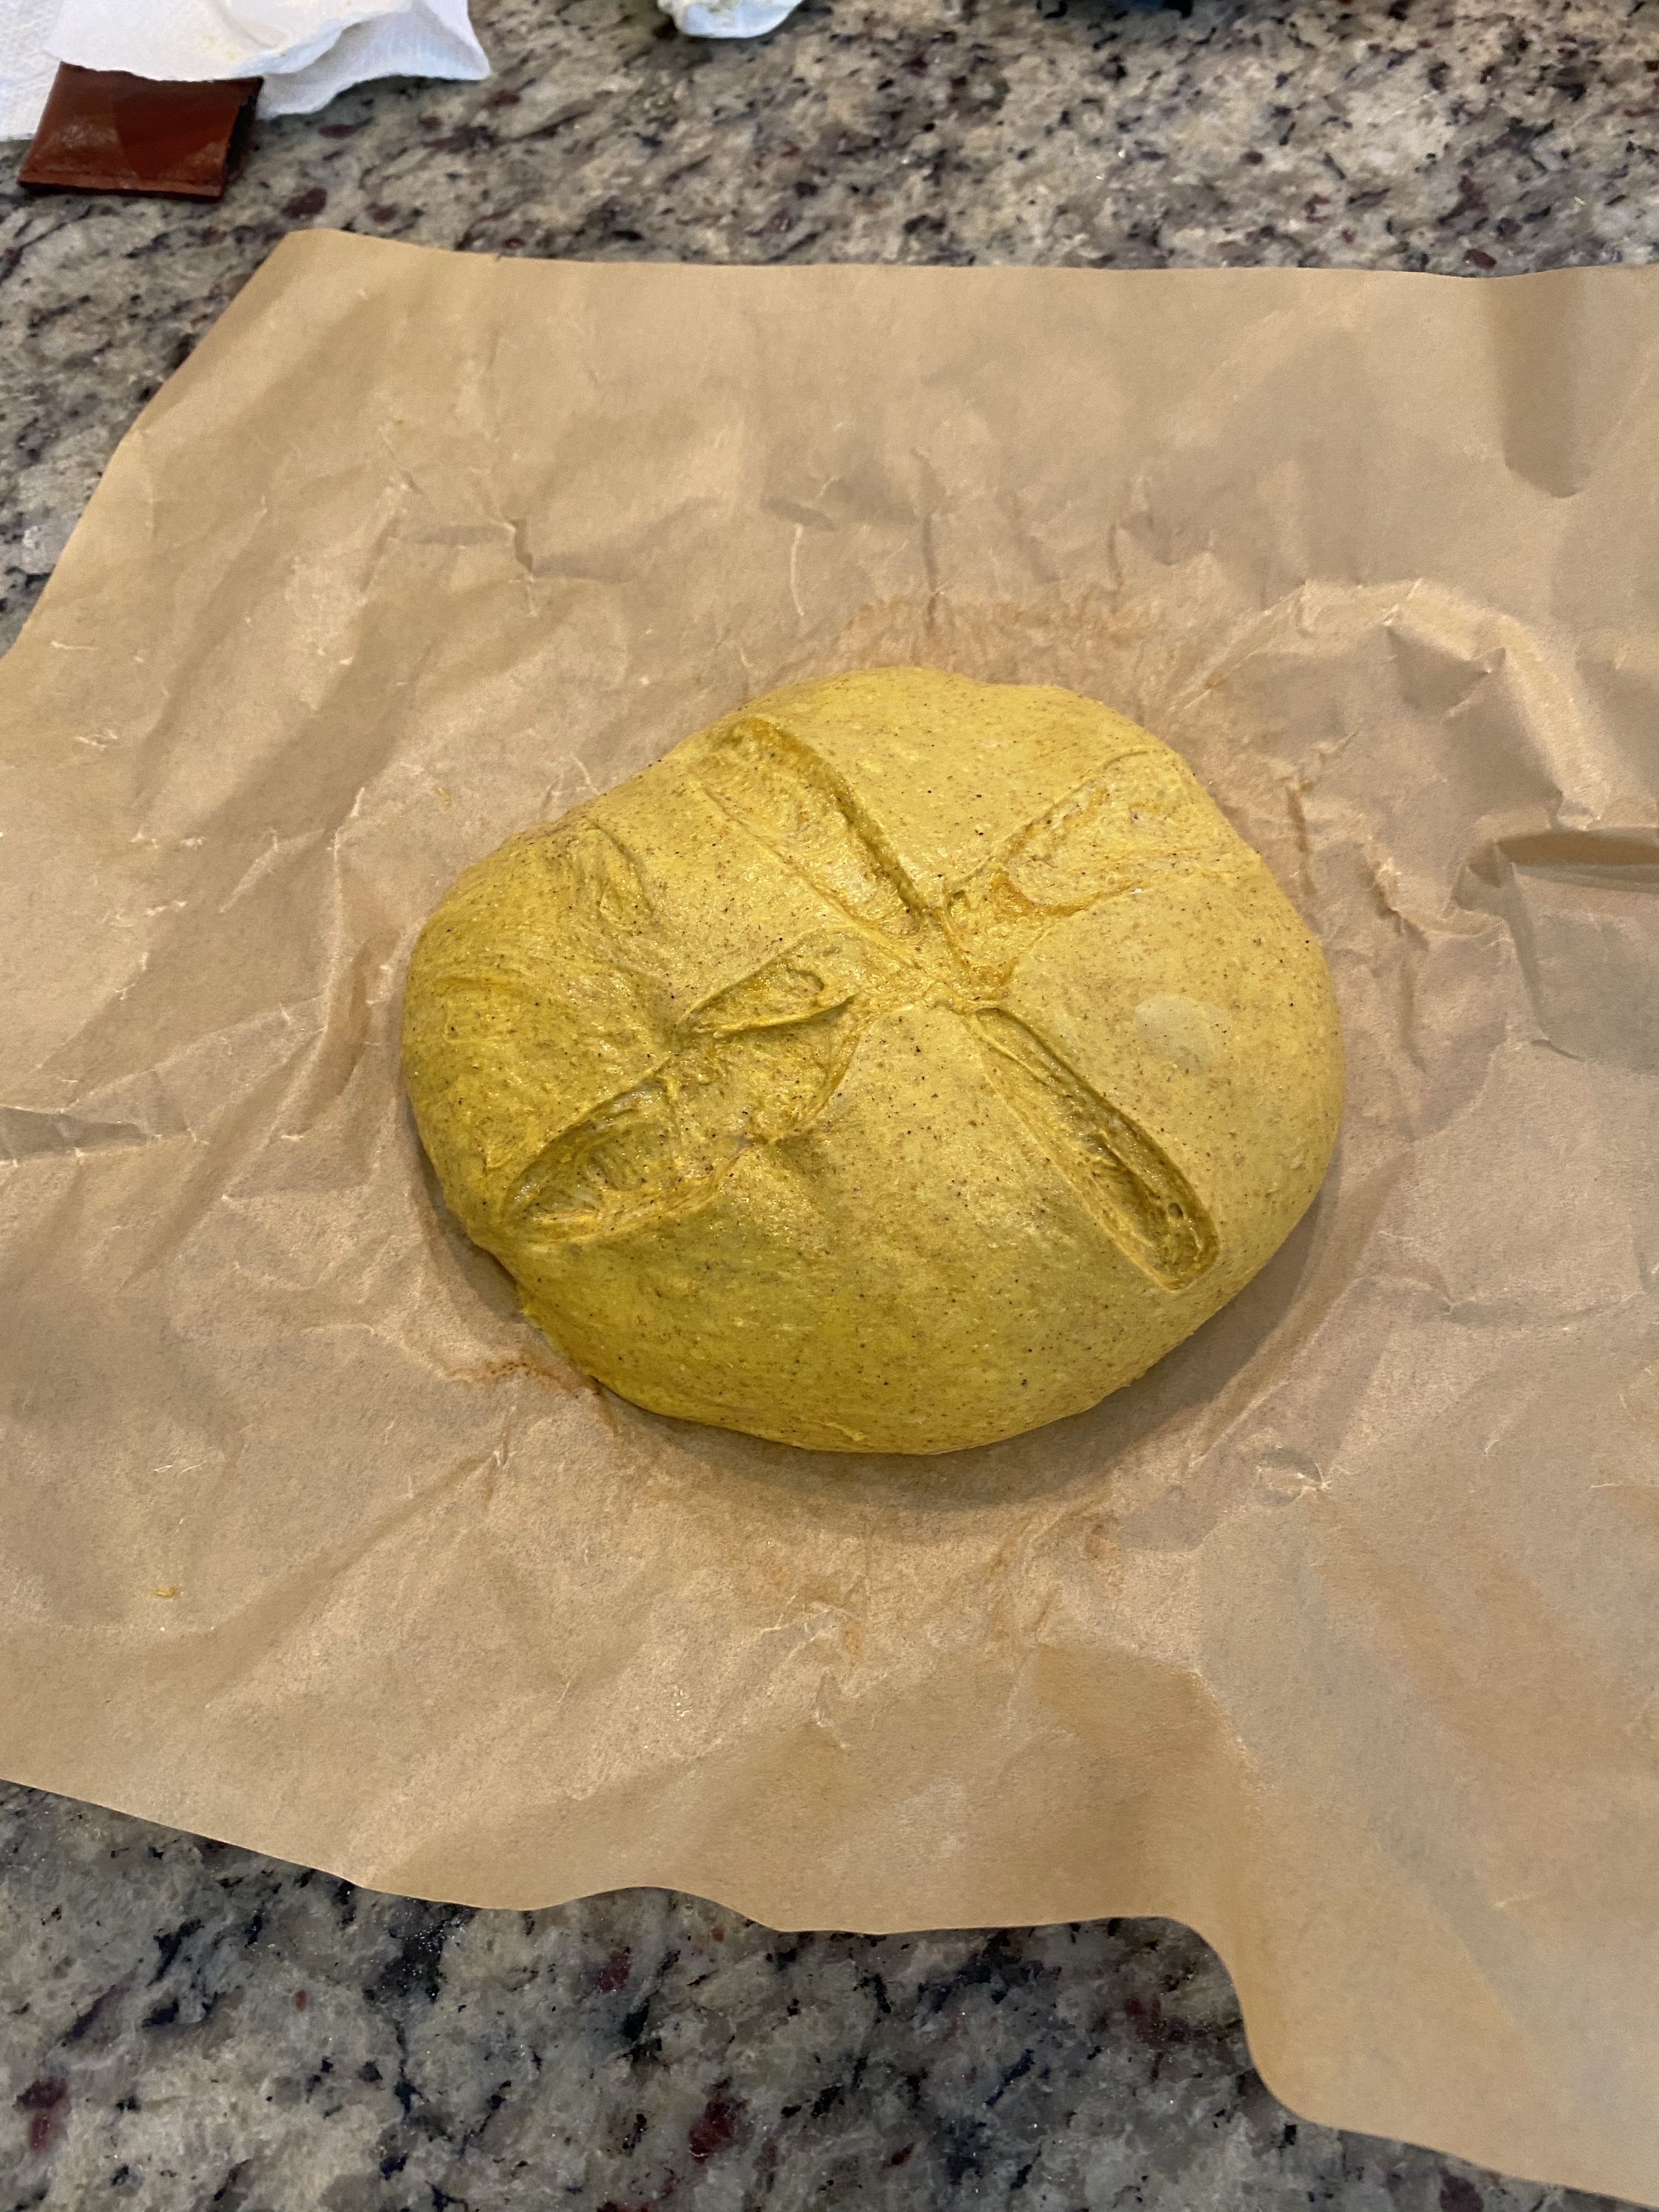
Once I got them preshaped I spritzed then dusted my bannetons, shaped my dough and plopped them in. The dough was VERY pillowy!

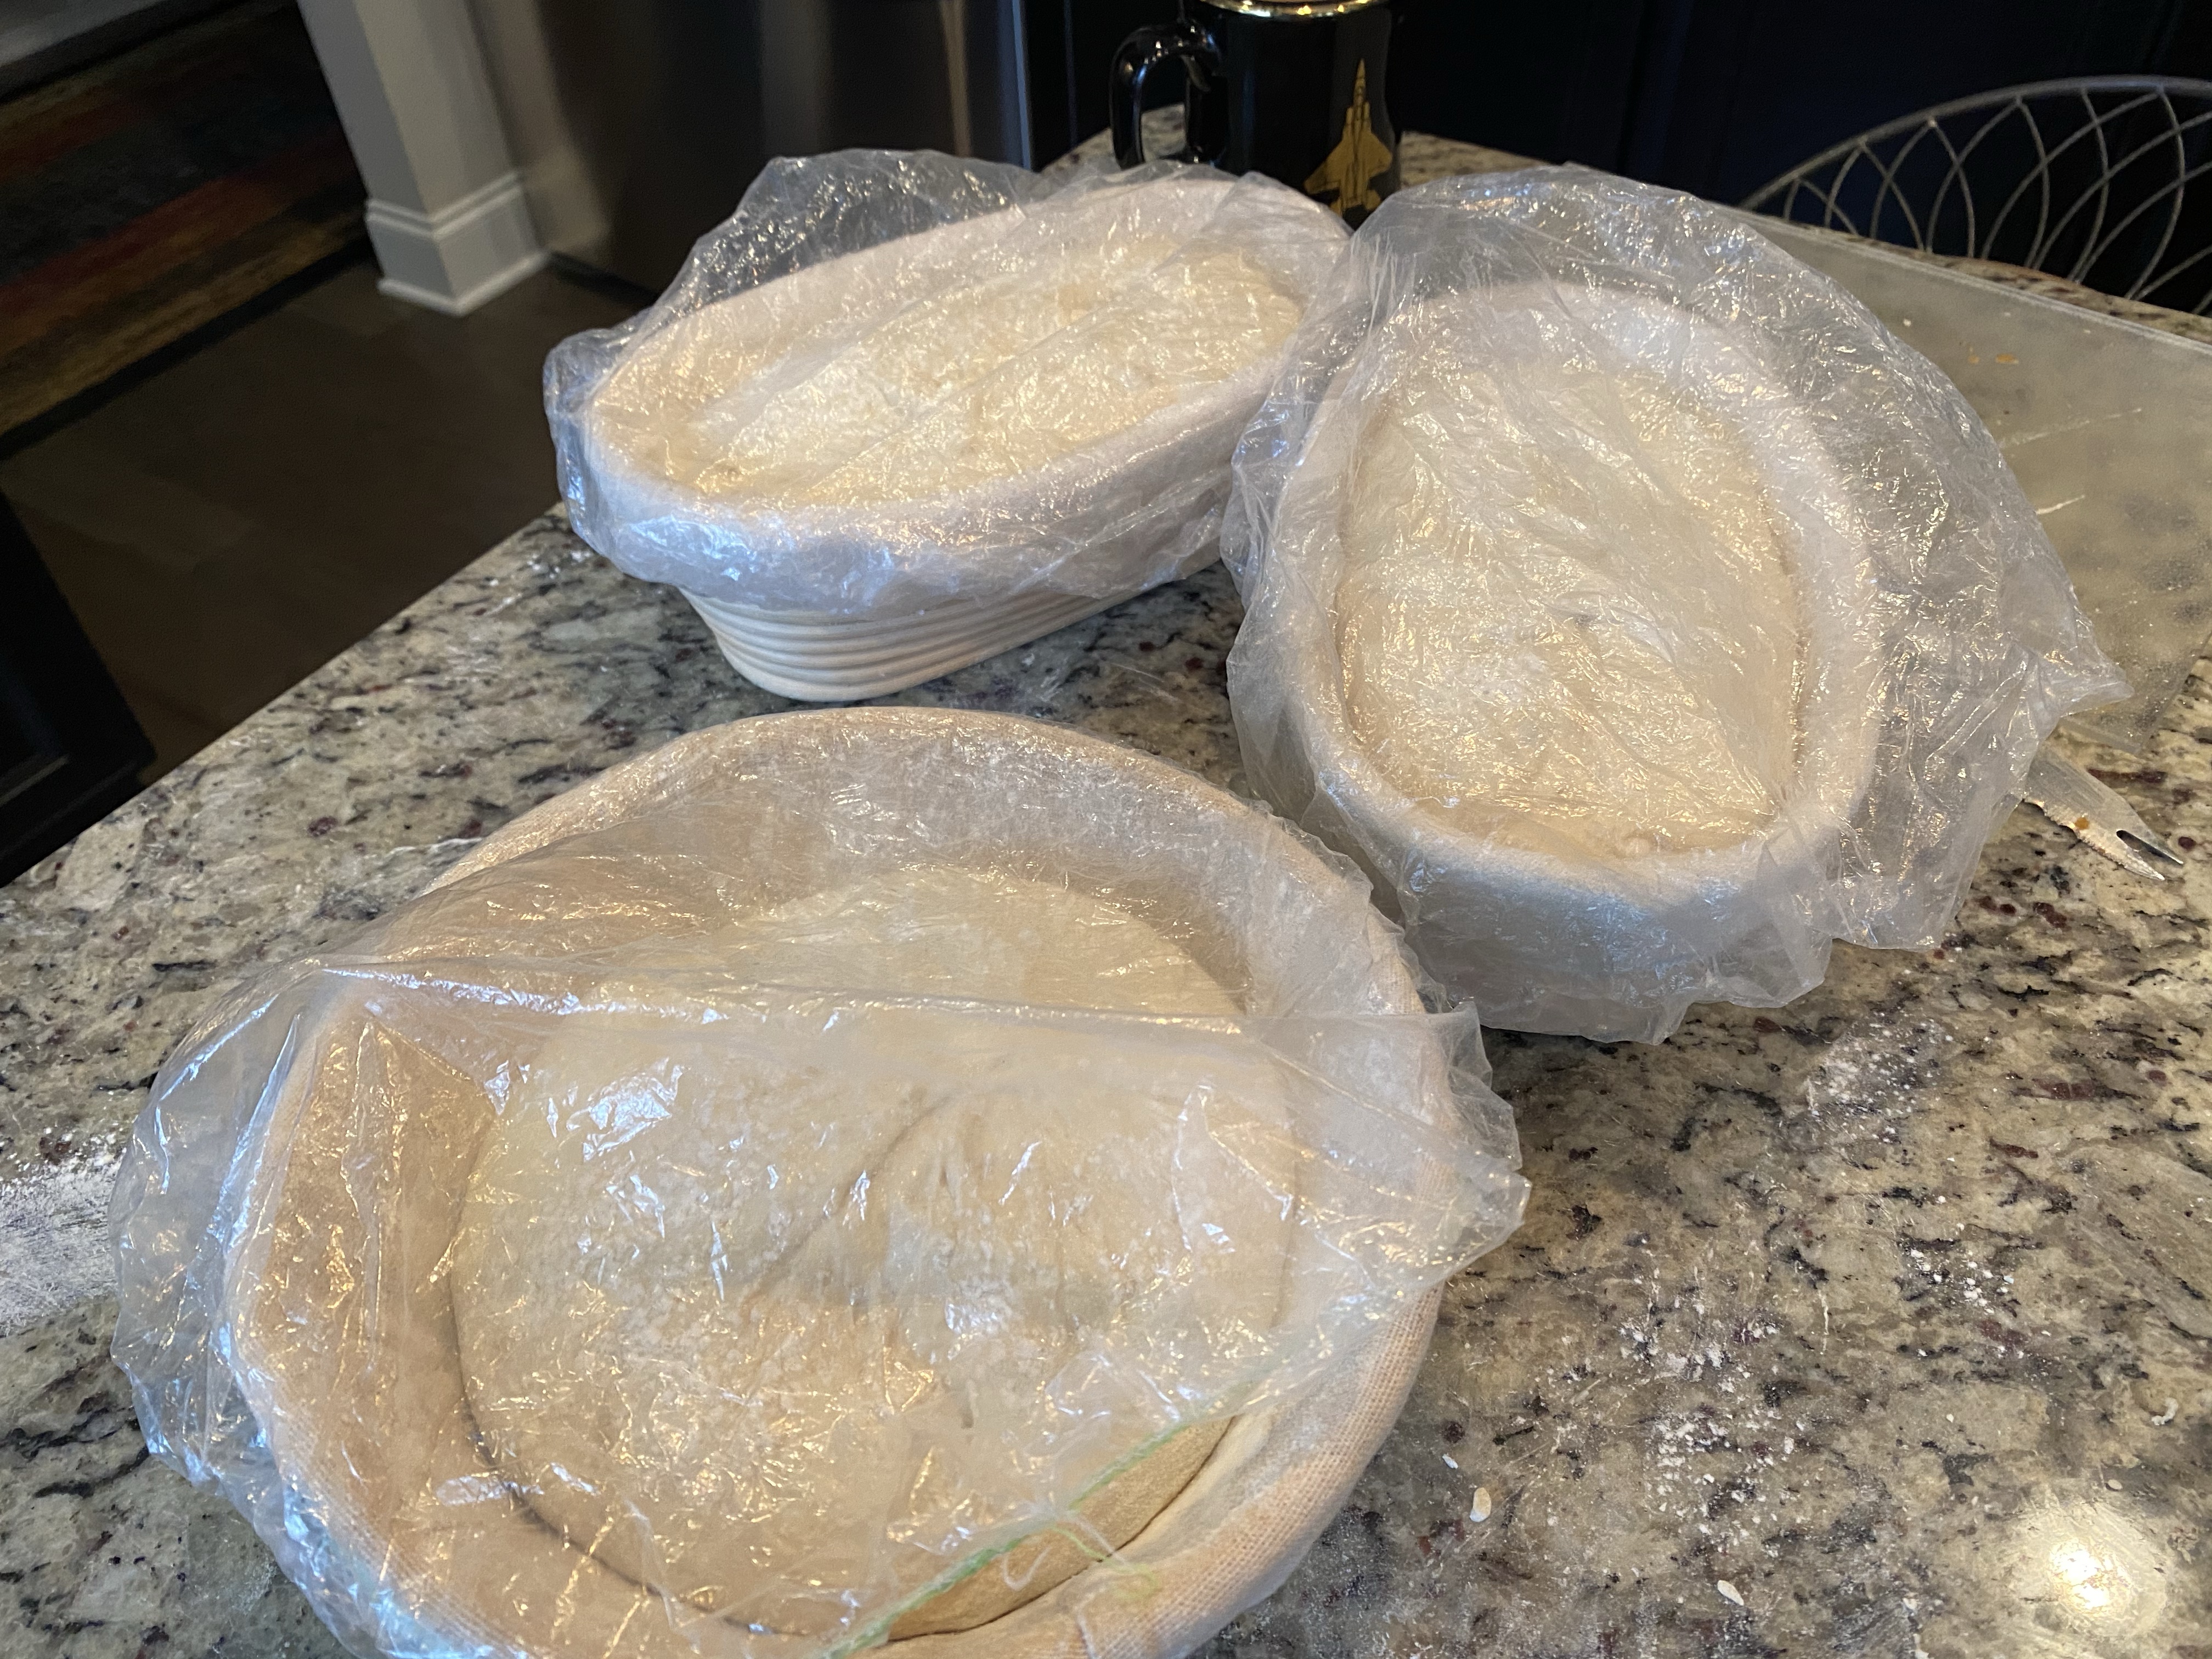
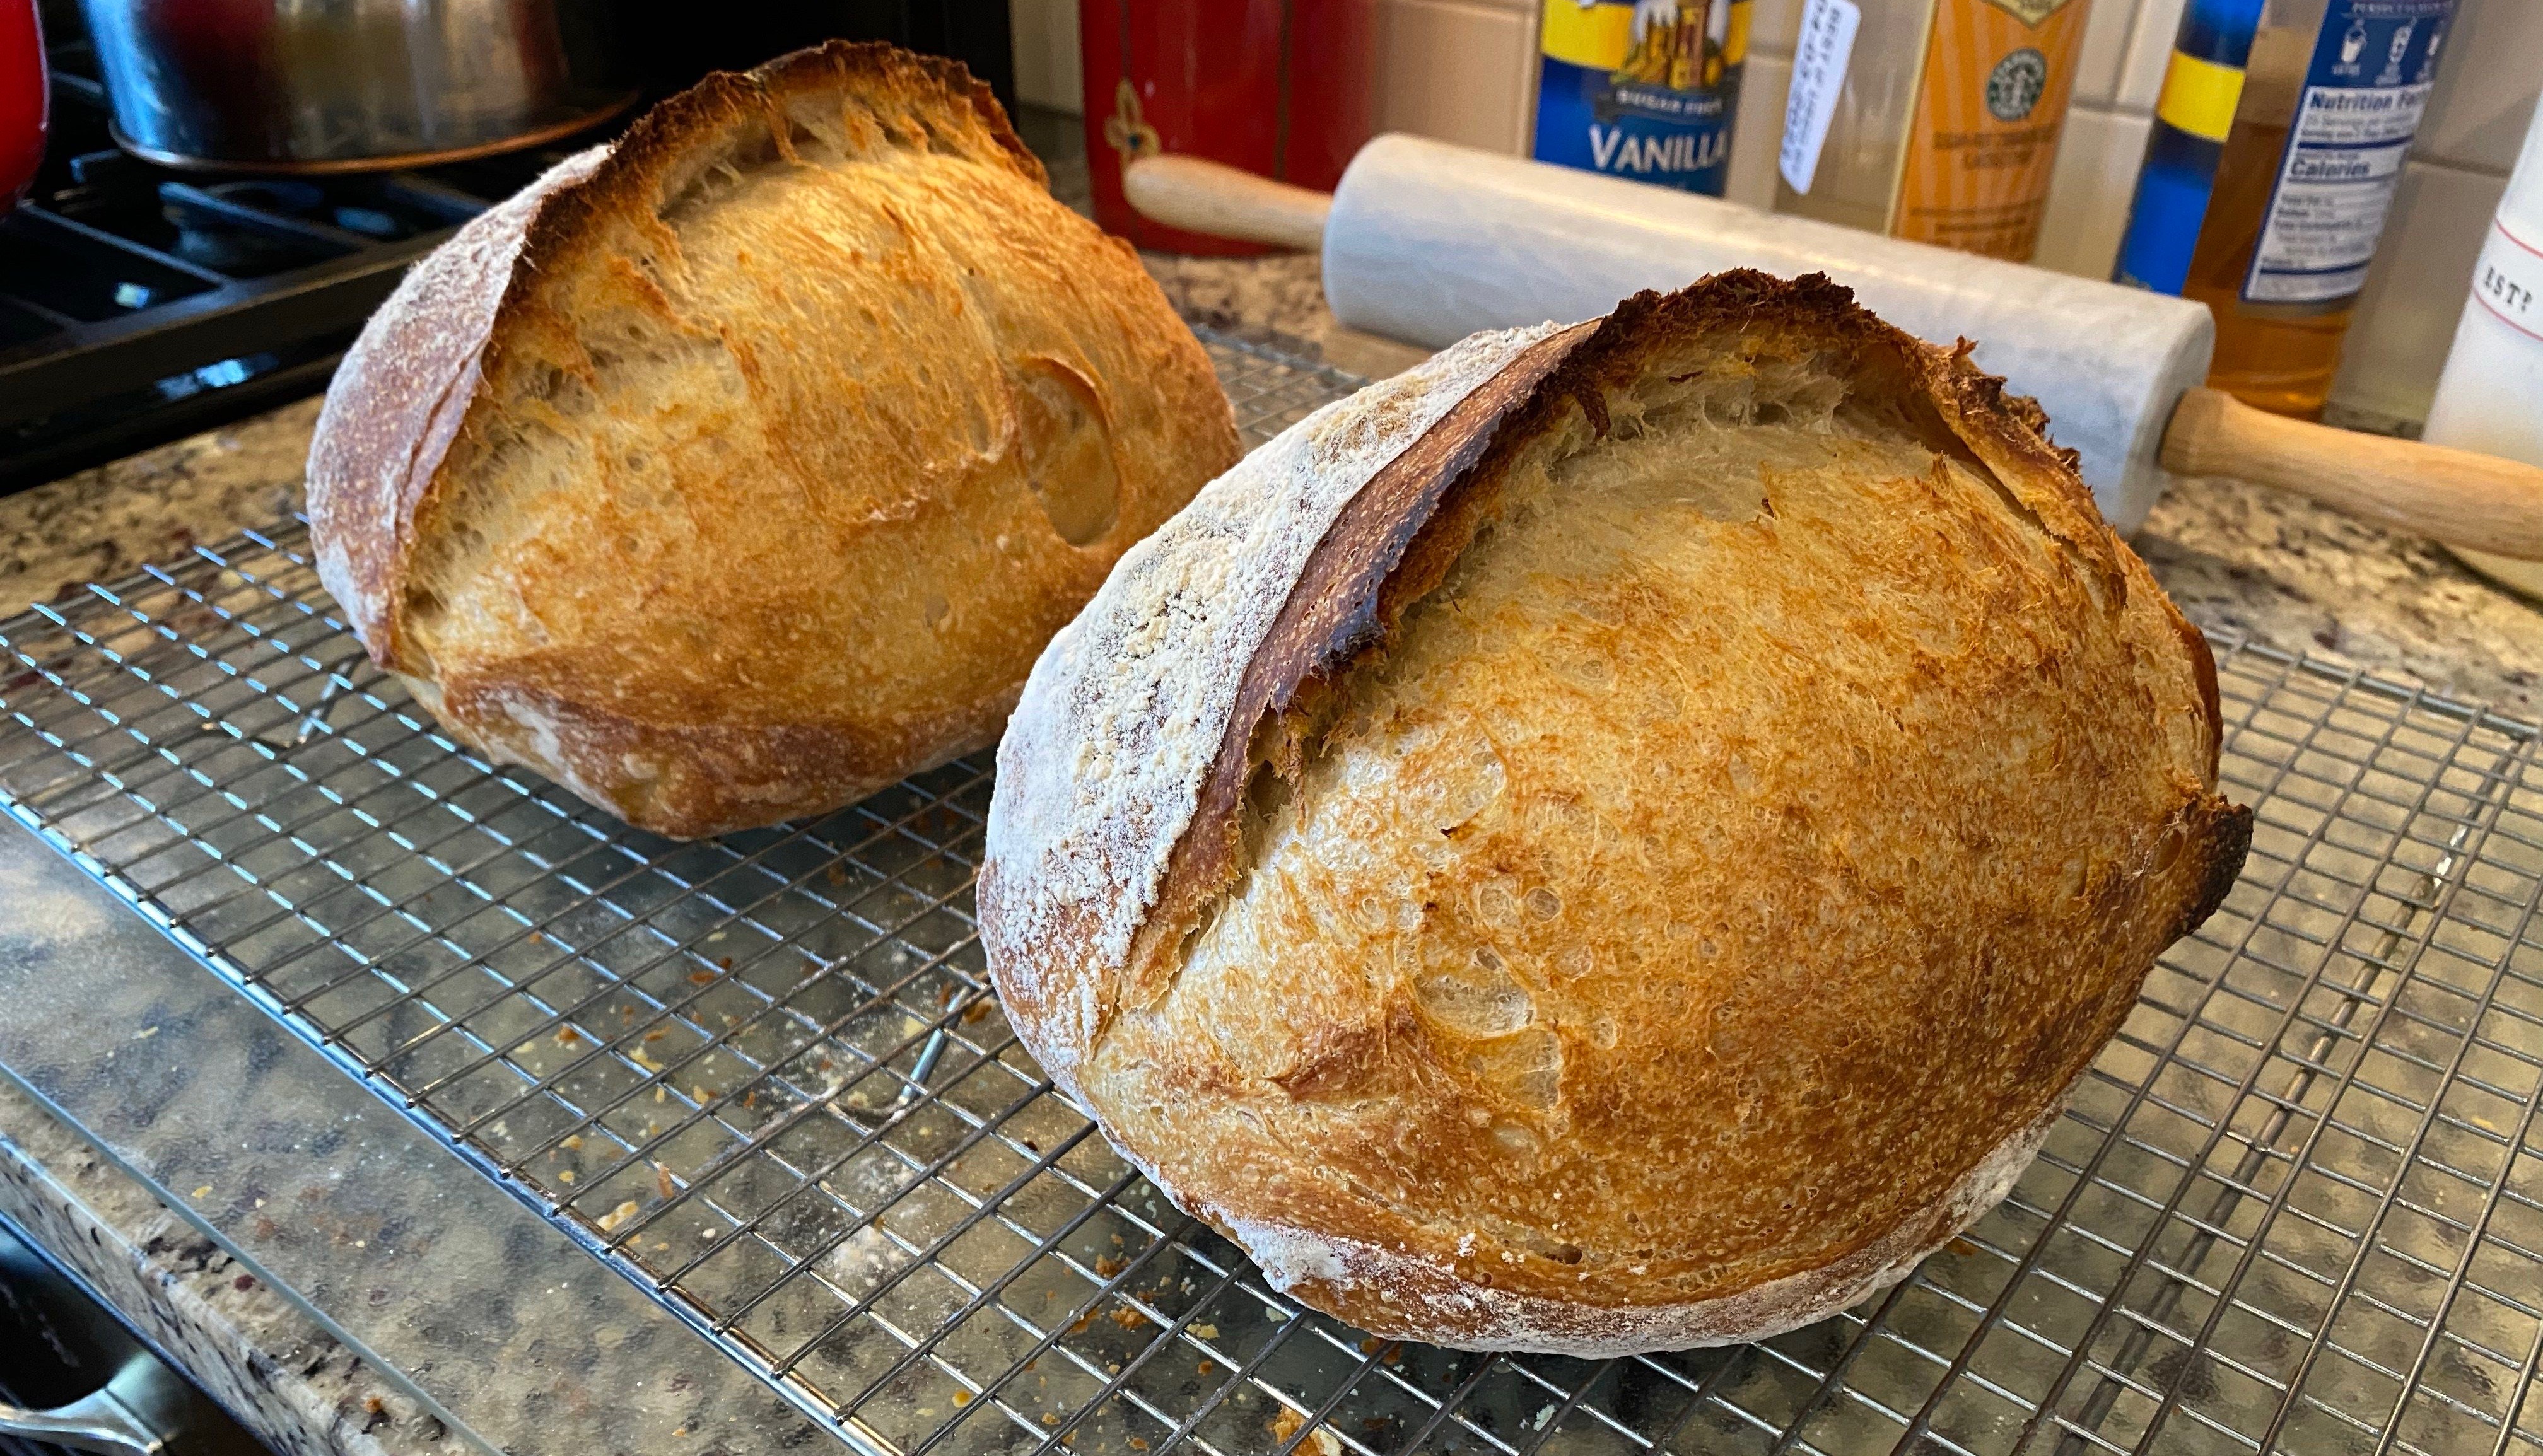
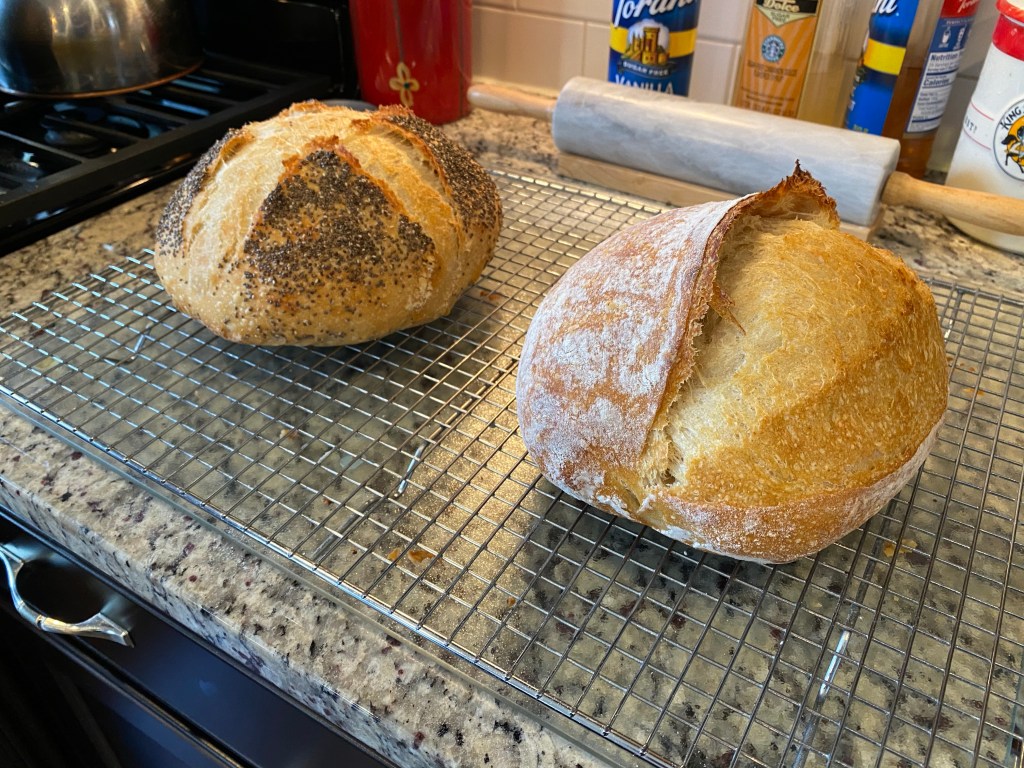
Now I’m going to let them cold prove at 37°F until tomorrow. I’m going to bake them directly from the fridge.

To be continued…

Trying a new method… (Part 1)

I’m trying a new method to increase the volume of dough mixed at the same time.

I started with 1500g of strong bread flour (King Arthur Sir Lancelot) and 1275g water (85% hydration). I mixed it up with my Swedish Dough hook and left it to autolyse for 2 hours.

Normally I mix with my KitchenAid with a spiral dough hook.

The Swedish Dough hook worked really well to incorporate the water and was a breeze to clean.

After 2 hours the dough looked like this…

After 2 hours of autolyse

Mixed in 300g fo sourdough starter (20%) with my Swedish dough hook.

Starting the bulk ferment adding sourdough starter

I’ll do a series of coil folds between now and when I go to bed in a couple hours. I’ll add 30g of salt (2%) during the last fold before I let it sit overnight on my counter.

Coil Folding with wet hands

Here’s what it looked like after my fourth set of coil folds.

Dough after coil folds and adding salt

The dough is now set to bulk ferment overnight. The dough volume is about 2 quarts on the measurement scale.

Bulk ferment until tomorrow morning

Interested to see what it looks like in the morning!

To be continued…

Sourdough Discard Sandwich Bread

I’m always on the prowl for ways to use my sourdough starter discard.

I saw a recipe from http://shebakesourdough that had some wonderful looking sandwich bread. Thought I’d give it a go!

RECIPE

  • 200g Bread Flour
  • 50g Whole Wheat Flour
  • 200g Sourdough Starter Discard (2-3 days old)
  • 100g Milk
  • 20g Heavy Cream
  • 30g Sugar
  • 7g Salt
  • 45g Butter (Unsalted)

Use a Pullman Tin 20x10x10 (centimeters) or 8”x4”x4”

METHOD

Mix all the ingredients (except the softened butter) together until the dough is elastic.

Add the butter and knead until the “window pane” stage. Note: This took me about 15 mins with my Kitchenaid spiral dough hook. I kept checking at 5-min increments.

Finally window paning!

Let dough rest covered for 30 minutes.

Divide dough into two equal parts. Preshape into balls and bench rest for another 15-20 minutes. My dough weighed 640g total so I had two 320g balls of dough.

After resting, shape the bread and place into the Pullman pan to rise. I chose to line my Pullman pan with parchment.

Into proving box

Shaping was simply stretching dough and rolling it up. The coiled ends are facing the long side of the pan.

Let rise about 85-90%. This took about 9 hours. I expected around 6+ hours since other sandwich bread I’ve done in my Pullman pans. I’ve also learned to be patient and decided to wait until they proved 85-90%.

After proving…

I brushed the top of the loaves with butter and placed in the oven to bake at 340°F for 25-30 minutes.

Well… THAT was the directions. Should have looked at how I’d done my other Pullman loaves. They were baked at 400°F for 25 minutes and an additional 30 minutes at 350°F.

Twenty-five minutes at 340°F just wasn’t long enough! Therefore, I boosted the temp in my oven to 375°F and added another 25 minutes to my bake.

Here how it came out…

Internal temperature was 207°F. That’s good! I was looking for over 200°F.

Nice and brown and felt good coming out of the Pullman pan. Next time I think I’ll egg wash instead of baste with butter. I’ll get a more shiny crust on top.

Tomorrow after it cools I’ll cut into it and see the crumb.

UPDATE

Here is a crumb cross-section of the loaf.

Crumb cross-section

Moist. Nice crust. Tasty. Excellent for toast in the morning! Definitely going to be used for a BLT this afternoon!

Sourdough Croissant Observations

This morning I cut into a croissant that I baked yesterday afternoon (and ate it soon afterwards!)

I’ve been trying my best to see what I can do to affect the cross-section crumb to get the “honeycomb” I see mores skilled bakers attain.

On this last bake I had played with my lock-in technique. And (again) inadvertently played with my baking temp.

During lock-in I wasn’t as patient and ended up breaking my butter. But not as egregiously as before.

I proved for 4 hours and ended up baking at 400°F (convection) because again I was distracted. Baking time was 15 minutes without opening my oven.

Here is how the crumb turned out…

This morning’s croissant

I looked back to my most recent bakes and example cross-sections from those croissants.

Something is going on here…

You can see in the previous bakes lots of larger pockets and more dense dough sections.

I just can’t seem to figure out what the combination of variables is doing.

I’m leaning towards needing the 4+ hour final prove given my ambient temperature in my house. I’m also thinking 400°F (convection) maybe the right thing as well.

Next time I’ll be intentional about keeping those variables in play.

Technique Tweak Wasn’t a Fluke!

I was able to recreate similar oven bloom results applying the tweaks to my feeding and autolyse methods.

The results from my experiment were NOT a fluke! Yay!!

I’m pleased with these results and will continue to use them going forward as my “standard method”.

Always learning…

Sourdough Experiment (Part 2)

Whoa!

Nice oven spring!!

I am VERY pleased with these results!

I took the dough out of fridge at 8am, divided it and pre-shaped into rounds.

Bench-rested for an hour covered with a towel before final shaping and then placing into bannetons. I then put the loaves into my proving box for another 1.5 hours while my Dutch ovens got to temp.

Yay!!! Like how these loaves turned out!

Sourdough Experiment (Part 1)

I’m continuing to experiment and tweak my technique.

Lately I’ve been wondering about the oven spring and how my technique early on in my bakes are affecting my end results.

Tweak #1: Starter Feeding

I typically bake sourdough bread once a week. Pre-COVID-19 I traveled for work Monday – Thursday. I would store my starter in the fridge. Thursday evening I usually returned home at 9:30pm. I’d feed my starter about 10pm on a 1:1:1 ratio (110g each of starter, water and my 50/50 blend of Bread and Whole Wheat King Arthur flour).

This time I fed it on a 1:5:5 ratio (30g starter and 150g each of water and my 50/50 blend of flour).

I’d like to see I’d the starter became more active and less acidic (stronger bubbles).

Very Active Starter

Tweak #2: Autolyse

I’ve autolysed like everyone else for “about an hour”. I’d take my flour, add the water and mix with my KitchenAid mixer (spiral dough hook attachment). It was almost a pre-knead since I did this for about 6 mins).

This time I mixed it by hand and let it sit for 2+ hours. I spritzed it with water and covered with cling wrap so the surface wouldn’t dry out.

I then mixed in my levain that I had prepared (500g for this recipe). I made this amount by taking 100g from my fed starter above and 200g each of water and strong bread flour.

Levain is ready!

I mixed in the levain and by doing so started my bulk ferment. About 30 minutes later I added the salt.

I then cover the dough and set it into my fridge. This was about 8pm and I will pull out at 8am Sunday

Excited to see what my results will be…

To be continued….

Turmeric-Cinnamon Sourdough (Part 2)

Today is bake day for my Turmeric-Cinnamon loaf experiment.

I’ve baked my normal loaves first. A chia-covered Boule and a regular Batard. They came out nicely.

Regular sourdough loaves… NOT my experiment!

As the loaves above were baking I pulled out the banneton with the Turmeric-cinnamon dough. As expected it wasn’t filling the banneton as full as the other loaves. I expected this because the loaf weight was about 2/3 my other loaves. I also expected different results due to the added ingredients.

Out of fridge

However, this is where the “fun” began. The dough stuck to the cloth in the banneton! It was ugly!!

Ugly, degassed loaf!

Decided that I’d do a bit of reshaping into a boule / round, score and bake.

Popped into Dutch oven to bake. Lower time due to it being a smaller loaf.

Out of the Dutch Oven and continued baking on stone.

Well… THAT was an experiment. Not much oven bloom. Loaf was really dense and moist. Thinking under proved….

There are pockets of holes; however, I think they’re due to shaping at end and I captured pockets of air.

Taste is different. Not sure what I actually expected. No real cinnamon notes , but then again I’ve much more Turmeric in this attempt than I intended.

I am going to try lamination technique again in the future.

The journey continues…

UPDATE: My wife says the taste of the bread “has promise”. She also agreed on all my other observations. No admission of defeat. Will need to try again.

Oh… Turmeric does a nice job of staining my dish towels yellow!

Turmeric-Cinnamon Sourdough (Part 1)

Thought I’d try my hand at a laminated sourdough leveraging some different techniques than I usually employ.

These techniques involve adding Spelt flour, dividing the dough into two parts adding Turmeric to the second.

I started by mixing the flour with water and letting it autolyse for 2 hours.

I added sourdough levain and salt later about 45 minutes spacing.

I then stretched out the regular and then the yellow hued turmeric dough.

This is where my experiment took an unexpected turn. I’m was meaning to sprinkle cinnamon. Unfortunately, I had left the turmeric on the counter. Yep…Oops!

I didn’t realize my mistake until after lamination.

Dough laminated

I sprinkled Cinnamon on top and tried a bit of additional folding. Before putting into my proving box for another 3 hours.

Dough going into my prover for 3 hours

I’m going to do 3 coil folds every hour before shaping and putting into a banneton overnight.

The coil folds develop strength in the dough.

After about three hours and periodic coil folds I have the dough shaped and in the banneton to sit overnight in the fridge.

In the banneton

Well… we’ll see how this experiment turns out tomorrow. To be continued…

Sourdough Croissants – Pushing the Envelope

Today I “pushed the envelope” on my final proof.

To be honest, this whole batch is going to be suspect. My head wasn’t in the game due to work commitments et al. Had a really difficult time focusing.

As a result I was impatient in my butter lock-in and shattered the butter. My folding/lamination was below par. Overall not my best effort.

So… why not experiment and push the prove?

Went for 4 hours (8am to Noon)

Boy did the “prove”… right to the wiggle and beyond! Starter to totally unravel. Totally ugly.

My over-proved croissants

Note the really ugly spiral in the middle is scrap that I decided to bake. There are five “croissants “ on the tray.

Another (inadvertent) experiment was baking at 400°F (convection).

I had intended to preheat at that temperature but bake at 375°F (convection). I was doing that to adjust for the “ice cube effect“ created by putting in a relatively cold tray.

I forgot to turn my oven down.

Here is how they came out…

My “ugly” croissants!

As well expected a bit darker. However, they weren’t burnt. The amount of butter in the tray was minimal which was nice.

Once cooled I’ll check the lamination and “honeycomb” structure.

The experiment continues…

UPDATE

Here is a cross-section view of the crumb. It’s so-so; but not as bad as I had imagined it might be.

As you can see the lamination or honeycomb is not wee developed. It has the spiral but looks a lot like bread or brioche. I thinks this may be due to my breaking of the butter. As a result dough touched dough without a layer of butter separating them.

Next time I’ll need to be more patient with my butter lock-in