Bear was my callsign when I flew F-4’s and F-15E’s in the USAF.
I like to cook and have recently been really focusing on my baking.
I’m on a quest to perfect sourdough bread, croissants and pastries.
My intent is to share my love of baking and my journey to becoming a better baker.
Someday I’m going to not have a “job” and I will be able to devote much more time and attention to my baking than I currently am able to dedicate. When that time comes I’d like to possibly start a business. Until that time you’re welcome to come along on my journey of discovery. I’ll share my ups and downs as I go; both triumphs and those “Well, THAT was a learning experience!” moments!
Feel free to connect with me. I love to connect with folks that share my love of baking, that are learning and experimenting and that don’t mind sharing their experience(s).
My hope is that in a year or so I will have made new friends, learned how to be a better baker and brought smiles to those who I’ve had the privilege to walk this journey alongside.
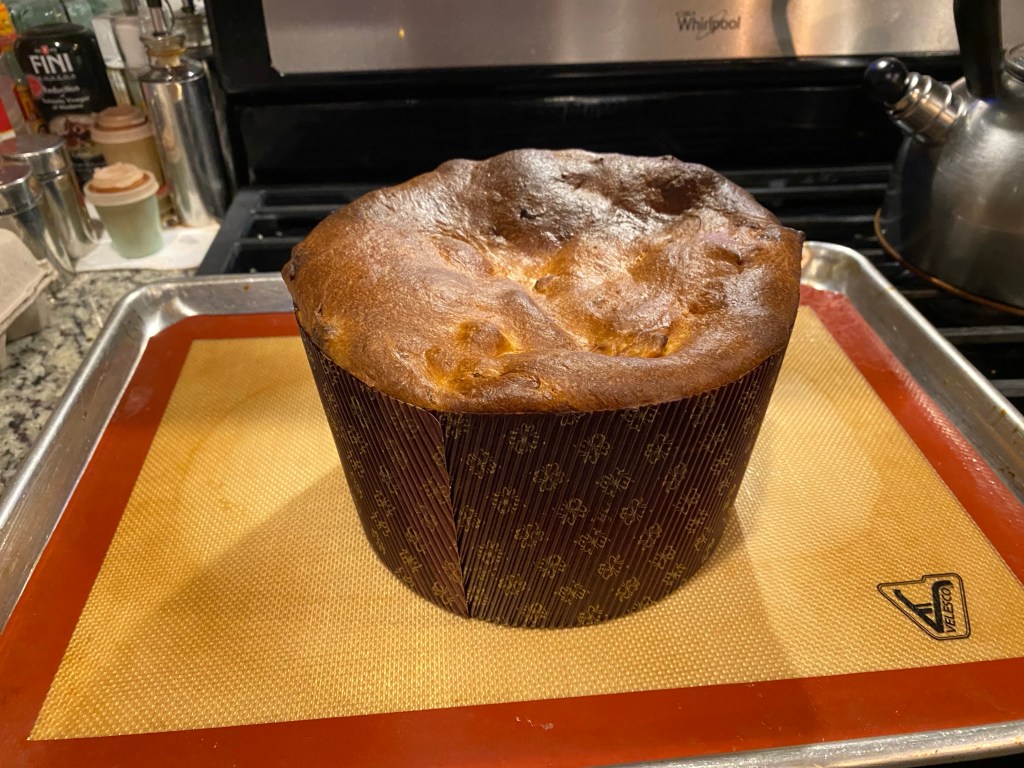
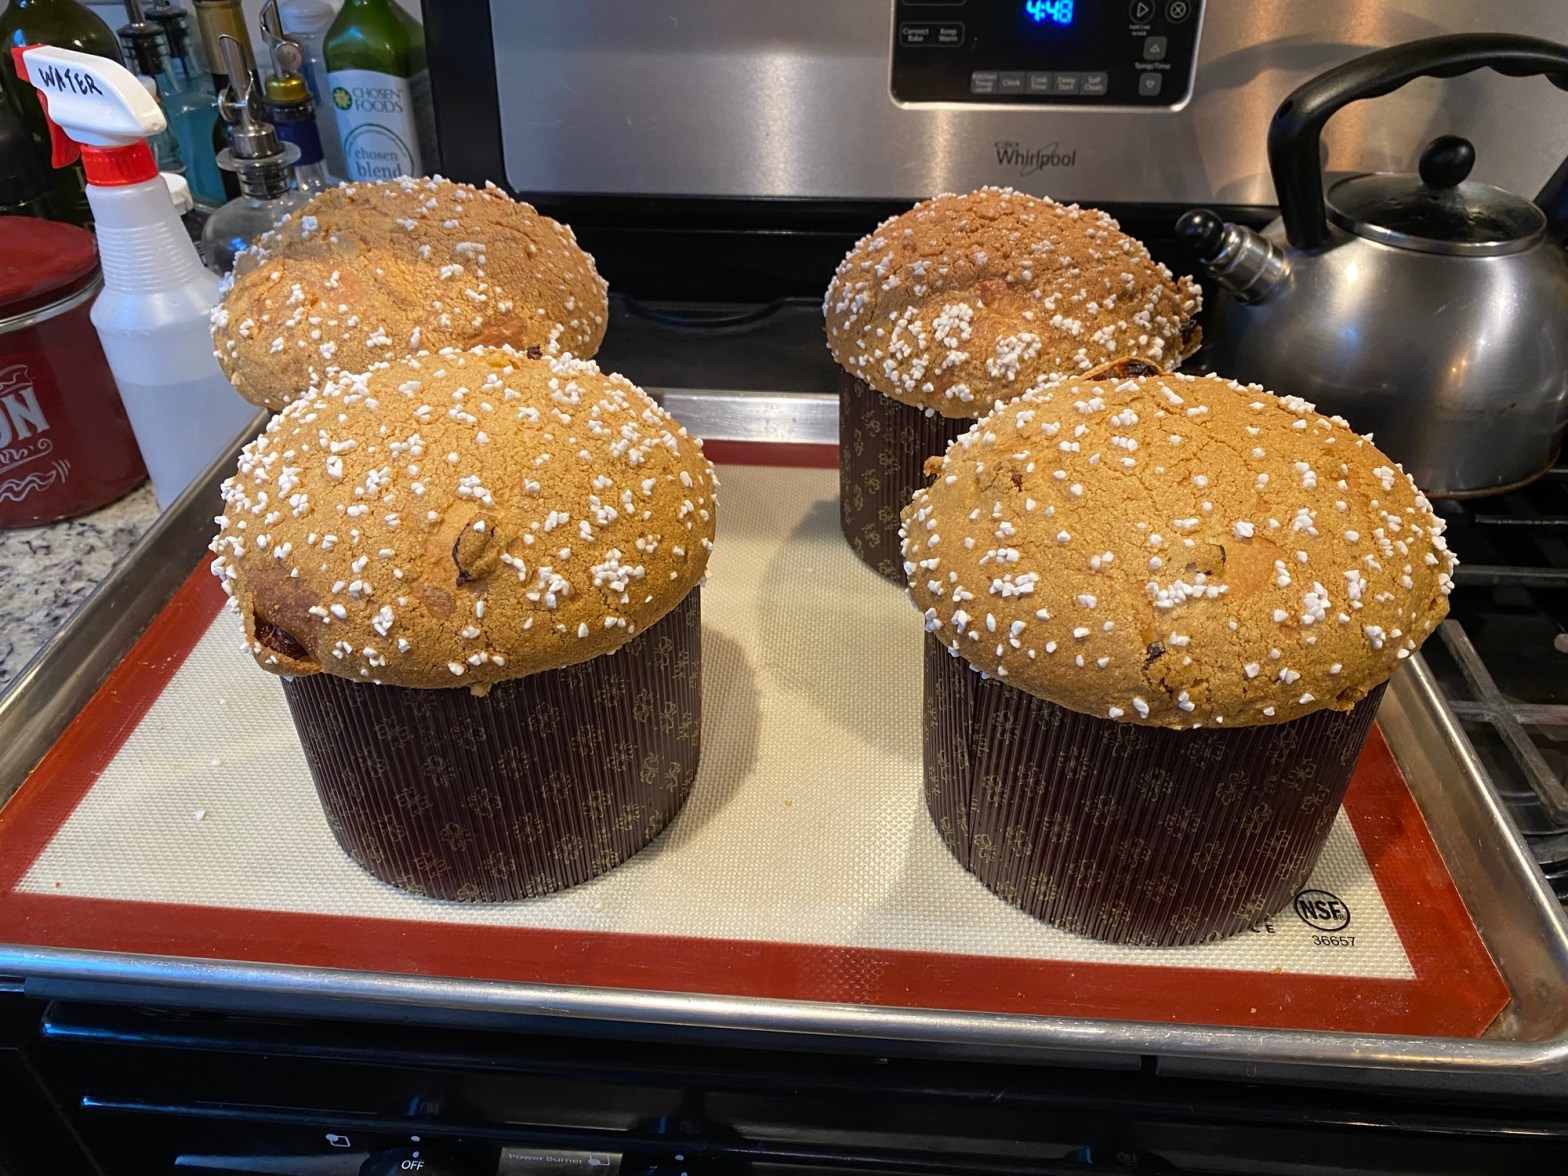
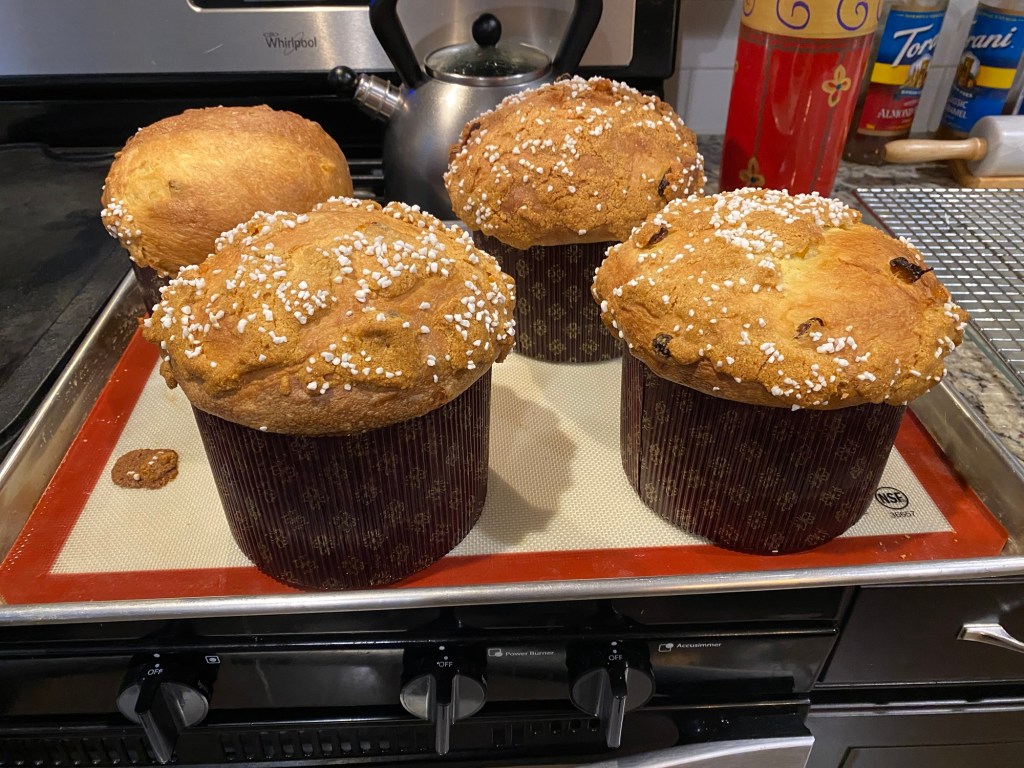
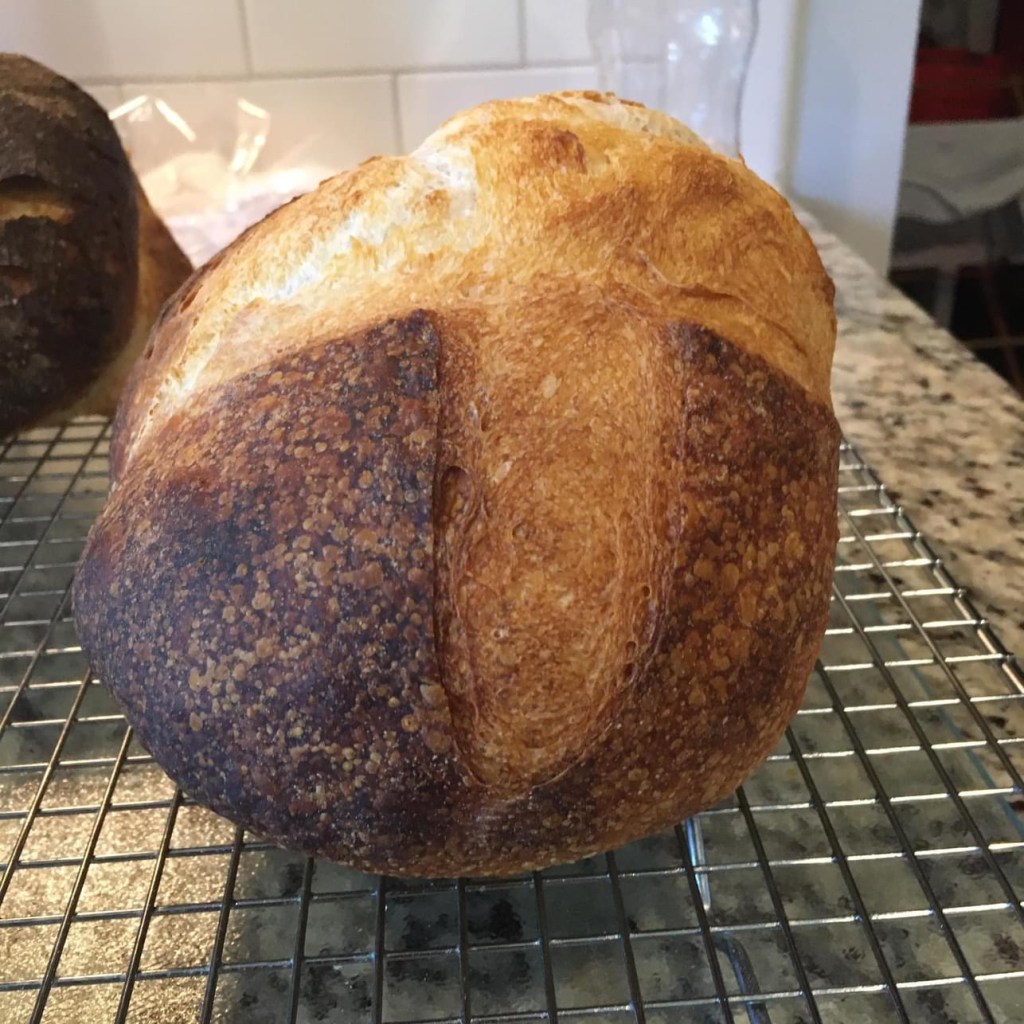
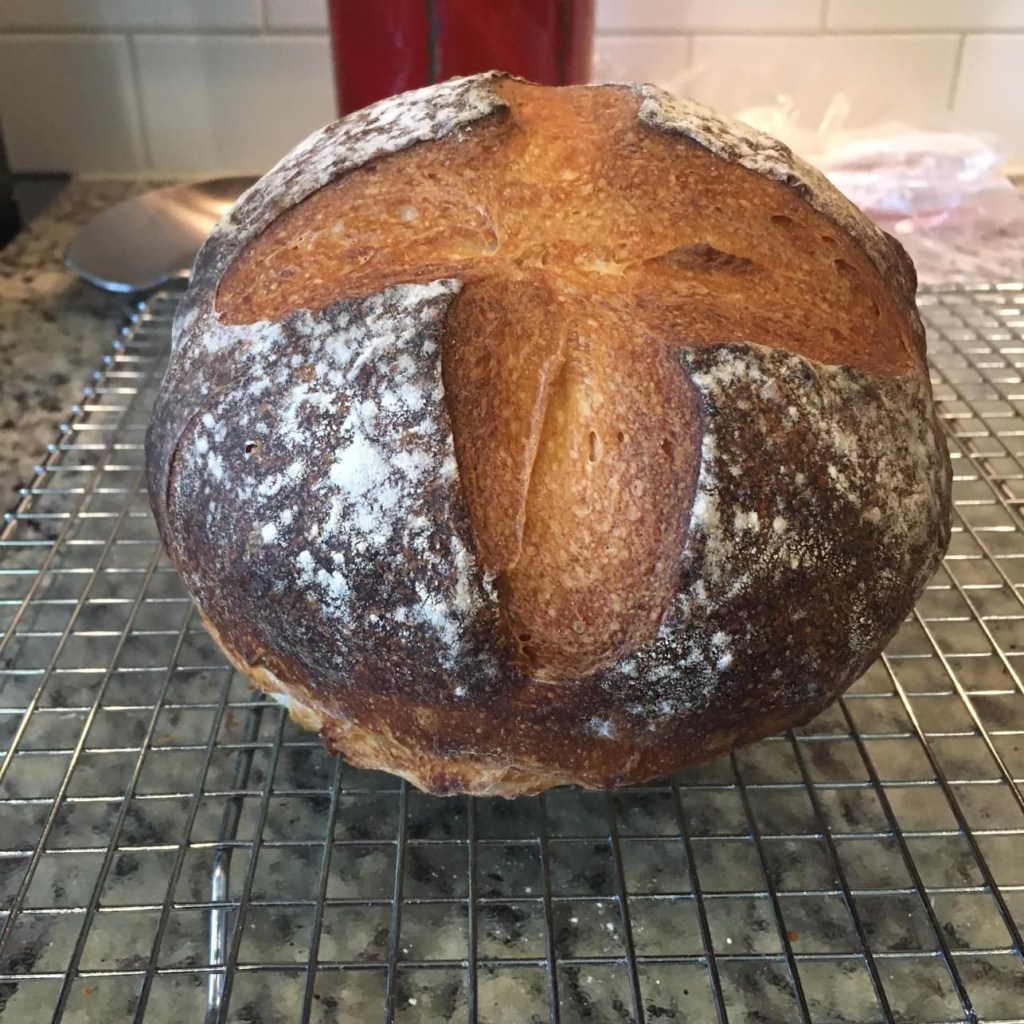
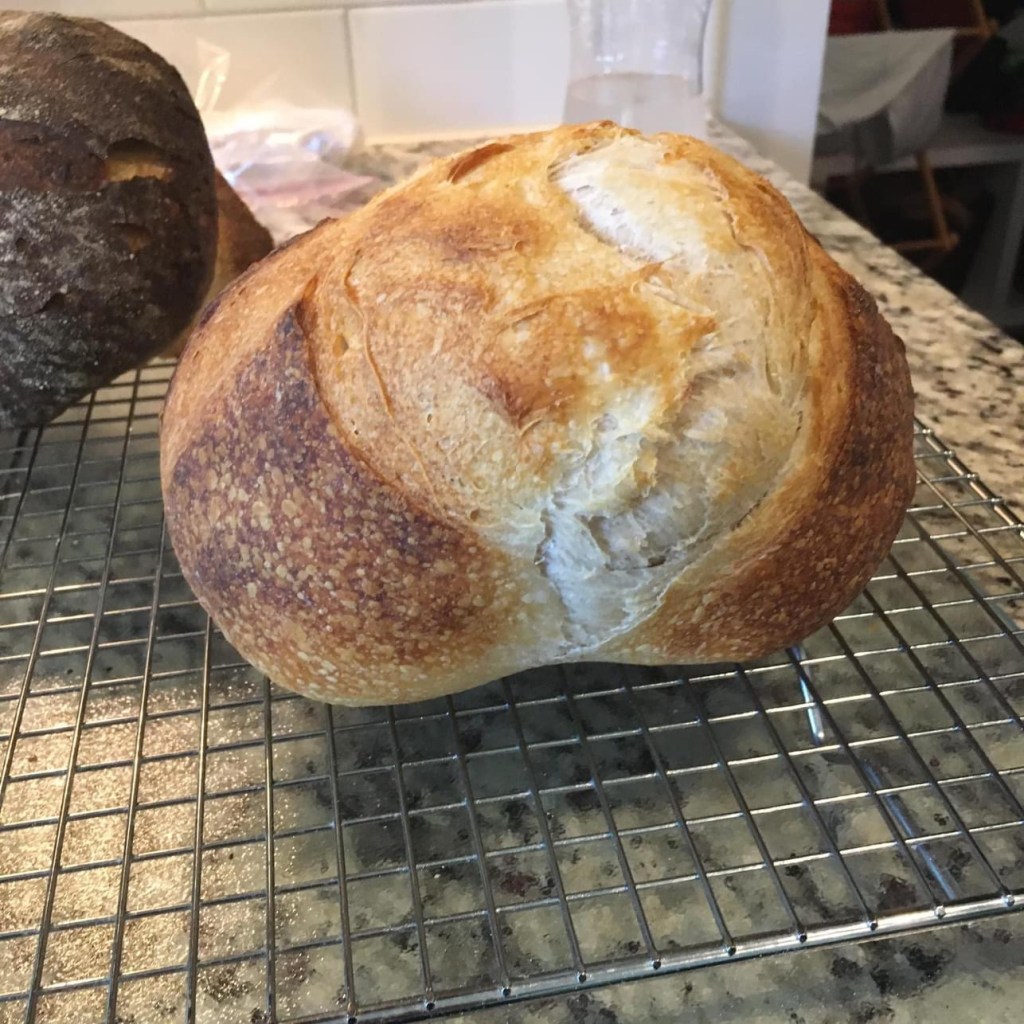
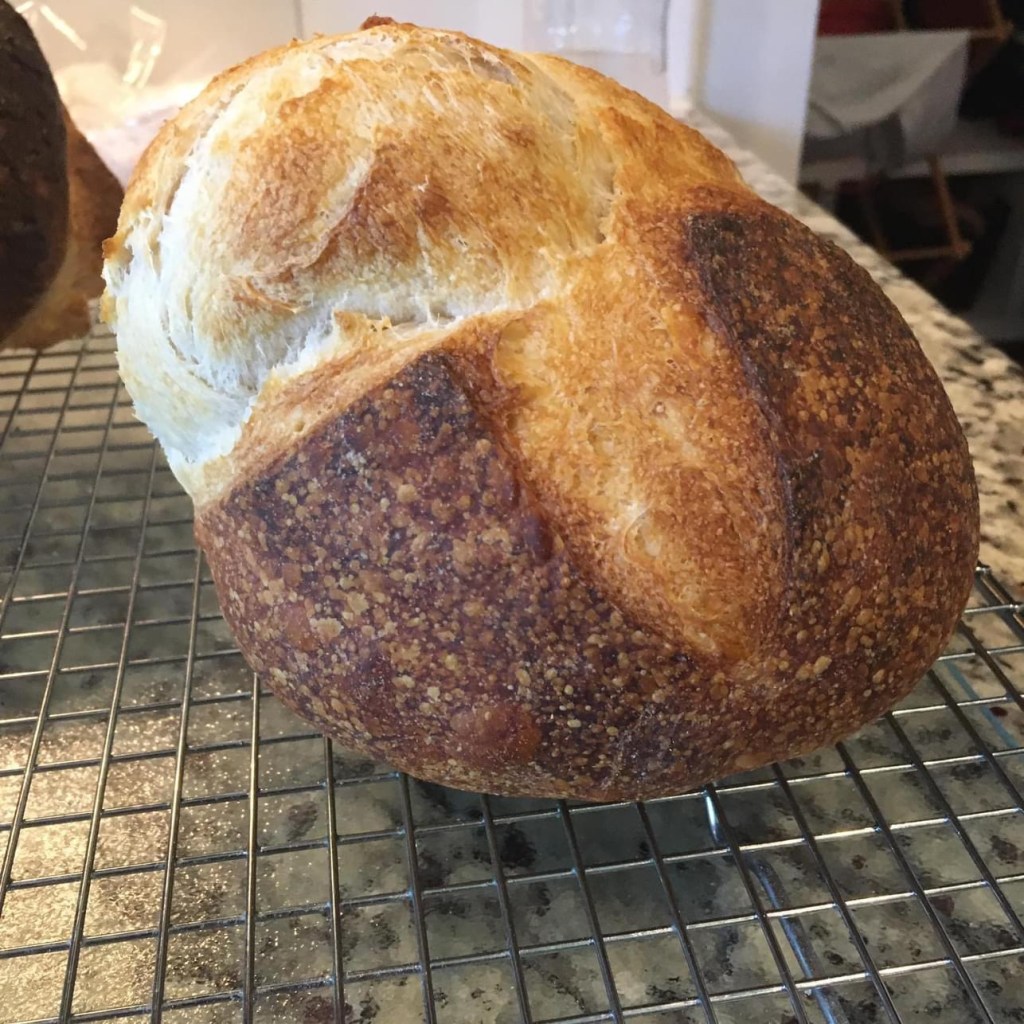
It’s the middle of my holiday Panettone baking season. I’ve baked multiple batches and enjoyed giving them as gifts. As I was sitting this morning enjoying coffee and panettone with my wife I began to reflect on my bakes.
It is useful at times to pause and consider how far you’ve actually progressed in terms of your understanding and technique. At times I can get caught up in what I’m currently capable of doing and the areas I “need to improve” without appreciating the totality of my progress.
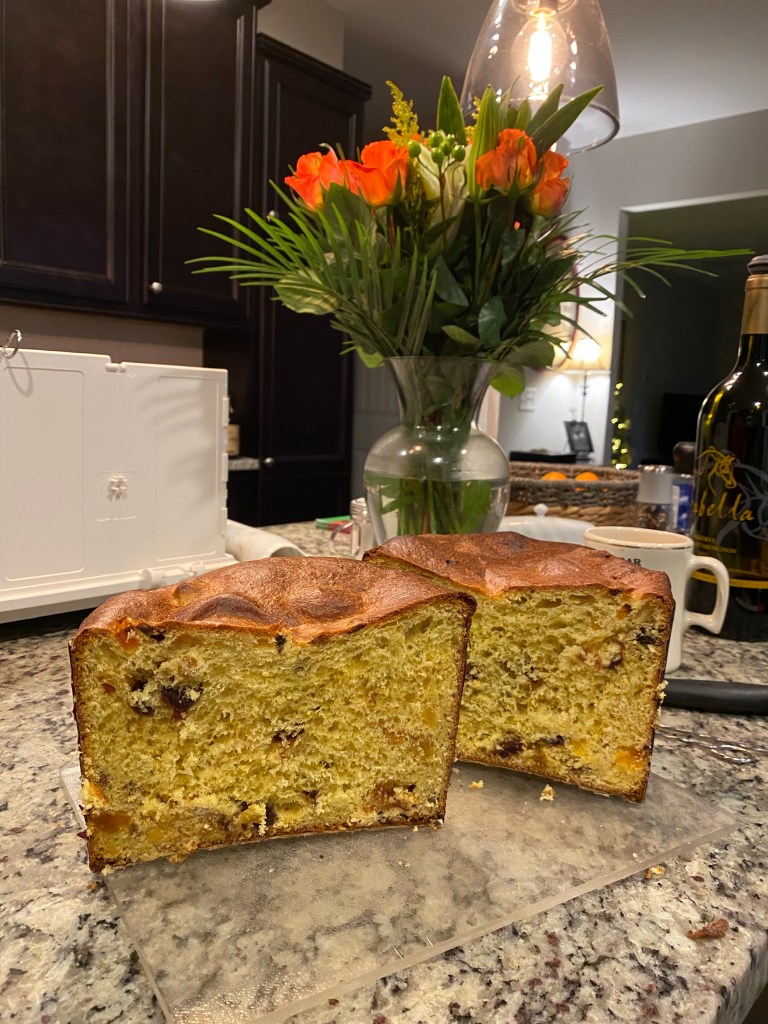
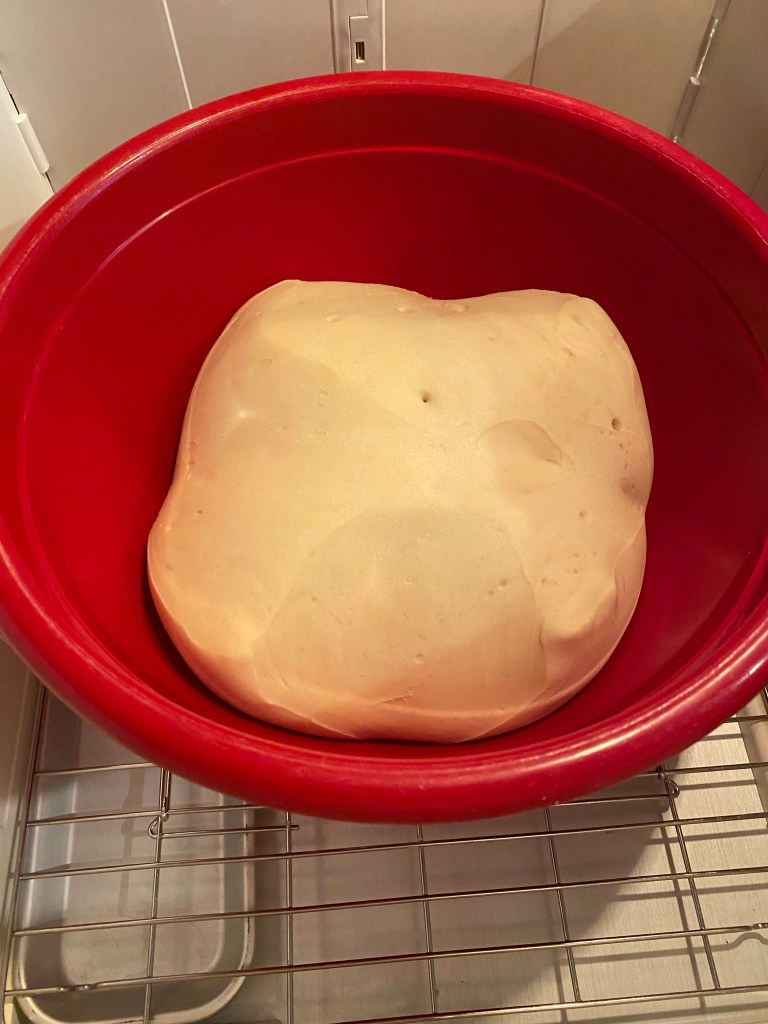
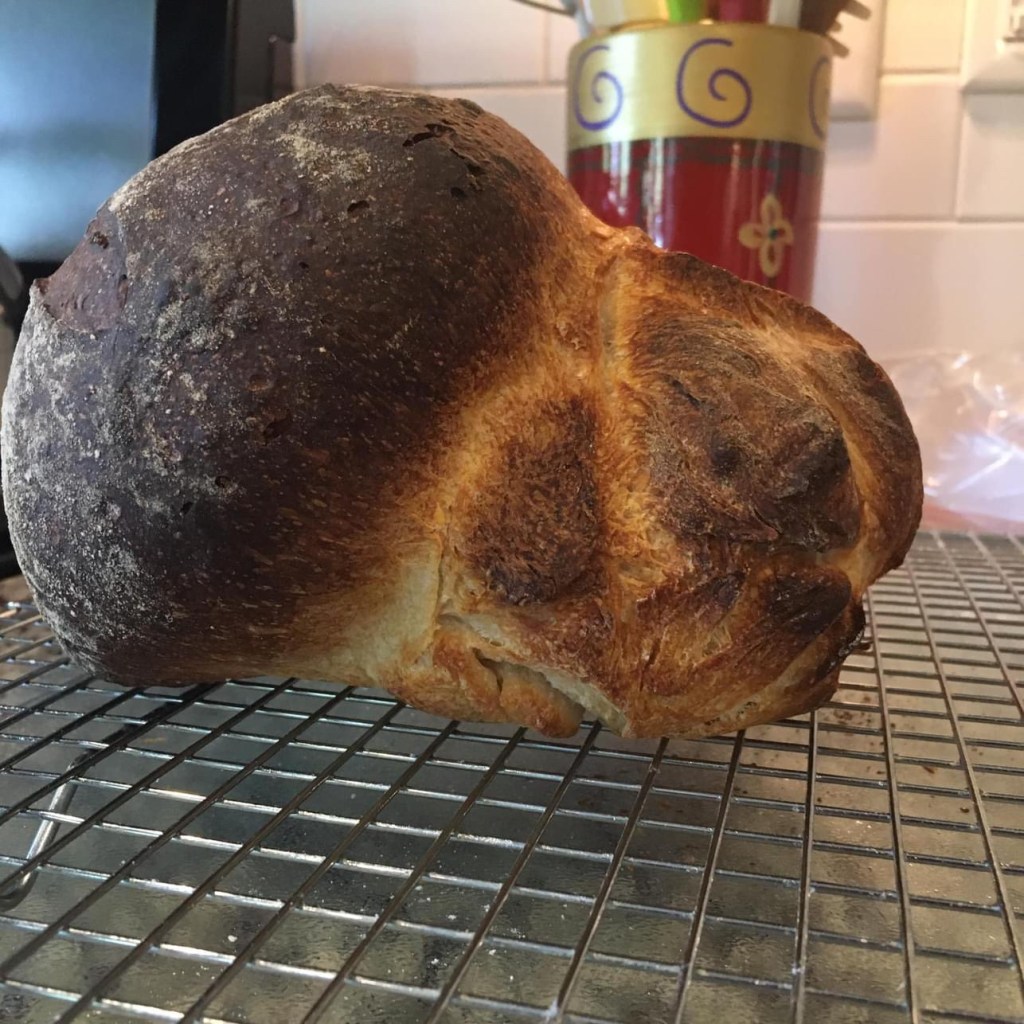
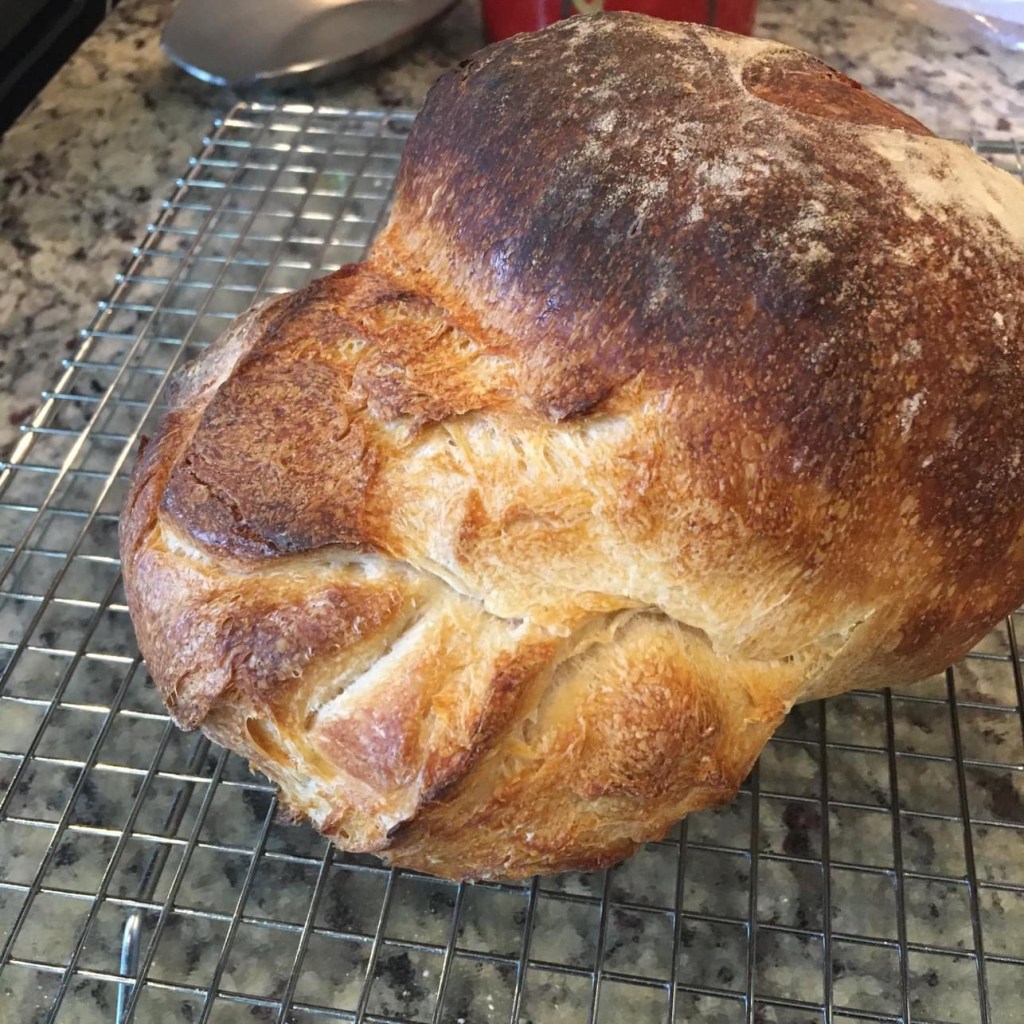
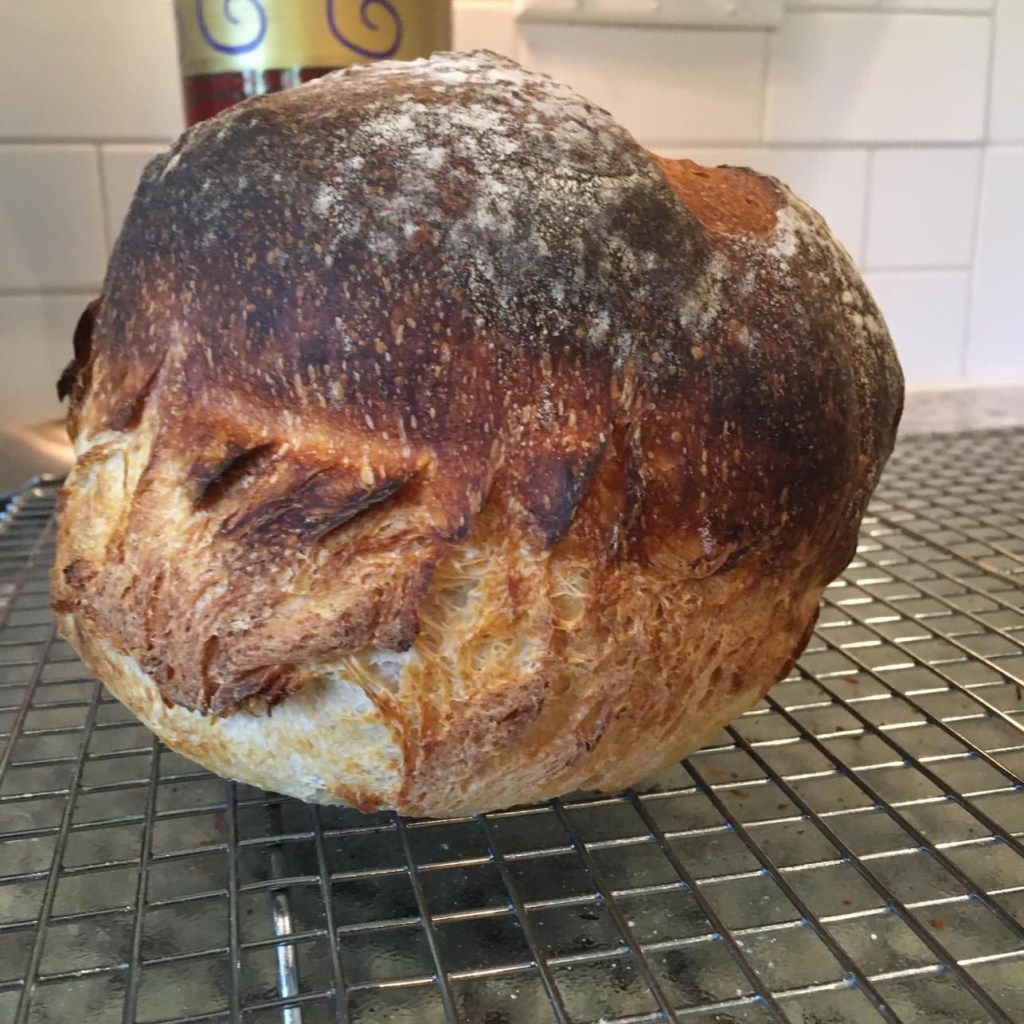
Here are comparisons of my very first panettone bake and this season’s similar bakes:
Clearly I’ve improved in my bakes. Apparently, taking notes, being mindful of variables, being willing to take in information and apply what I’ve learned with intentionality has worked.
I’ve learned that baking panettone is both art and science. Of all that I bake panettone is the most technique-intensive (and unforgiving if you’re inattentive). It is also one of the most rewarding bakes I’ve ever done. I look forward to baking this during the holidays.
I’m thankful that I took the risk to attempt to learn to bake panettone and persisted through my first bakes…. A little grace to myself as I started was appropriate.
It’s been a while since I posted. Life has a way of creeping up on you. I’ve taken a more “low key” approach to my baking in the past 6 months but it’s the holiday season currently and that means Panettone!
Thankfully, I’ve copious notes on how to create Lievito Madre and all my previous Panettone bakes over the past two seasons… always nice to start with good notes!
As a result, my bakes are much more consistent now that I’m paying close attention to details like Ideal Dough Temperature (IDT) and are being much more patient in my process. I’m being mindful of what clues to look for along the way. I’ve now reached the place where I’m recognizing by feel (as well as sight) what the dough needs to feel/look like at each stage of the bake. Experience and being mindful of variables is so critical.
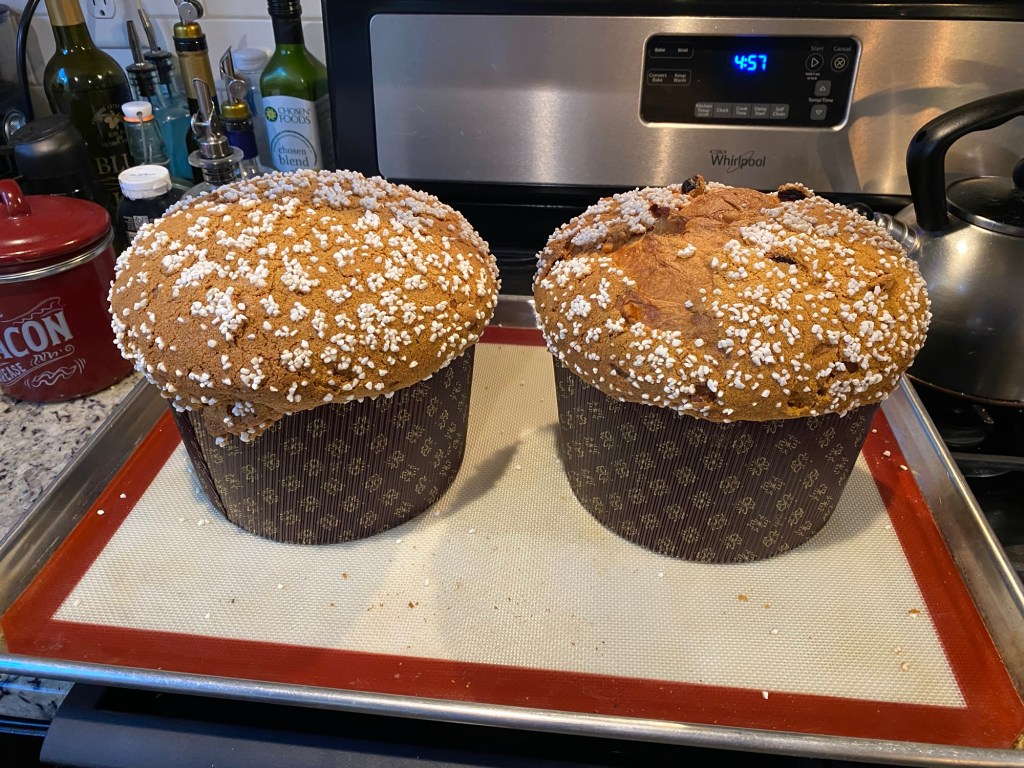
I’ve a couple of bakes completed this season. My biggest learning has been honing my technique for applying the craquelin prior to baking. Before I was inconsistent in its application which then led to inconsistent results. My technique is to now to roll it out as a disk between two sheets of wax paper. The disk diameter matches the panettone diameter. I freeze it for a couple minutes to harden the butter and make the wax paper easy to peel off. The result is that I’ve complete coverage and a uniform thickness. These factors ensure a more consistent and predictable bake (and looks fantastic/professional).
I’m very pleased!
Before technique (500g)After technique (500g)First use on 1kg loaves
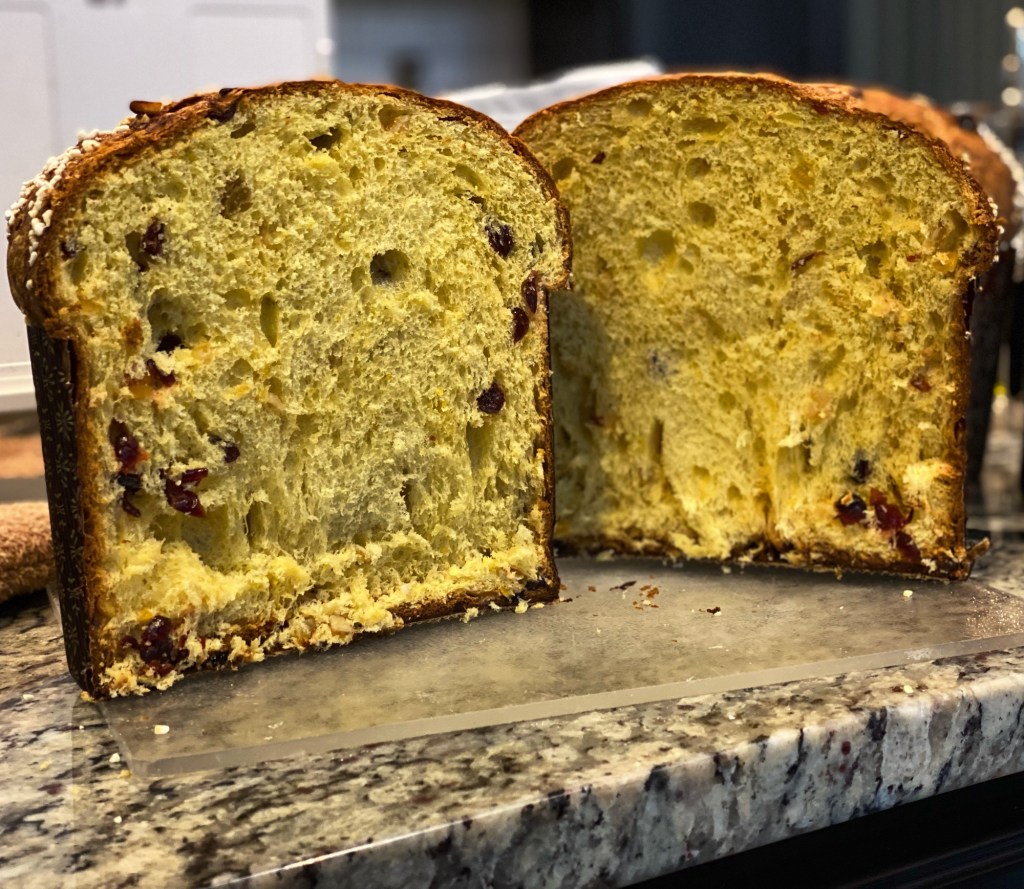
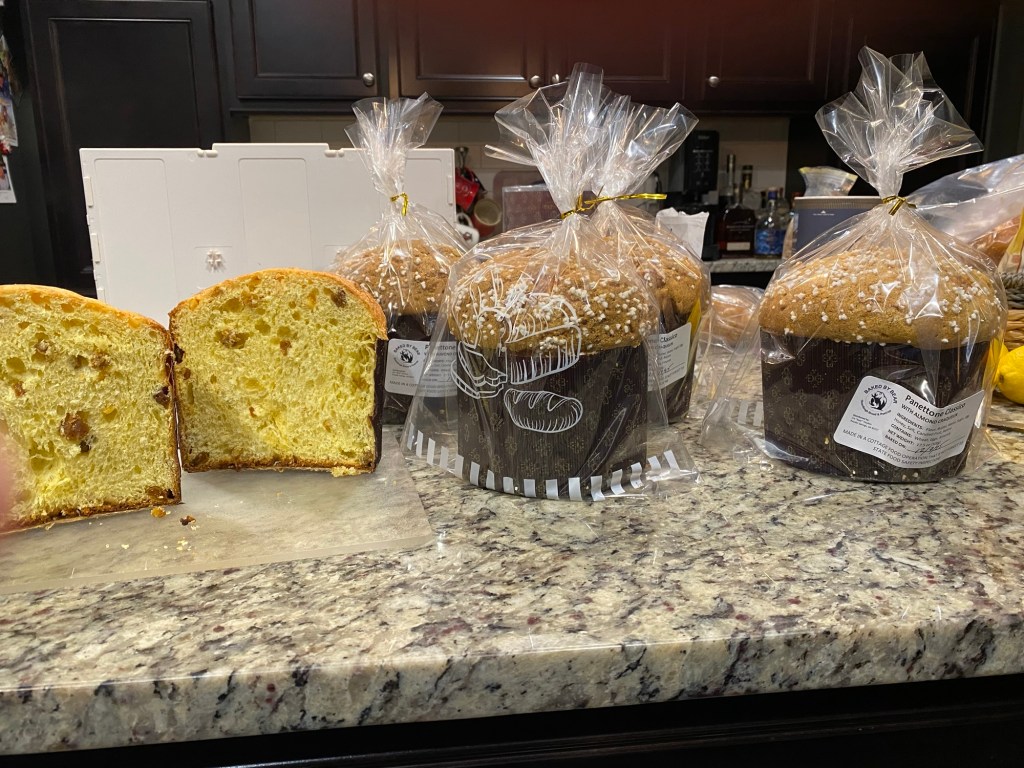
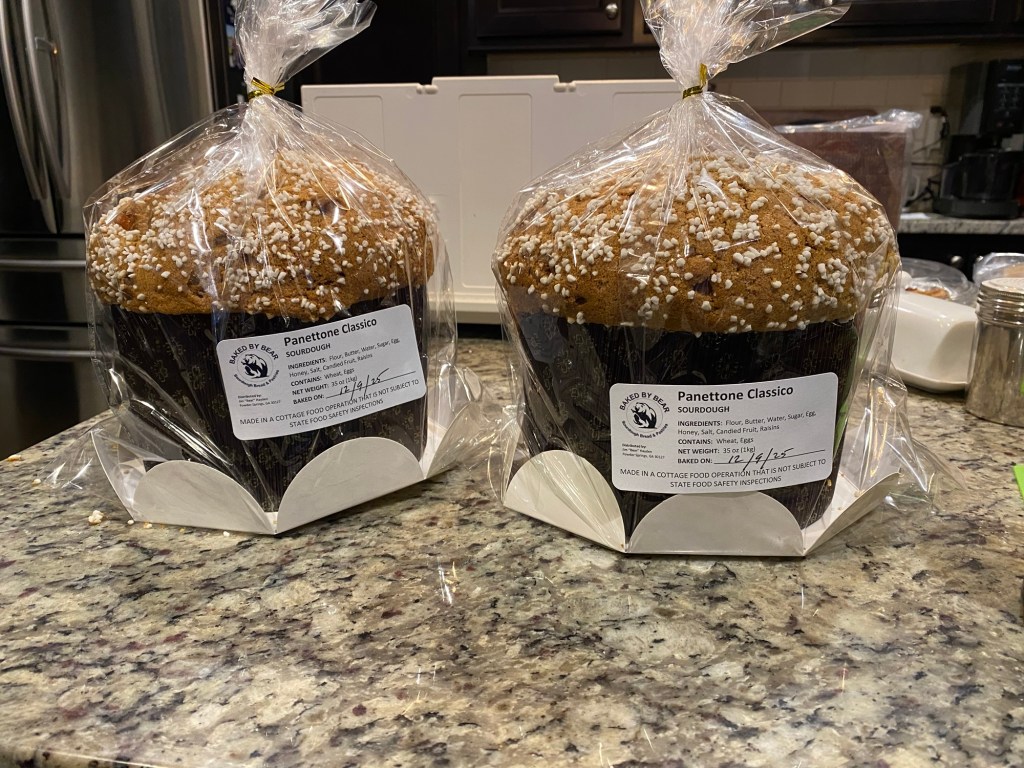
Overall I’m really excited to be baking these again. Additionally, I think my packaging as gifts are on point as well!
500g loaves1kg loaves
This is sufficient writing for now… more bakes are needed still!
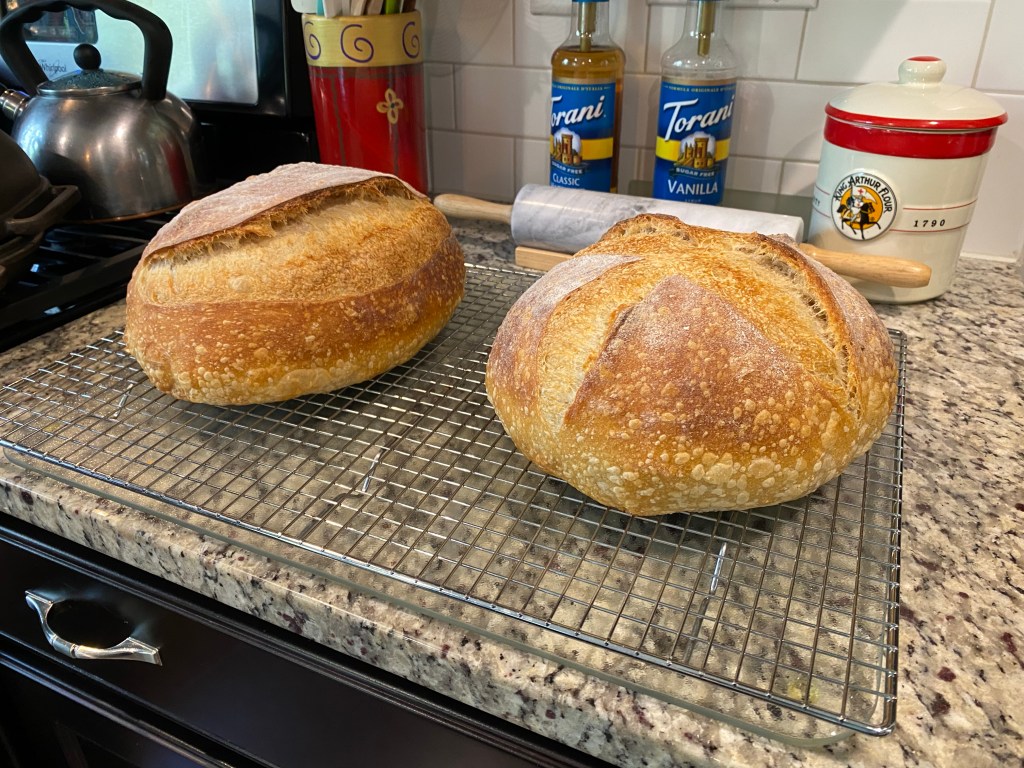
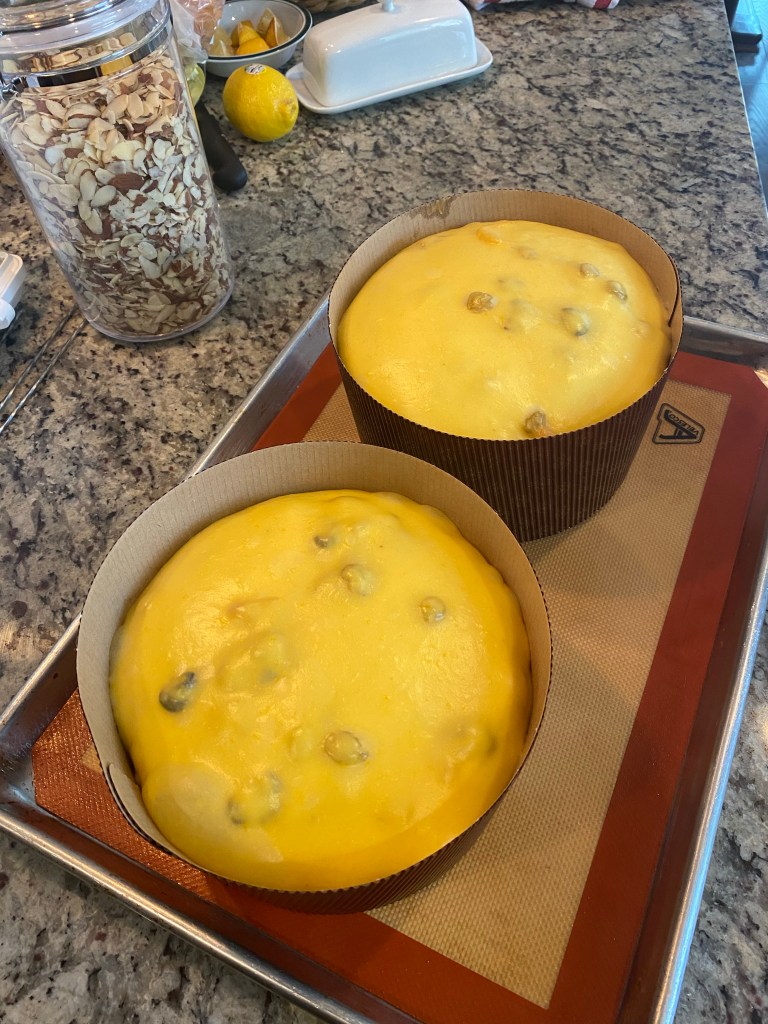
My loaves looked to be cold fermented nicely in the fridge overnight. I am pleased with how they had risen.
After overnight fermentation
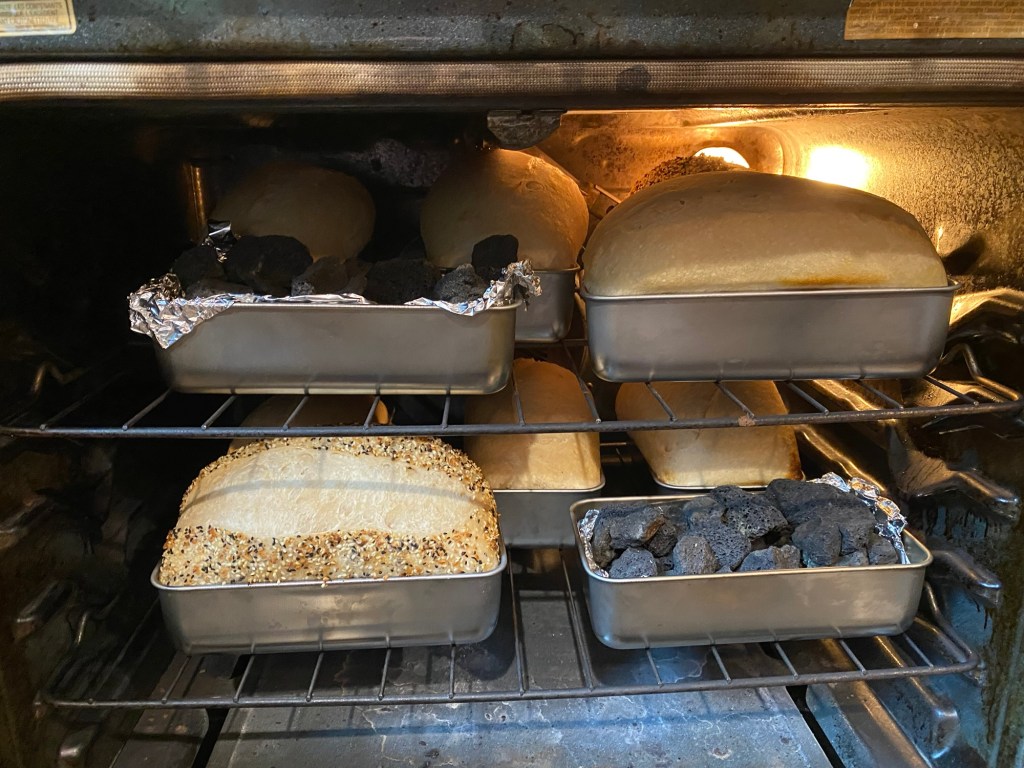
I spritzed with water and have each a slash. I loaded them into my oven that I had preheated to 425°F with two pans already inside loaded with lava rocks. I poured boiling water into each pan and set a timer for 20 minutes.
Here is what they looked like after 20 minutes and I was removing the lava rocks.
Removing lava rocks
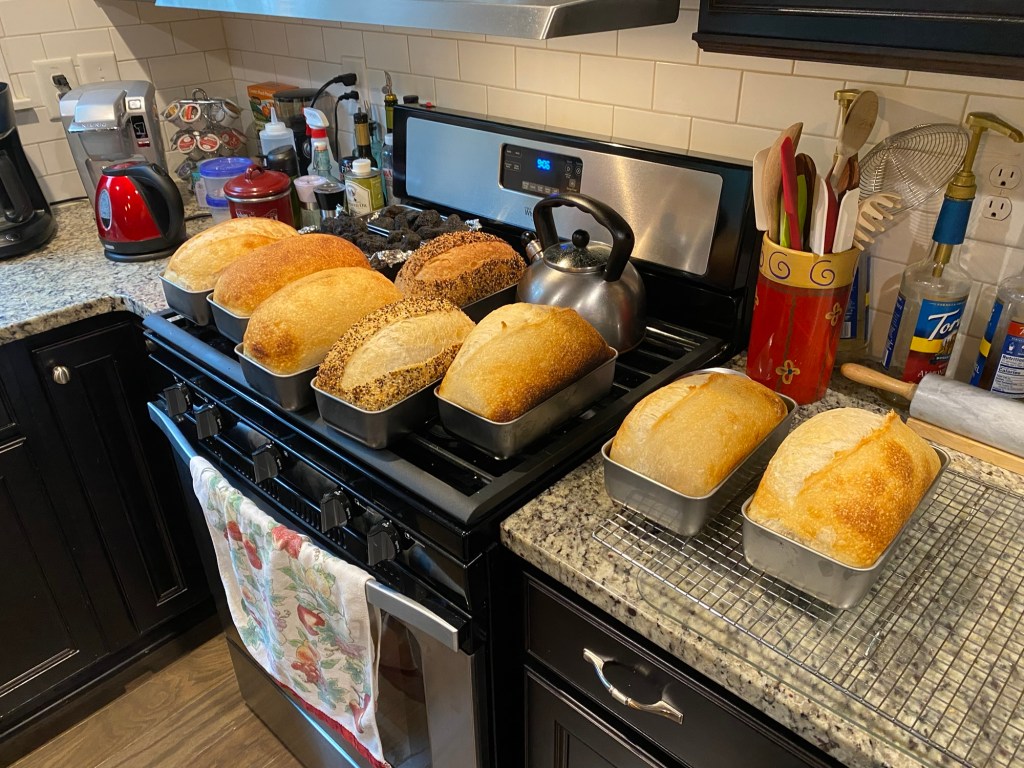
I baked for another 20 minutes and then pulled out of my oven. I forgot to check their internal temperature.
Freshly baked
I let sit on my counter and then tried to remove from pans. Some loaves were difficult to remove cleanly. I tore one of the loaves slightly. Additionally, I thought the crust inside the pan was lighter than desired.
Next time I will:
Be more liberal with my ghee coating
Sit just a bit longer in pans before trying to remove
Overall, I’m pretty happy with this first attempt using this method. will definitely try this again on my next bake!
Life has a way of getting in the way of baking (regularly). Thankfully, I’ve been able to continue (albeit a lower pace) and now I’m able to start doing so more consistently.
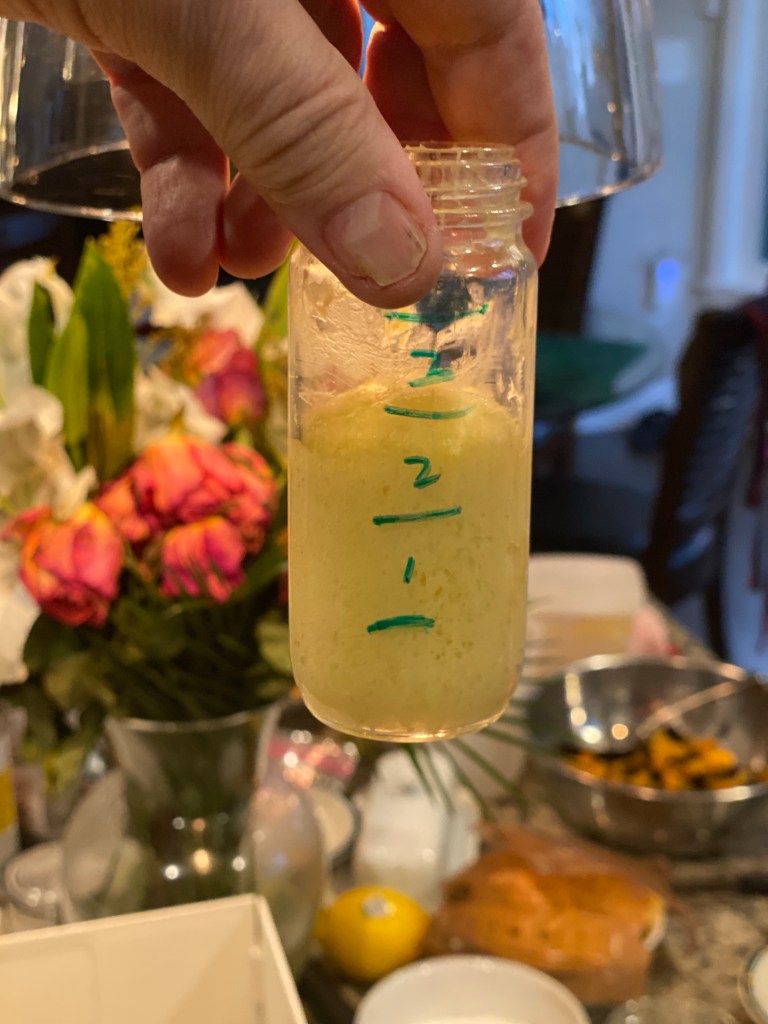
I’m experimenting with baking more loaves at same time. As part of this experiment I’m also feeding my starter now on a 1:10:10 ratio.
Starting with 3g of starter I’m adding 30g each of water and flour. It takes much longer to rise; however, the peak is more extended.
Starter after 22 hrs at 72°F
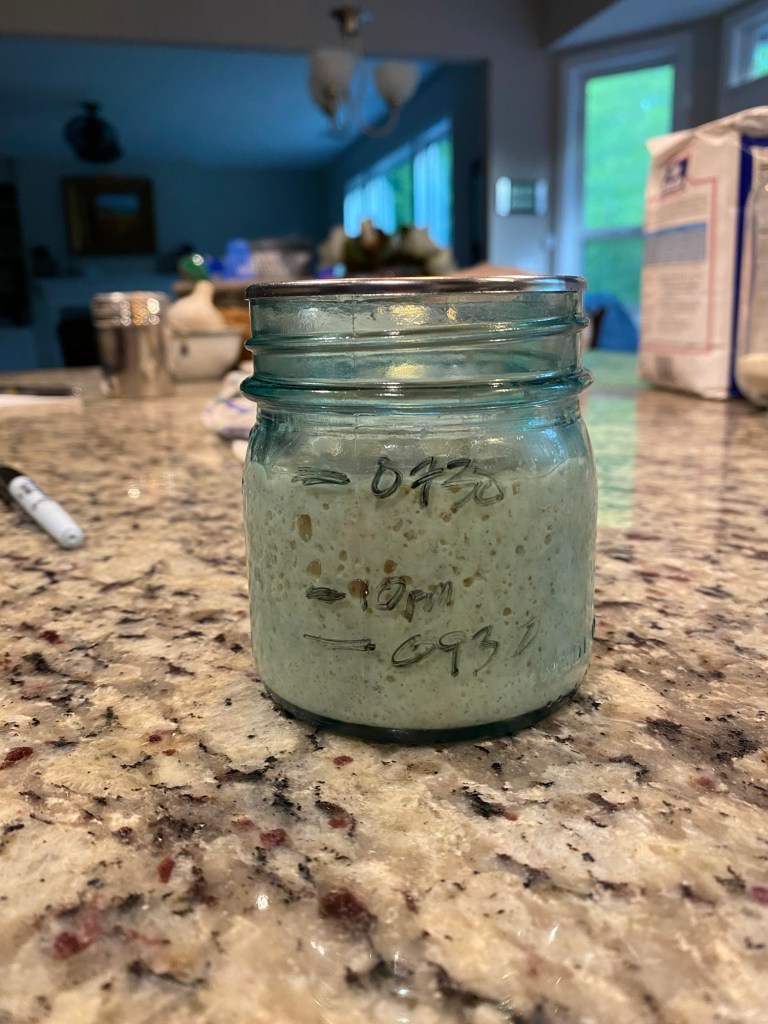
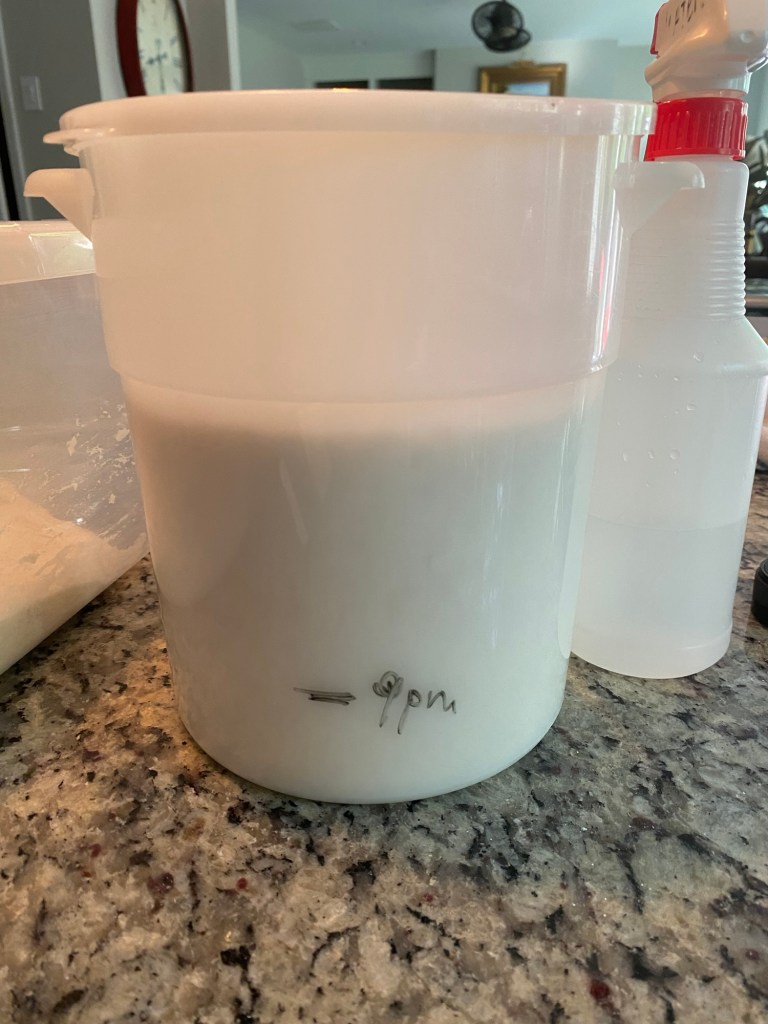
I use this as the basis of the starter needed for my bake. My recipe calls for 100g starter per loaf. I’m baking 8 loaves so I used 40g of initial starter plus 400g each of water and bread flour and set it on my counter to rise overnight.
Starter at 8:30am (11.5 hours)
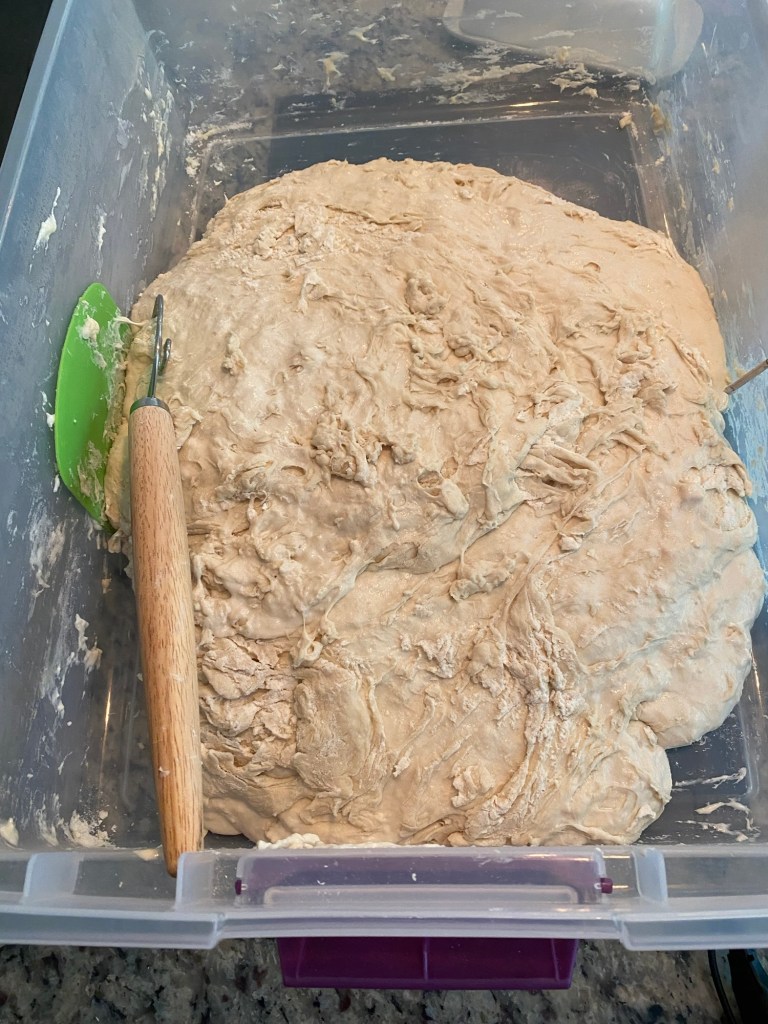
I mixed my starter into a bin where I’d autolysed the flour for an hour. Mixed in my starter with a Danish Dough Hook.
Adding Starter
I added my salt 30 minutes later and subsequently started a series of stretch and folds (3x every 30 minutes).
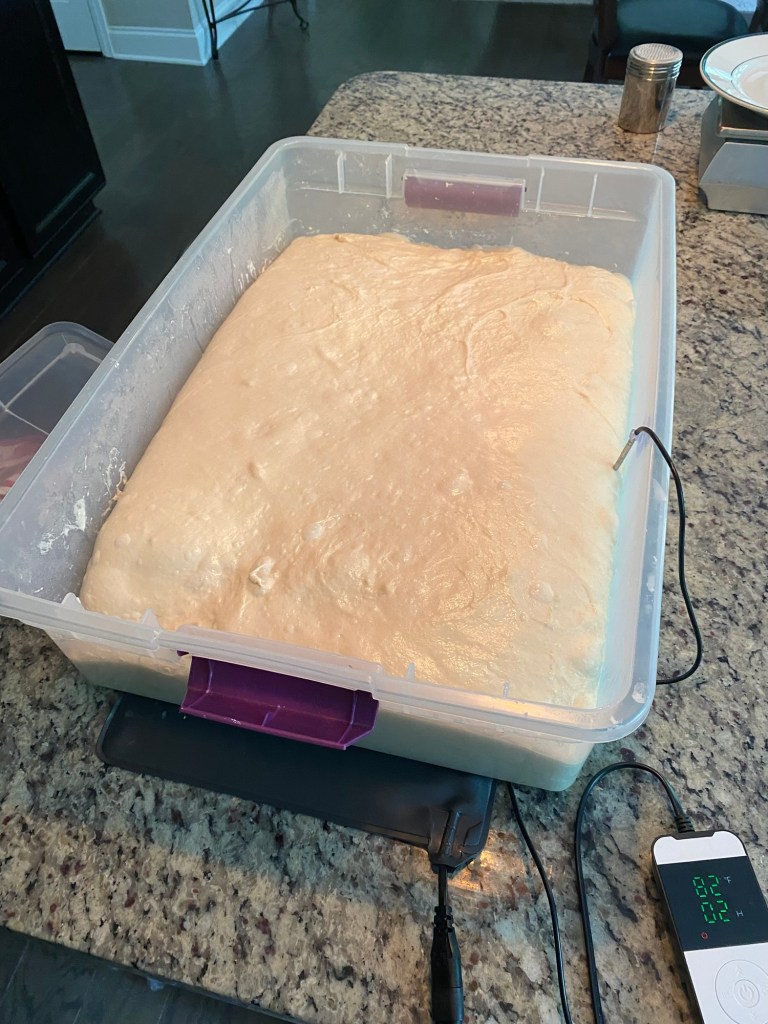
Afterwords I left the dough to bulk on my counter covered using my heating mat.
Bulk Rise prior to dough dump
Pre-Shaped the dough after dividing into 900g loaves. This was about 6 hours after my adding my starter.
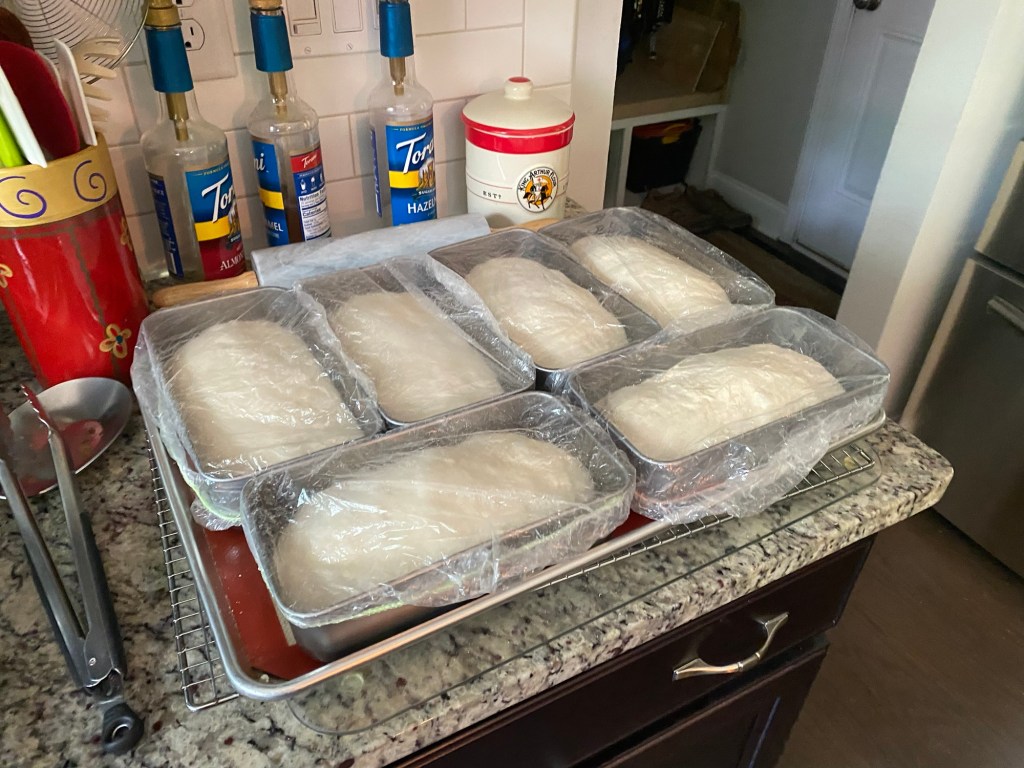
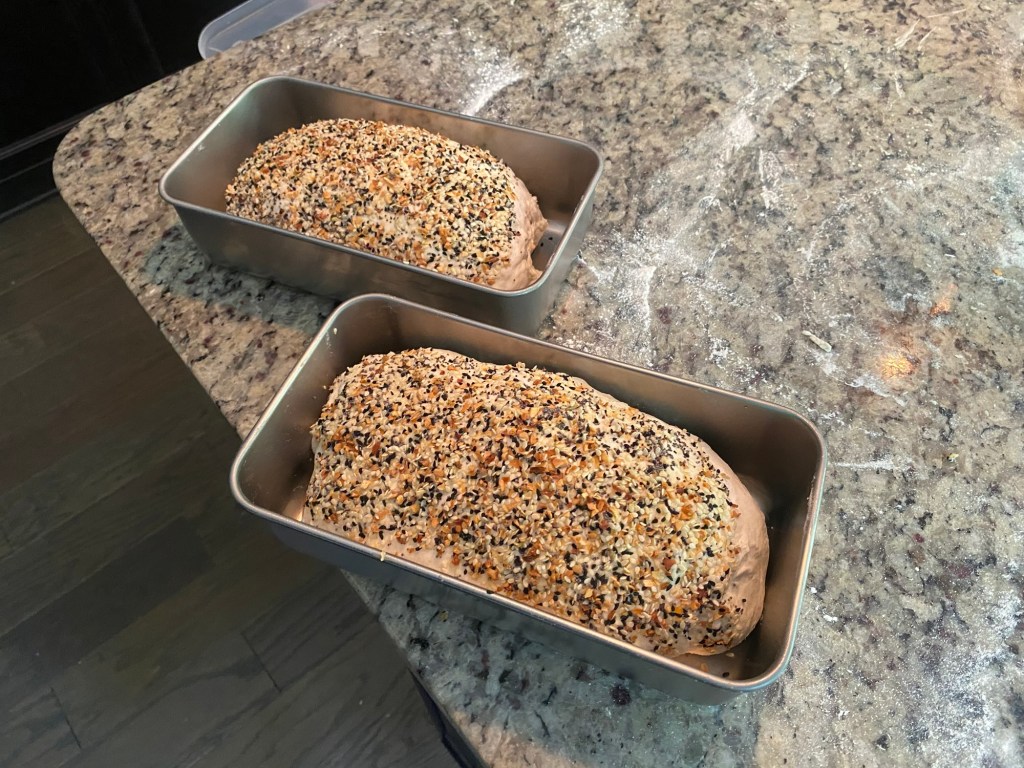
I let the preshaped loaves sit for about 20 minutes while I greased the tins with ghee. Final shaping and then into the fridge for a cold bulk ferment.
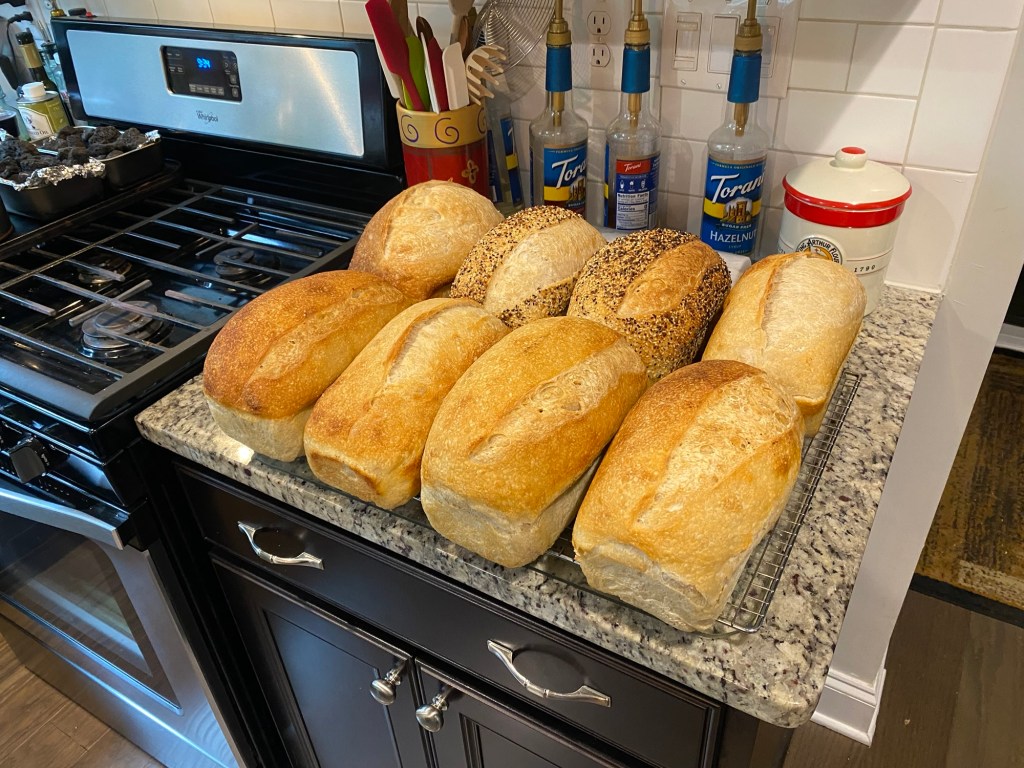
Six regular loaves and two with “Everything Bagel” seasoning on top.
Six loaves with shower capsTwo loaves with seasoning
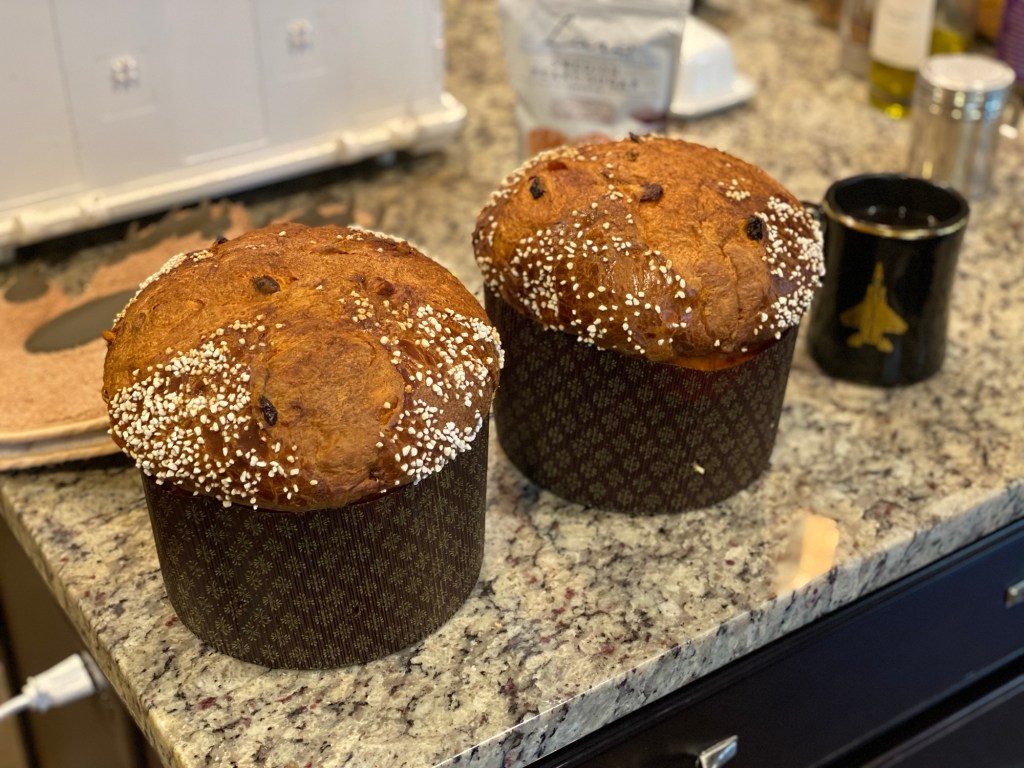
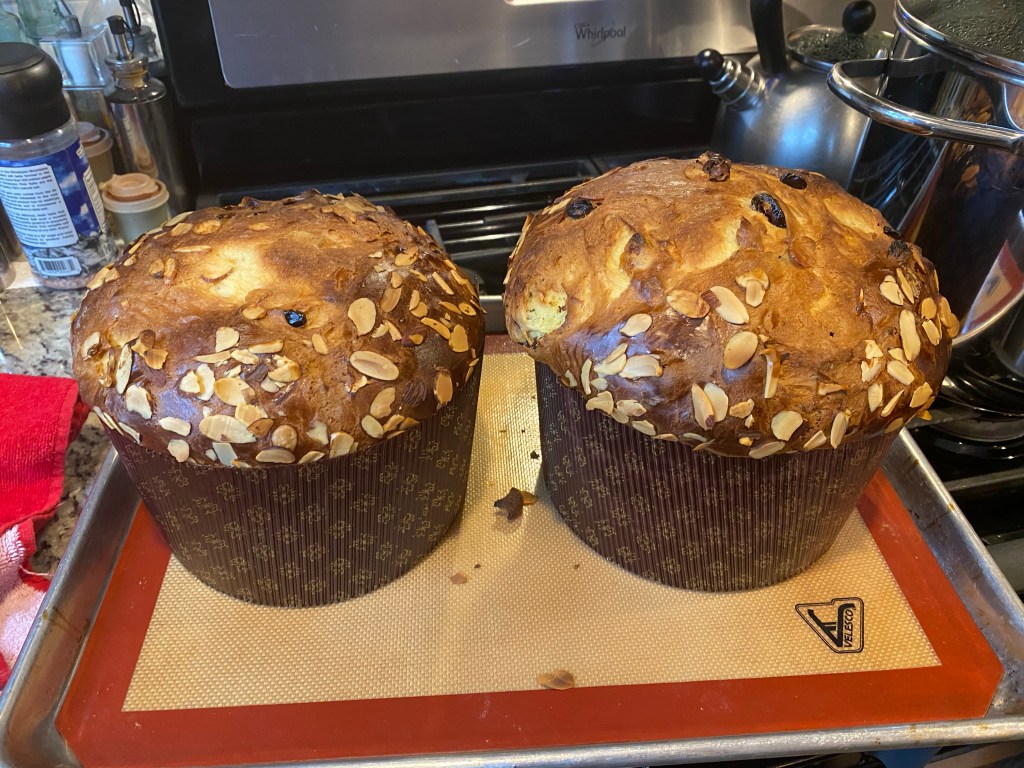
What a great holiday season baking Panettone! Much improved over last year’s bakes.
Panettone Classico
Here are some things I’ve learned:
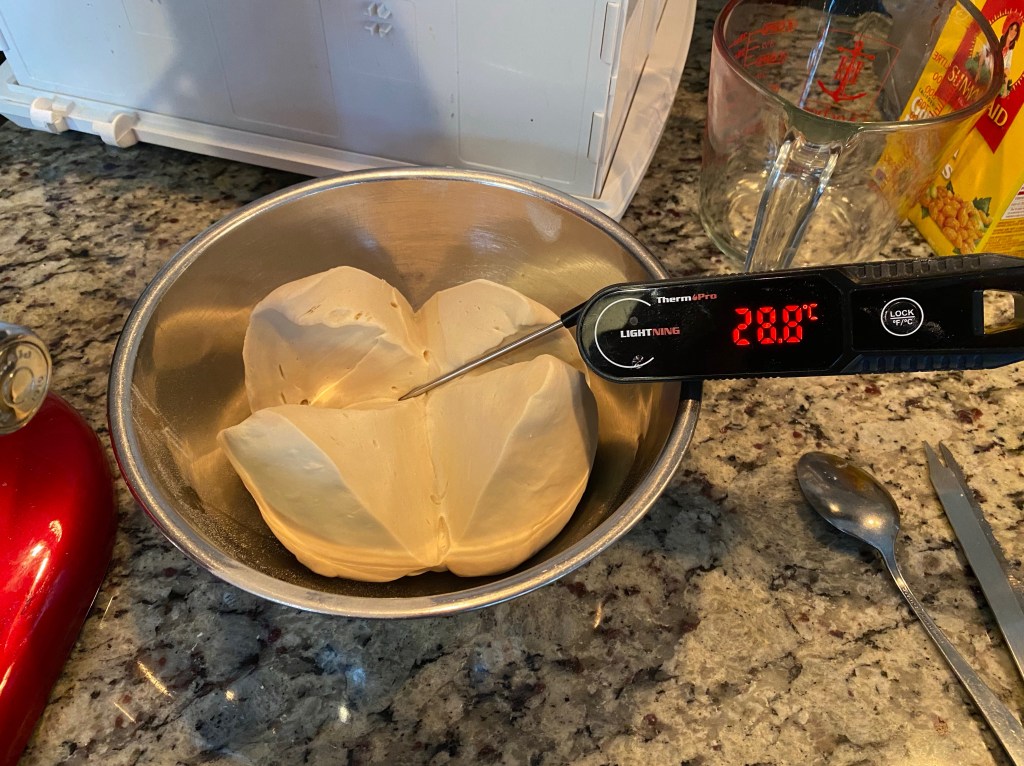
1. Pasta Madre building and maintenance is crucial to success.
2. Remember 28°C! It is the ideal dough temperature to maintain throughout the process.
3. Patience. This is a labor of love. Respect the time needed to do each step.
4. Use high quality ingredients. Panettone is the “Louis Vuitton of breads”.
As with all my baking I take lots of notes. I find it useful to be mindful of the variables that contribute to the bake. Doing so enables me to pair changes to outcomes allowing me to “dial in” my processes and foster consistency (and confidence).
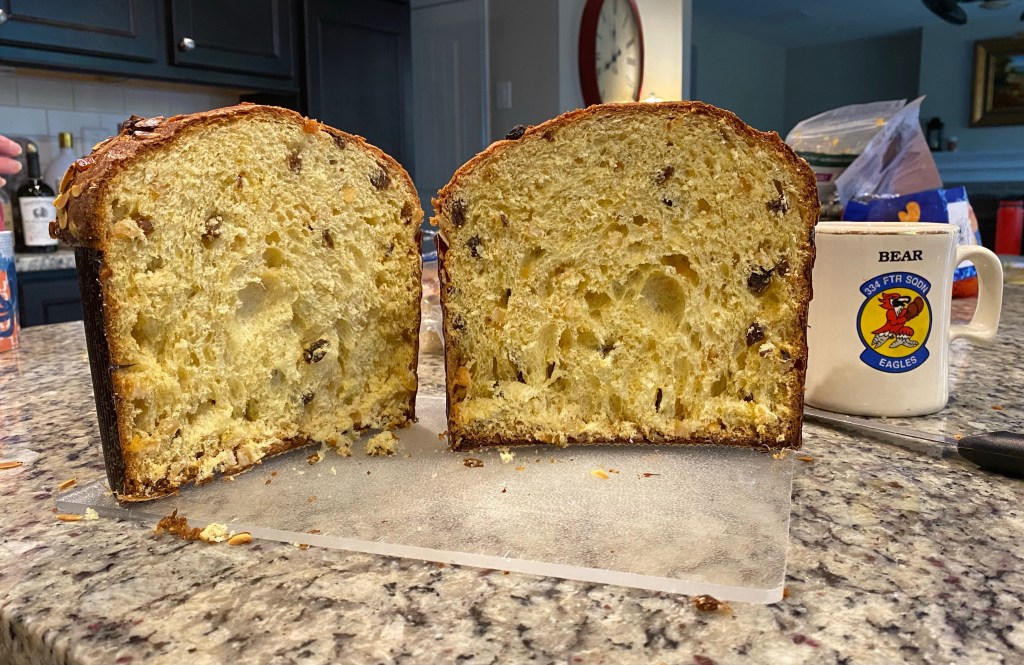
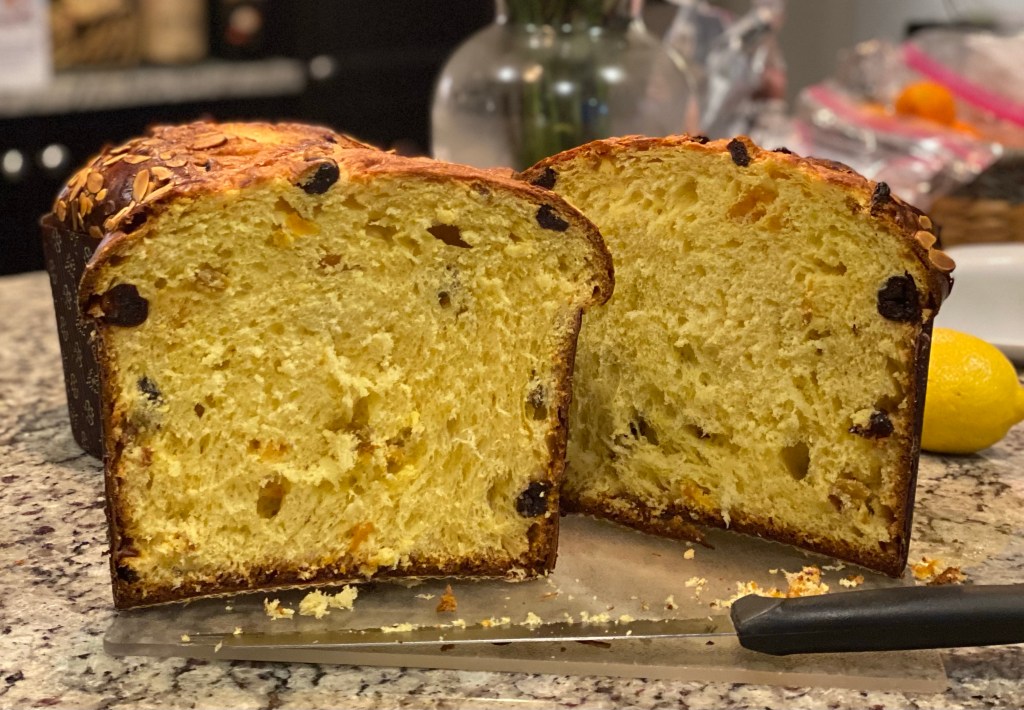
Panettone Crumb
Panettone makes for a wonderful gift! It is really a treat to be able to share it with friends and family.
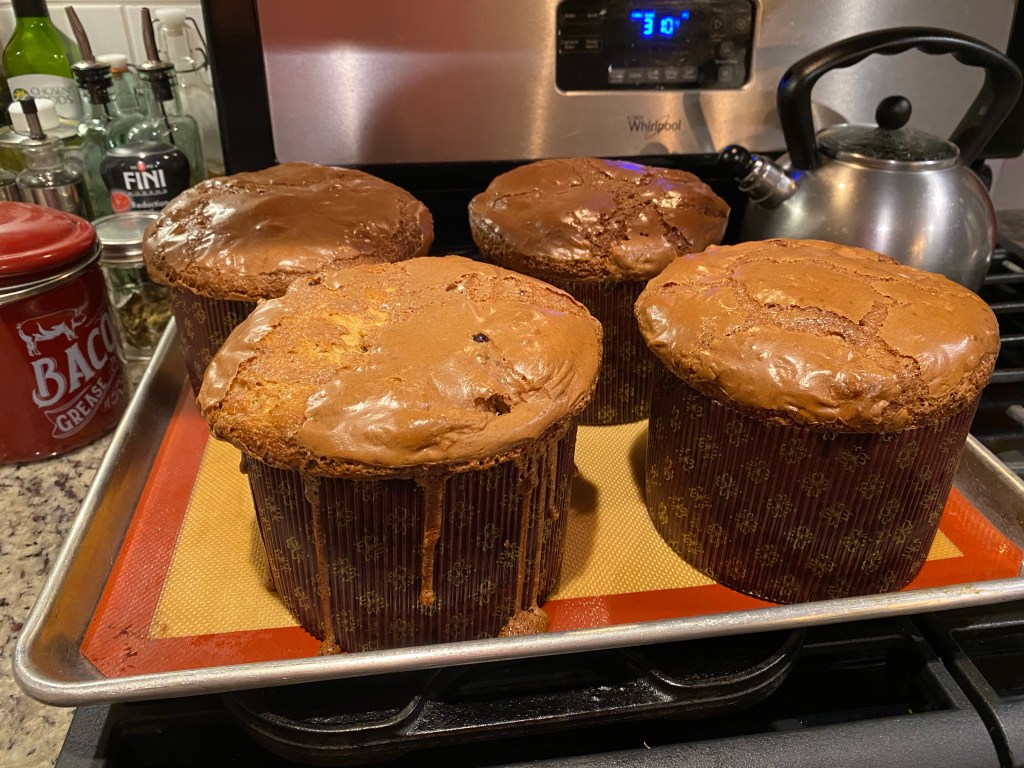
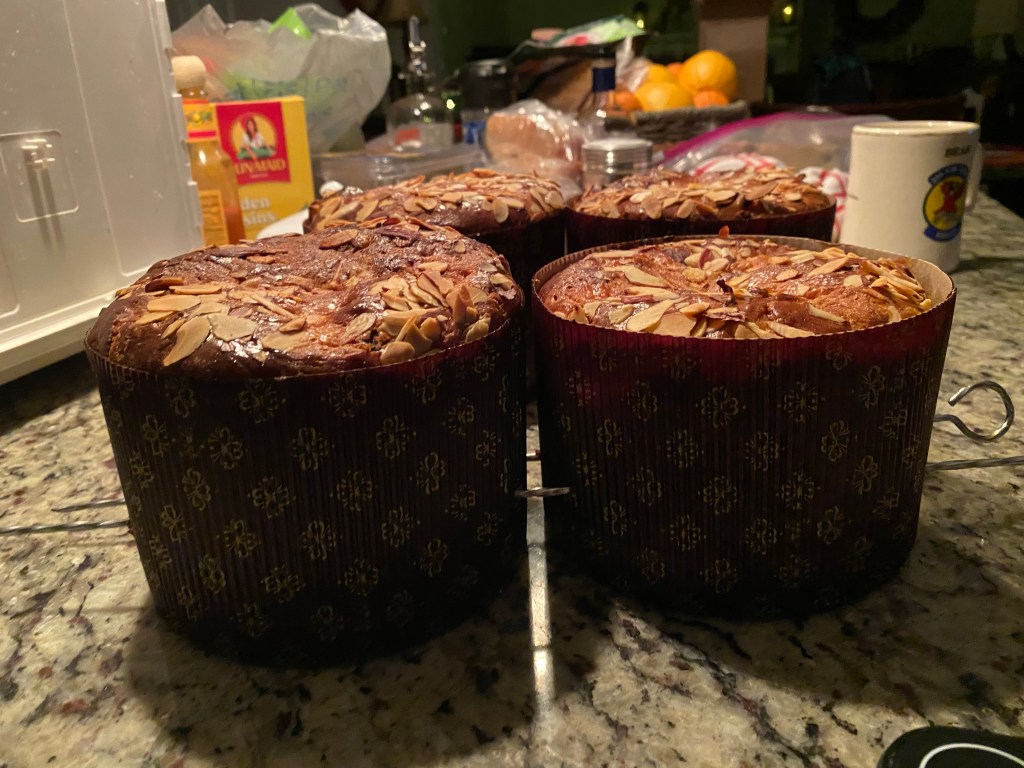
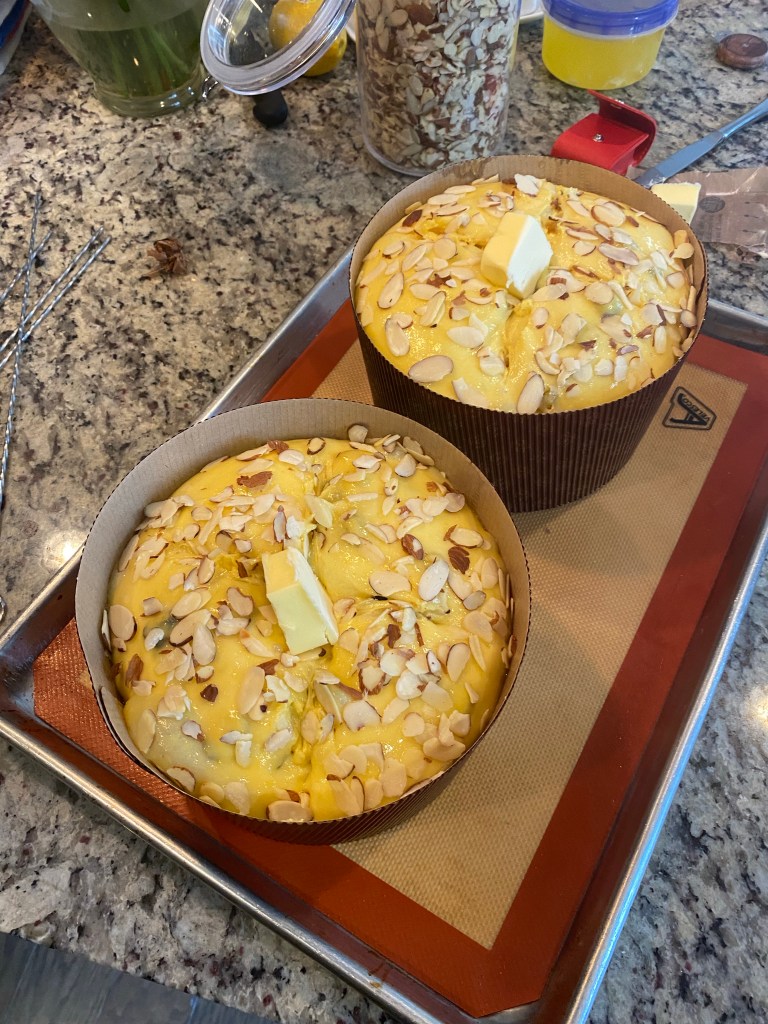
Decided to riff on my basic recipe. Swapped out the honey/zest for Nutella; swapped out sultanas and candied orange for white chocolate chips, dried cherries and pistachios.
Been focusing on my notes / techniques etc. for this bake. Decided at the last minute to make a chocolate glaze. Hadn’t done that before!
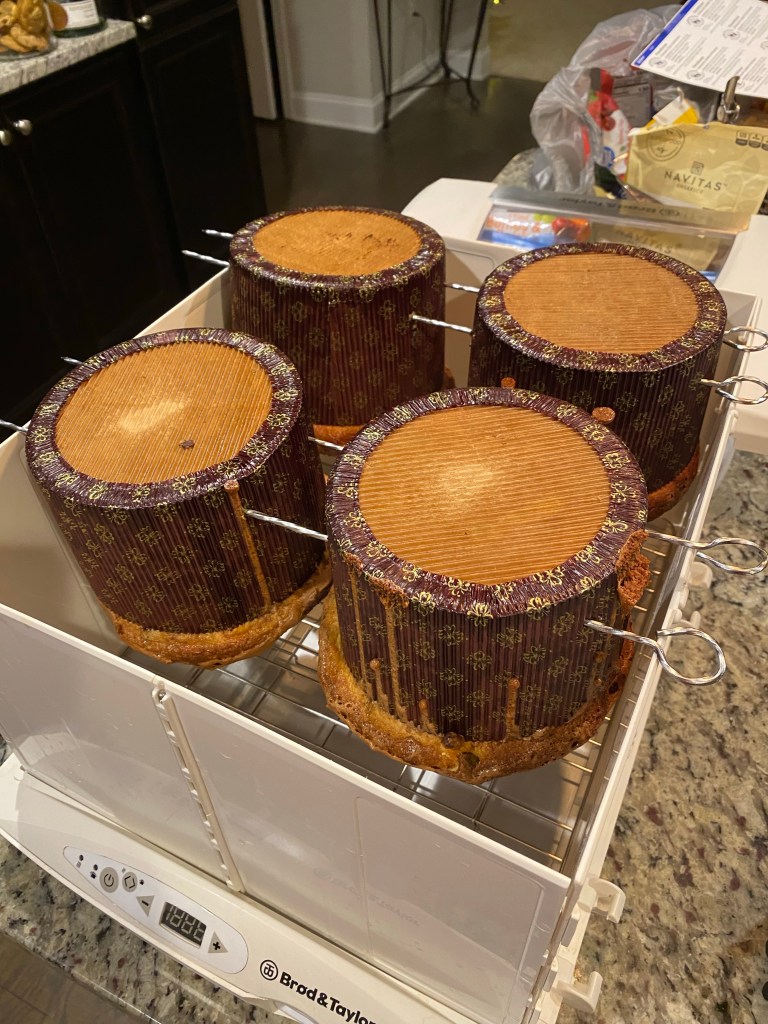
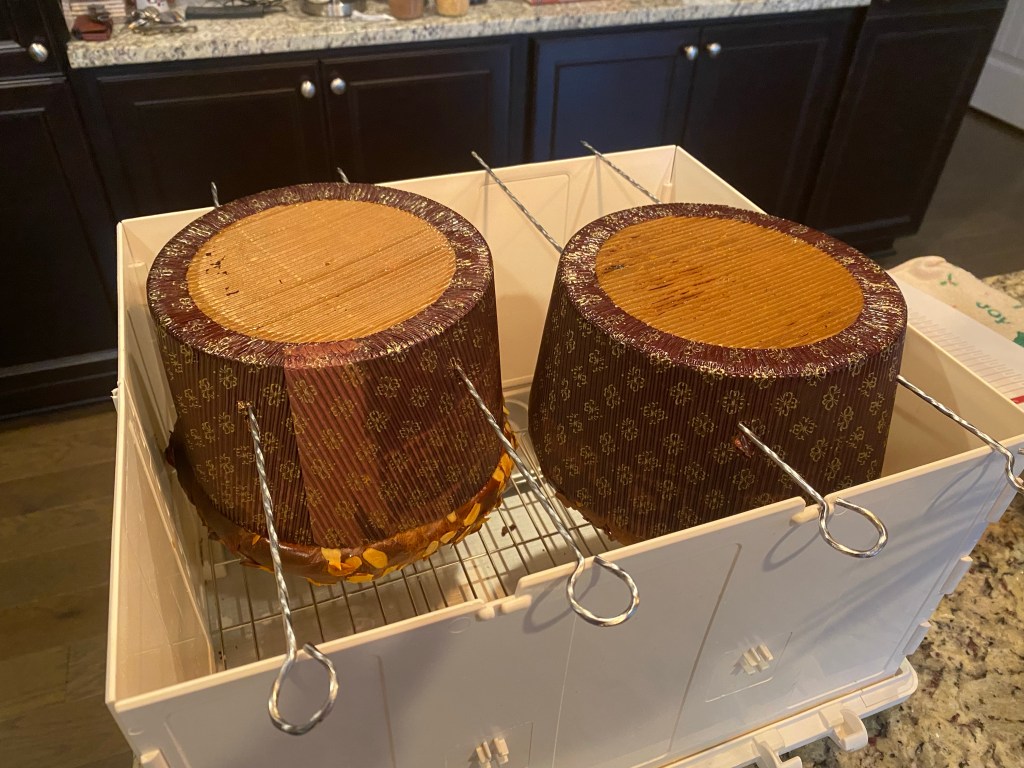
They’re upside down and cooling. shish kebab skewers work great for this and my proving box is the perfect size.
Cooling upside down
I’ll update this post with a crumb shot and comments about taste et al tomorrow.
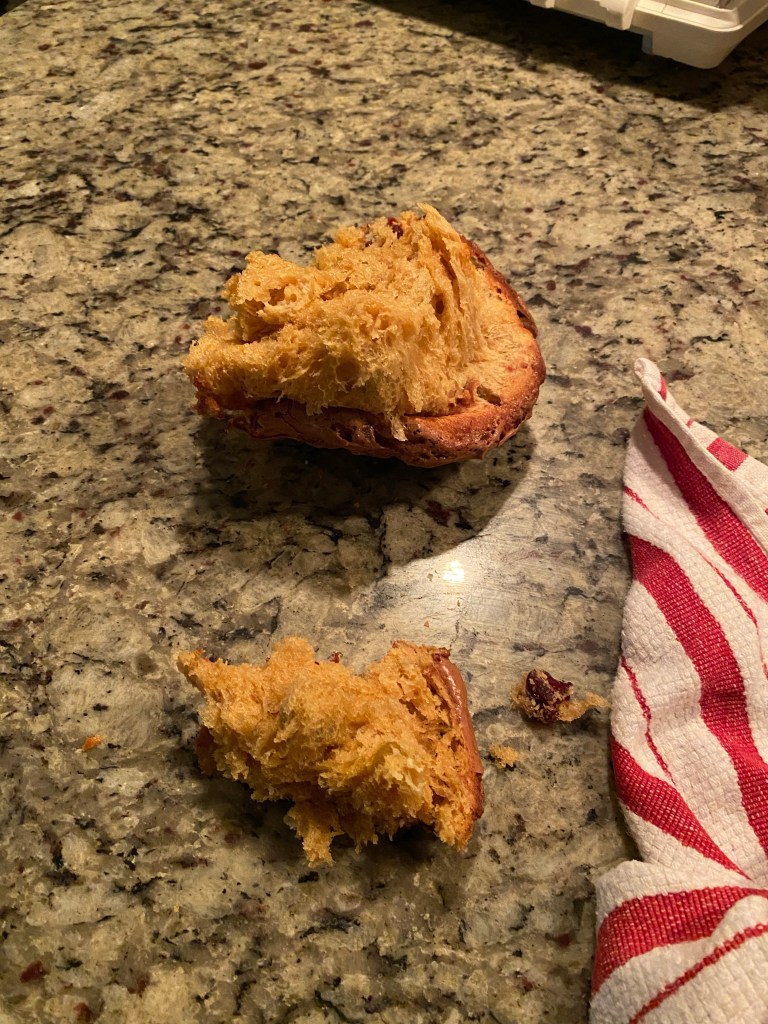
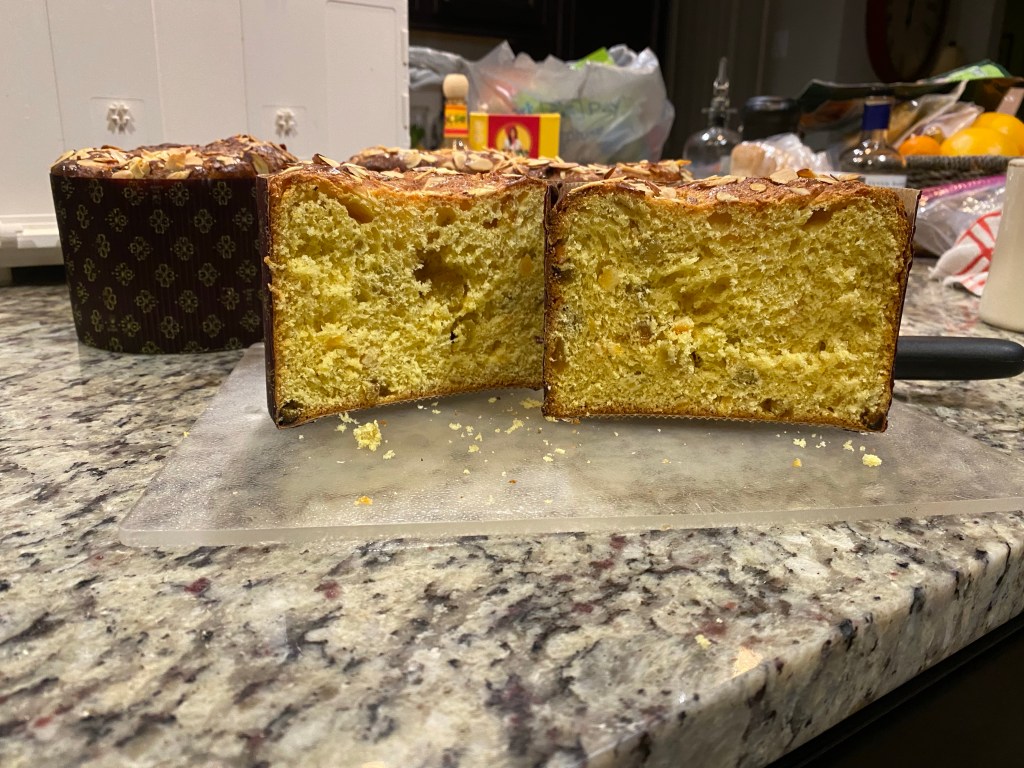
UPDATE: This is a first! I had a top fall off! Made it so I might as well do a taste test! Lovely taste!
It’s a new season and time to see if I can build off last year’s bakes.
Panettone Classico
My first bake was “Ok” but not quite what I desired. My second bake (pictured above) was much better. I attribute that to my being patient and following my notes and having my Pasta Madre more active.
I attempted to make another bake but make four 500g loaves rather than two 1kg loaves.
They didn’t turn out well. Limited bloom and dry.
After bakingCrumb Shot500g Loaves Test Bake
I’m thinking the 500g loaves would make good gifts so I’m going to need to figure this out
Hypothesis: Pasta Madre wasn’t on point
Going to focus on my Pasta Madre Refreshment/Activation
Fortunately, I bought a book on making Panettone to help me. Remember 28°C by Jose Romero has a wealth of information to reference.
The title refers to the ideal dough temperature (IDT) needed when making proving Panettone. It’s also the IDT for fermentation of Pasta Madre.
I’ve learned the reason for binding Pasta Madre in cling wrap / linen to limit exposure to oxygen and shape the fermentation.
Bound Pasta Madre
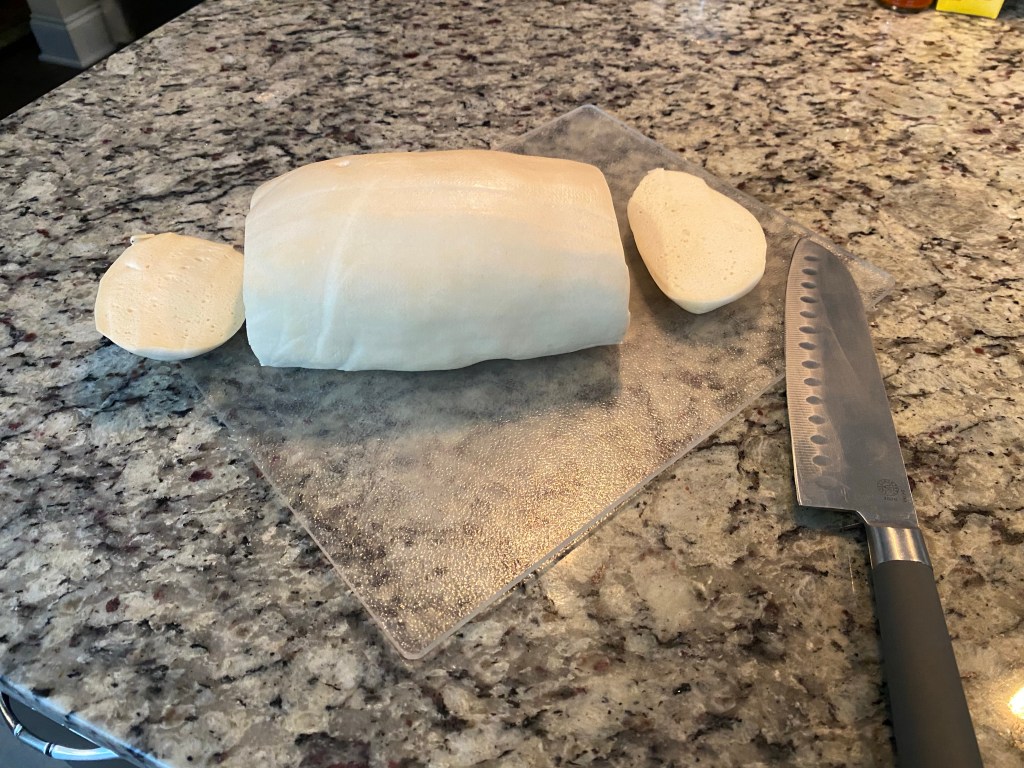
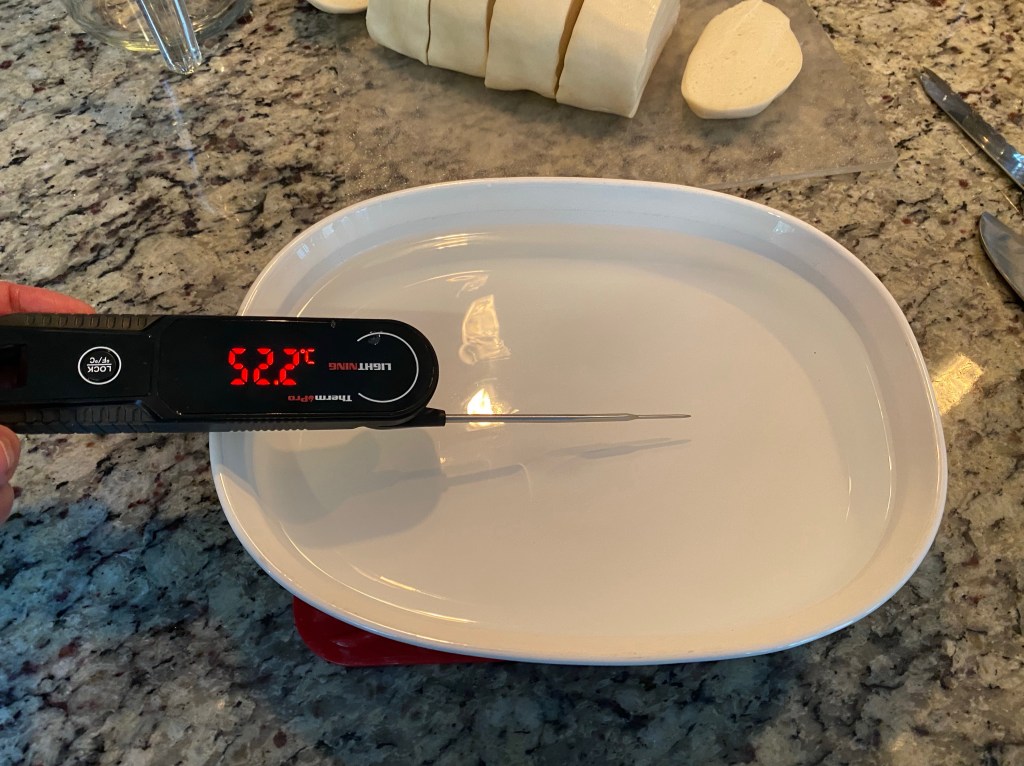
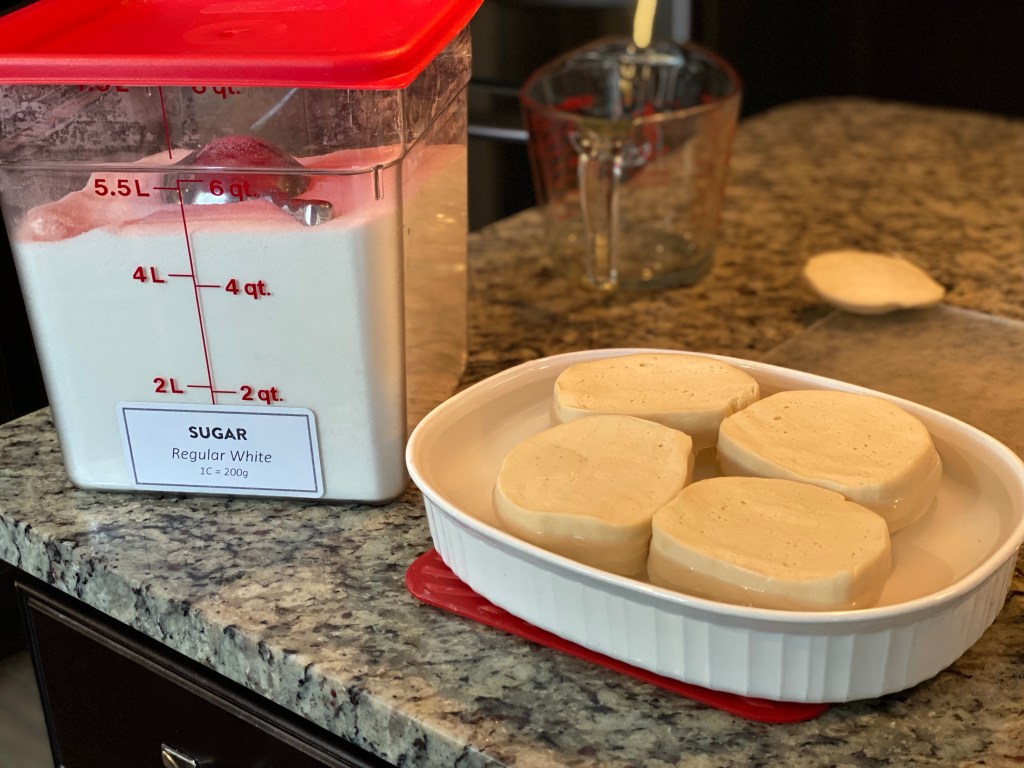
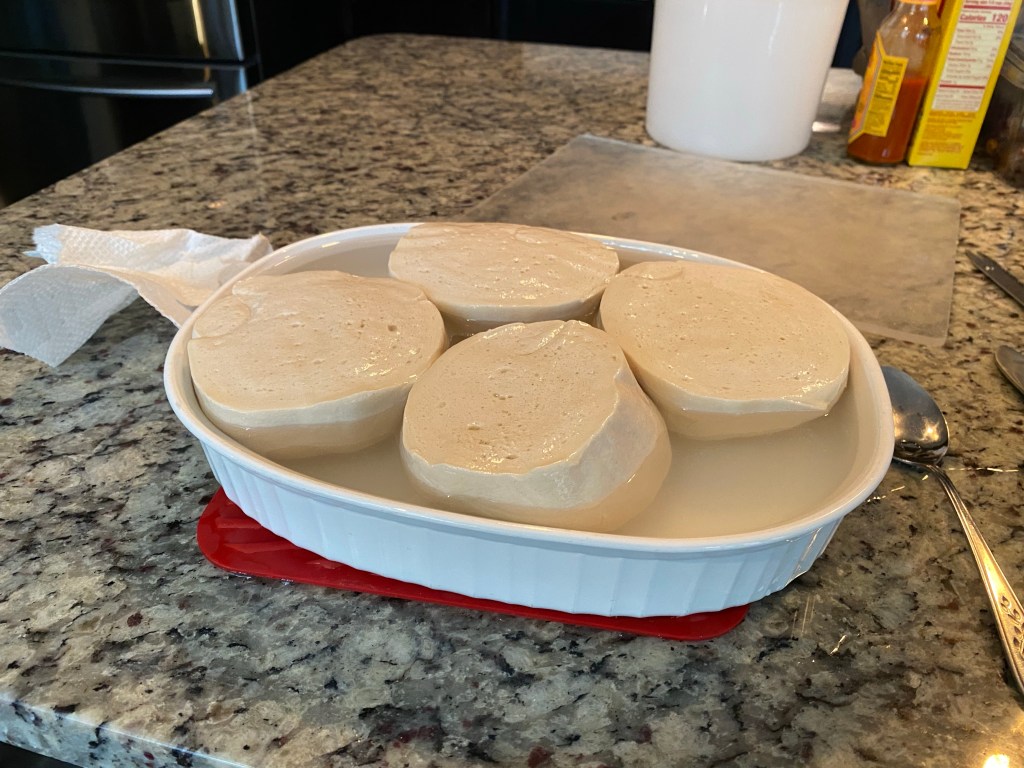
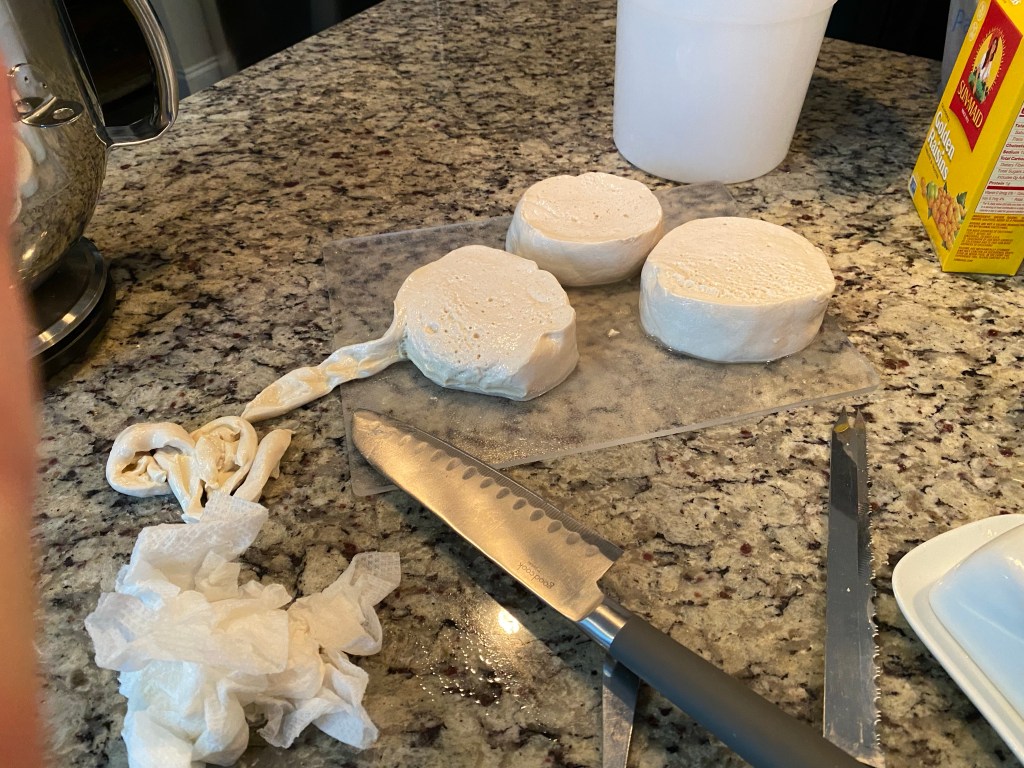
Refreshing involves putting it in a bath first…. This bath brings it to temp and helps add oxygen. Add 5g of sugar to one liter of water to help with oxygenation. The ends of the Pasta Madre are cut off and it is then sliced into roughly 5cm slices.
The (filtered) water was heated to 50°C since my Pasta Madre was 6°C coming from my fridge. Essentially, two items, want an IDT of 28°C … 2×28=56. Gallery below shows my process…
Cutting ends offOvershot temp to allow for cold bowl10 min per side20 min bathStep 1: Water Bath
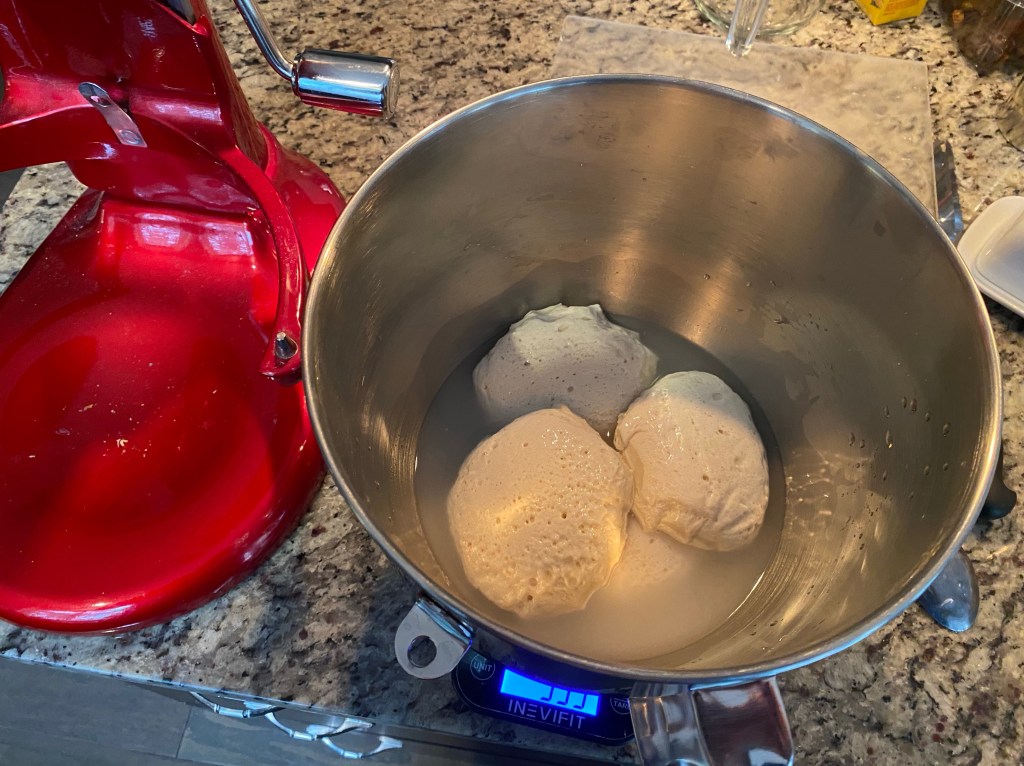
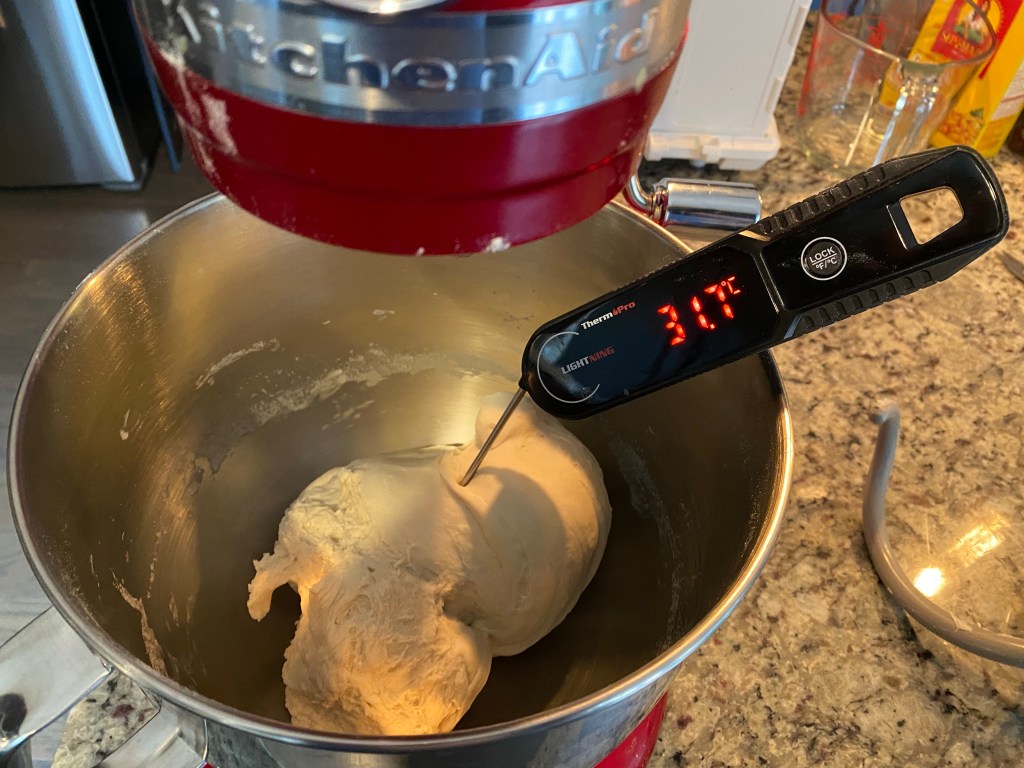
After the water bath I trimmed the outside skin, weighed and refreshed at 1:1:.42 ratio. That’s one part each of starter, bread flour and 42% water. This was all mixed again trying to be mindful of IDT.
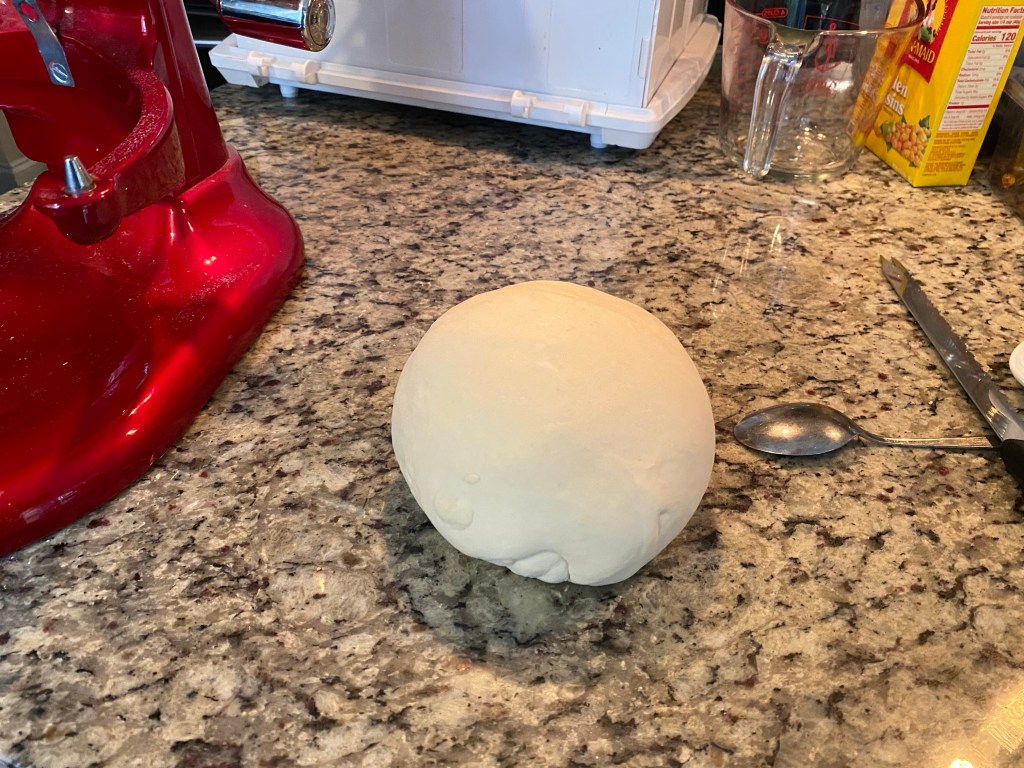
Trimming skinStarter and water mixed Speed 1Flour added speed 2Rested 5 min and formed into ballSlicedPretty close to IDT!In to prove at 82°F (28°C)Refreshing Pasta Madre
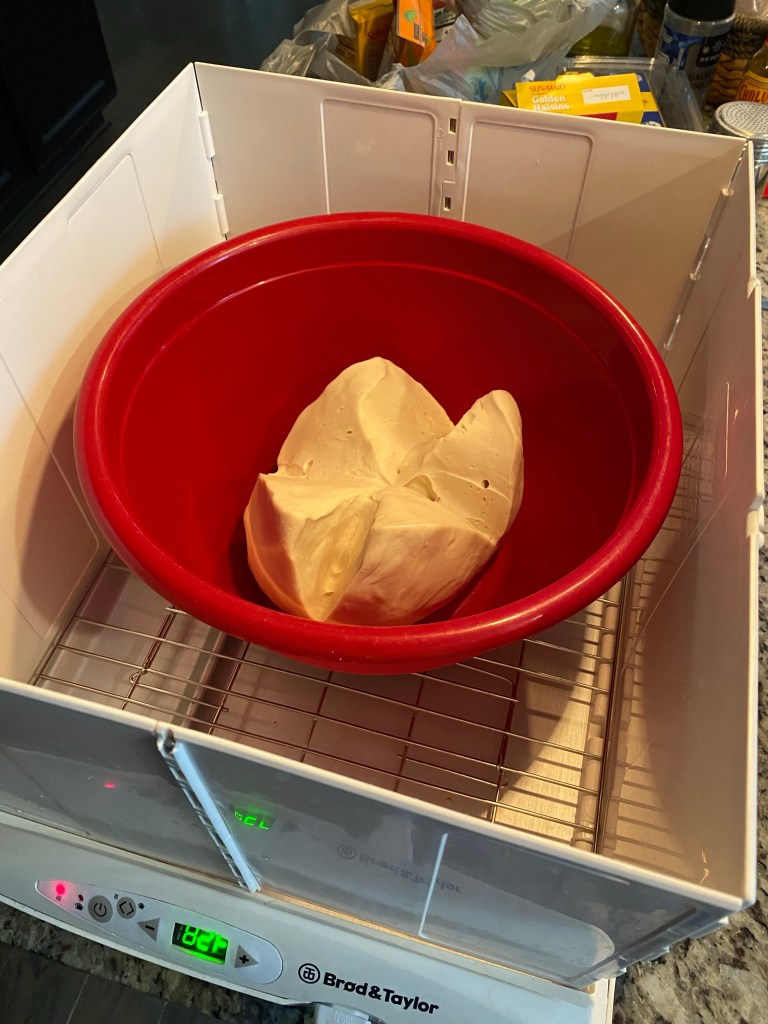
Now to wait for 3.5 hours or so to see it triple in size!
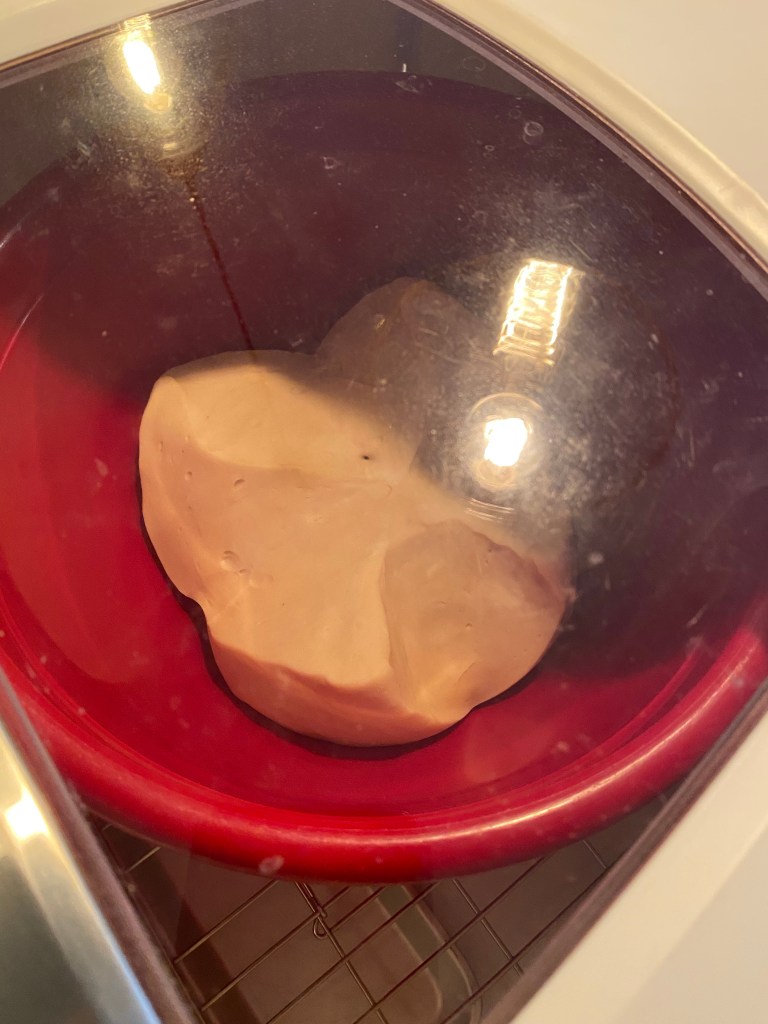
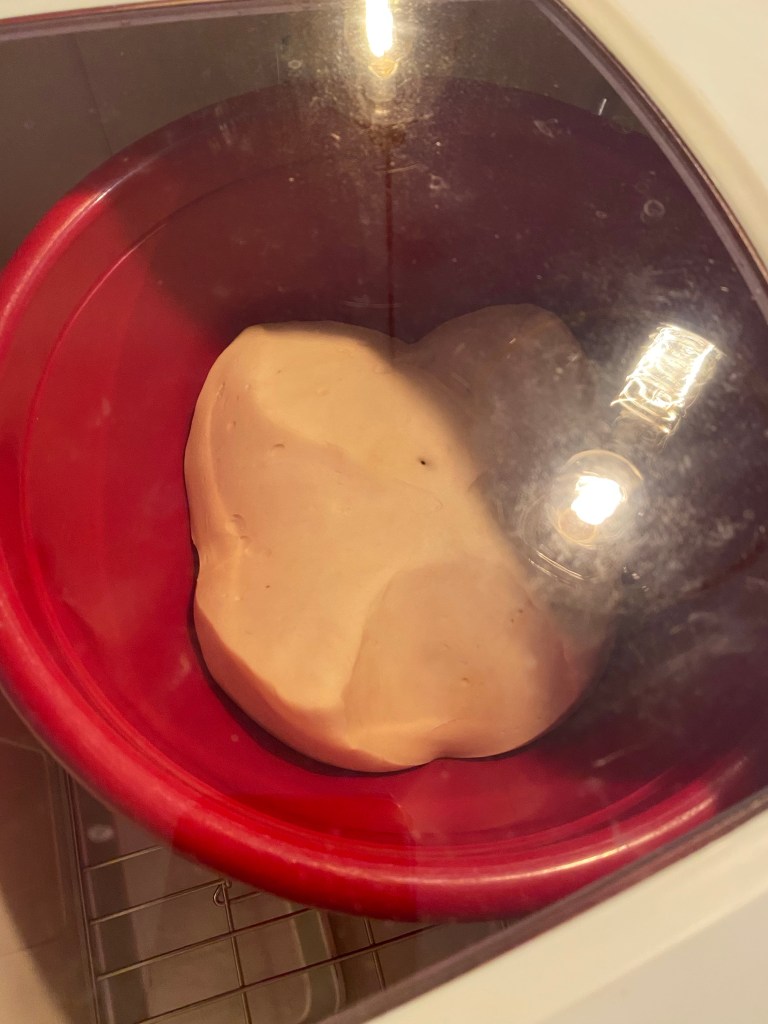
Here’s how it grew over 3.5 hours…
1 hour2 hours3.5 hoursFirst Refresment
Now to do a second refreshment prior to making my first dough. ….
My best attempt ever…we’ll, duh! The first was my first and I made numerous updates to my method and technique. It was definitely worth applying myself and learning! Will continue to study and chase a more open crumb structure!
Things I learned:
Pasta Madre development is key
Kneading takes MUCH more time than I thought
Use Castor Sugar
Patience and letting time work is best
Monitor time and temps
Pasta Madre development is key (THIS bears repeating)
It is airy, light, moist, sweet (but not too sweet). A really great mouth feel… pillowy! Fantastico!!
Here are some pics of the bake…
Out of ovenSkewered and hungAdding butter knobProved before bakingBaking and Cooling
I am definitely putting this bake into my holiday repertoire!! These would make great holiday gifts… I will continue to chase a more open/classical crumb structure!!
I like learning new things. Will need a couple more practice runs for sure! Glad I’m taking copious notes. They help me a lot.
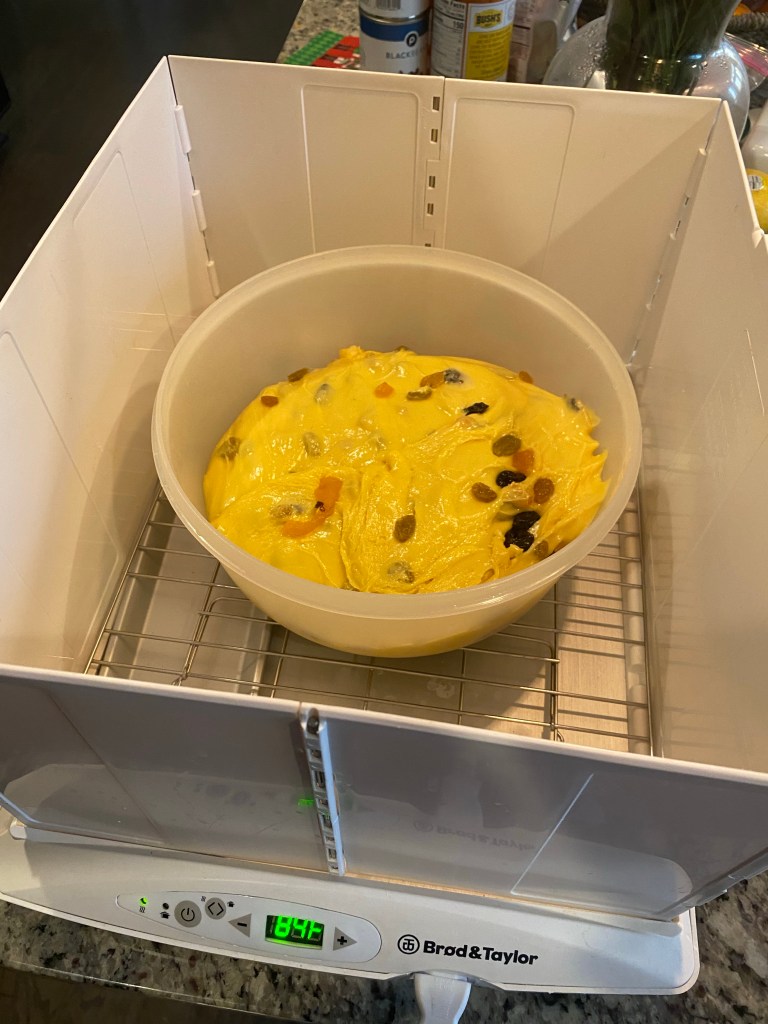
Today is baking day! First I have to make the 2nd Dough. The first dough rose 3X and I’m very pleased!
After overnight proof3X growth!Gluten web residual in bowlOvernight Prove of Dough #1
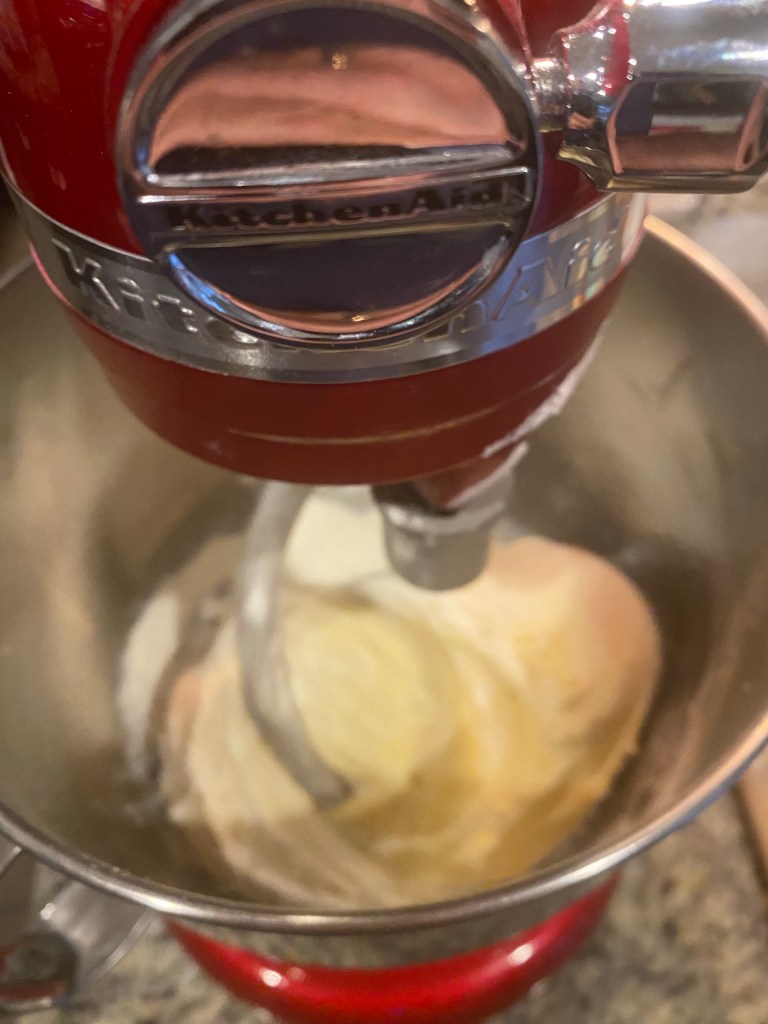
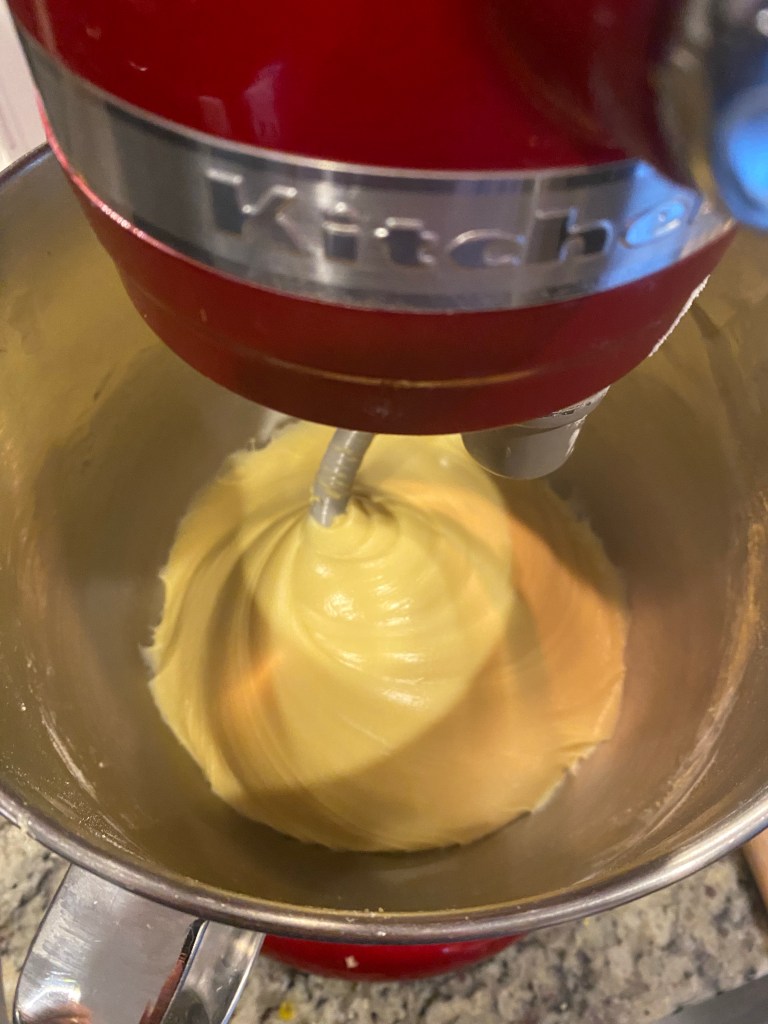
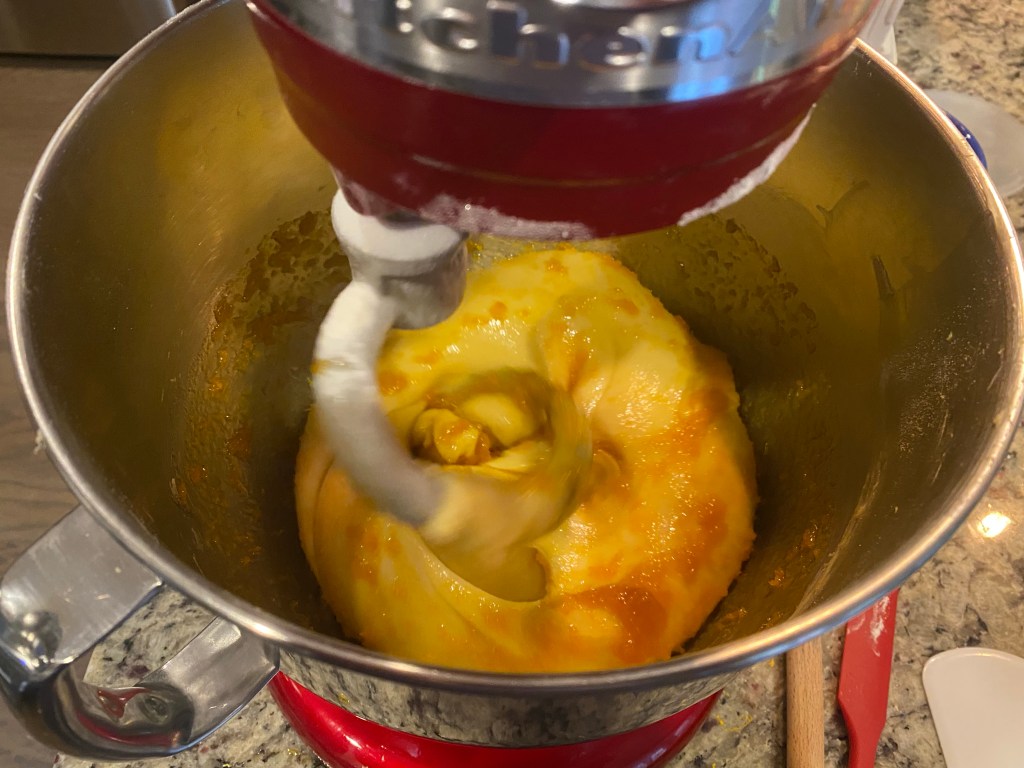
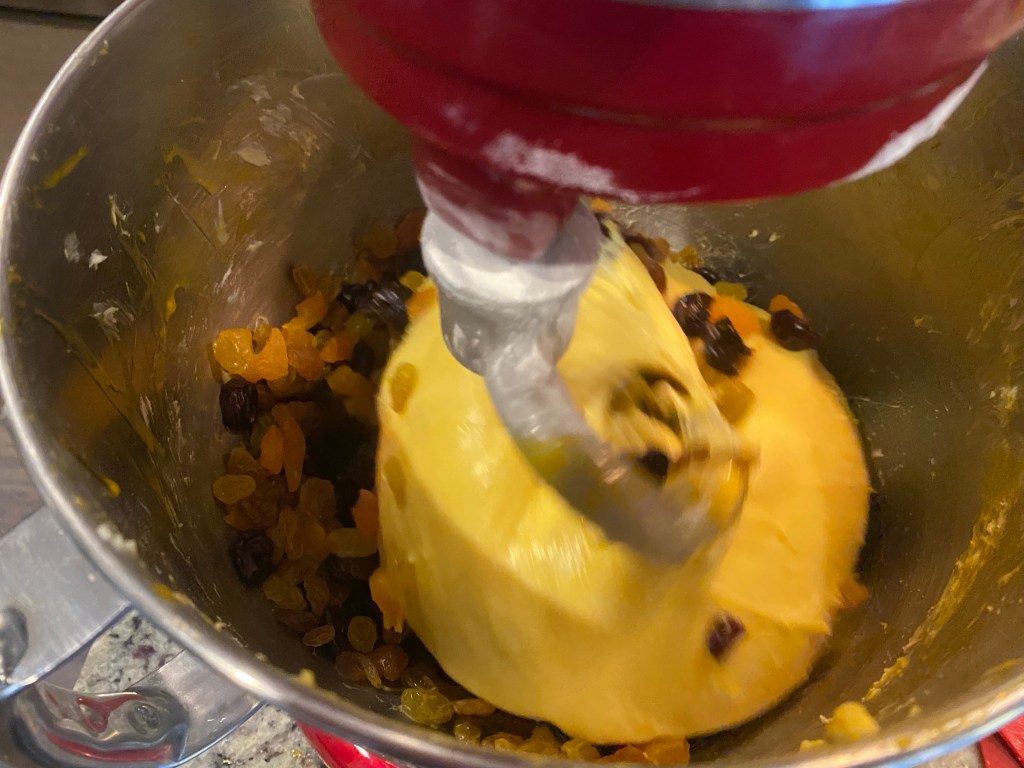
I then slowly started to layer in the ingredients. First the flour, then Castor Sugar, Honey/citrus zest, salt, egg yolks, butter and finally, dried fruit.
This process took MUCH longer than last time since I was following (as best I could with my KitchenAid mixer) the schedule/technique of the Milanese bakery. I did the flour alone for 15 minutes and then on 2-4 minute intervals everything else.
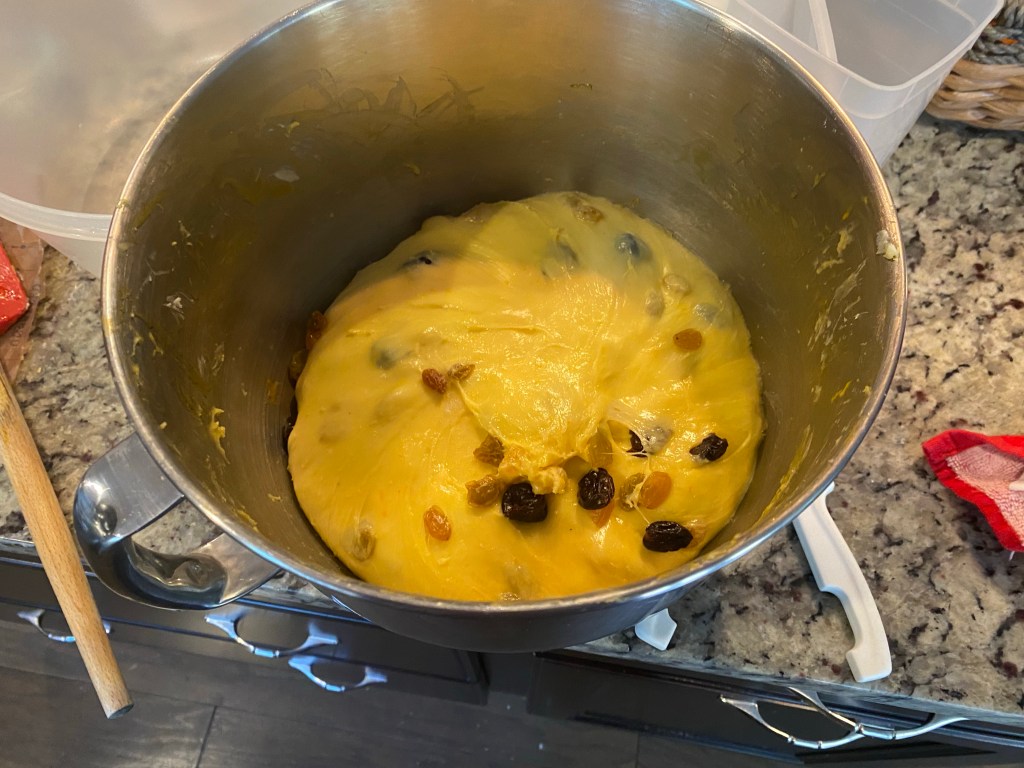
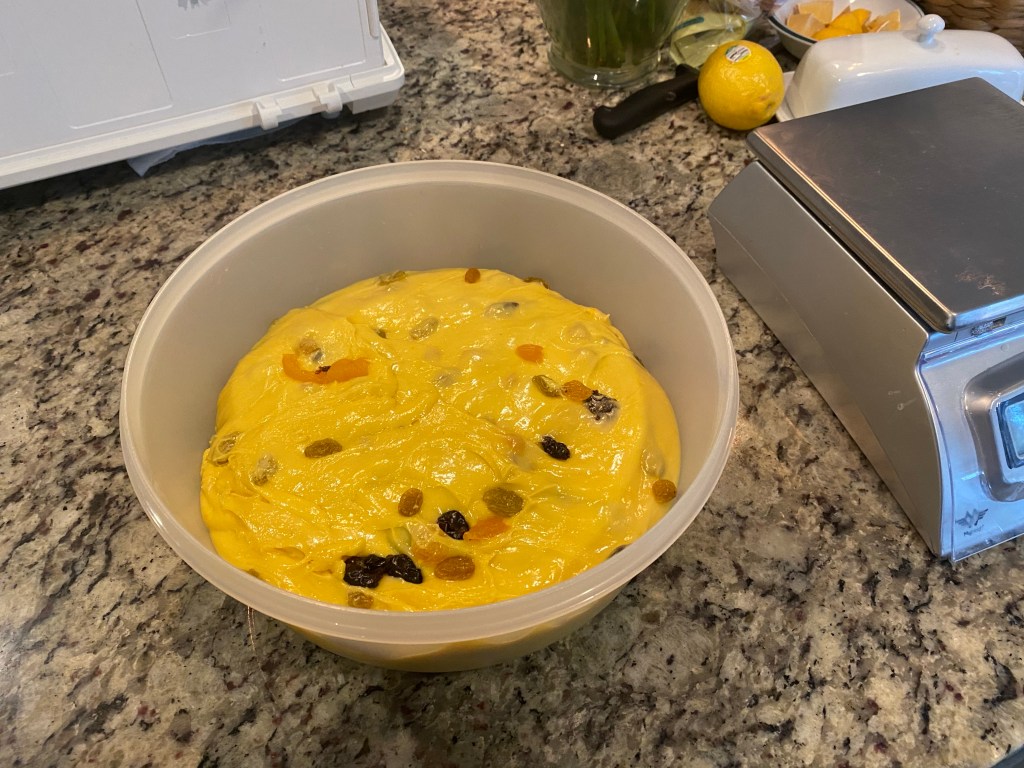
After mixing I transferred the dough to a tub for 20 mins to let rest. I don’t suppose I needed to transfer since my mixer bowl fits in my proving box. However, the Milanese bakers took their dough out and put it in a huge plastic tub … so I blindly did the same. Ha!
Resting for 20 minutes
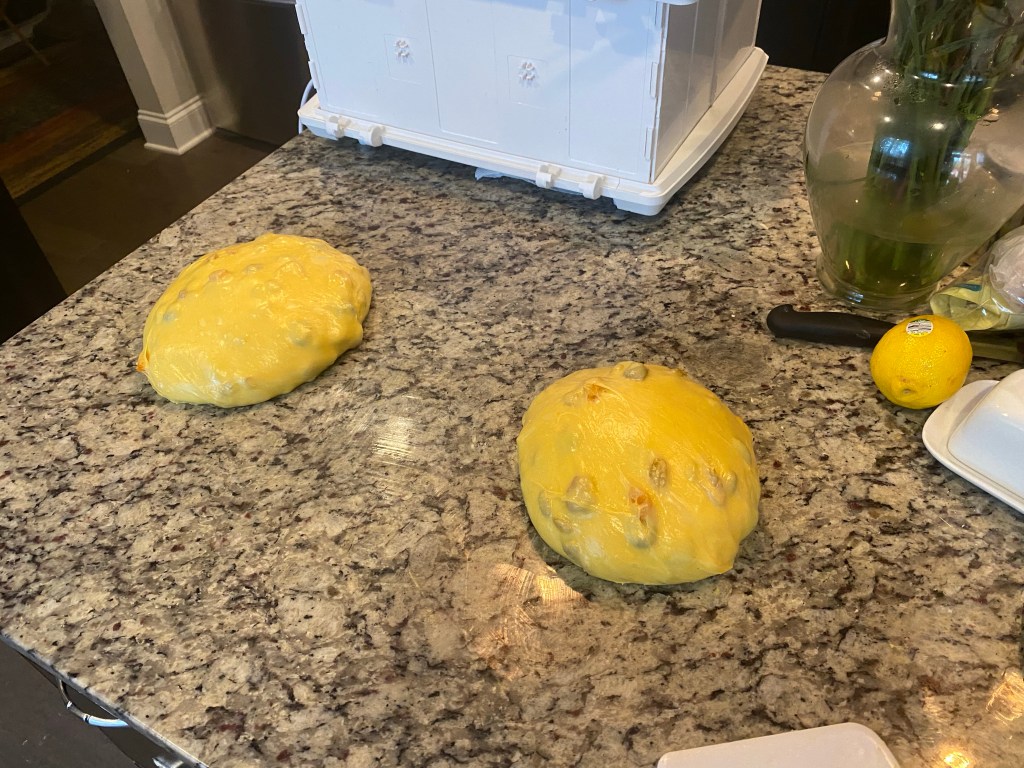
Per their technique/timing I let the 2nd Dough rest for 20 minutes before separating into two 1100g pieces. Note that the recipe makes 1100g pieces wet because of about 10% loss during the bake. Trying for a 1kg final bake weight.
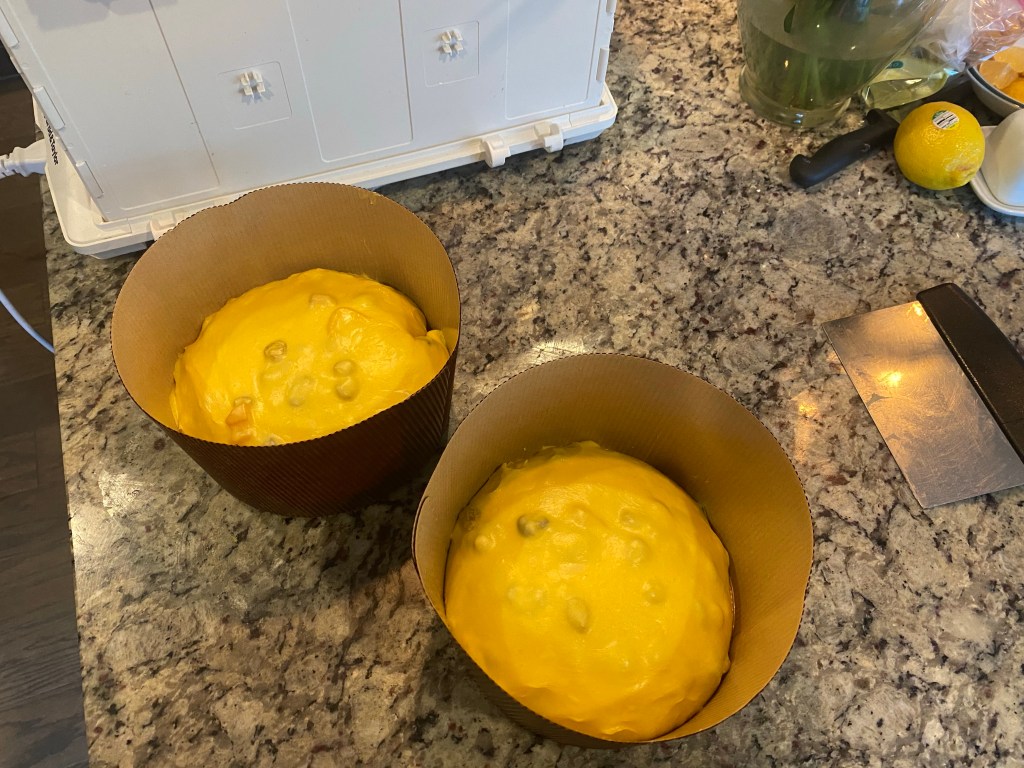
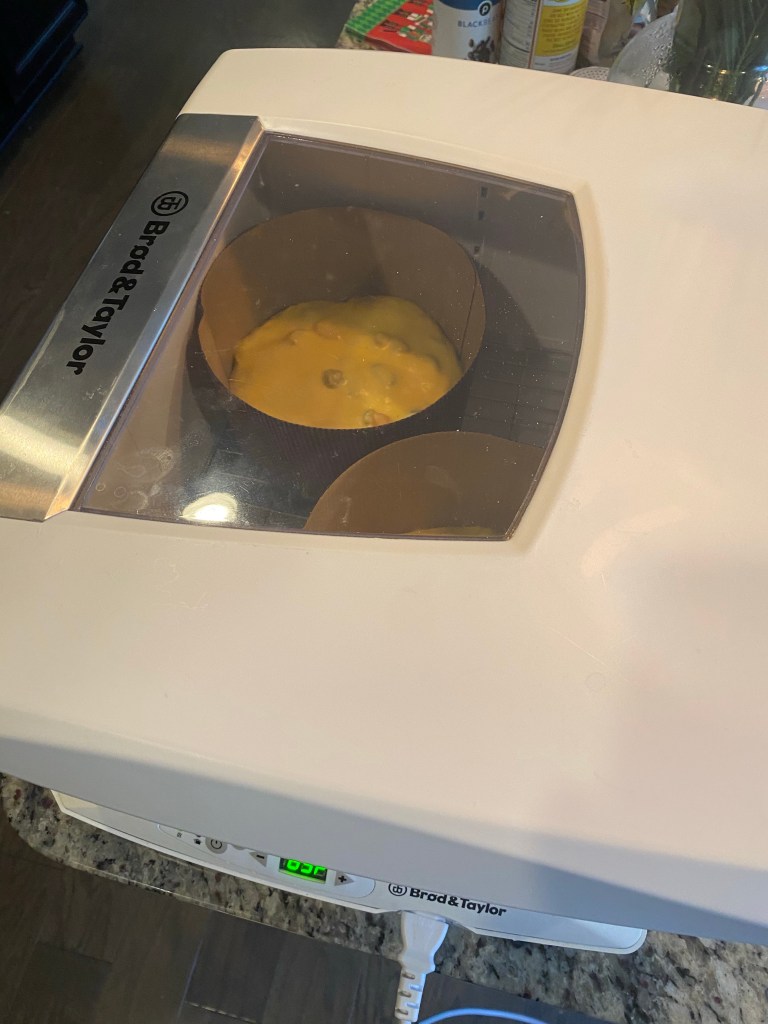
I preshaped them into two rounds and waited another 20 mins to let a skin form on the surface before final shaping into boules and placing them into the cardboard ramekins to prove for 6 hours at 85°F.
Rested DoughDivided into 1100g85°F for 6 hoursShaping for final proof
I’ll show the results of the final proof & bake in my next post.